
Navigation Bar
![]()
![]()
![]()
![]()
![]()
It was at this point that I powered on the machine for the first time. I was thrilled to see that most of the game seemed to be working, but...that did not last. It quickly became apparent there were some sort of issues as the scoring displays would cut in and out, along with lots of other really odd erratic behavior -- too many little things to list. Given that I had serviced or replaced everything else, and upon the recommendation of others online, I decided it would be wise to entirely re-do all of the connectors on all the boards in the head box. They are 30 years old and they're probably not in the best shape, even if you can get them to work with enough tinkering. Originally I thought I could get away with just re-doing the 3 melted connectors from before, but that was not the case. This time around I decided to replace all the connectors with a newer style connector that has crimp on connectors. This provides a superior holding ability I'm told, and the new connectors that I crimped on were a newer and more square-ish style. So there is a lot more surface area for contacting each pin on the boards. So doing all this work is really going to provide some peace of mind going forward too.
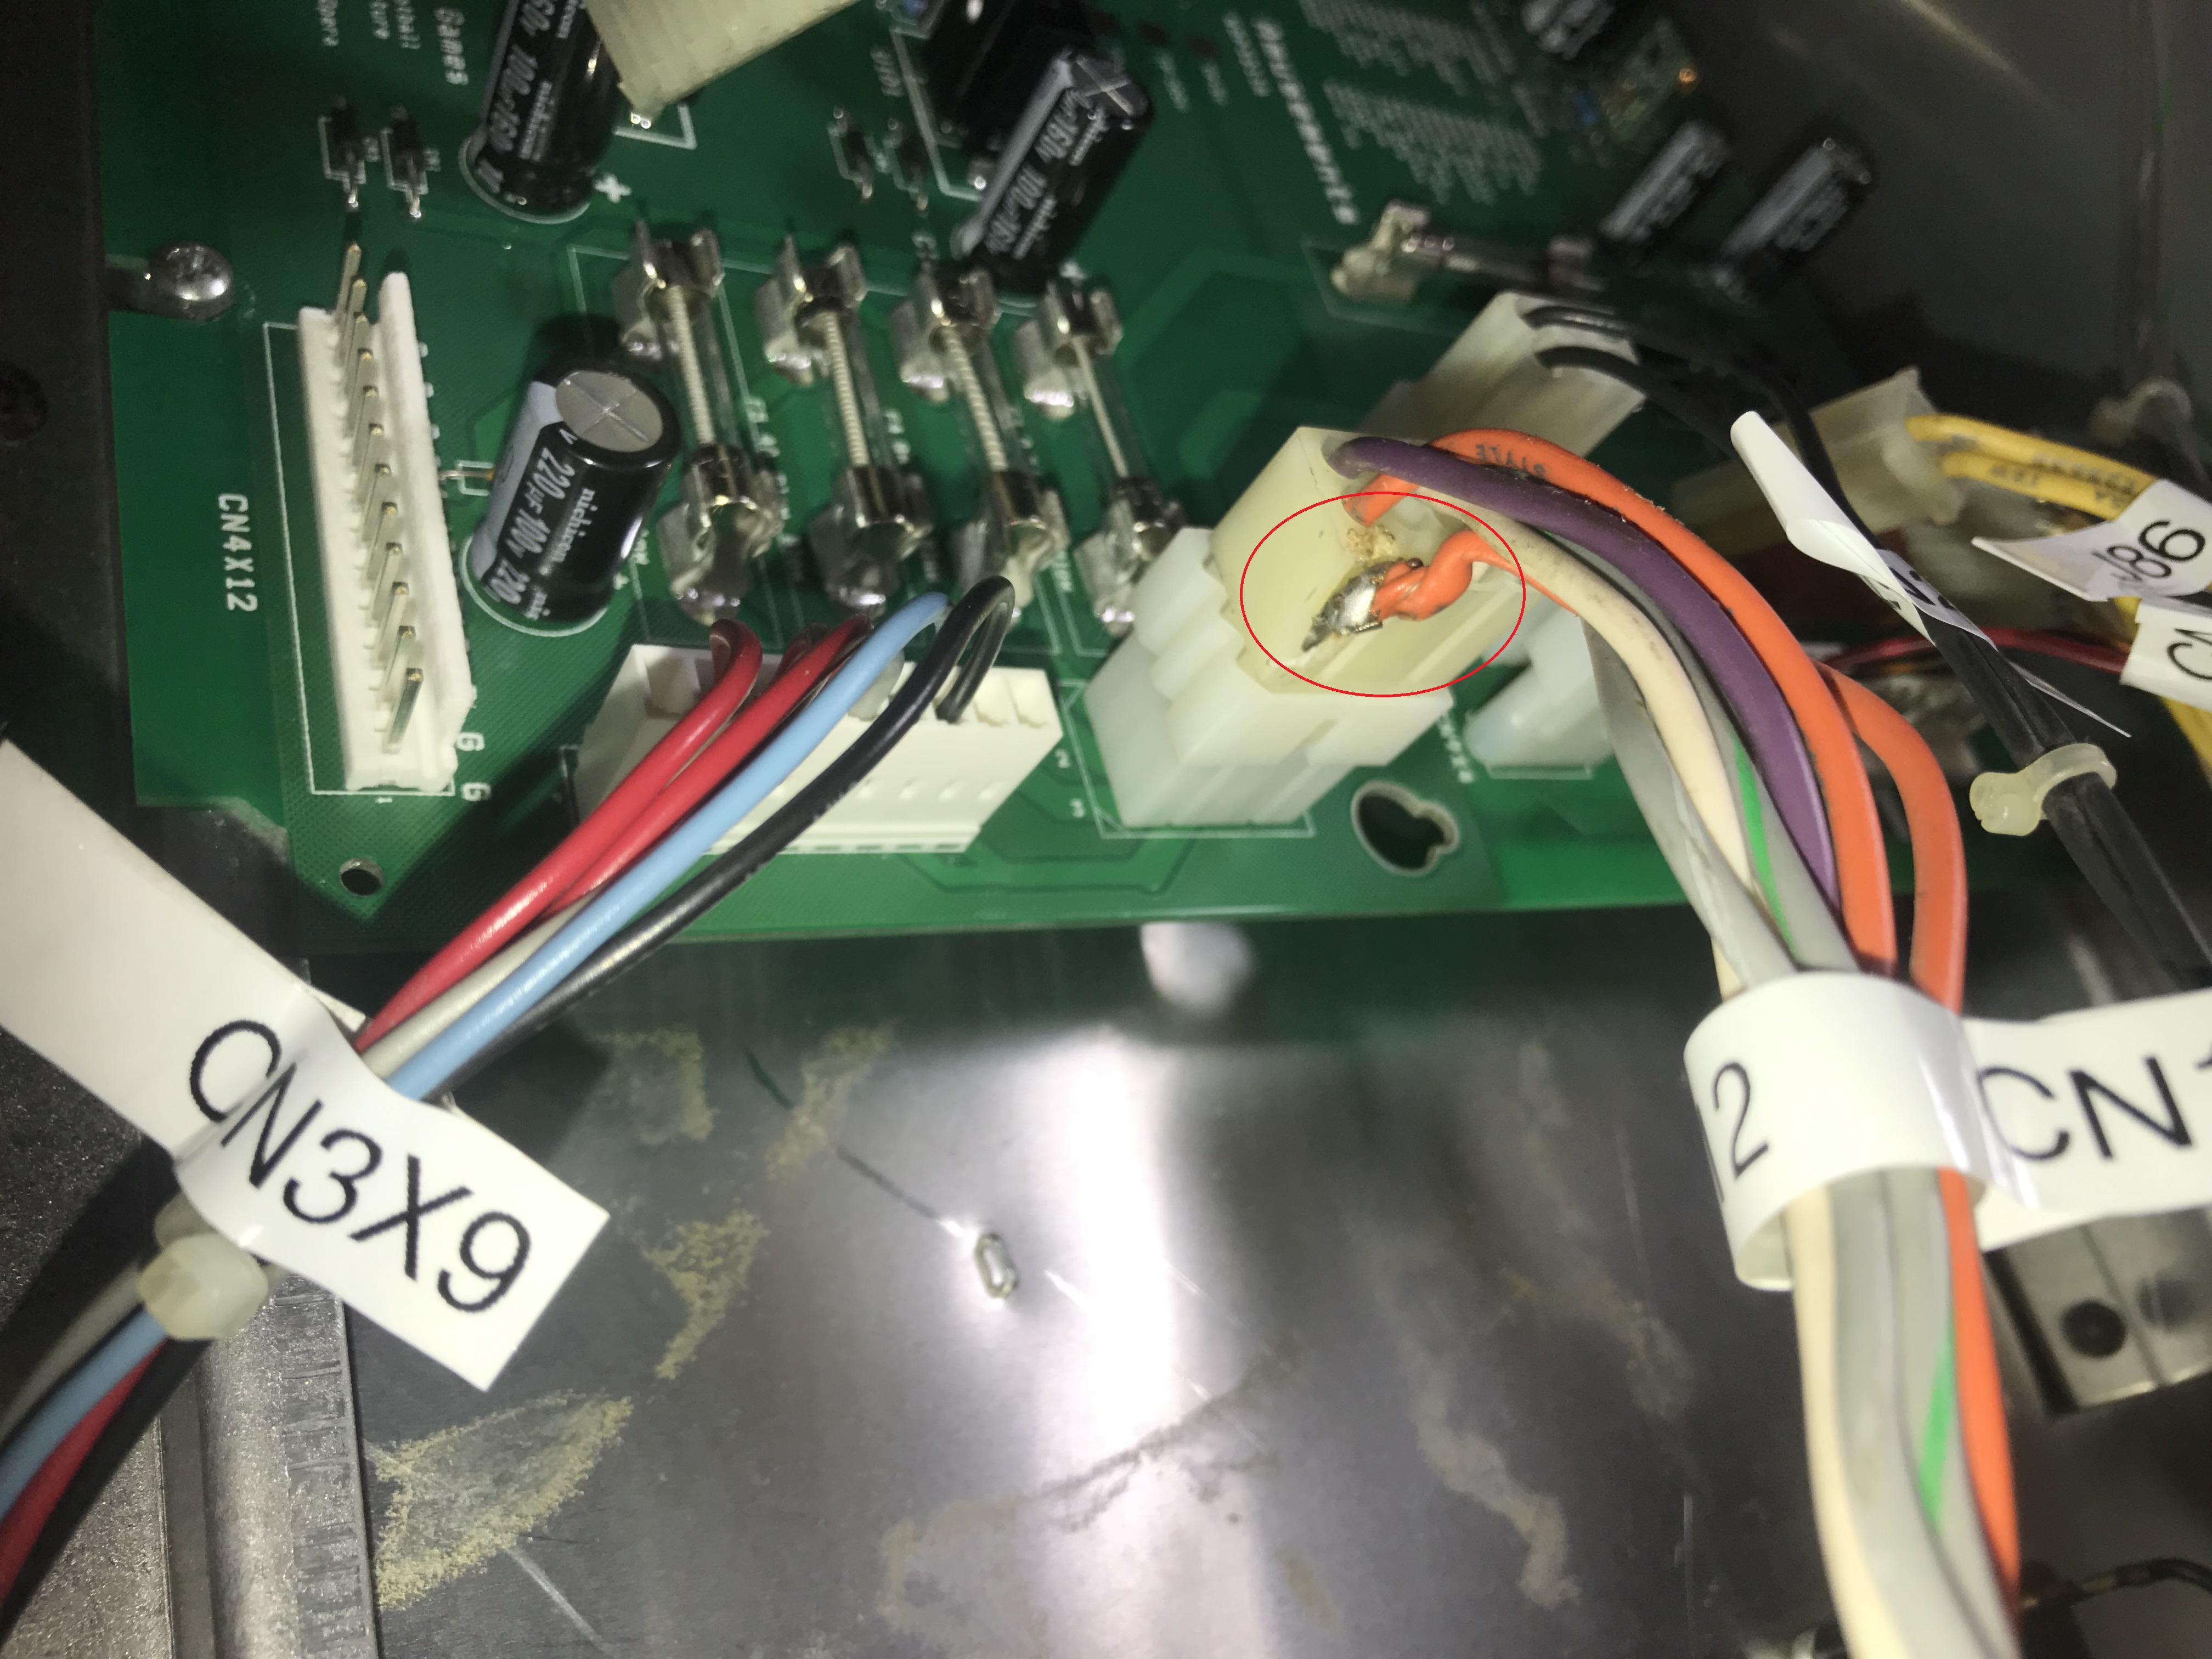
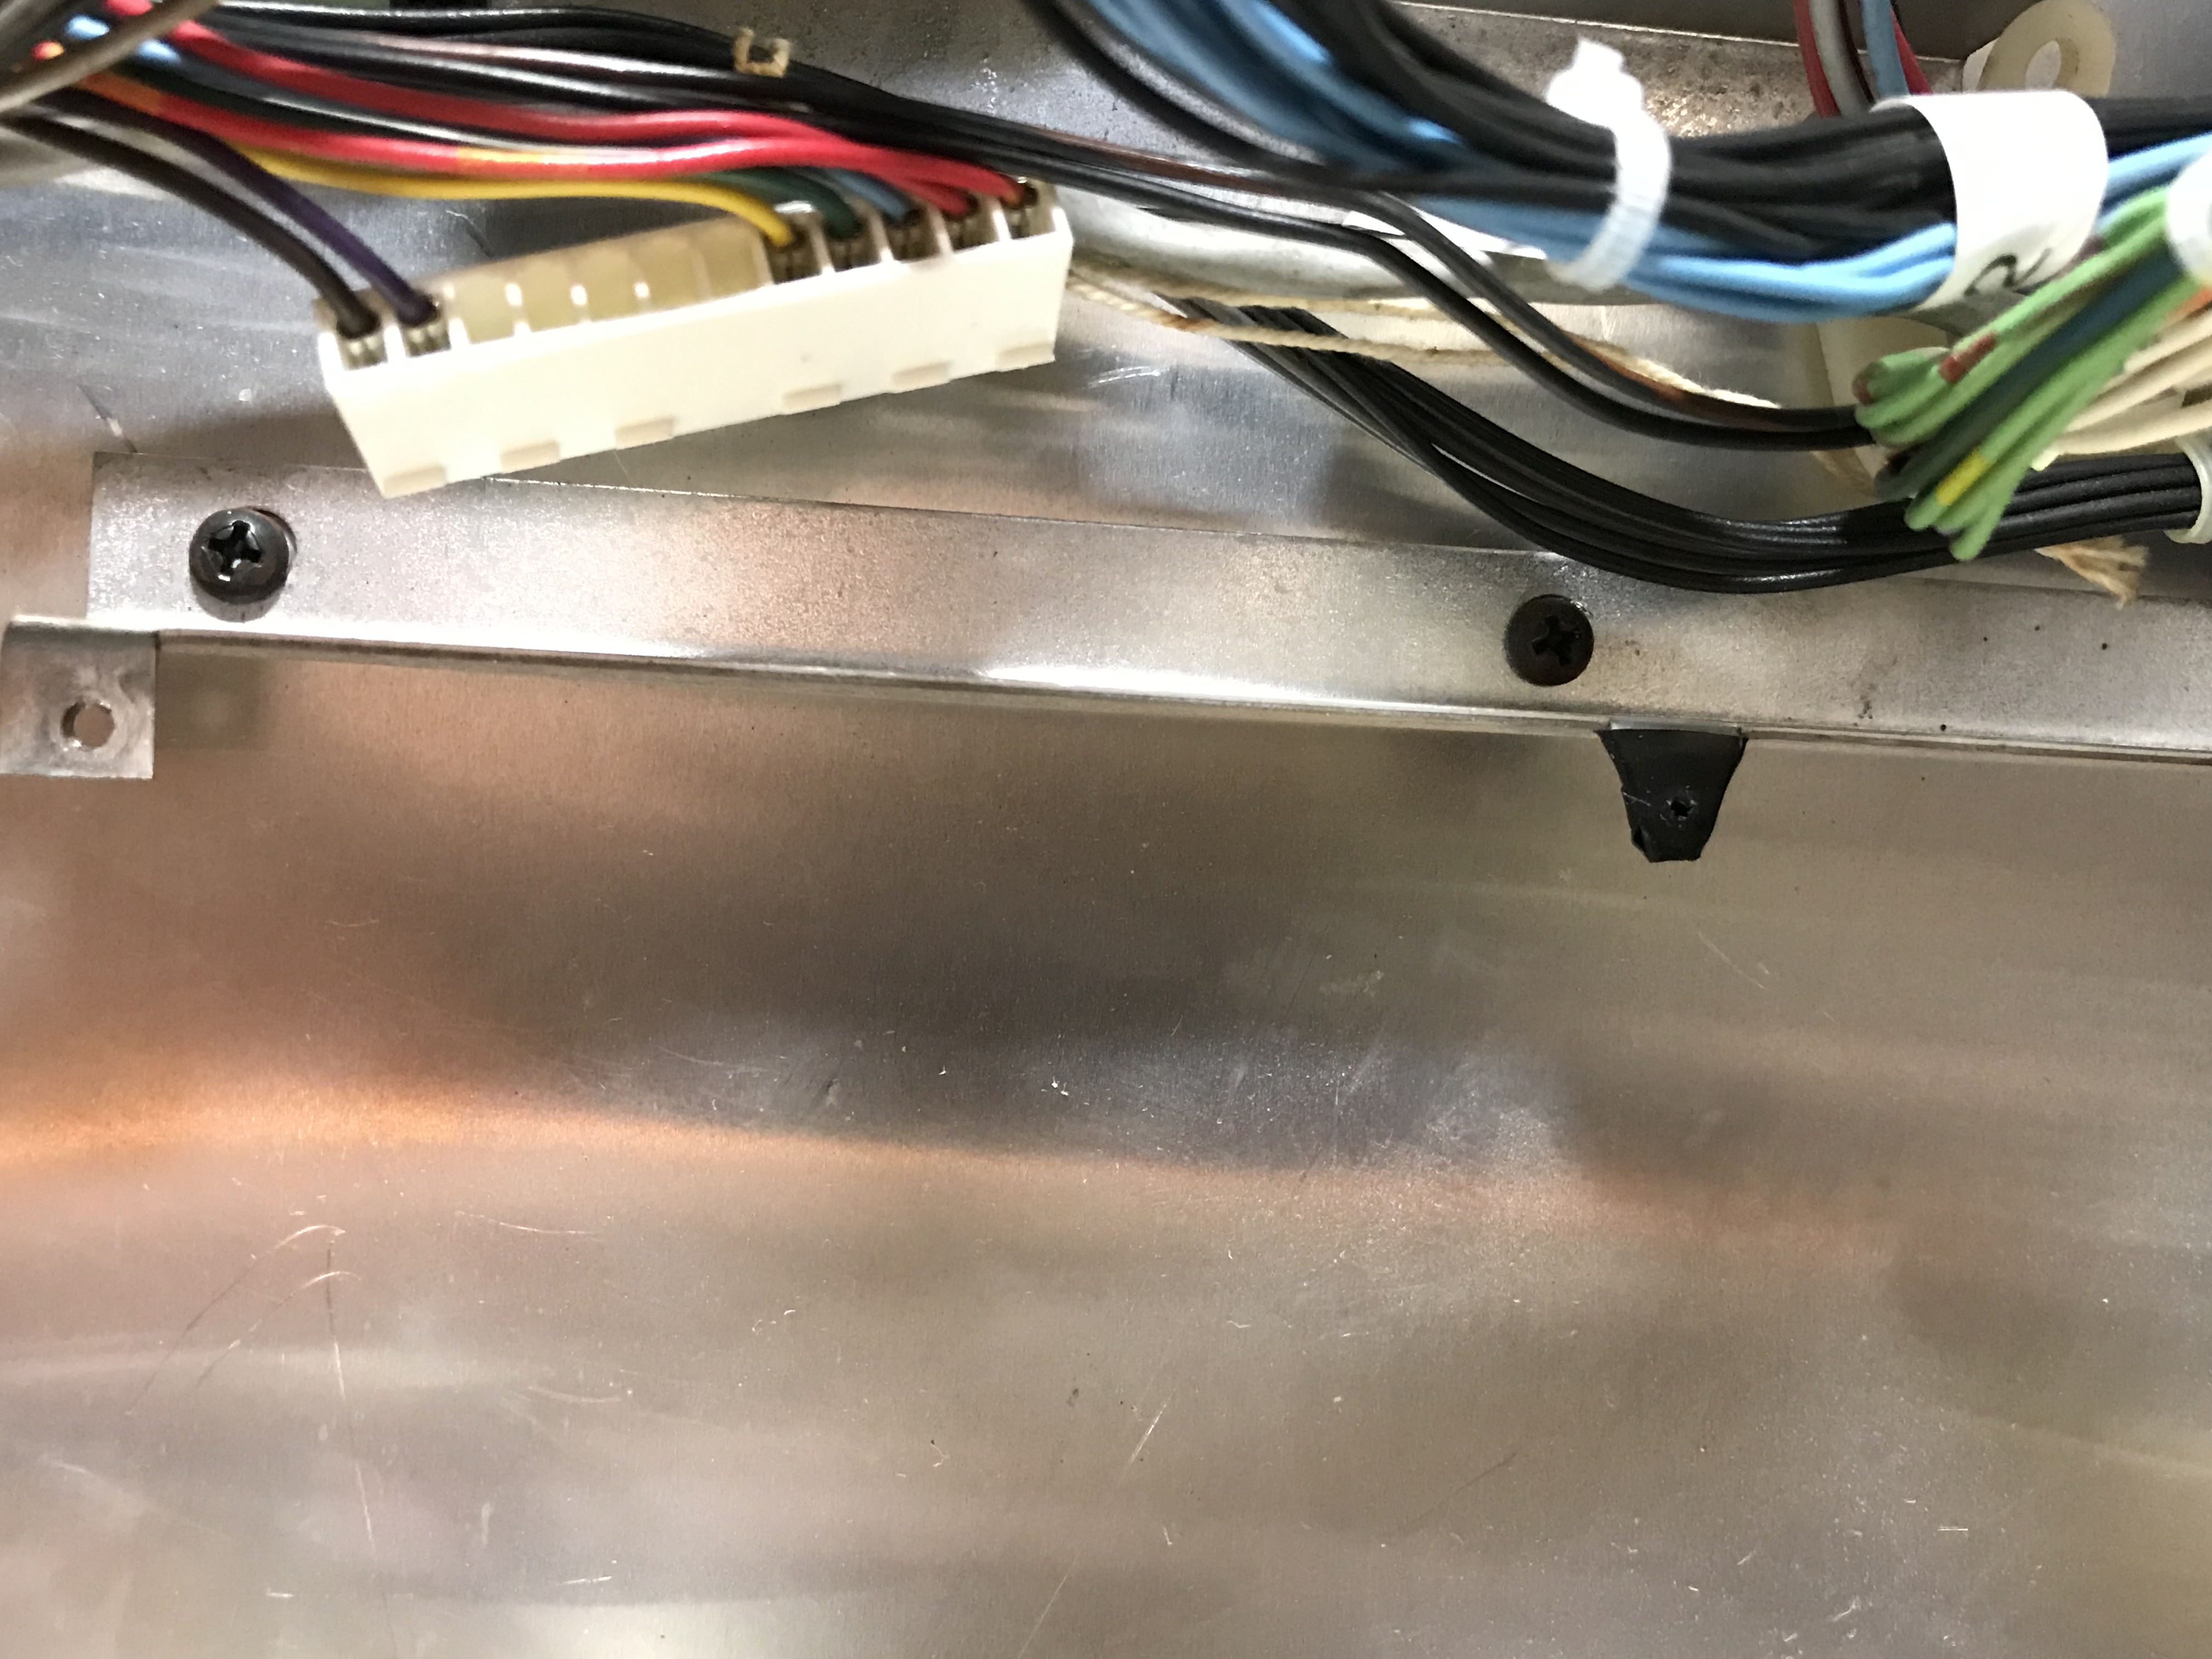
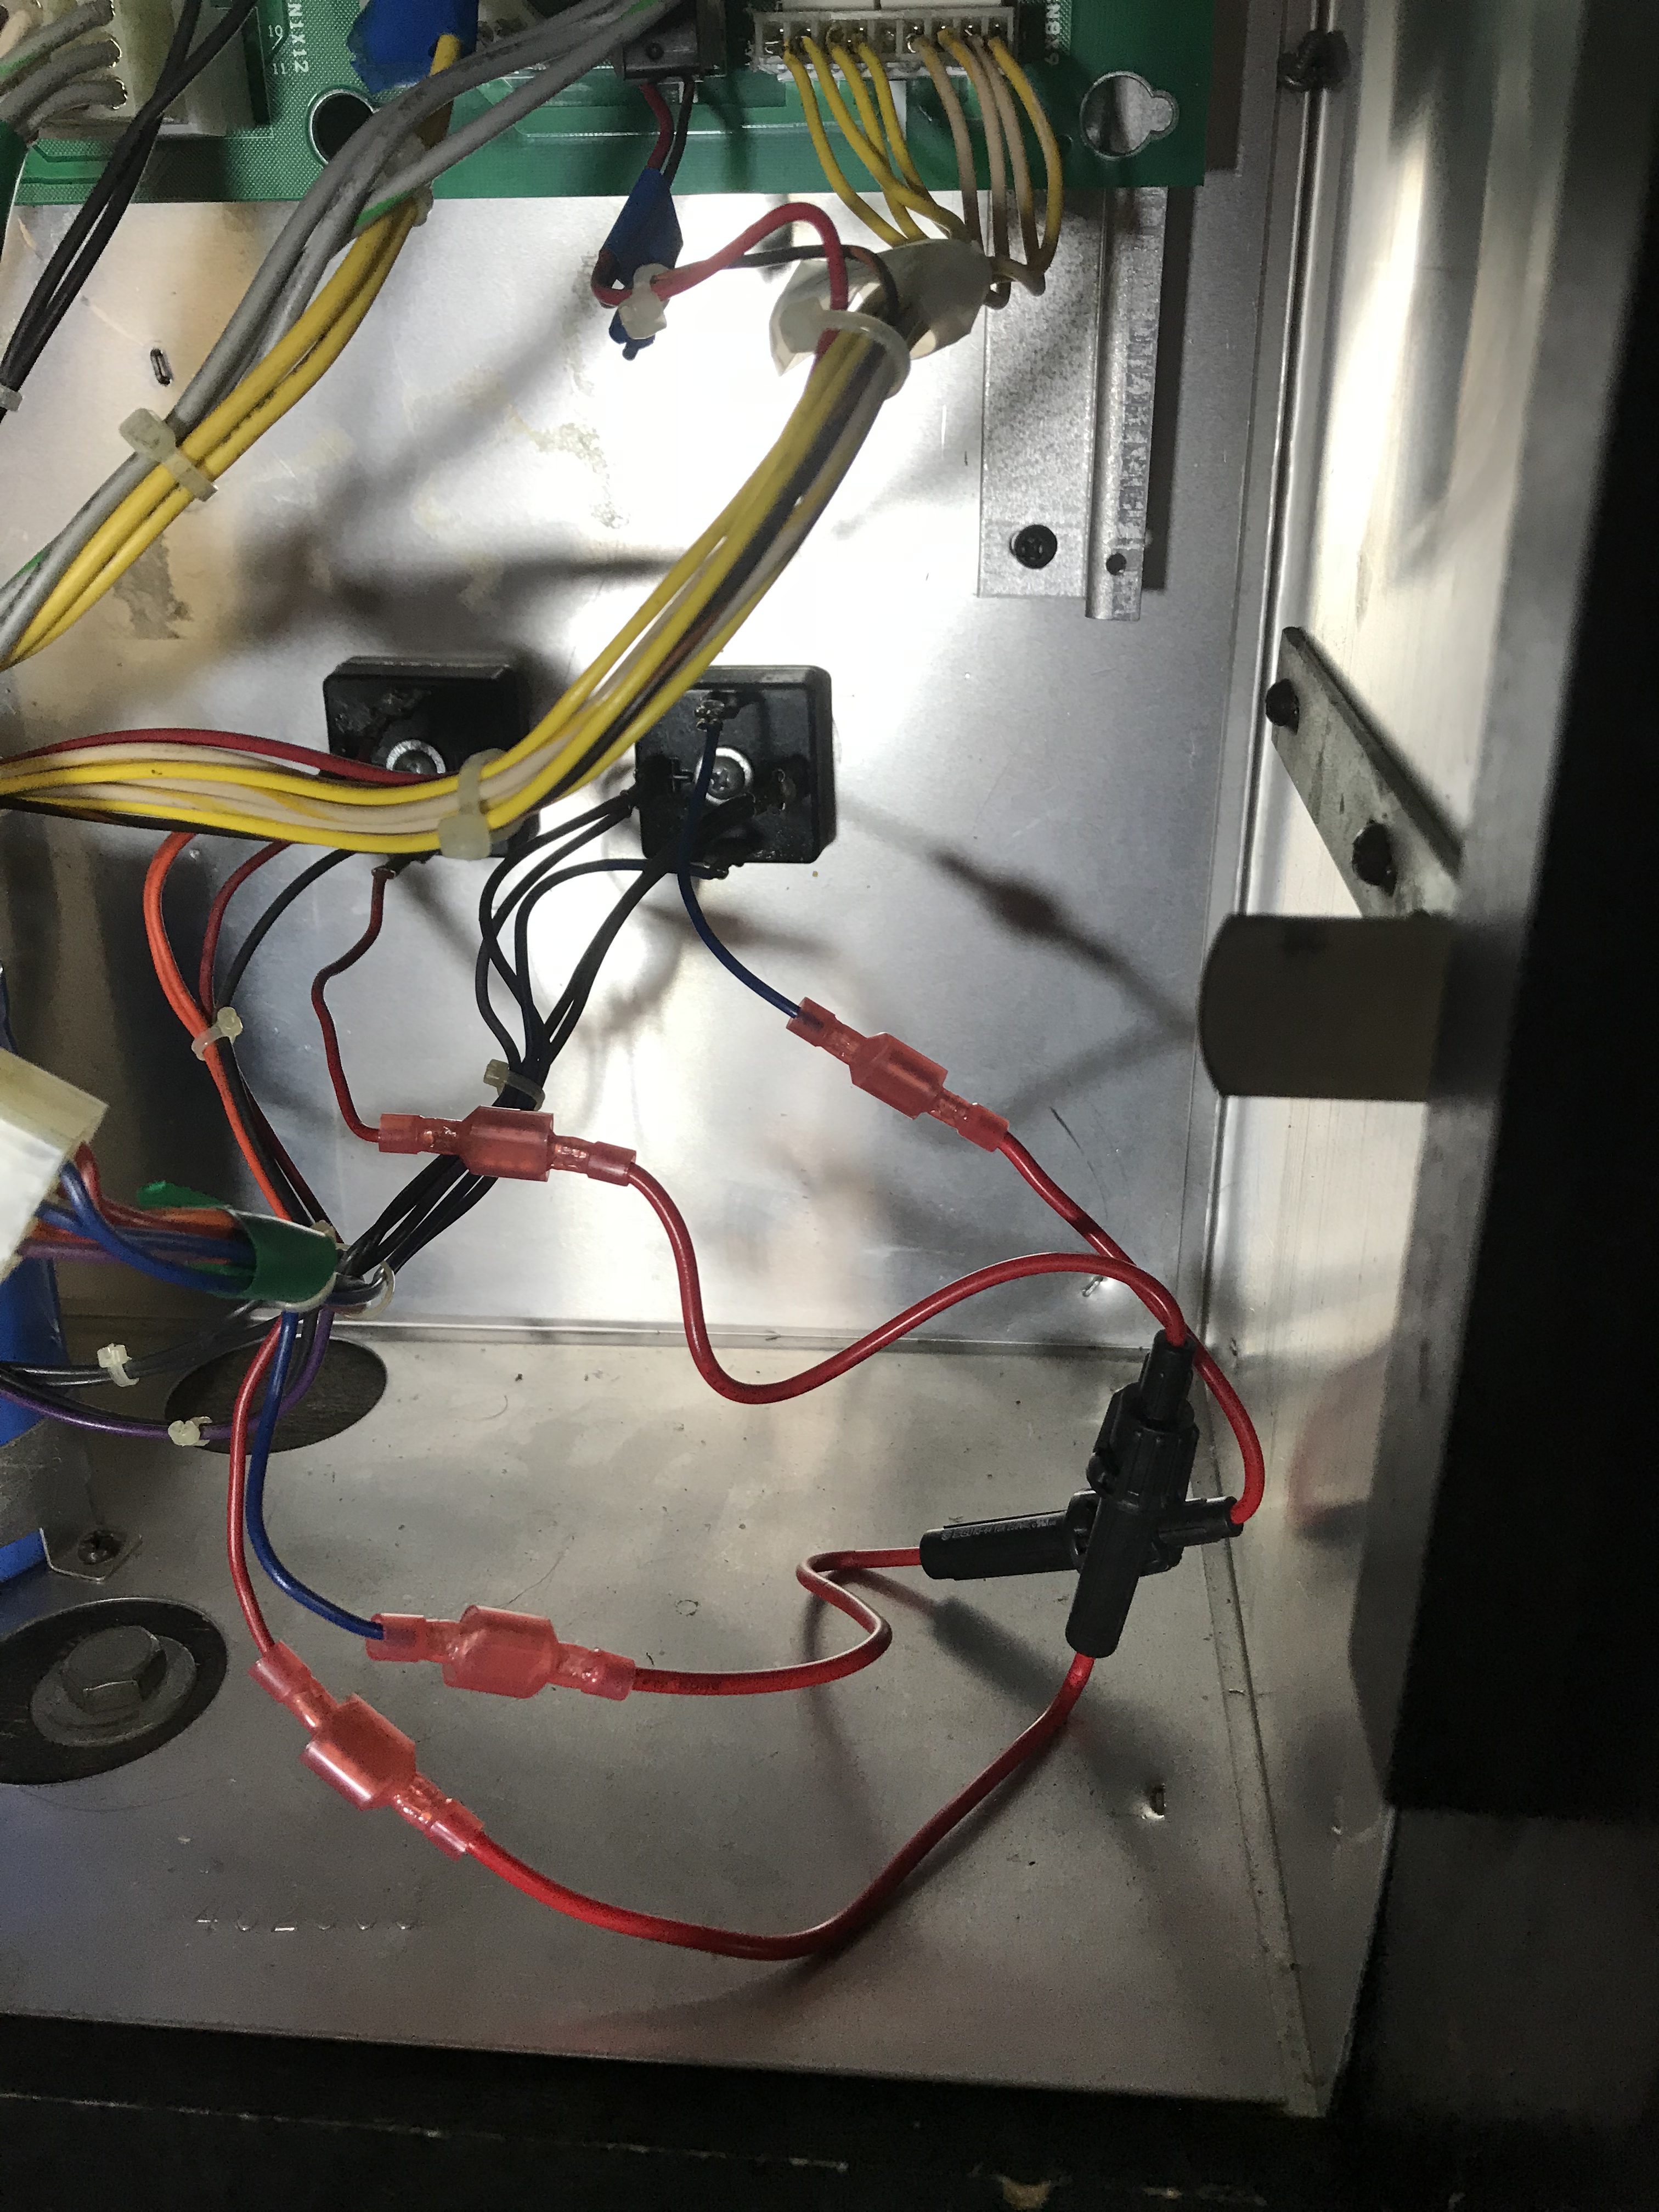
Besides, I noticed near the end here that this connector was obviously worrisome looking.
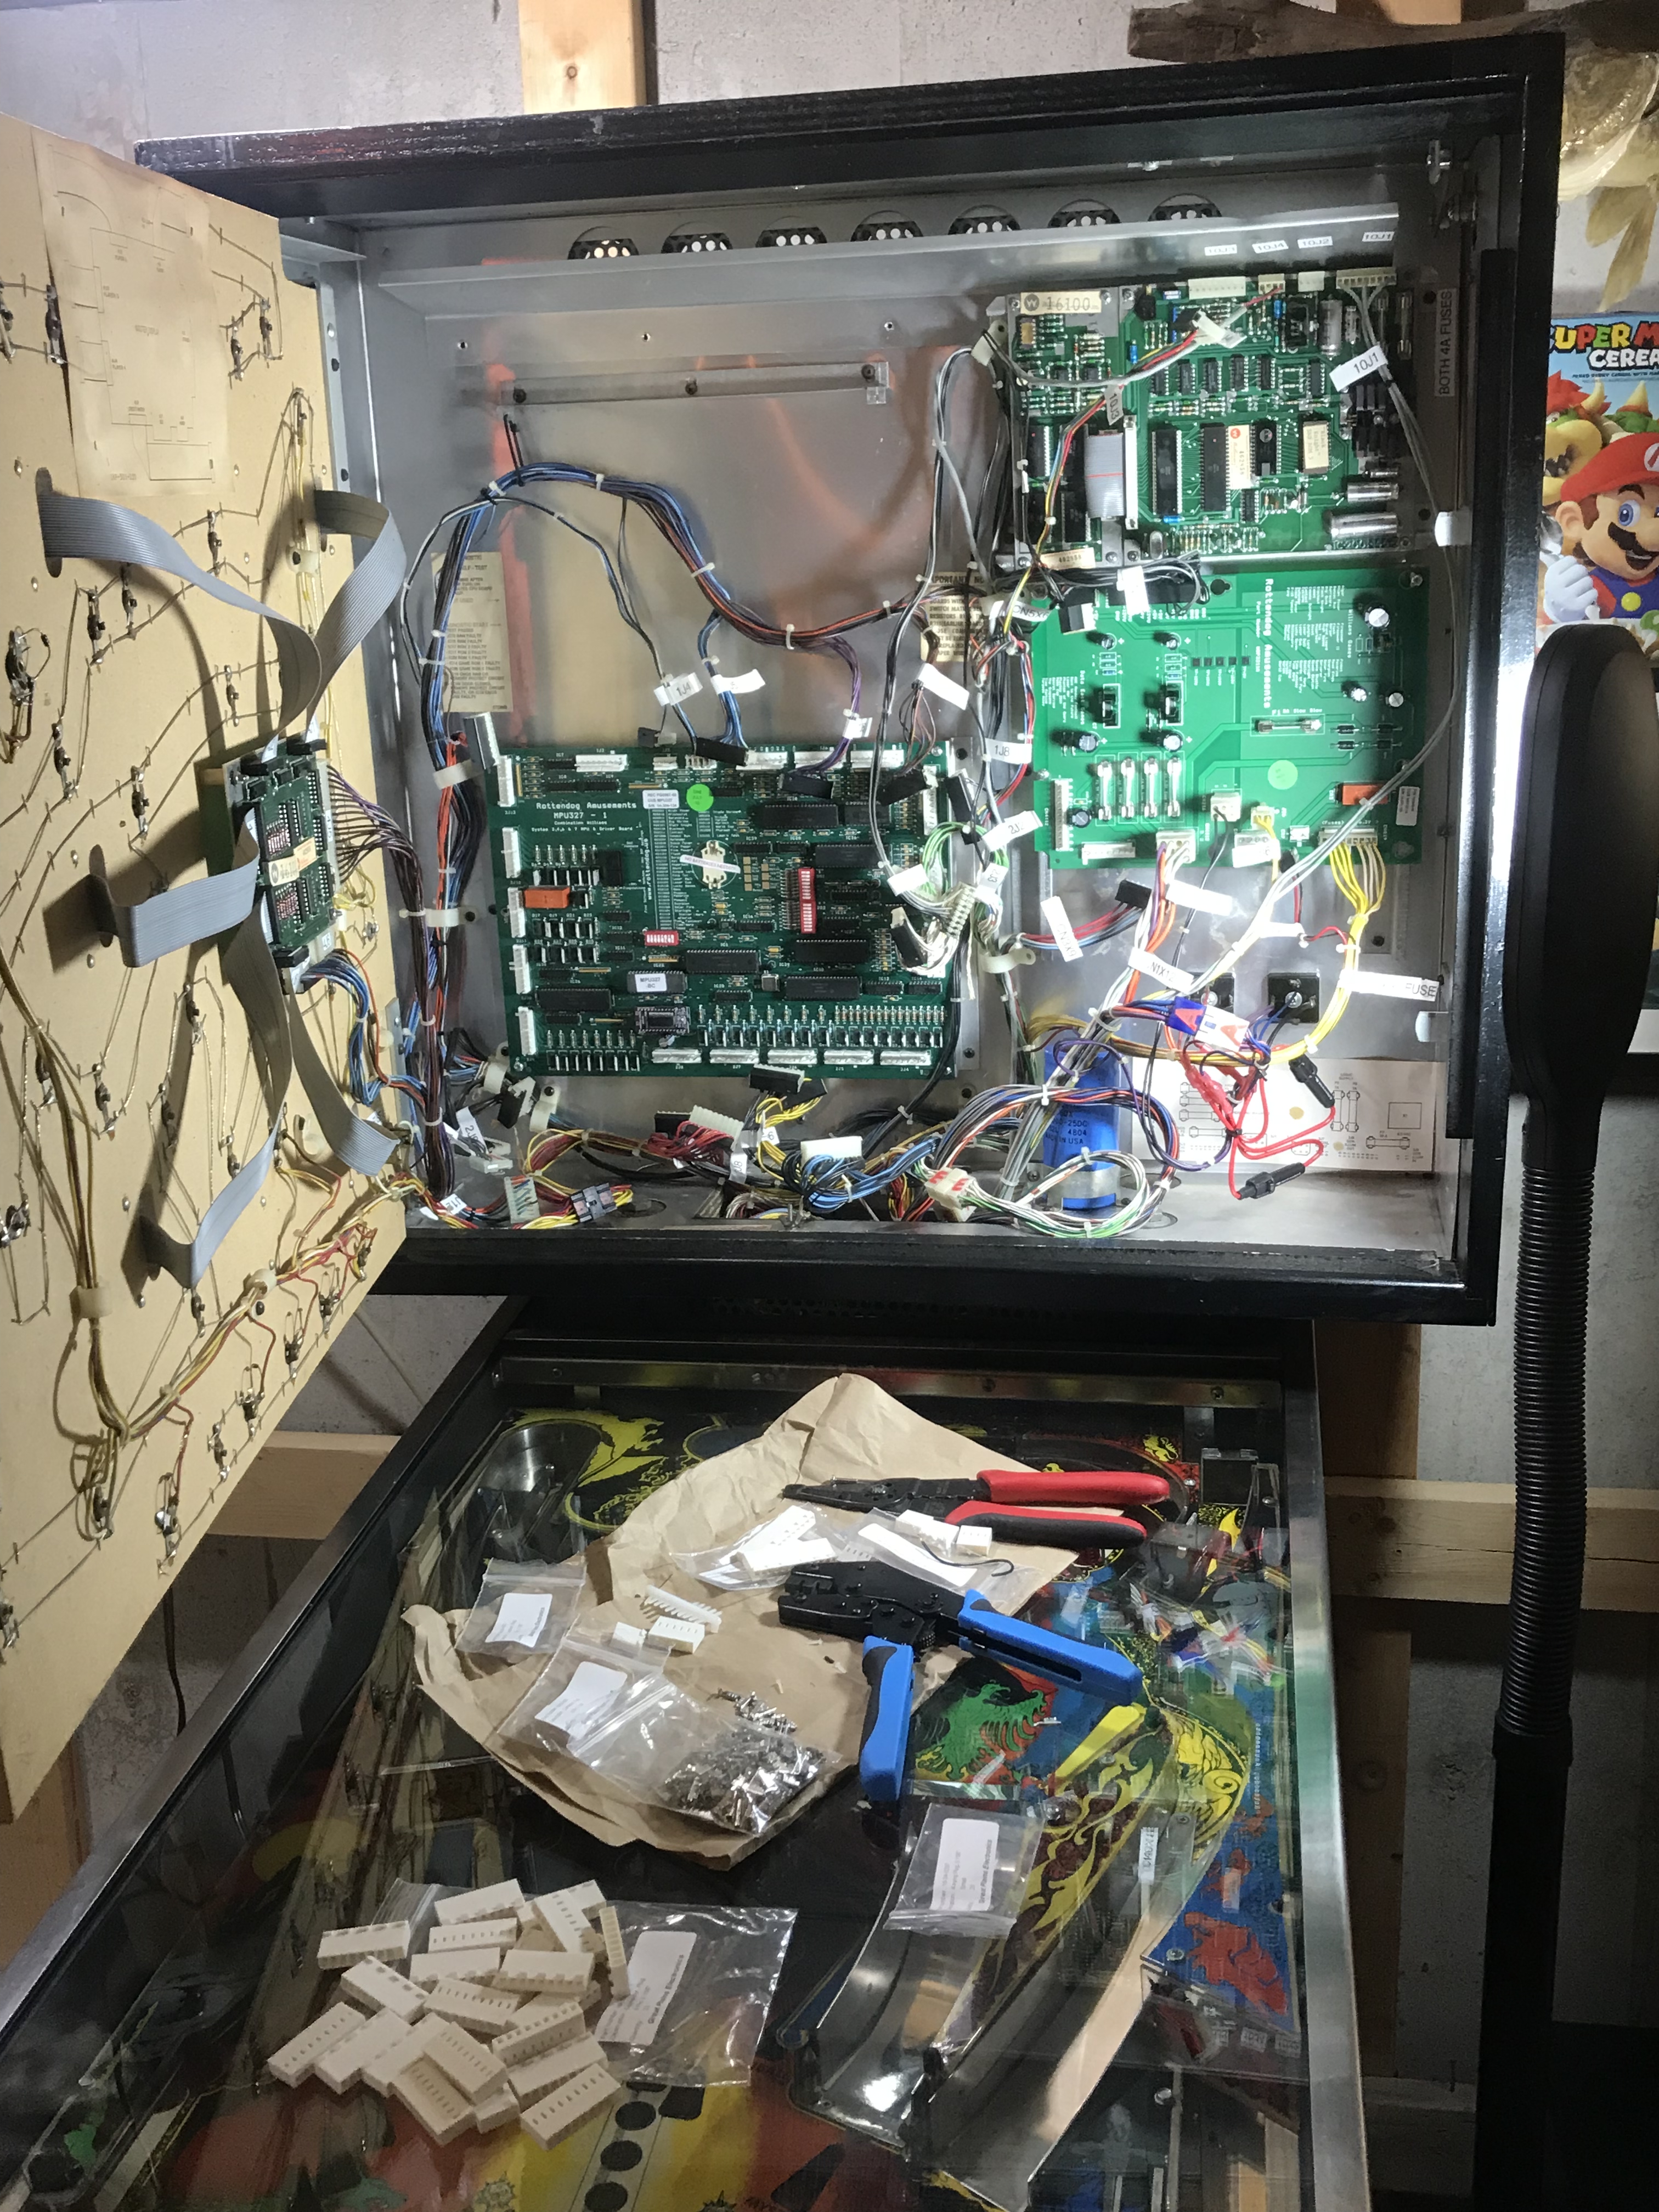
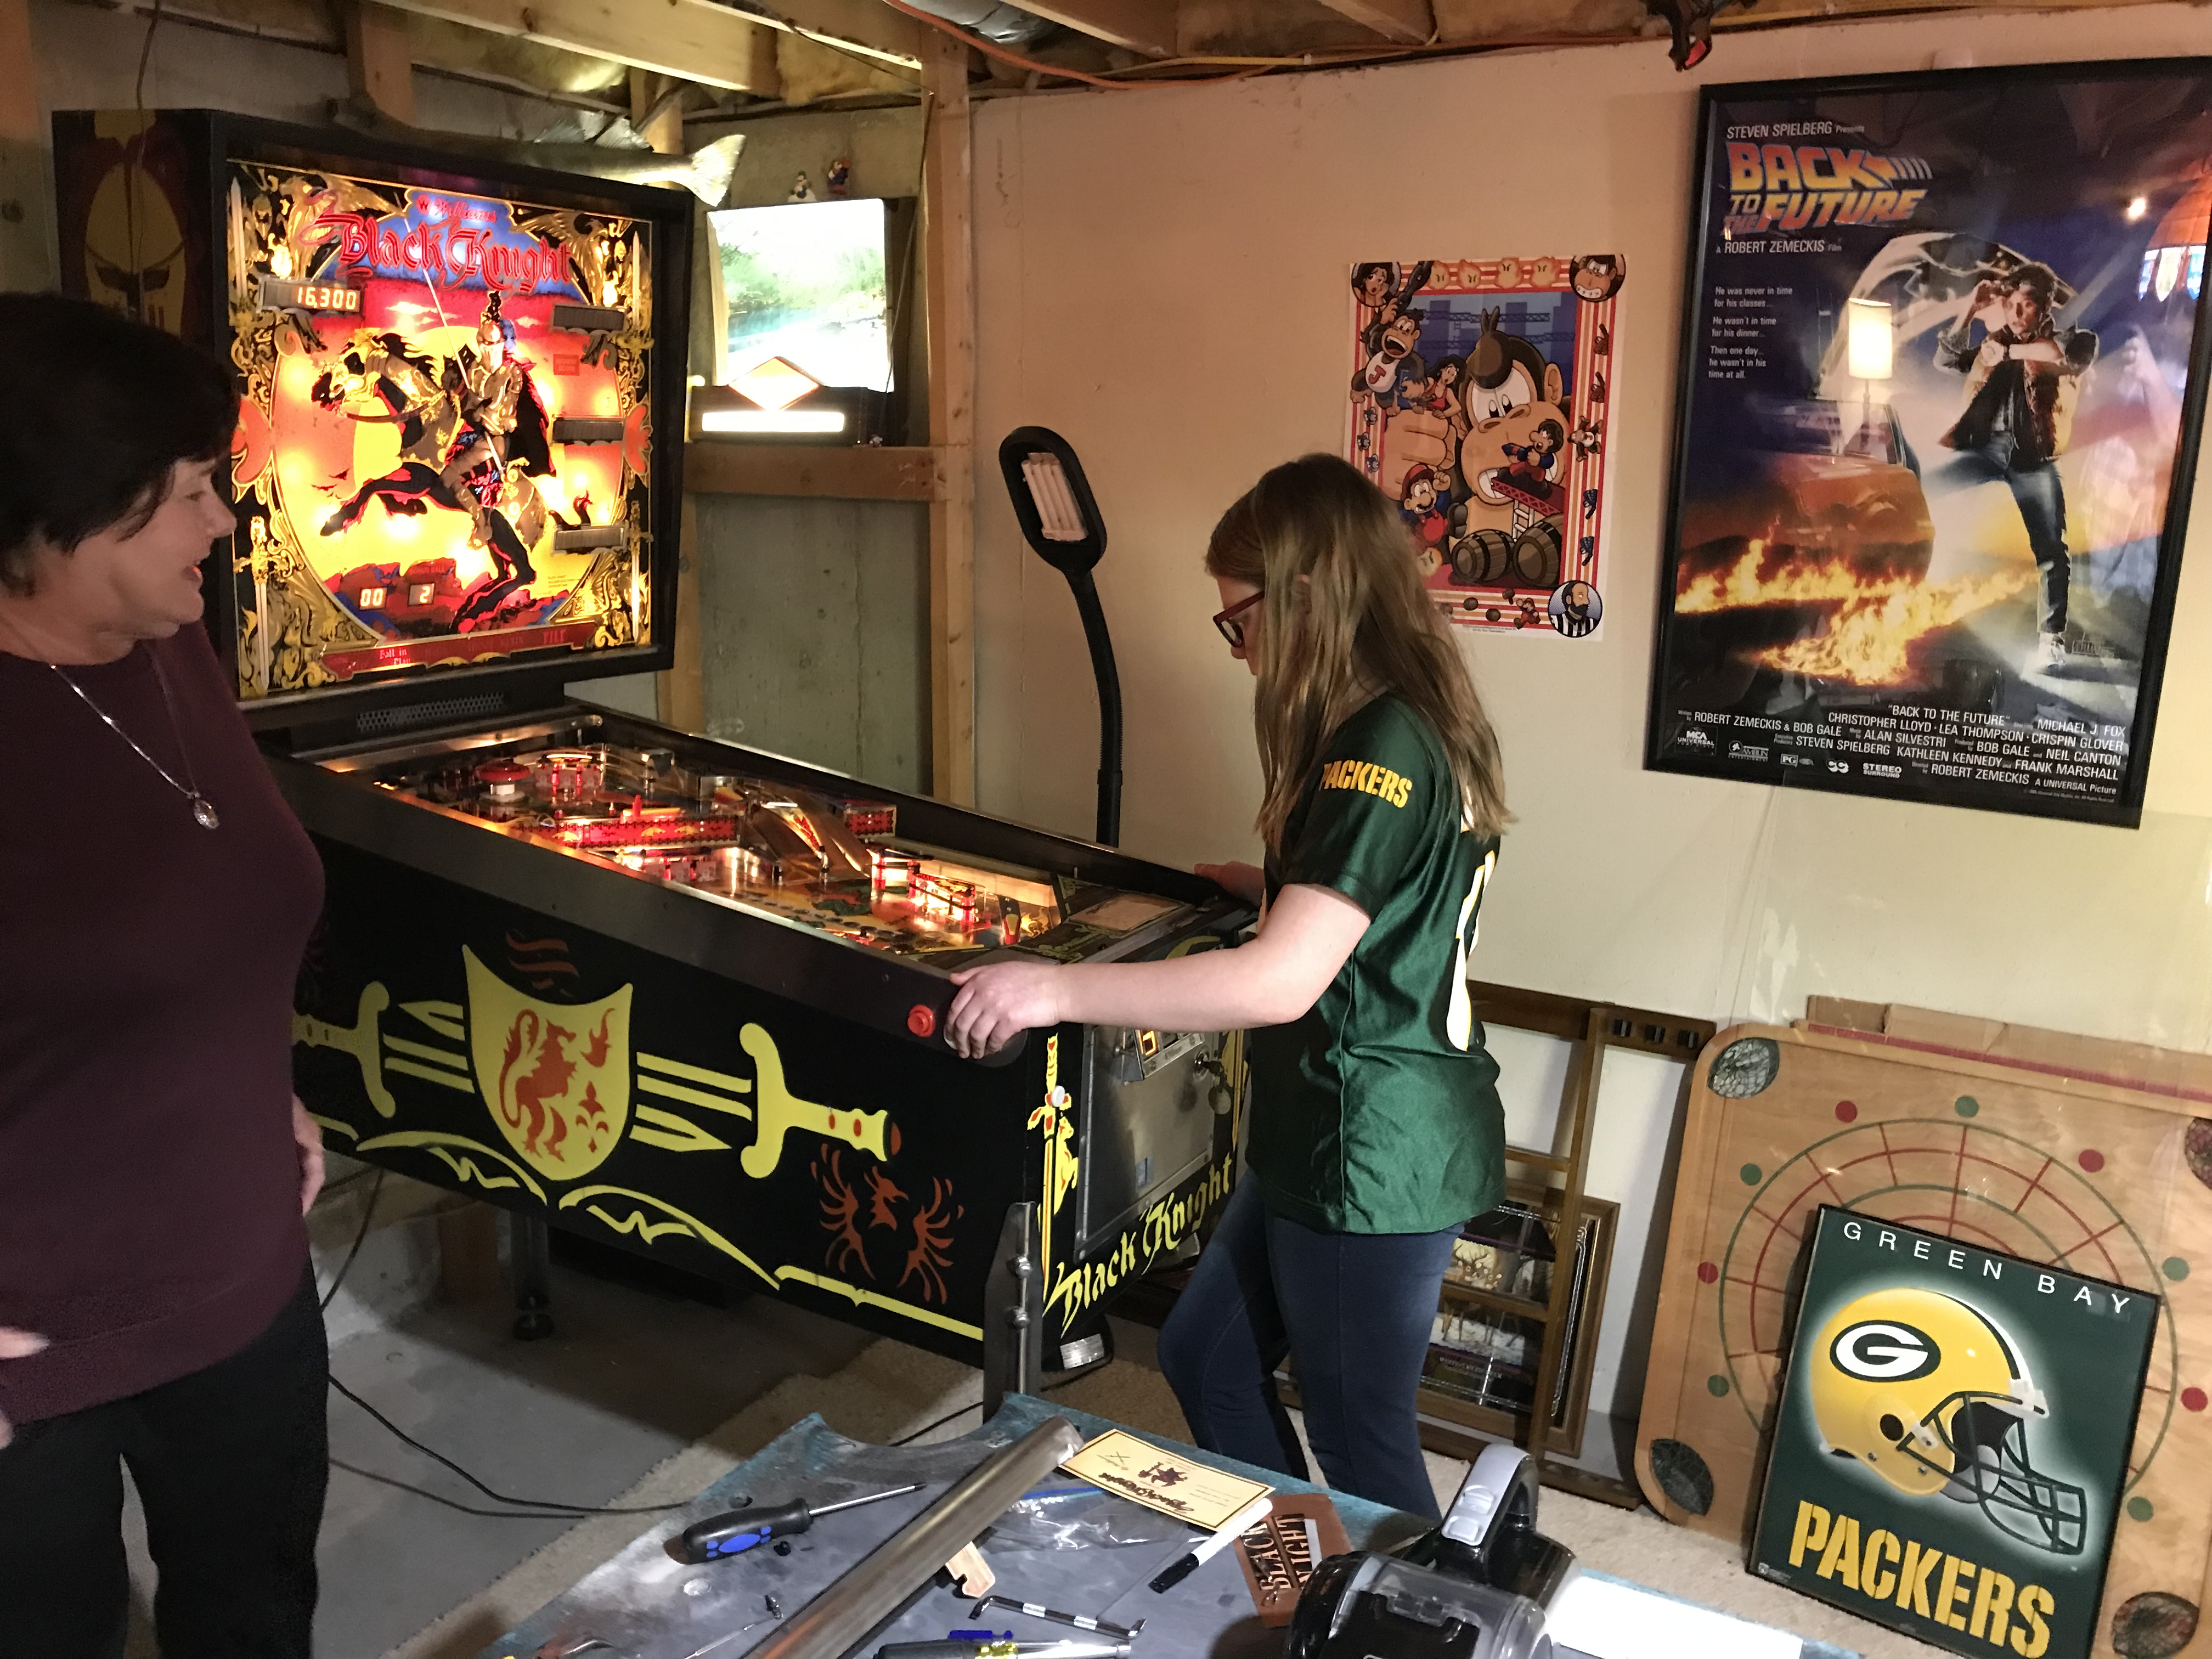
Below you can see my home for about a month or so. I had to cut and re-crimp every last wire in the backbox, and it was not fun. Well, for a little while it was, but it took forever and slowly became less fun over time. Since all of the connectors and up and in the machine, my arms got super tired reaching in there. So I had to pop in, do a connector or two and then come back later in little shifts.
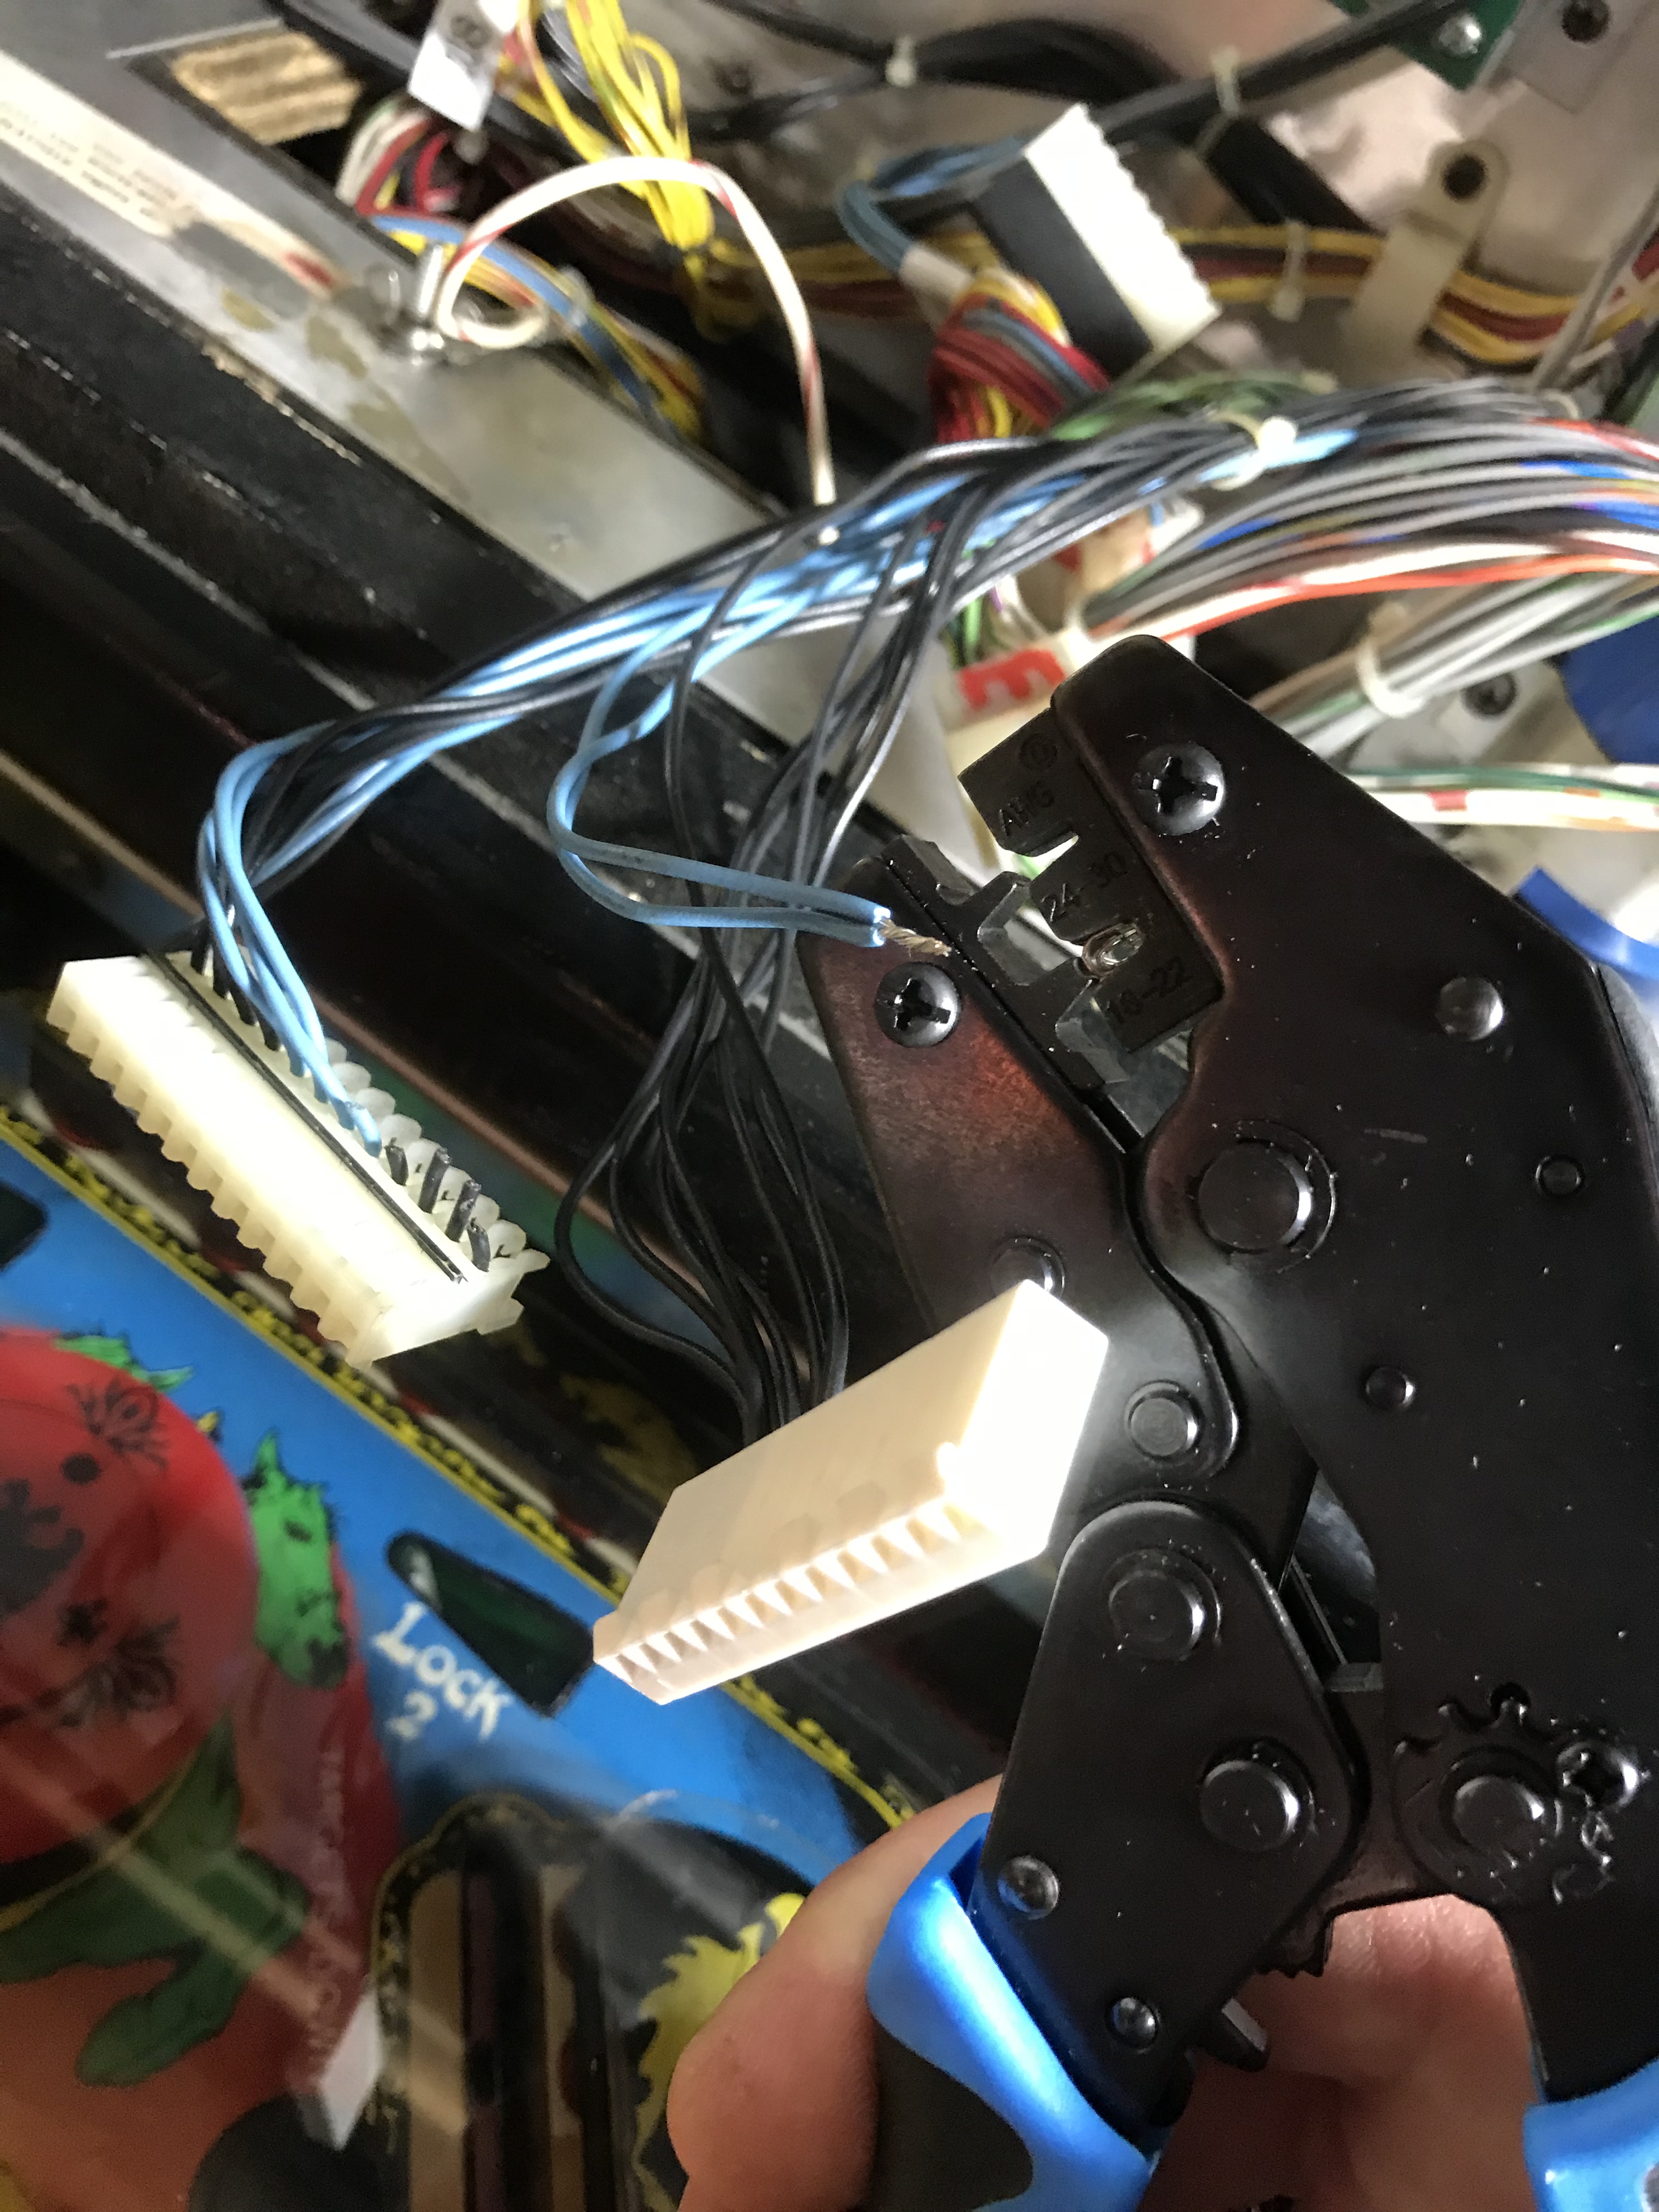
Ah, the fun... Cut the old wire off the old connector, strip it, twist it, crimp it, insert it in the new connector, and then repeat 150-200 times...
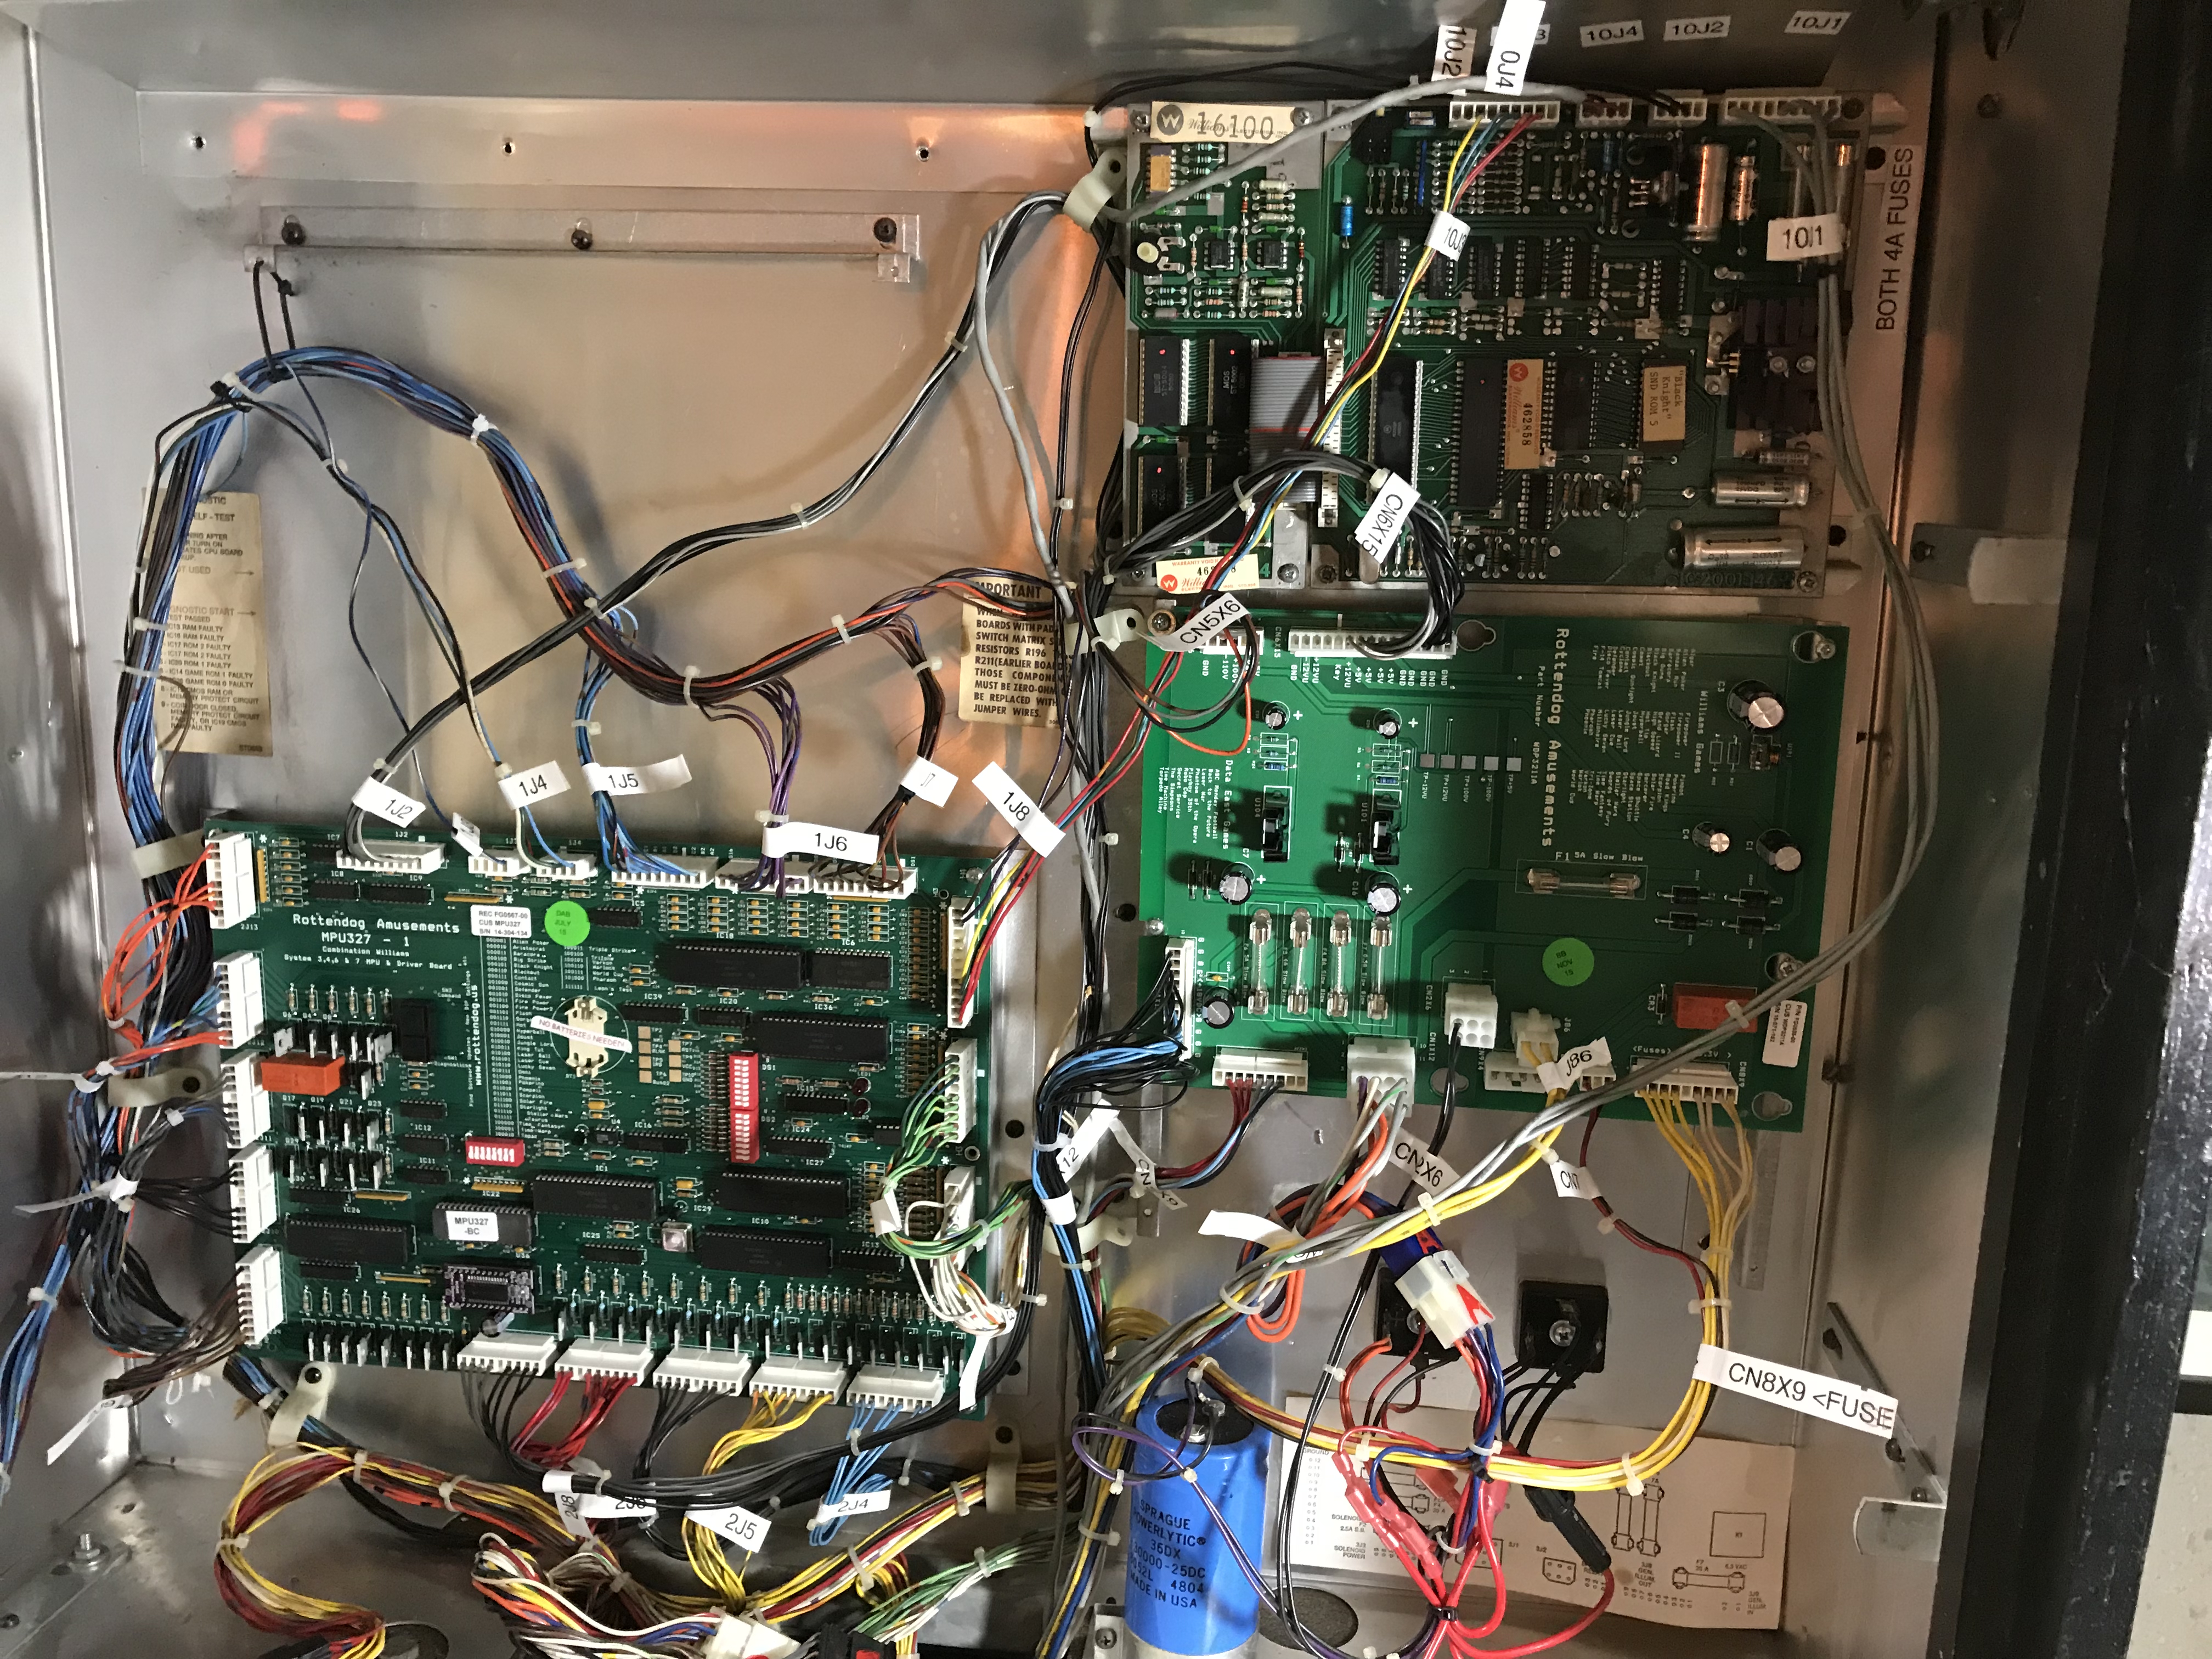
And here she is finally. All the connectors entirely re-done. Whew!
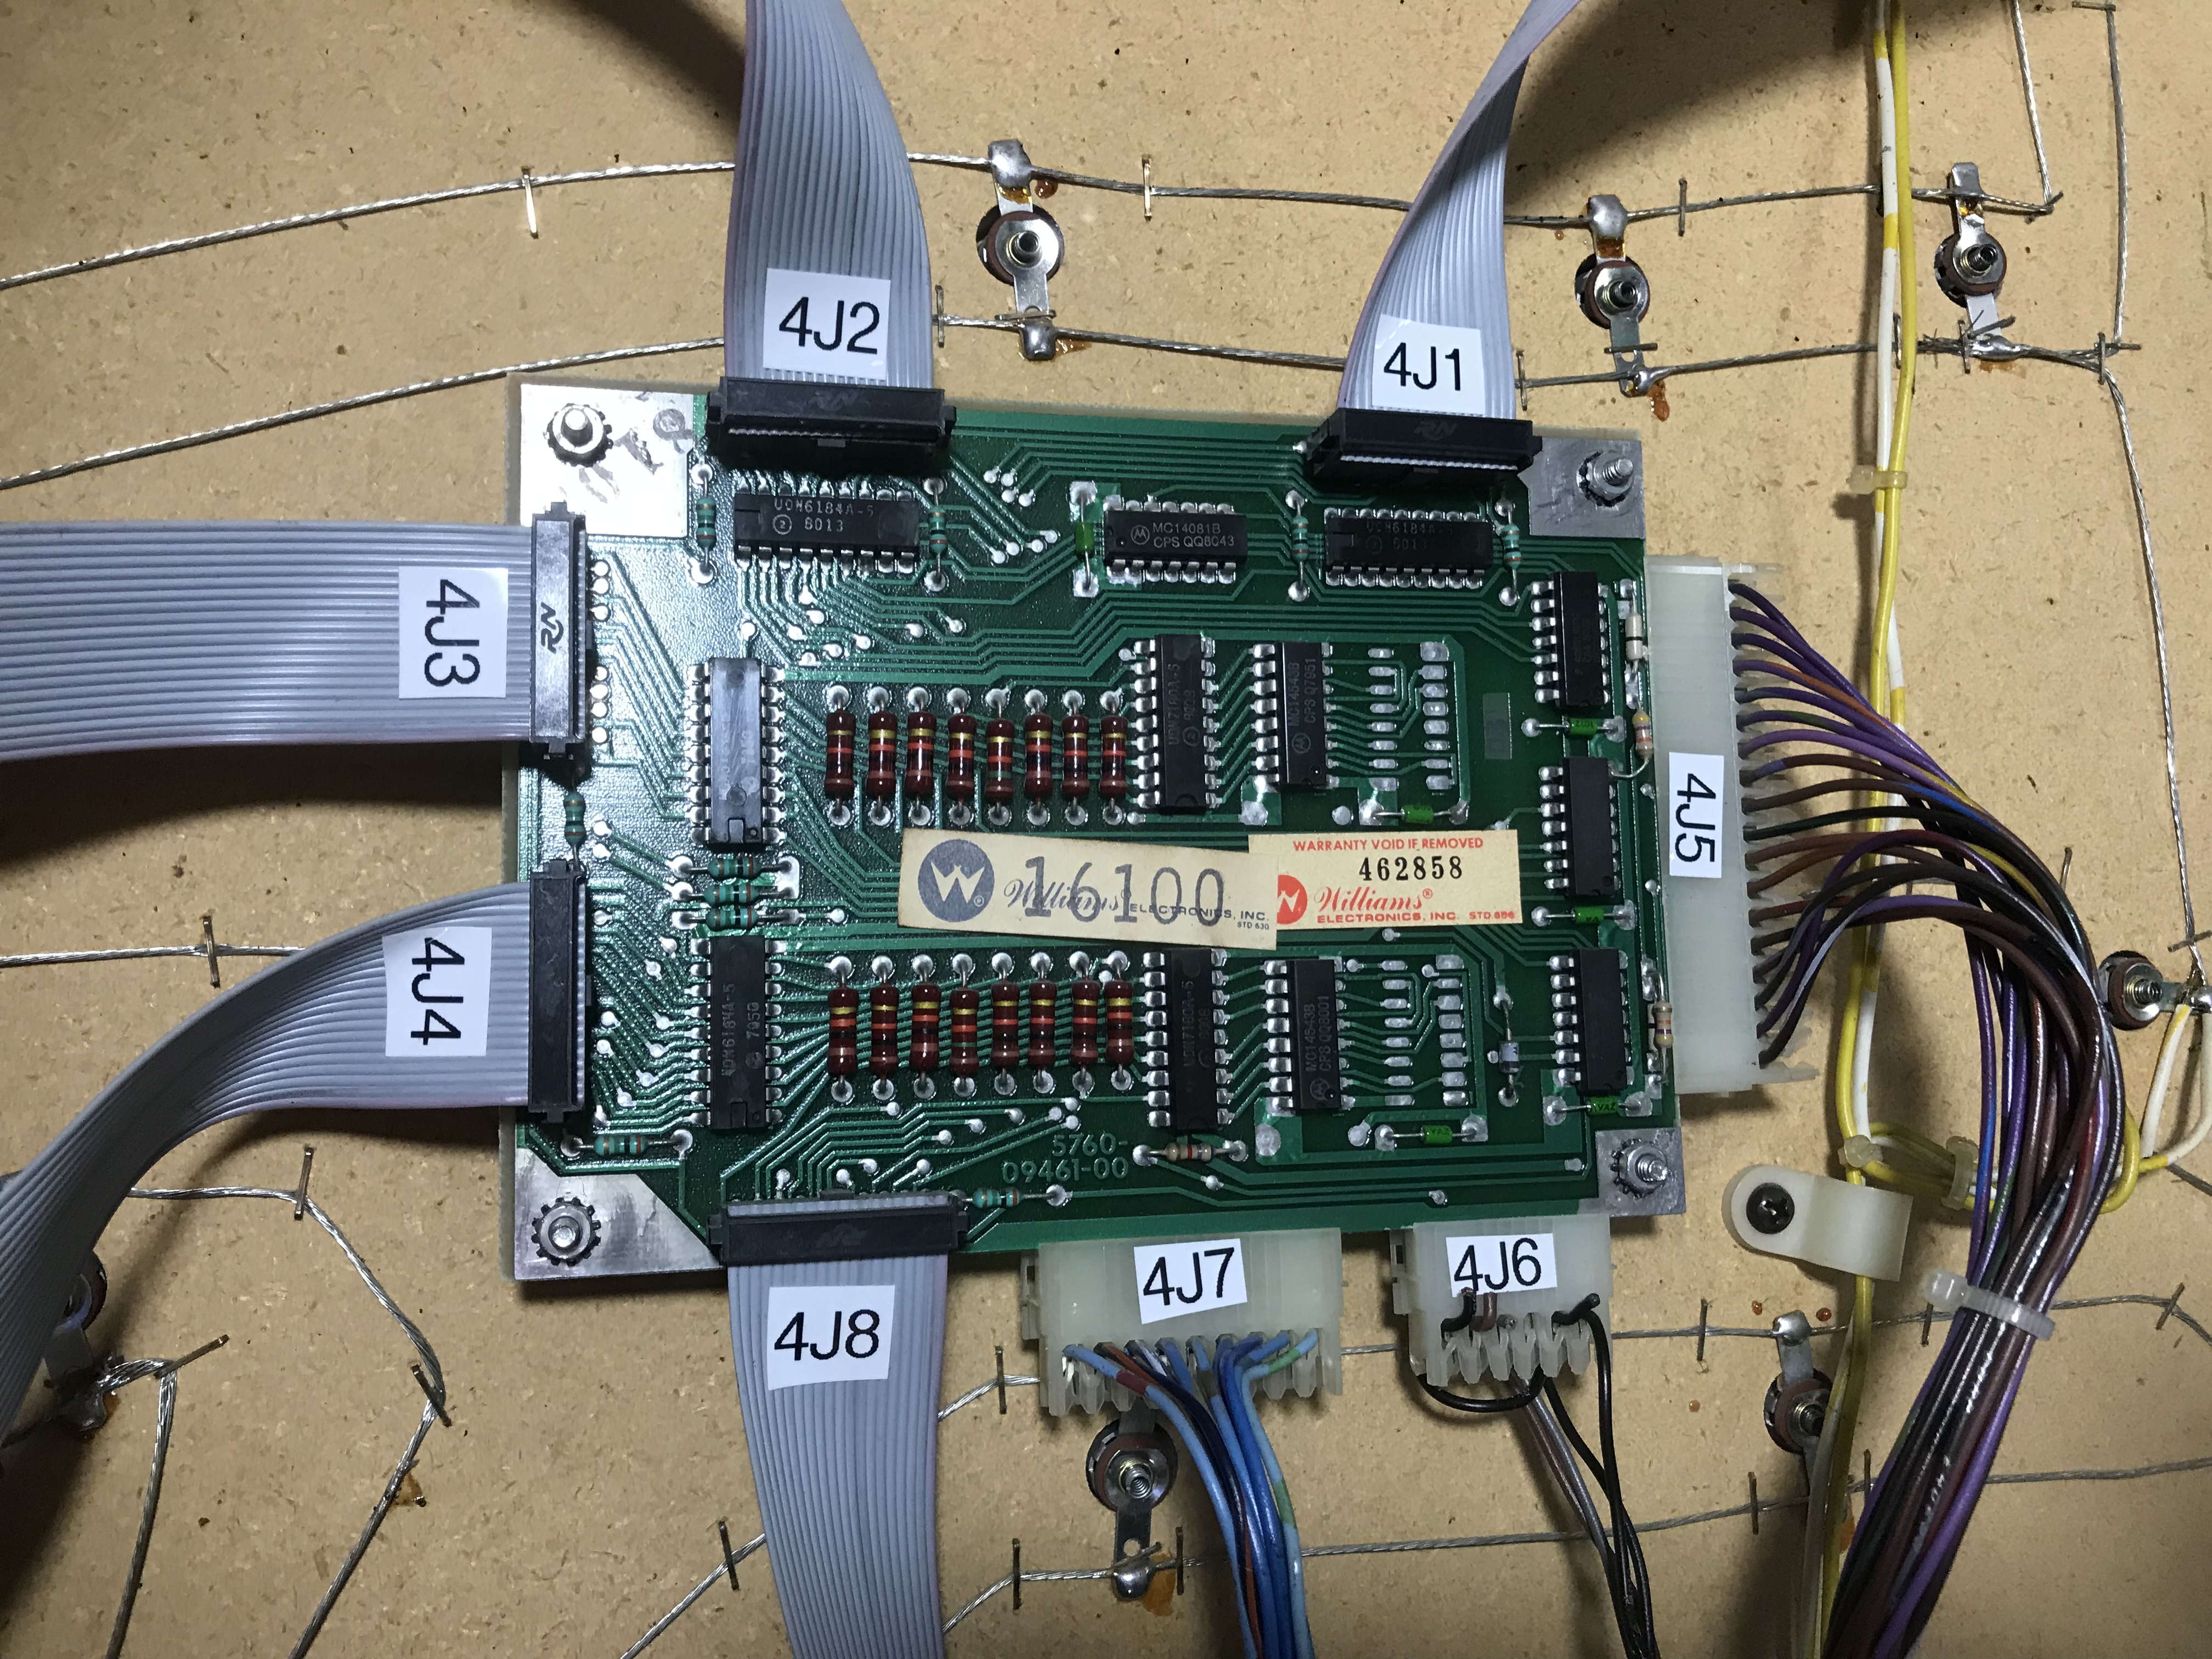
The only connectors I did not end up replacing were to the scoring displays. This is largely because some of these "edge connector" parts aren't manufactured any more; specifically the largest one (4J5) on the right. Unless I wanted to order 1500 of them, then a company would make them for me. Well, obviously I wasn't up for that, so I instead just tried to clean these up. I used a tiny thin screw driver to reach into each connection pin and bend out it's connector some. The connectors sort of stay in place by "wedging" them onto the board. Overtime, these little pins start to bend more flat and make the connector loose. So by bending out each connector slightly like this ^, they now wedged onto the board very securely, providing a good connection. So even without replacing these, the newly repaired connectors should do just fine now.
And lastly, when the machine was on earlier, I noticed one of the light sockets would not light up in the backbox, no matter how much I played with it. So I soldered on a replacement socket and resistor there:
:
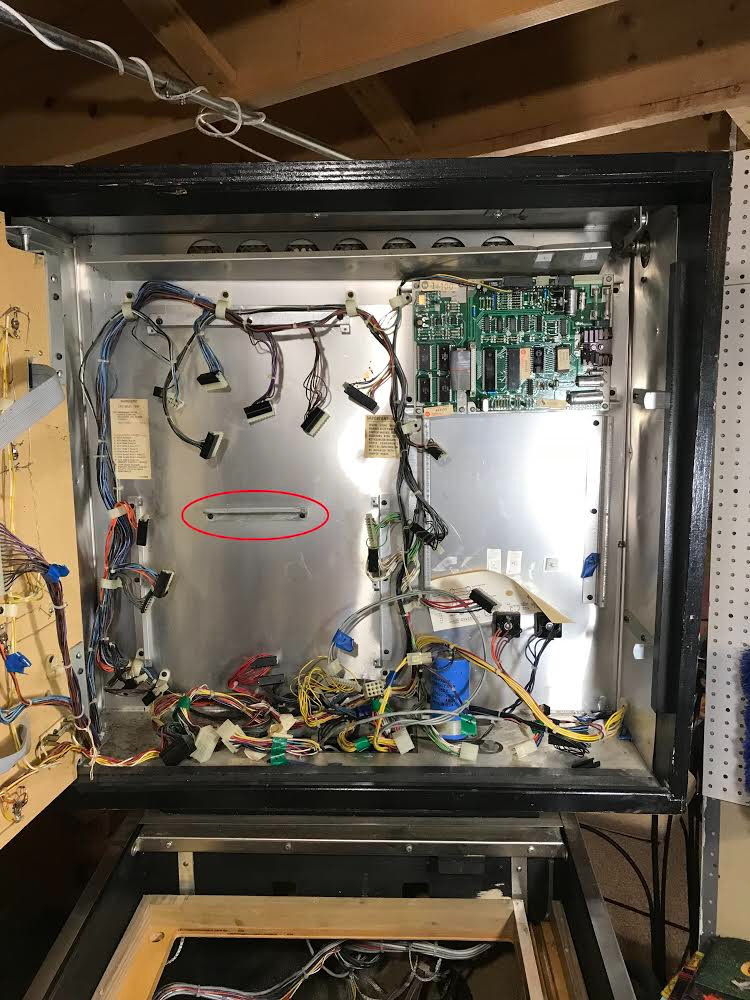
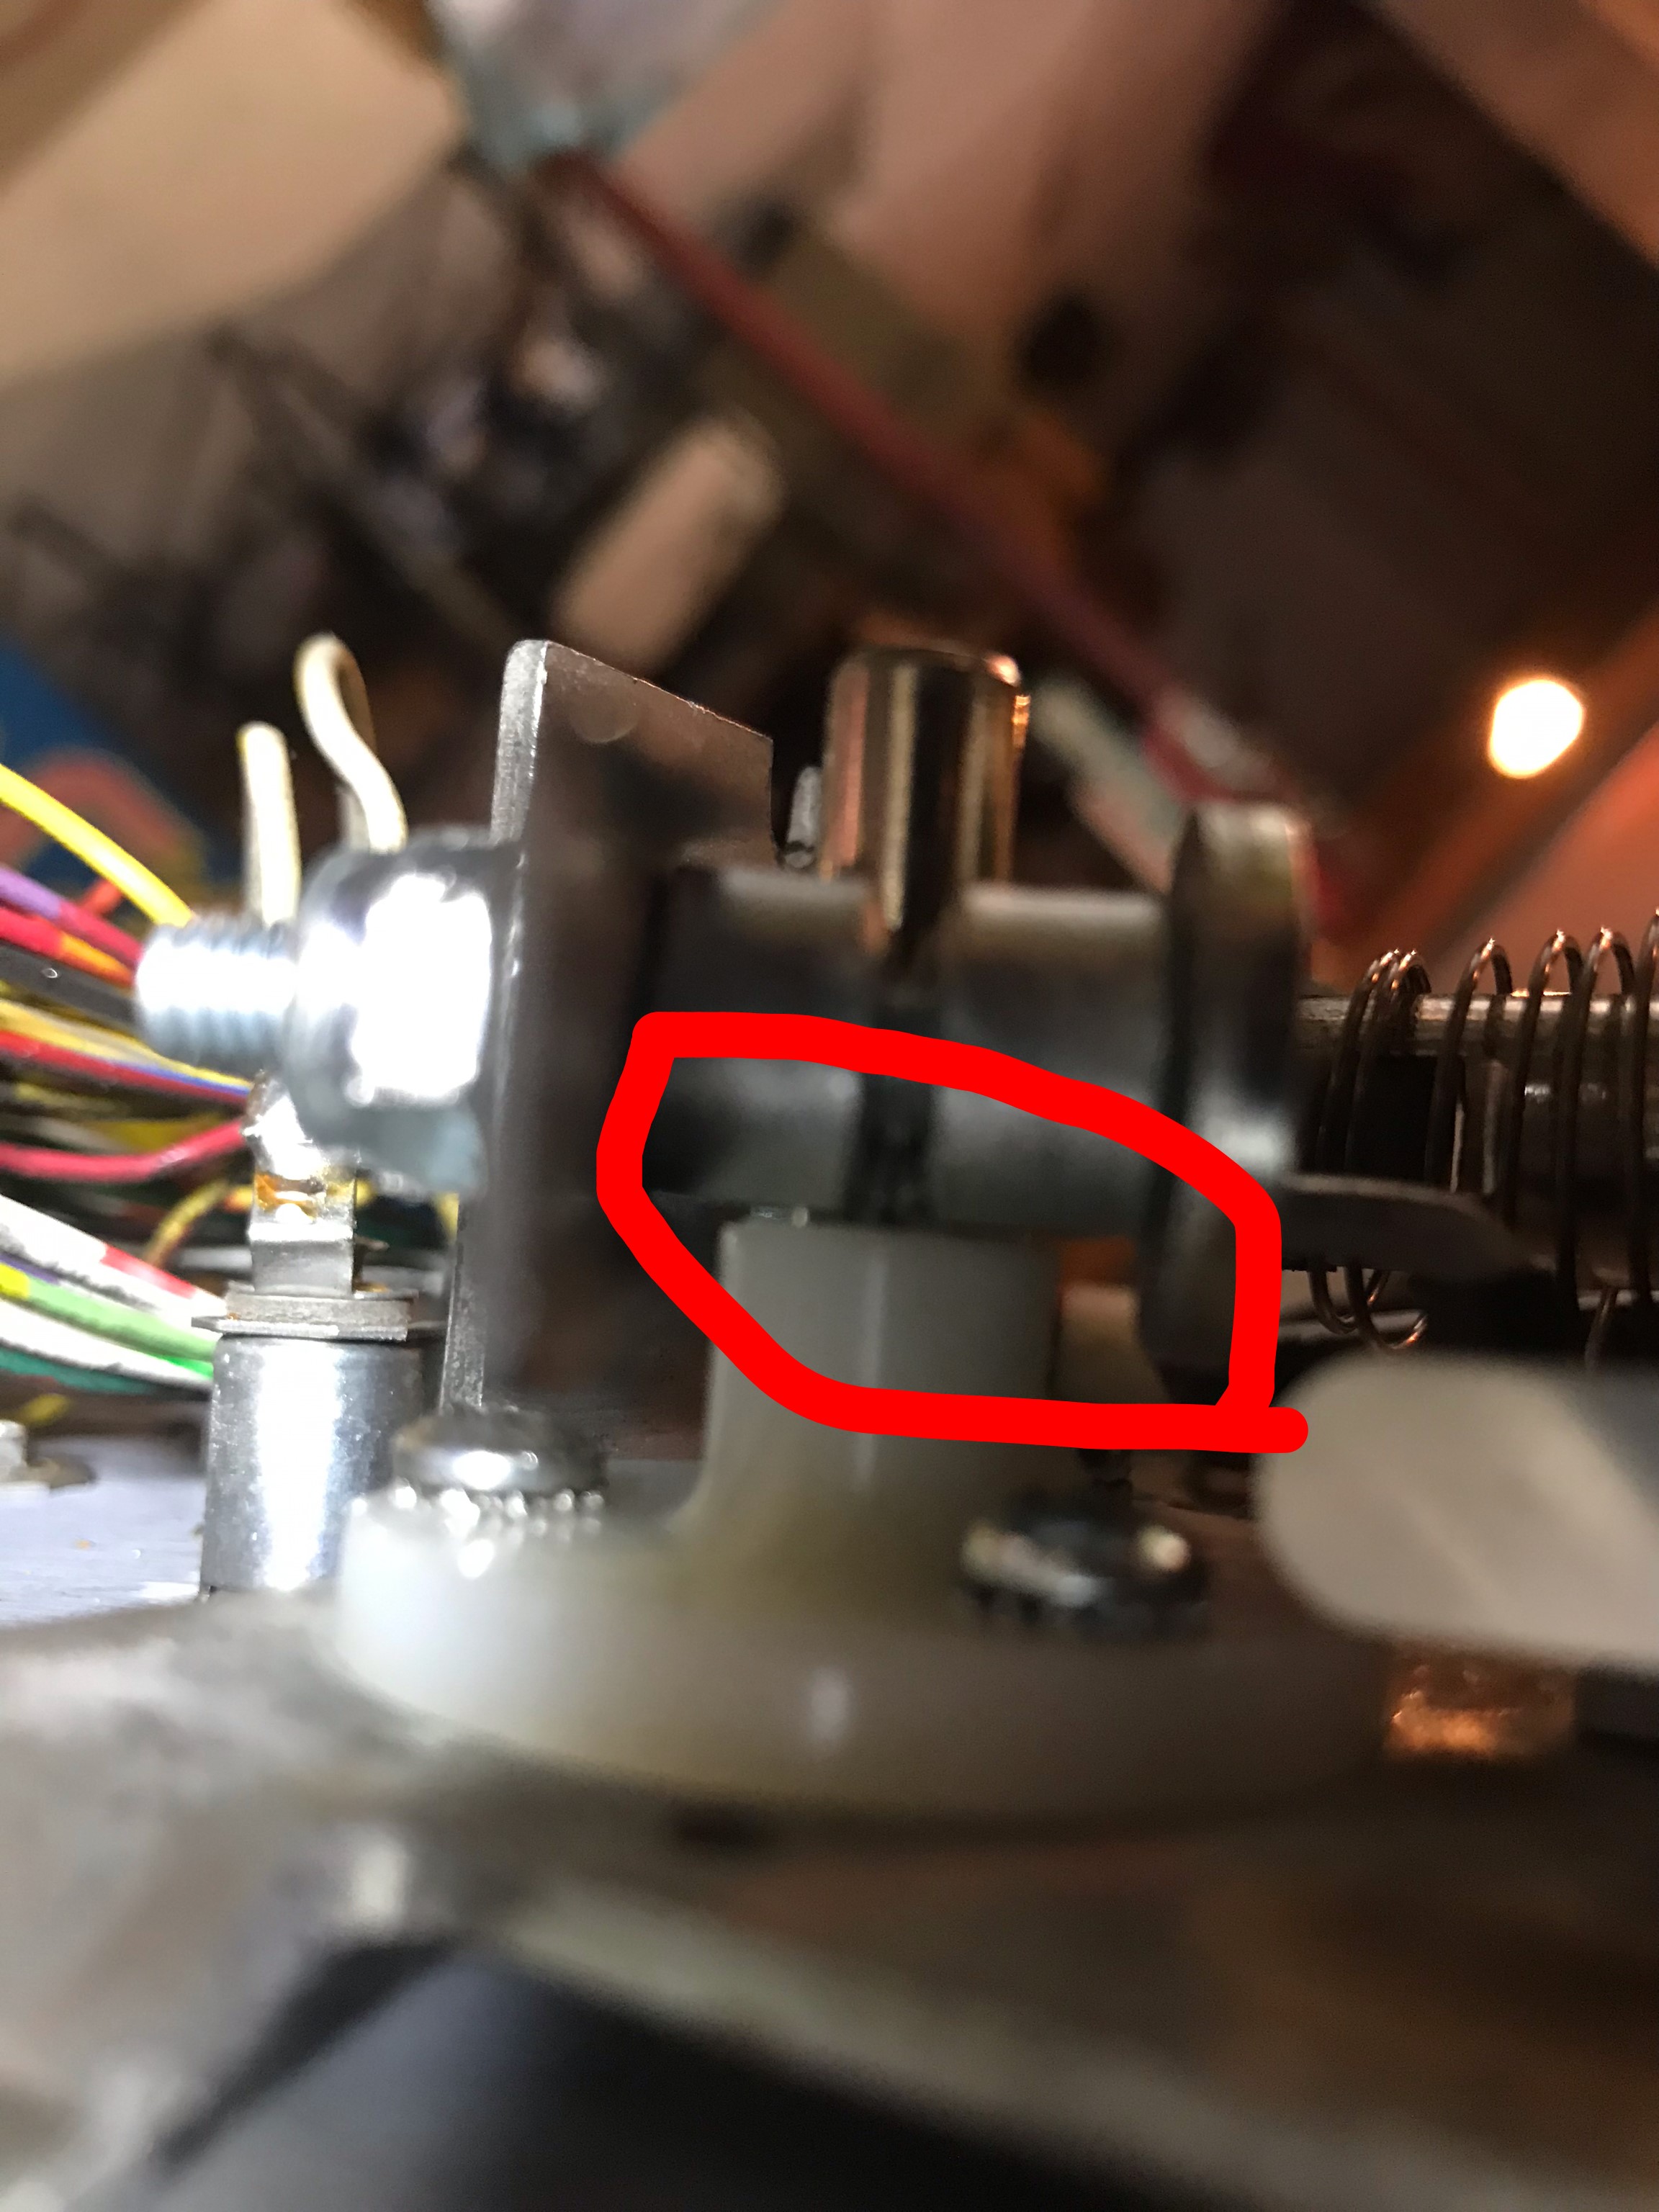
So now, having spent tons of time re-pinning all of the connectors, I powered on the machine again, for the second "series" of times. Most unfortunately, the problematic issues I experienced before I re-pinned everything were still present. After hours of monkeying around with it, and having it display really odd, erratic behavior, I finally invited over a friend of mine for a second set of eyes. He too couldn't spot anything out of place, so suggested we try to remove the new board to see if there were any grounding issues with it. We were planning to start a game with the board just hanging there not touching the metal, not screwed in, to see if that would be better. However, as soon as I removed the board screws I saw the issue. This is a new replacement board from Rotten Dog. It replaced both the original CPU and MPU boards with this one, larger, dual purpose board. Well, I forgot to remove the old horizontal mounting bracket (circled below). That metal bracket was hiding underneath the new board and was touching all the little soldered contact points on the back. Obviously, this was not good...
Well, I removed the old bracket and hooked everything back up. I crossed my fingers that this was the only issue, and that things would ALL start working now. Nope, I'm not that lucky. I spent several more hours troubleshooting and making probably 5 different forum posts looking for ideas. Ultimately, we found that the fault lie with the board, and not with any of the mechanics of the machine itself. So basically, I screwed up the board since that I had that bracket in there messing things up. I met a man on the forums named Jerry Clause from Gameroom Service who offered to take a look at the board. He has worked on several Rotten Dog boards before and has a good relationship of the owner of Rotten Dog. I cannot recommend Jerry highly enough! Reasonable prices, good communication, and quality work. Jerry did the full battery of tests on the board and found that there were no hardware faults with it. However, he did find that the ROM file for Black Knight was corrupt. The ROM is basically the rule set or code that the machine follows, that gets loaded onto one of the chips. Somehow the grounding issues fried the code, but nothing physical on the board. Jerrry got in contact with RD and they provided him with the ROM code so he could load it onto the chip again. Better yet, the code that was present on the board was something like "version B" and a newer version, "version C", was since released. So Jerry got the updated ROM and loaded it and that was it....we thought. The nice part about all of this is that with the updated ROM version, it would contain bug fixes and etc found in the old version. Never a bad thing!
Meanwhile, I sat at home twiddling my fingers for two weeks or so waiting for the board to go to and fro. Finally it arrived back home and I put it in and started up a game. It worked for one single game and then things went haywire again. Not the same issues as before though. Now, the primary issue was that anytime you got a ball into the multi-ball trough on the upper playfield, the machine would tilt. Definitely something new... I started to talk with Jerry some more and we did lots more testing. Then he remembered a forum post about these RD boards from eons ago, where the mounting bracket itself (a different one from before) was touching one of the contacts on the back of the board. Had Jerry not remembered that link, I have no idea how long it would have taken me to figure that out! Below you can see, just barely, the silver looking scrapes around that mounting hole. You can see that it clearly touches the solder contact on the right side below.
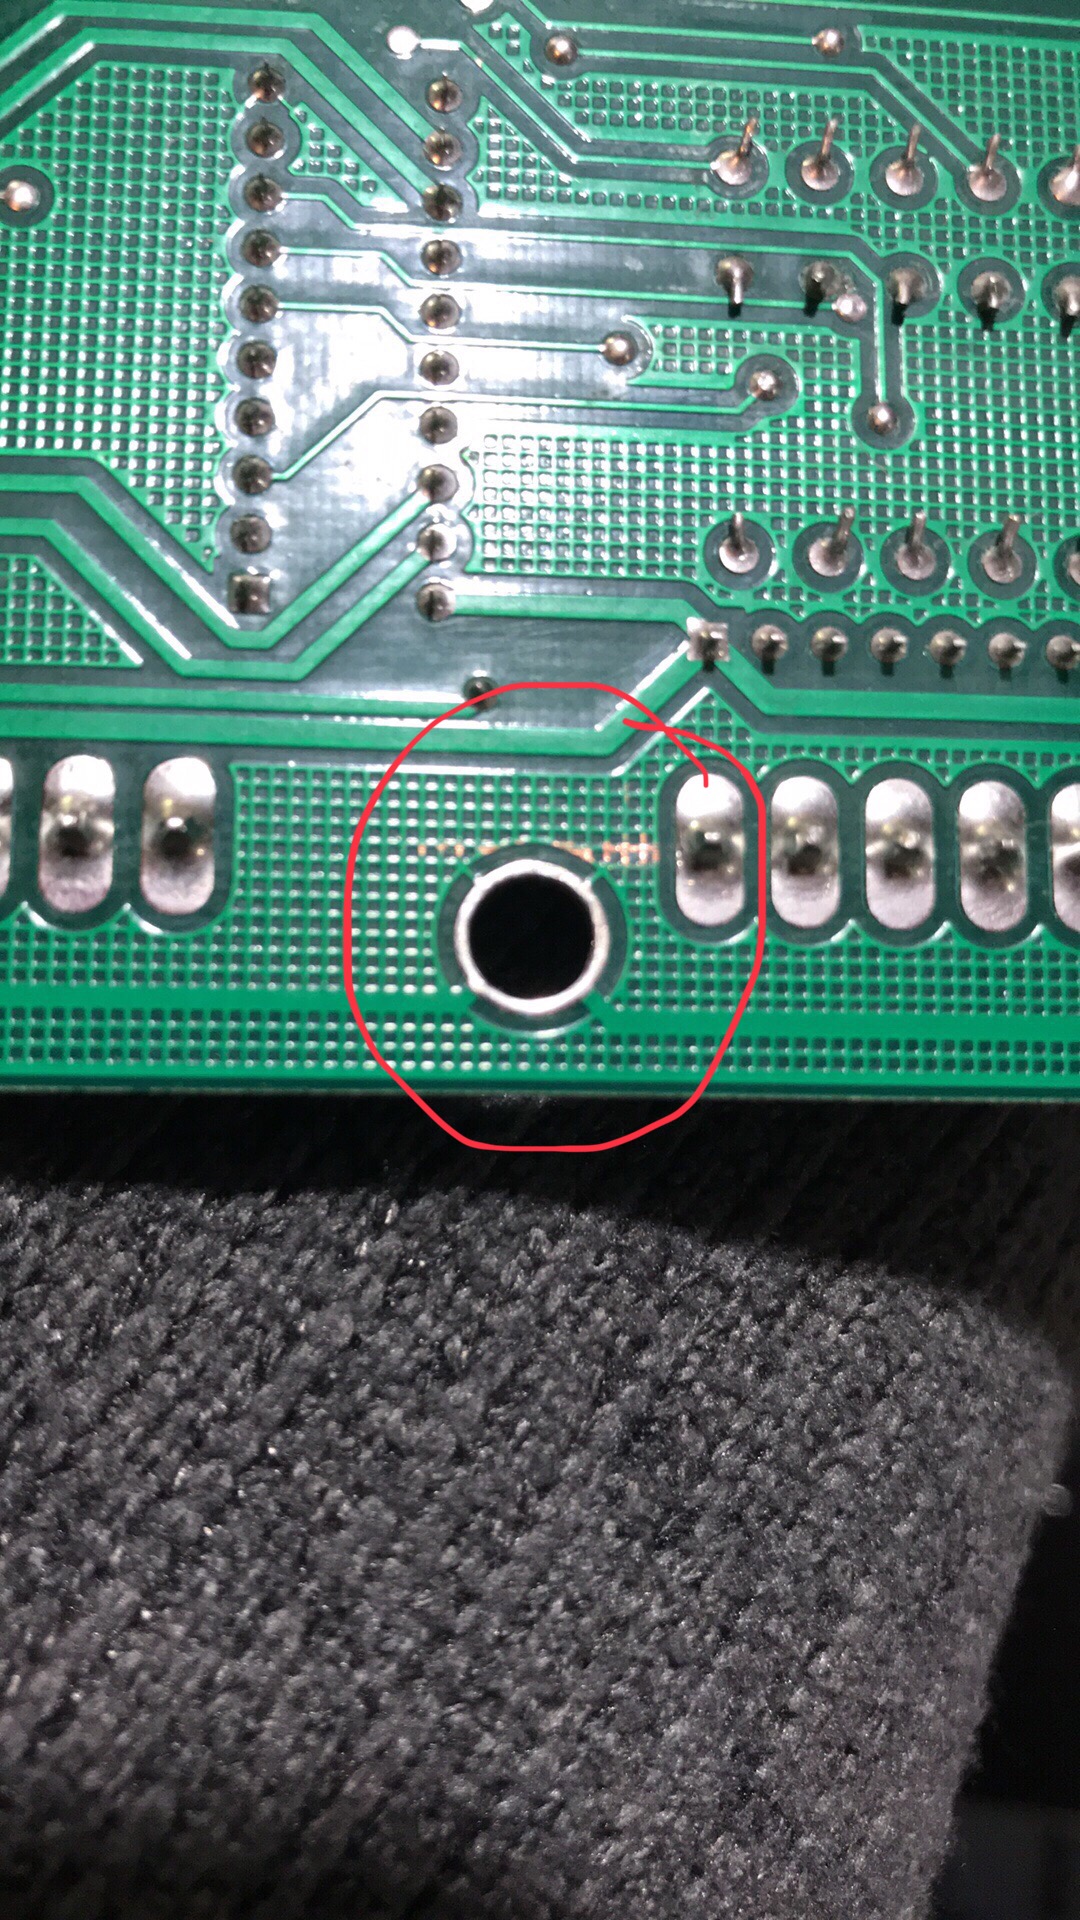
The below picture is from the forum post Jerry found, not my own. But you can see the issue here and what they did to fix it. They had to grind down the mounting foot so that it no longer touched that one contact on the top of the photo. I'm told that this was a design issue discovered with this RD board and was corrected in future versions.
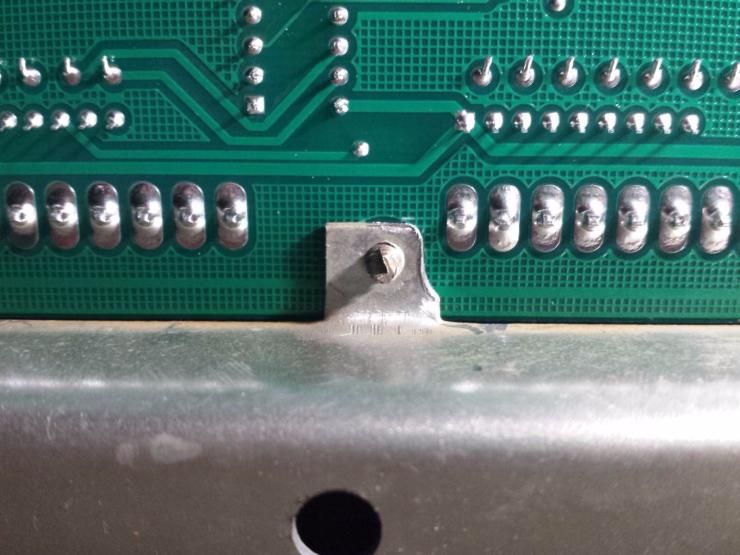
And finally you can see what I did below. I ground down the sides quite a bit, and put a piece of electrical tape on top of it for good measure.
With that second grounding issue taken care of, I turned on the machine again... Unfortunately still the same issue with the game tilting when getting into the multi-ball trough. I looked through the manual for the pinball machine and found the switch matrix chart. I was able to determine that the one contact point above that was touching, was actually correlated to the wires going to the multi-ball switch. Yet again, I spent many hours doing many tests with Jerry. After lots of testing we were able to determine that the board was again at fault. This grounding issue fried the board, again! We found that the switch matrix diode for an entire row was blown on the board. So again, no hardware fault with the machine, but the touching issue caused something to actually fry this time. So, once again, I mailed my board back to Jerry to be looked at. He replaced the diode and did his full battery of tests again, and sent it back to me. So after ANOTHER two weeks of waiting, I finally got the board back. This time I we finally got it figured out!!! The game was working finally! So not one, but two grounding issues were overcome! As a result, I got an education, we got the updated rule set for the game, the board was fully inspected and checked out and things were finally looking up!
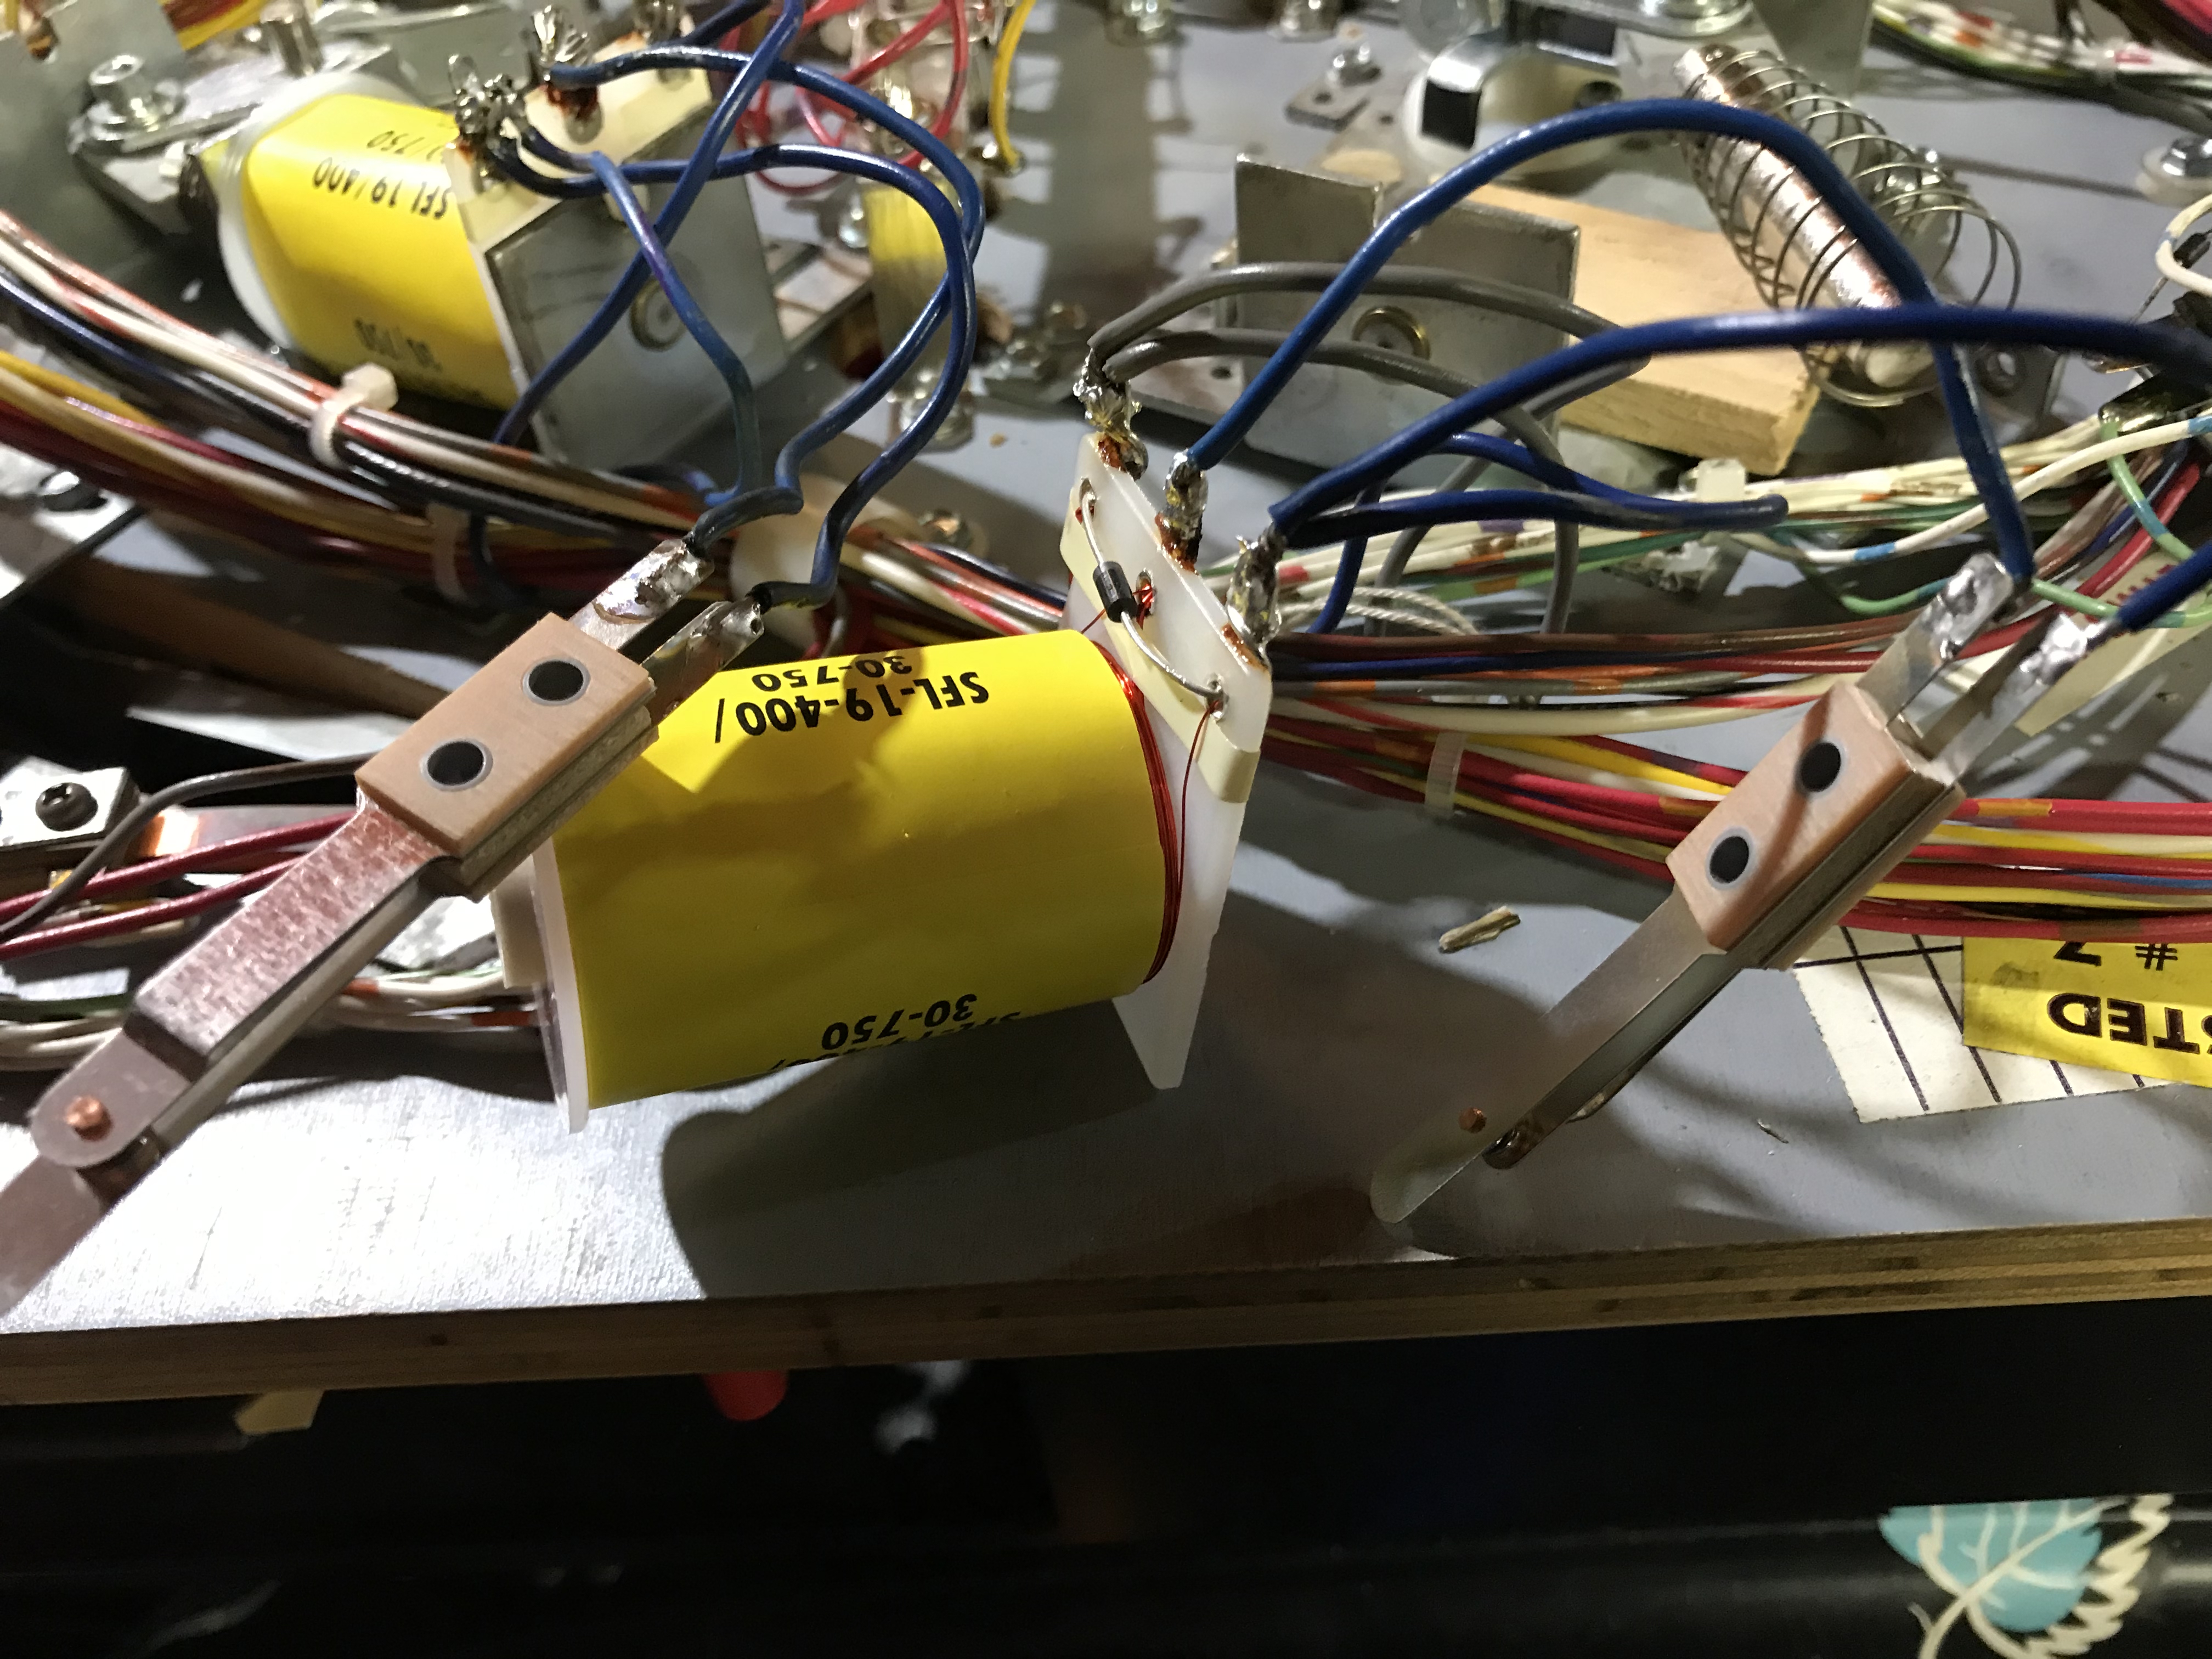
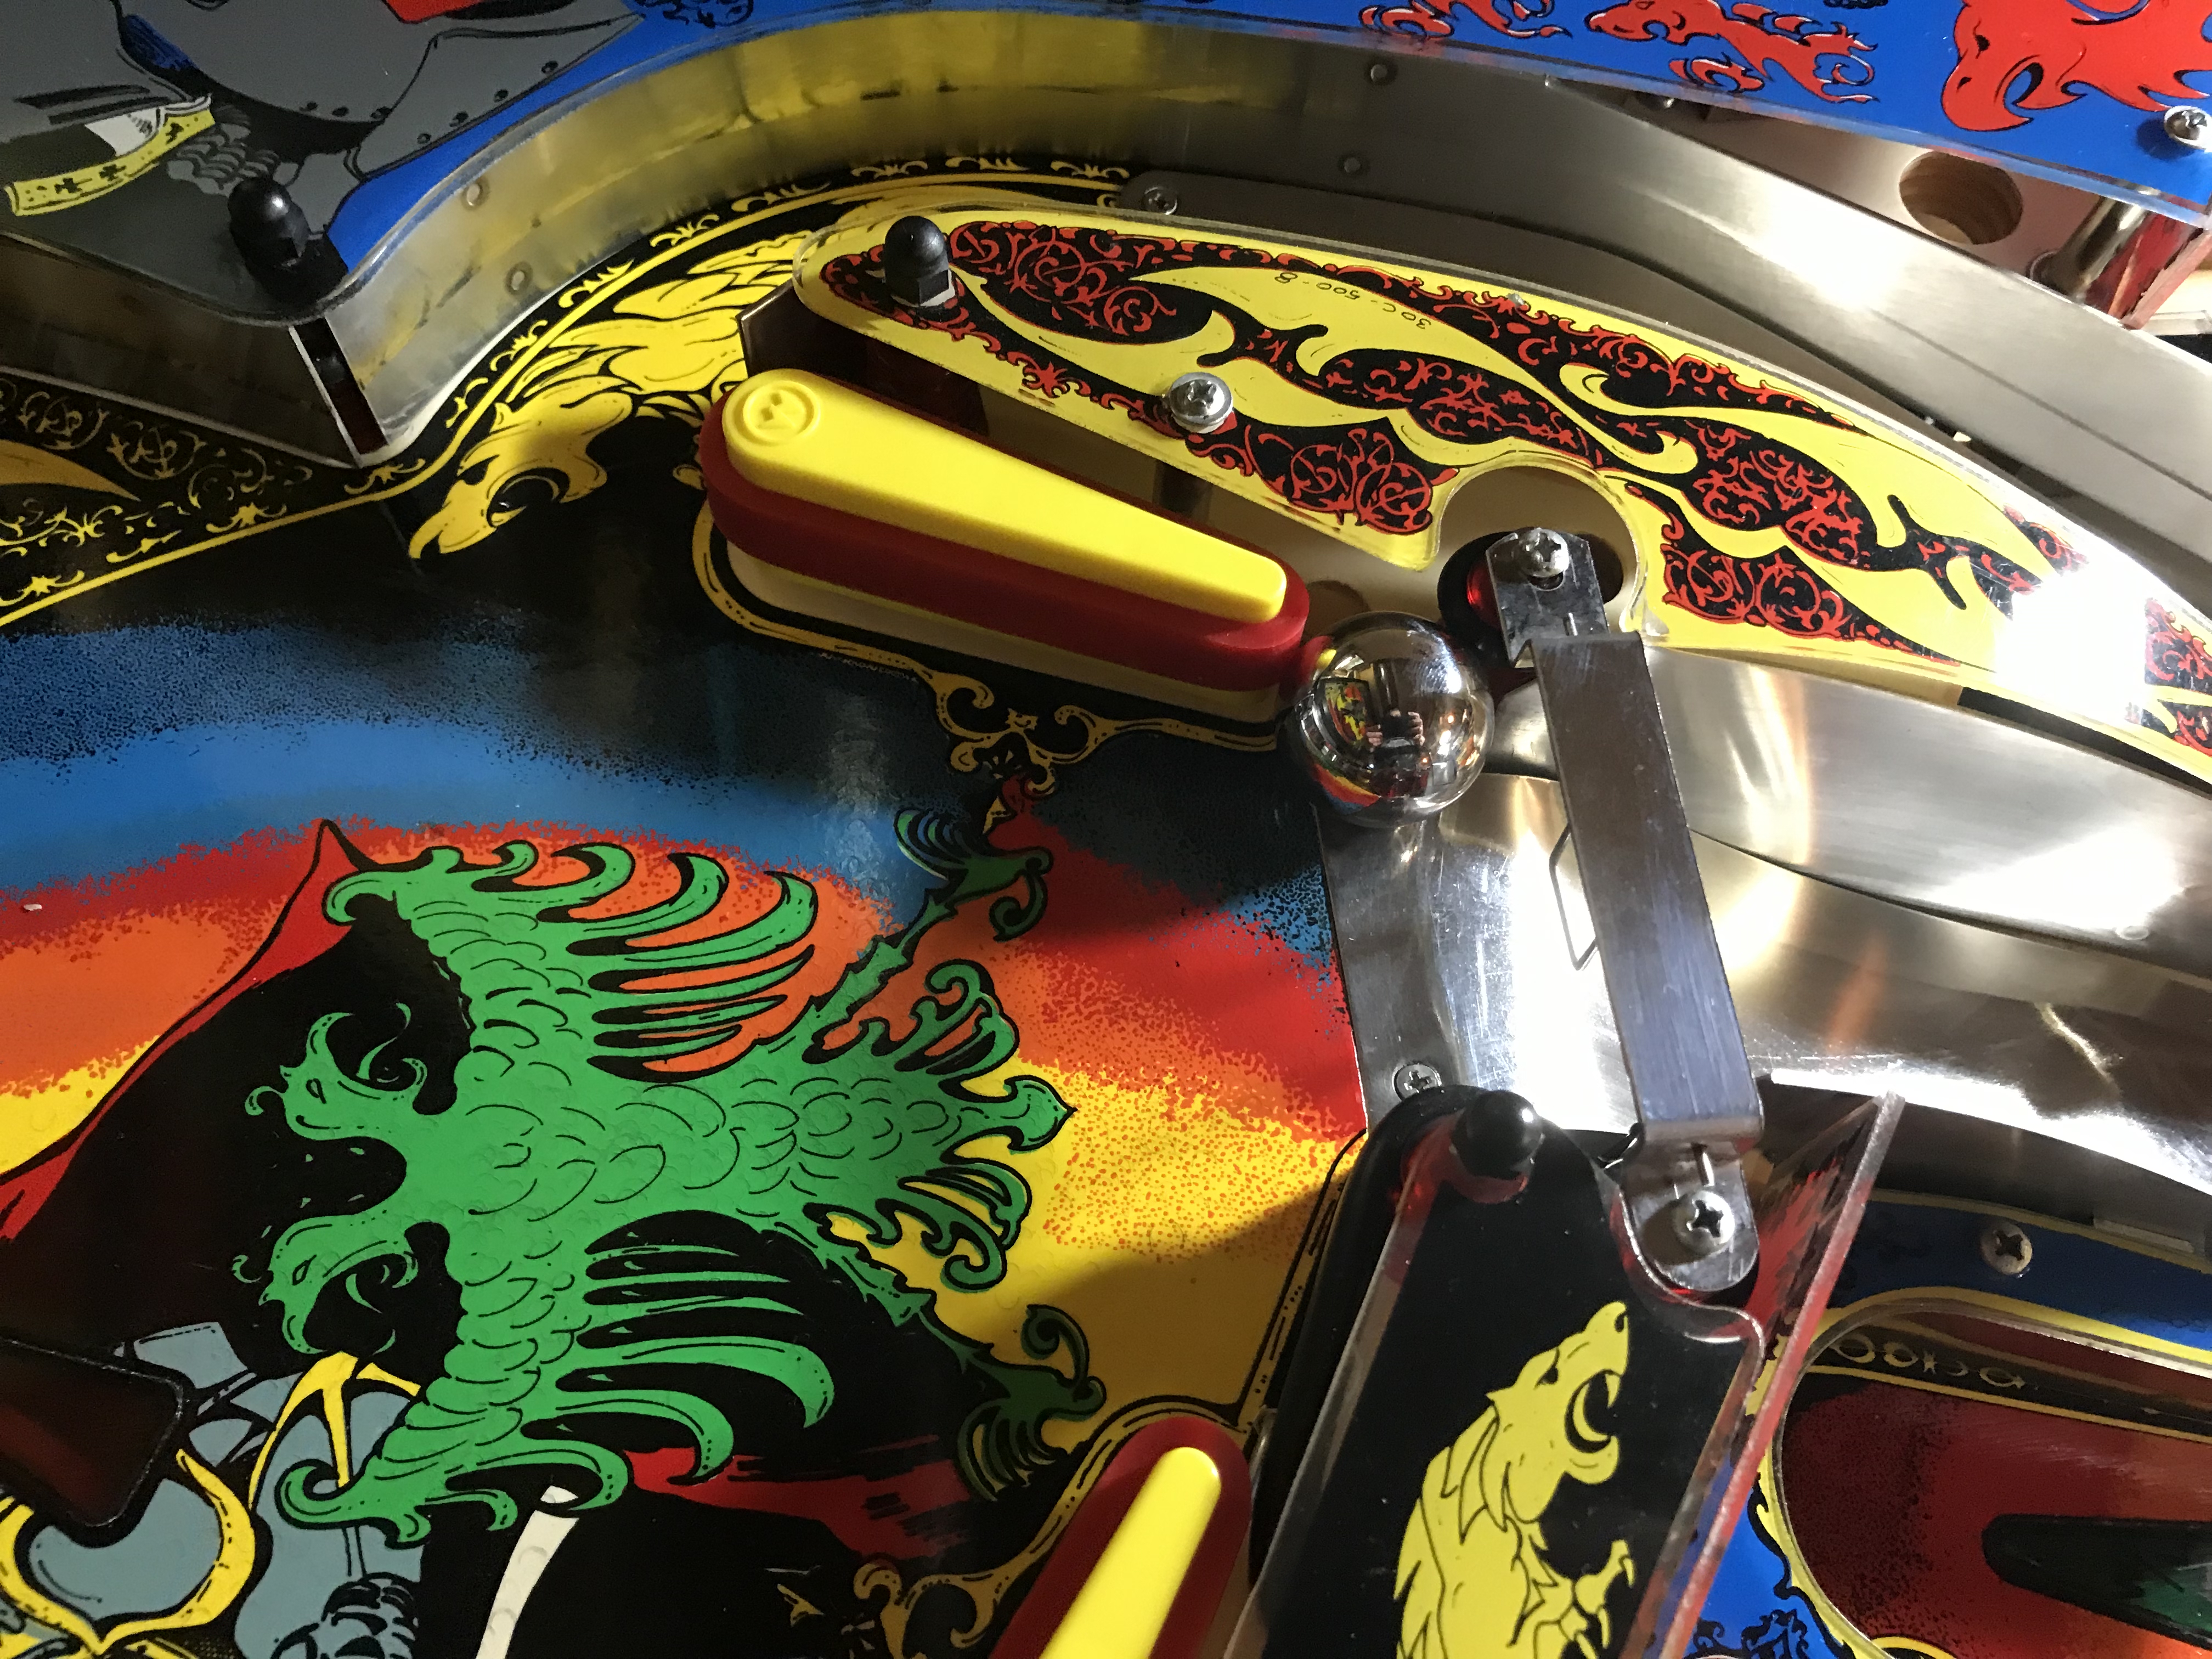
Now I got to actually play with the machine long enough to test the components in real game play. For the most part, everything was working. I had to adjust a few gaps in the switches under the playfiend to make sure they triggered appropriately but otherwise things were ok except for two things. First was the lower left flipper. It seemed to be losing power because the flipper bat would flutter back and forth rather than holding steady when the button was pushed and held in. After testing the voltages and making sure the EOS switches on the flipper were adjsuted properly, people on the forums seemed to agree that the likely cause was a bad coil for that flipper. So I repalced yet another coil for the flipper, shown below, and replaced the two EOS switches with new ones while I was at it.
While I was at it, I was told to be sure to inspect the gap between the flipper bushing (white plastic thing on the bottom) and the flipper assembly. This gap looked correct to me as it's supposed to be about the thickness of a credit card. Having these be too close could cause the flipper to stick like it was as well. (This is hard to photgraph.)
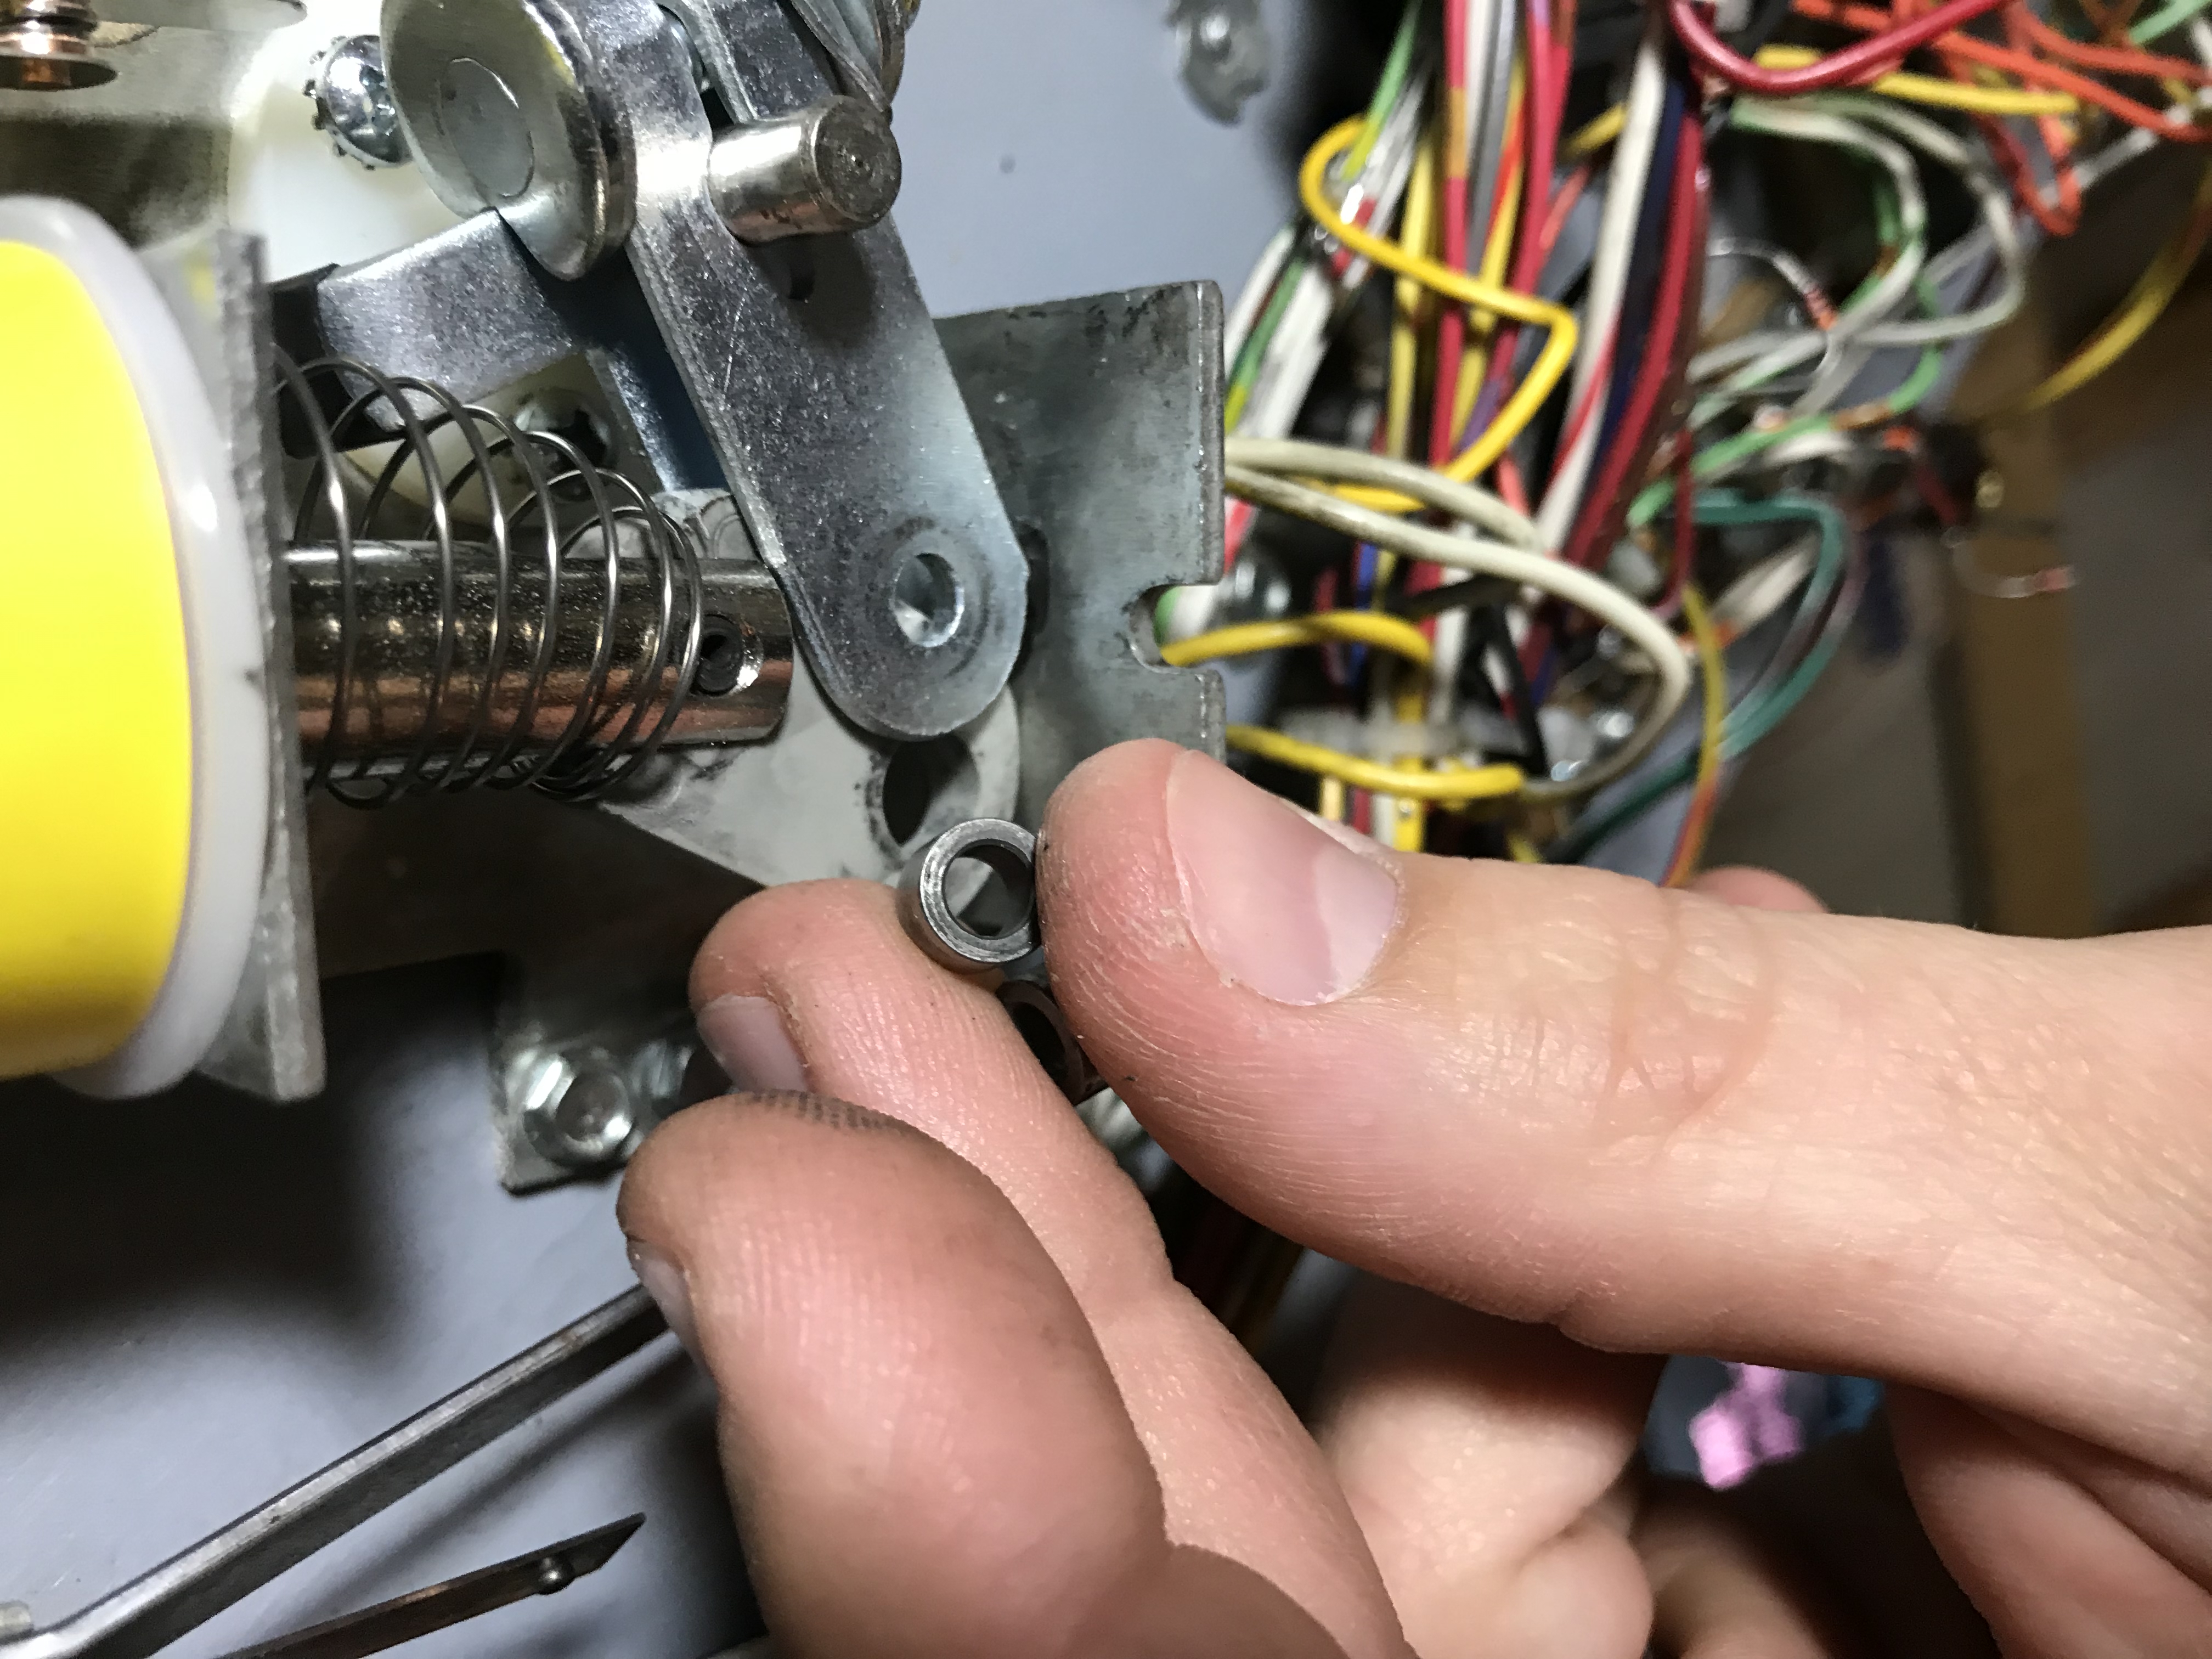
Well even after replacing the coil and both switches, the flipper was doing the exact same thing! I double checked all the wiring, comparing between the other working flippers and the problematic one. I triple checked all the voltages going to the flippers and those all looked fine. I filed down and cleaned the switch contacts on the flipper button, and that didn't help. So finally I got angry and took apart both flipper assemblies on the bottom, and I'm glad I did! I was able to figure out that the problematic flipper was missing this round bearing thing in it's armature! Once I saw the missing piece, I suddenly rememeber that when I got the machine I found one of those round metal parts lying in the back bottom of the cabinet. I looked around quite a bit at the time to figure out where it went, but there were no other round parts like it to be seen. So I put it aside into a magnetic dish for safe keeping and totally forgot about it! Once I put the piece back in it's rightful spot, the flipper finally worked normally!! Yessssss.
The second major issue I found besides the flipper was that a fuse would blow randomly during gameplay. It was actually one of the fuses that I added after the fact that went between the rectifier and the boards, shown below. Thankfully this one ended up being an easy fix. The guide I was following on-line to add these fuses said to use 4A fuses. Turns out that was fine for the fuse that controlled the lights, but not a high enough value for the one that handled the flippers and everything else. The people on the pinball forums just said that I needed to use a fuse that was the same value as the two on the bottom of the playfield already (10A). Makes sense. Once I switched the 4A fuse for a 10A, no more fuses blowing!
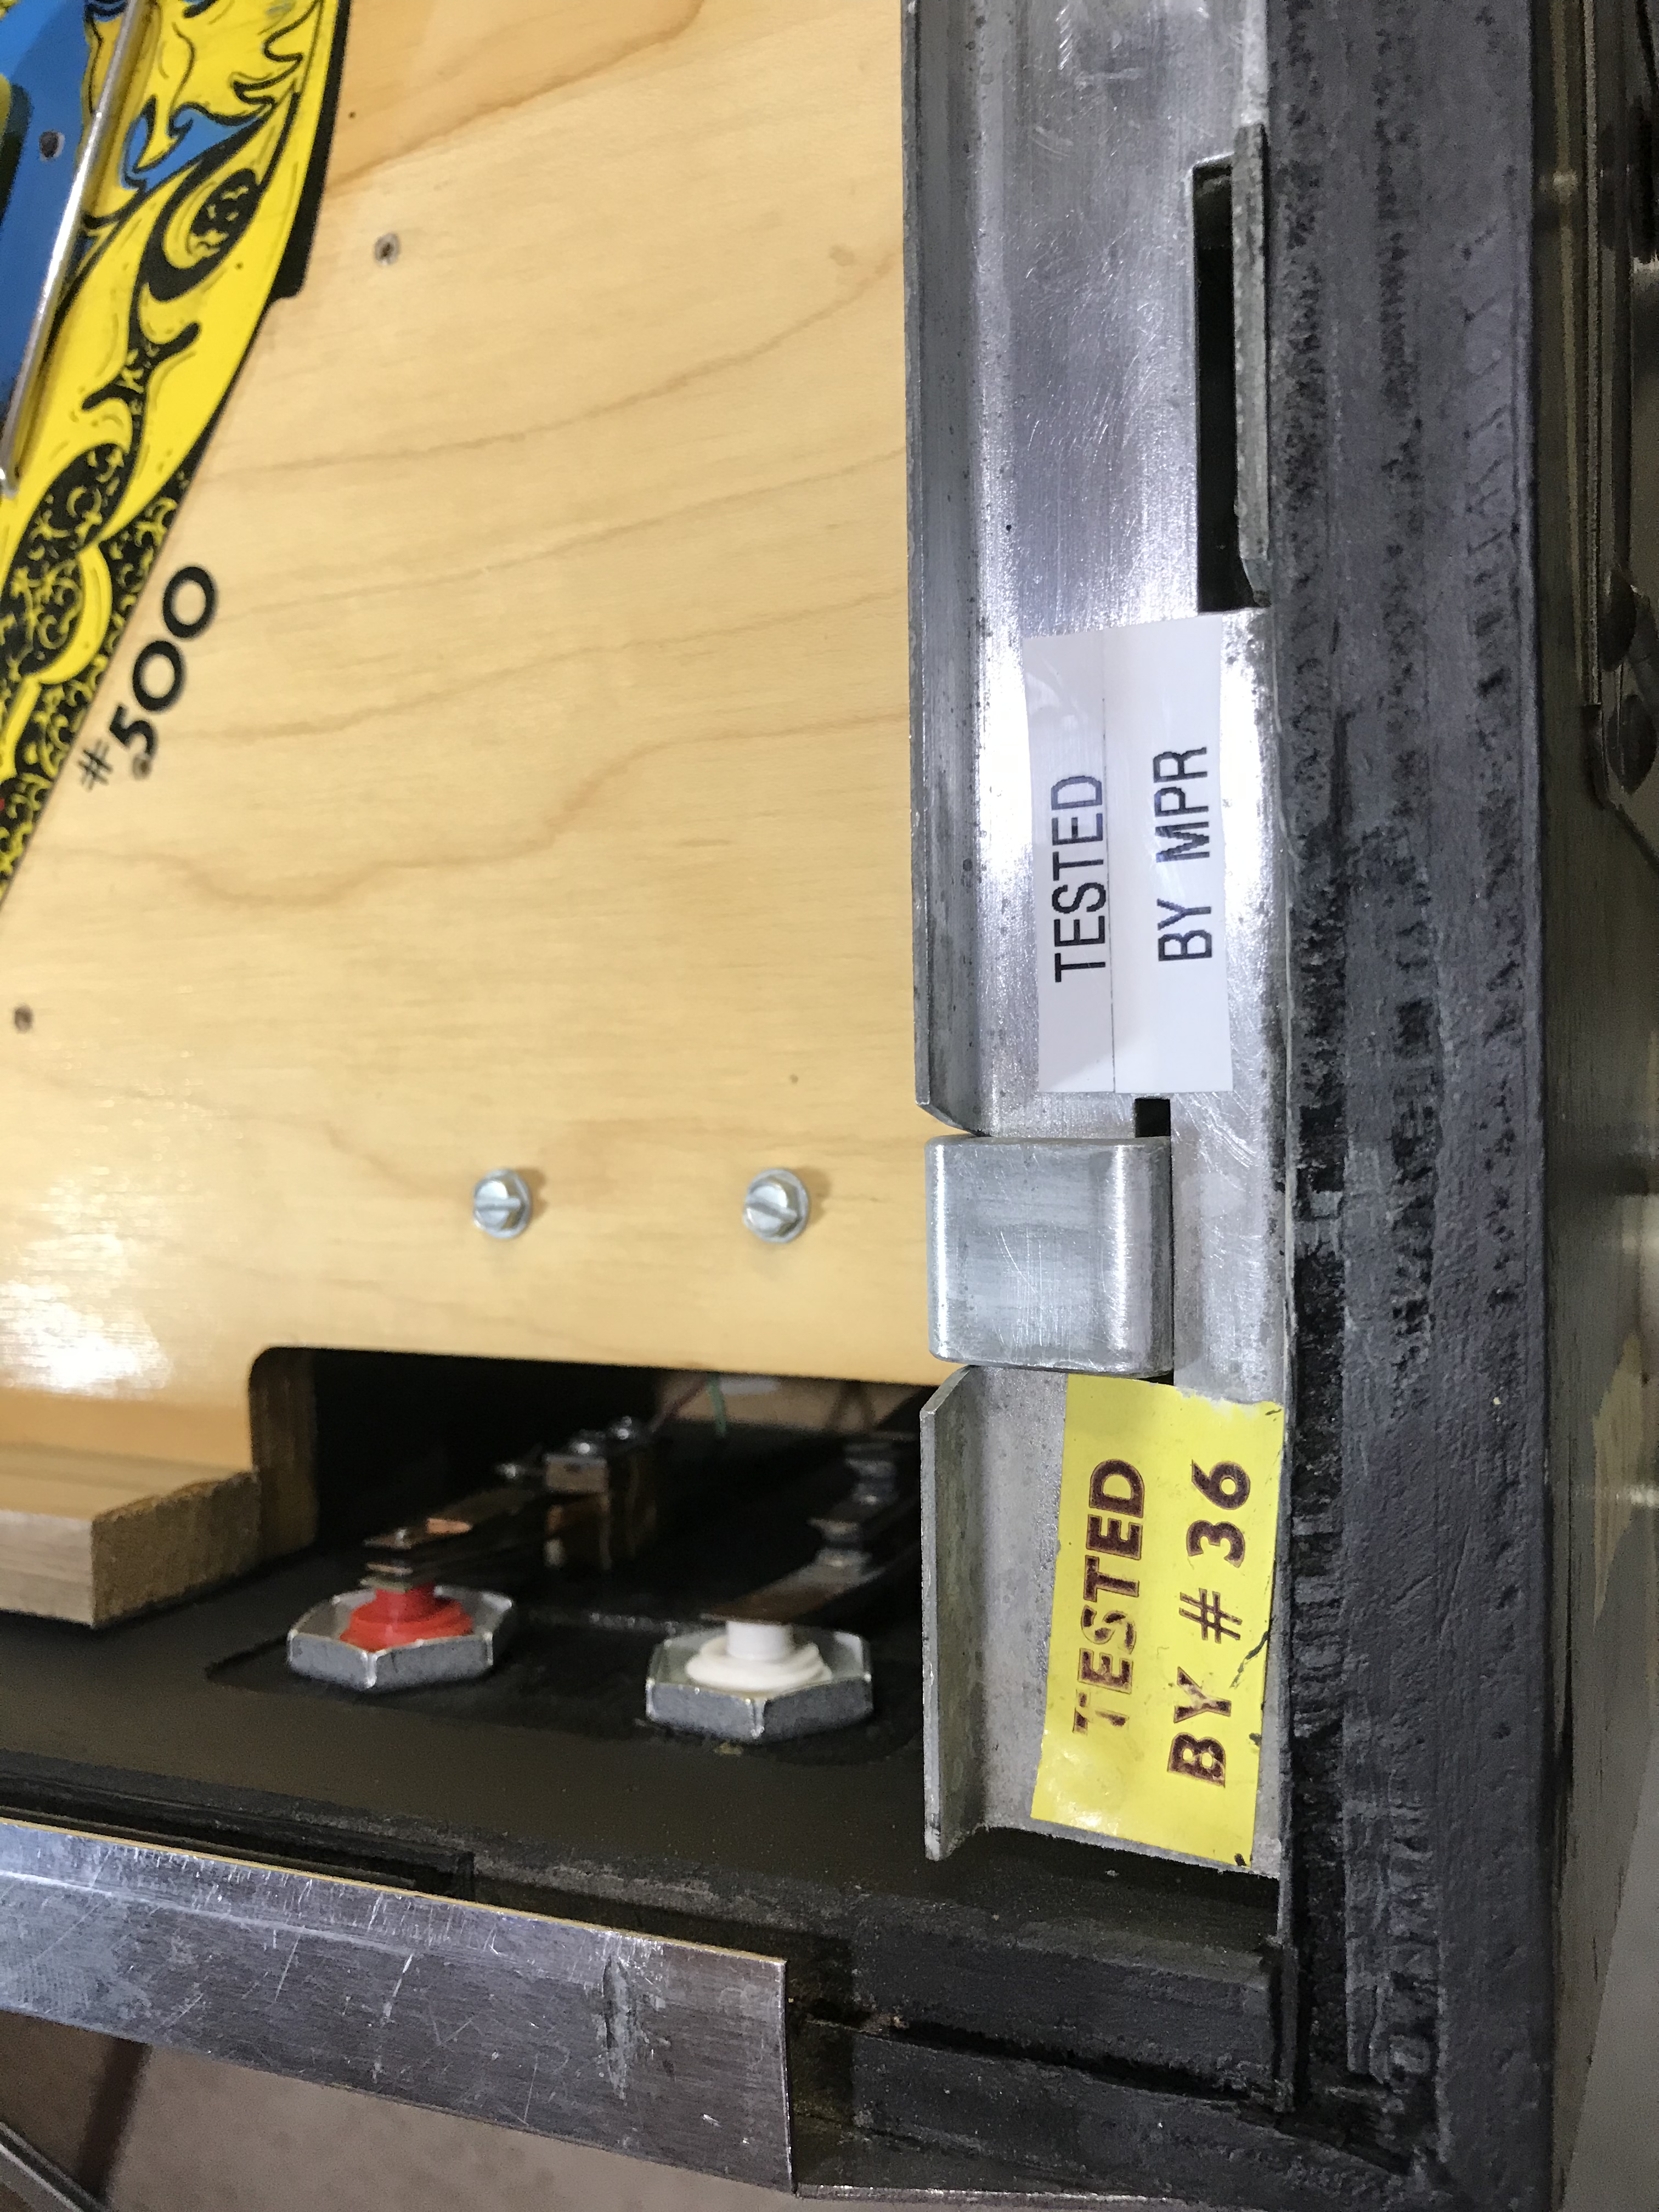
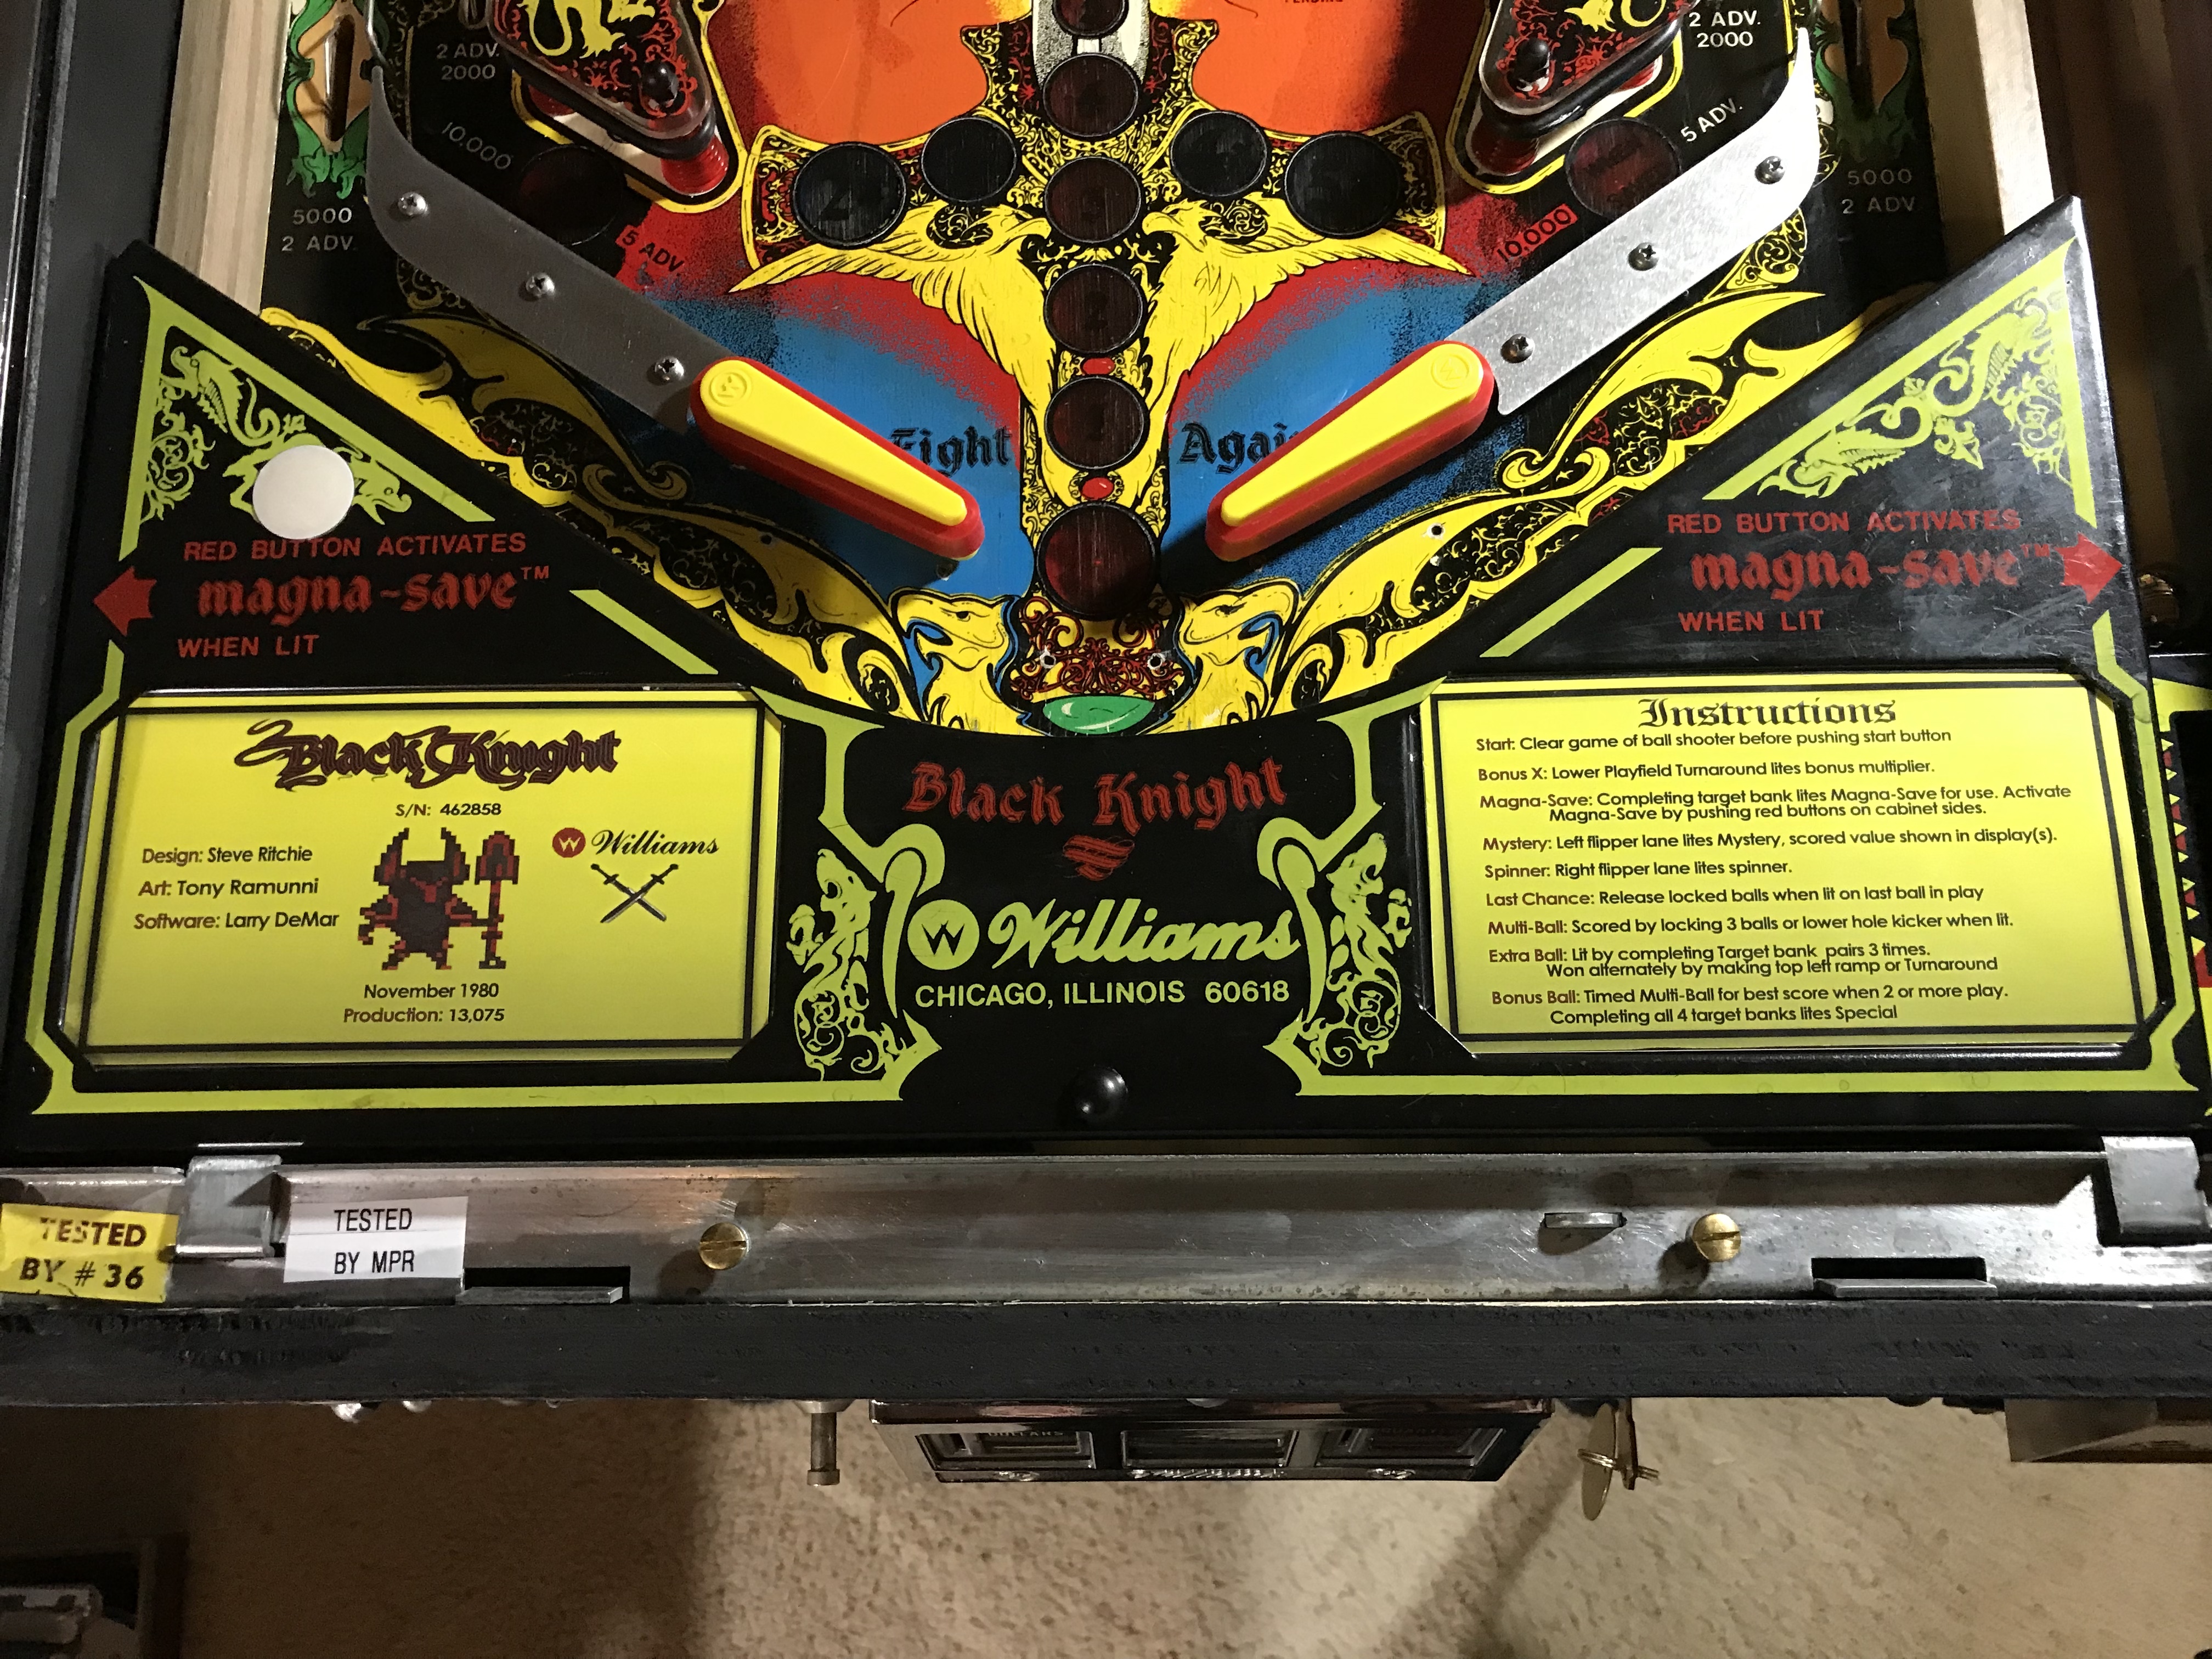
Now with all the difficult stuff out of the way, the machine was finally working well! So I felt it appropriate to make my own little "Tested" sticker to go next to the original to leave my mark!
Next I cleaned up the apron. Below you can see that there is a sticky smudge mark area right in the middle. The paint on these aprons can be delicate, so I very gently was able to remove that sticky stuff without removing the actual paint.
Next I called in a favor from my cousin, who is good with graphic design, and had them create some new instruction cards for me. I wanted to do something with a little more flare than just the standard white cards. I intially had a font that was more calligraphy like, which was cool, but was harder to read at such smaller print, and also in the dimmer lights typically around pinball machines. So I ended up going with a more simpler font, and a more yellow background to try to match the rest of the apron.
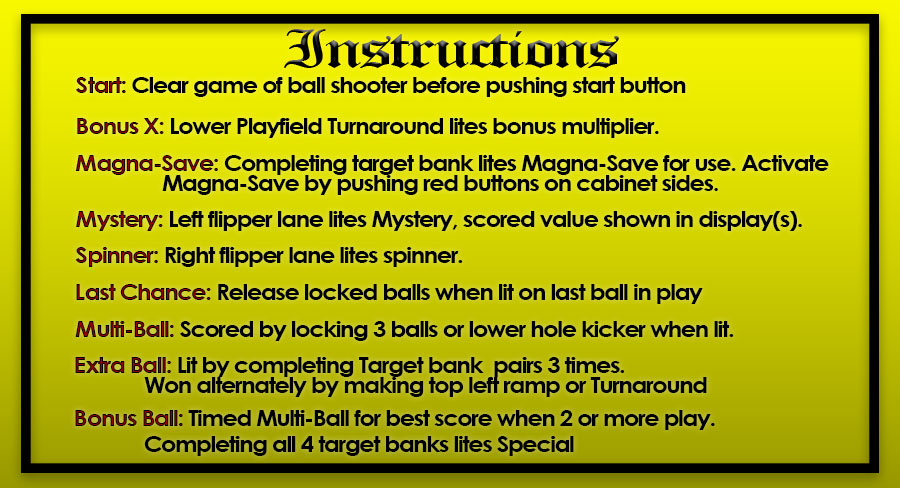
I'm very pleased with how they all turned out!
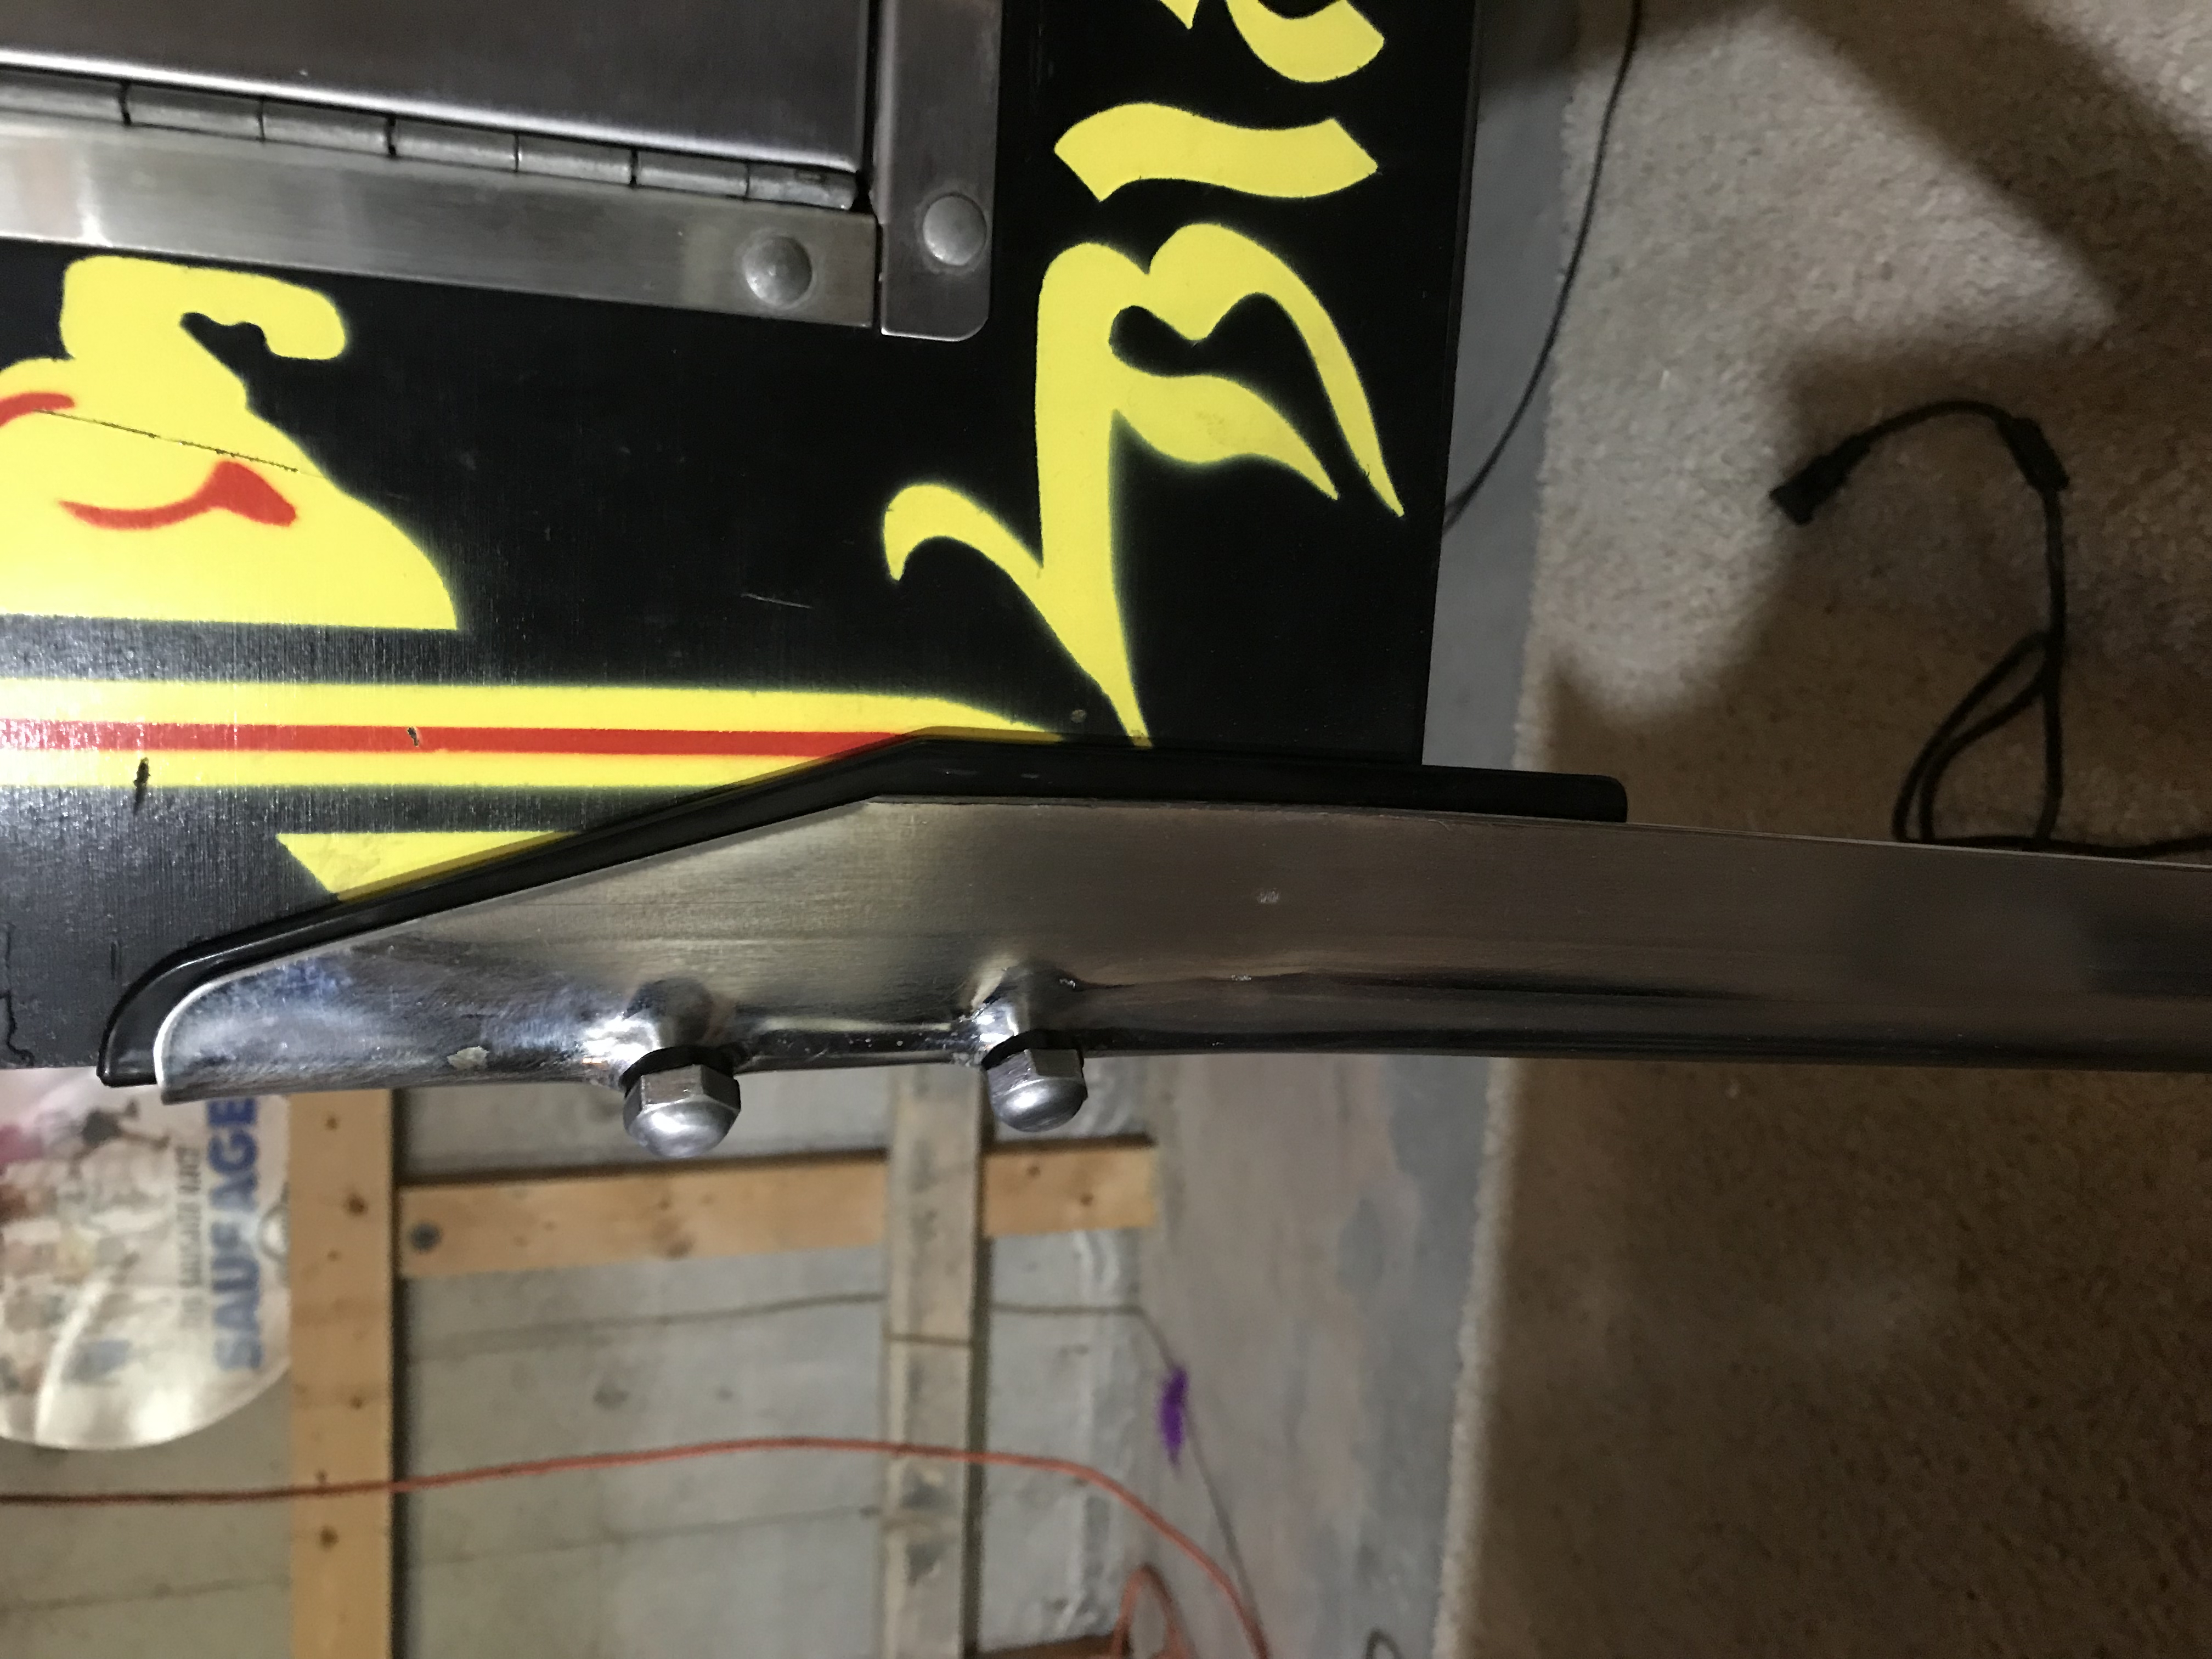
Next, for some finishing touches, I added some leg protectors that go between the metal legs and the cabinet. I also added some rubber washers around the bolts. These are asthetically pleasing but also help protect the cabinet and legs.
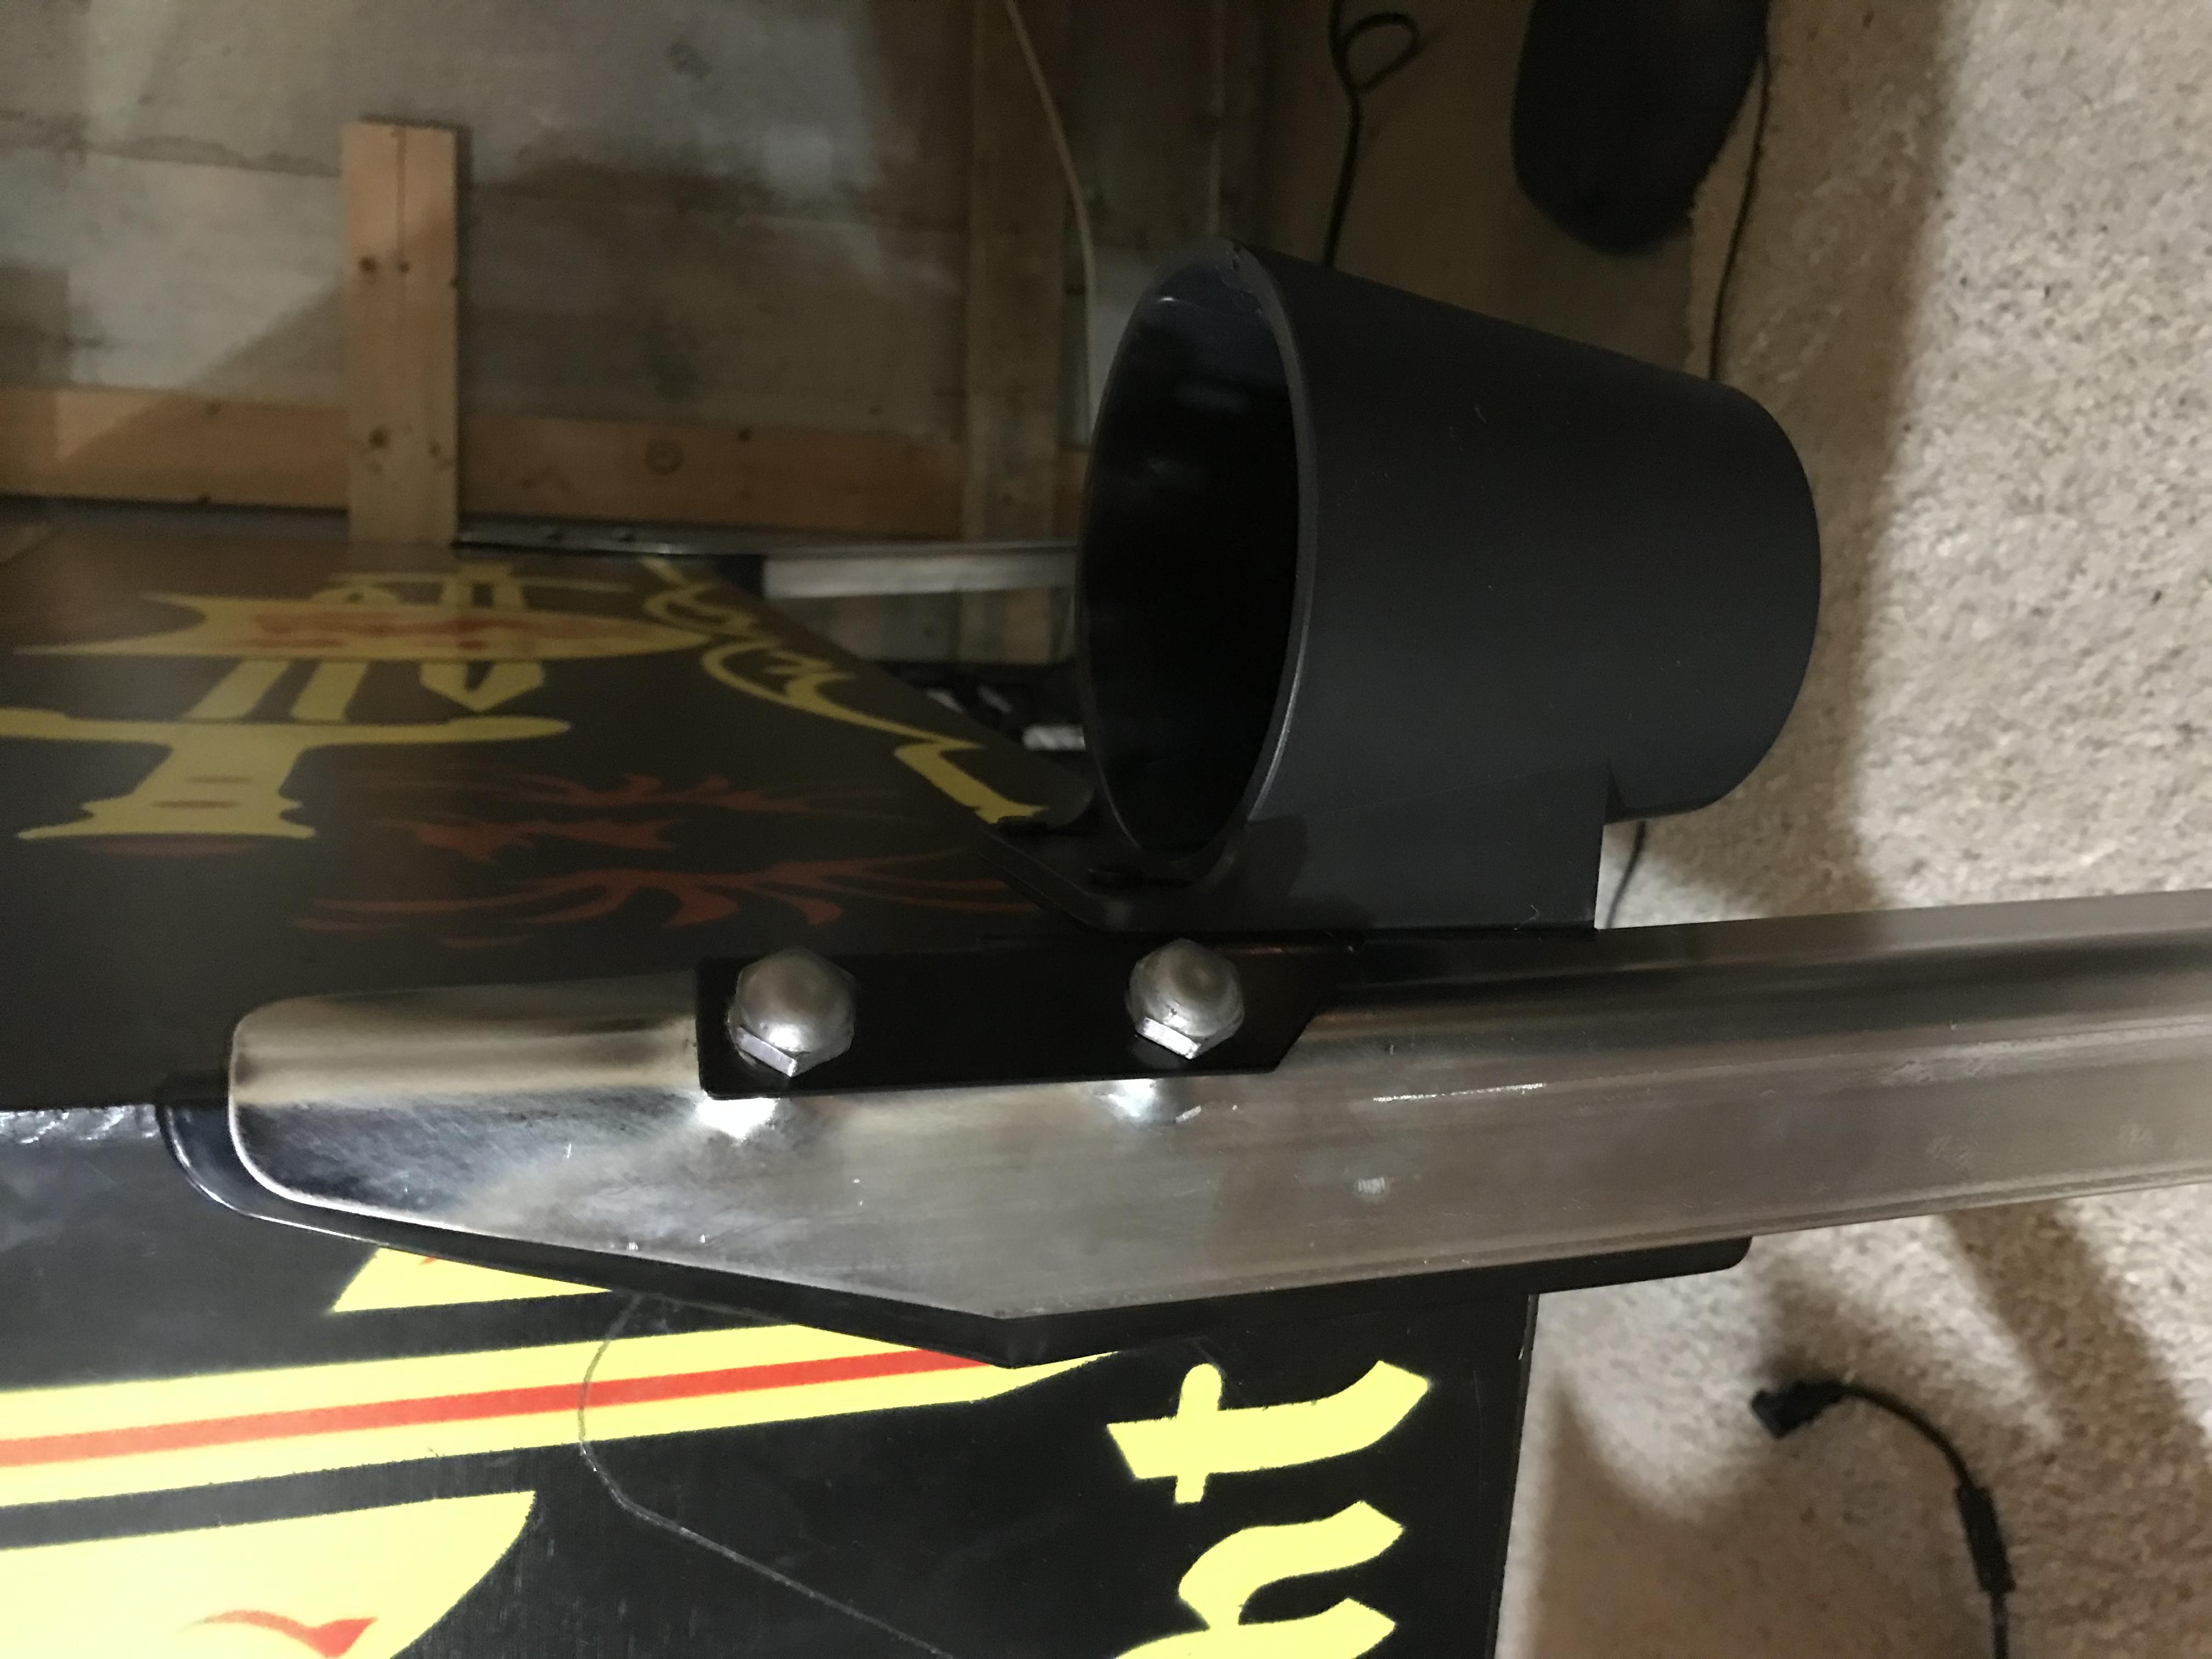
I also added a cupholder to one of the legs, I just couldn't resist it when I saw them online!
With all that done, I spent some time rolling the ball around on the playfield with my hand, trying to see if there were any sticking points where the ball could get caught / stalled. I only found one spot, which was at the top of the ramp leading to the upper playfield. The screw hole was indented in the metal, likely from overtightening, and made a little crevice where the ball could rest. So for that I just had to remove the ramp and use a vice to flatten it out again. No more sticking spot after that!
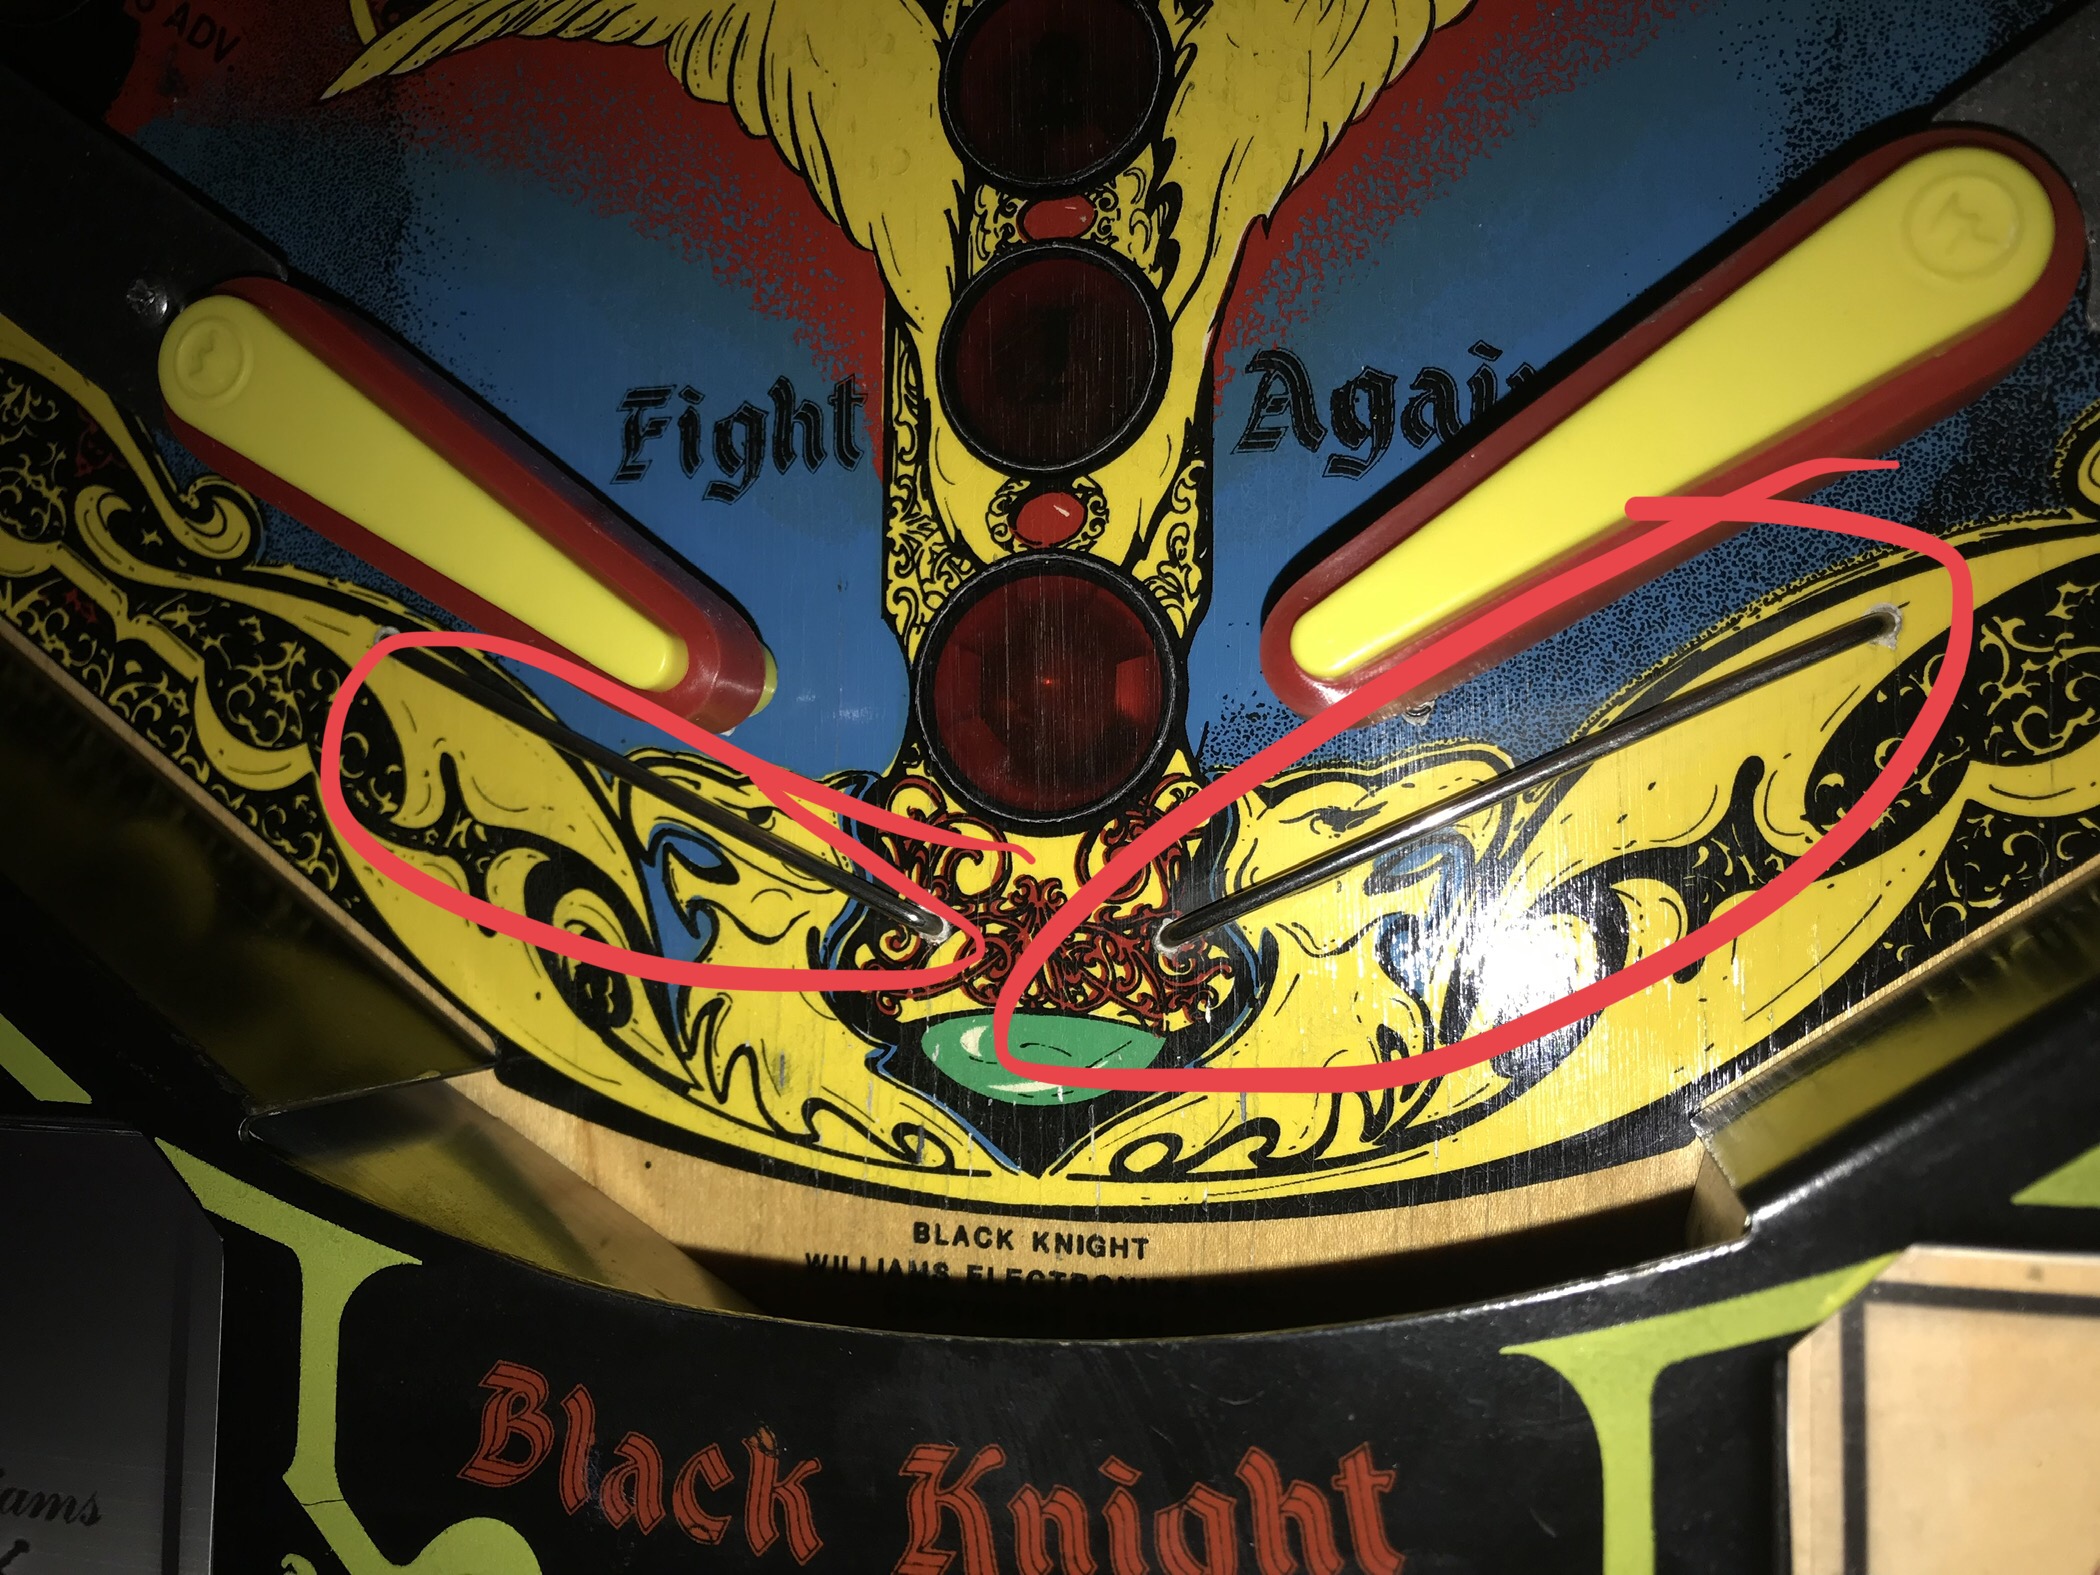
The next issue I saw was these bars below the lower flippers. During all of my testing with the glass off, when the ball drained and hit the bars, it would launch the ball up and onto the apron. Had the glass been on there, I can imagine that the ball would be hitting the glass when this happens, and it happened a fair amount. I did some checking online and people said these bars should be installed as low as they can go, and they already were. But they said to just remove them for use in a home machine if they cause any issues at all. The reason these bars were put there to prevent people from doing the "bang-back" cheaters move where you could nudge the machine at the right moment and get the ball to bounce back into play. There's a video below this next picture that shows you better what it is. But in any case, this is for home use and they were causing issues, so I just removed these bars entirely and haven't had any issues since.
Here's the short 9 second video on what a bang back is:
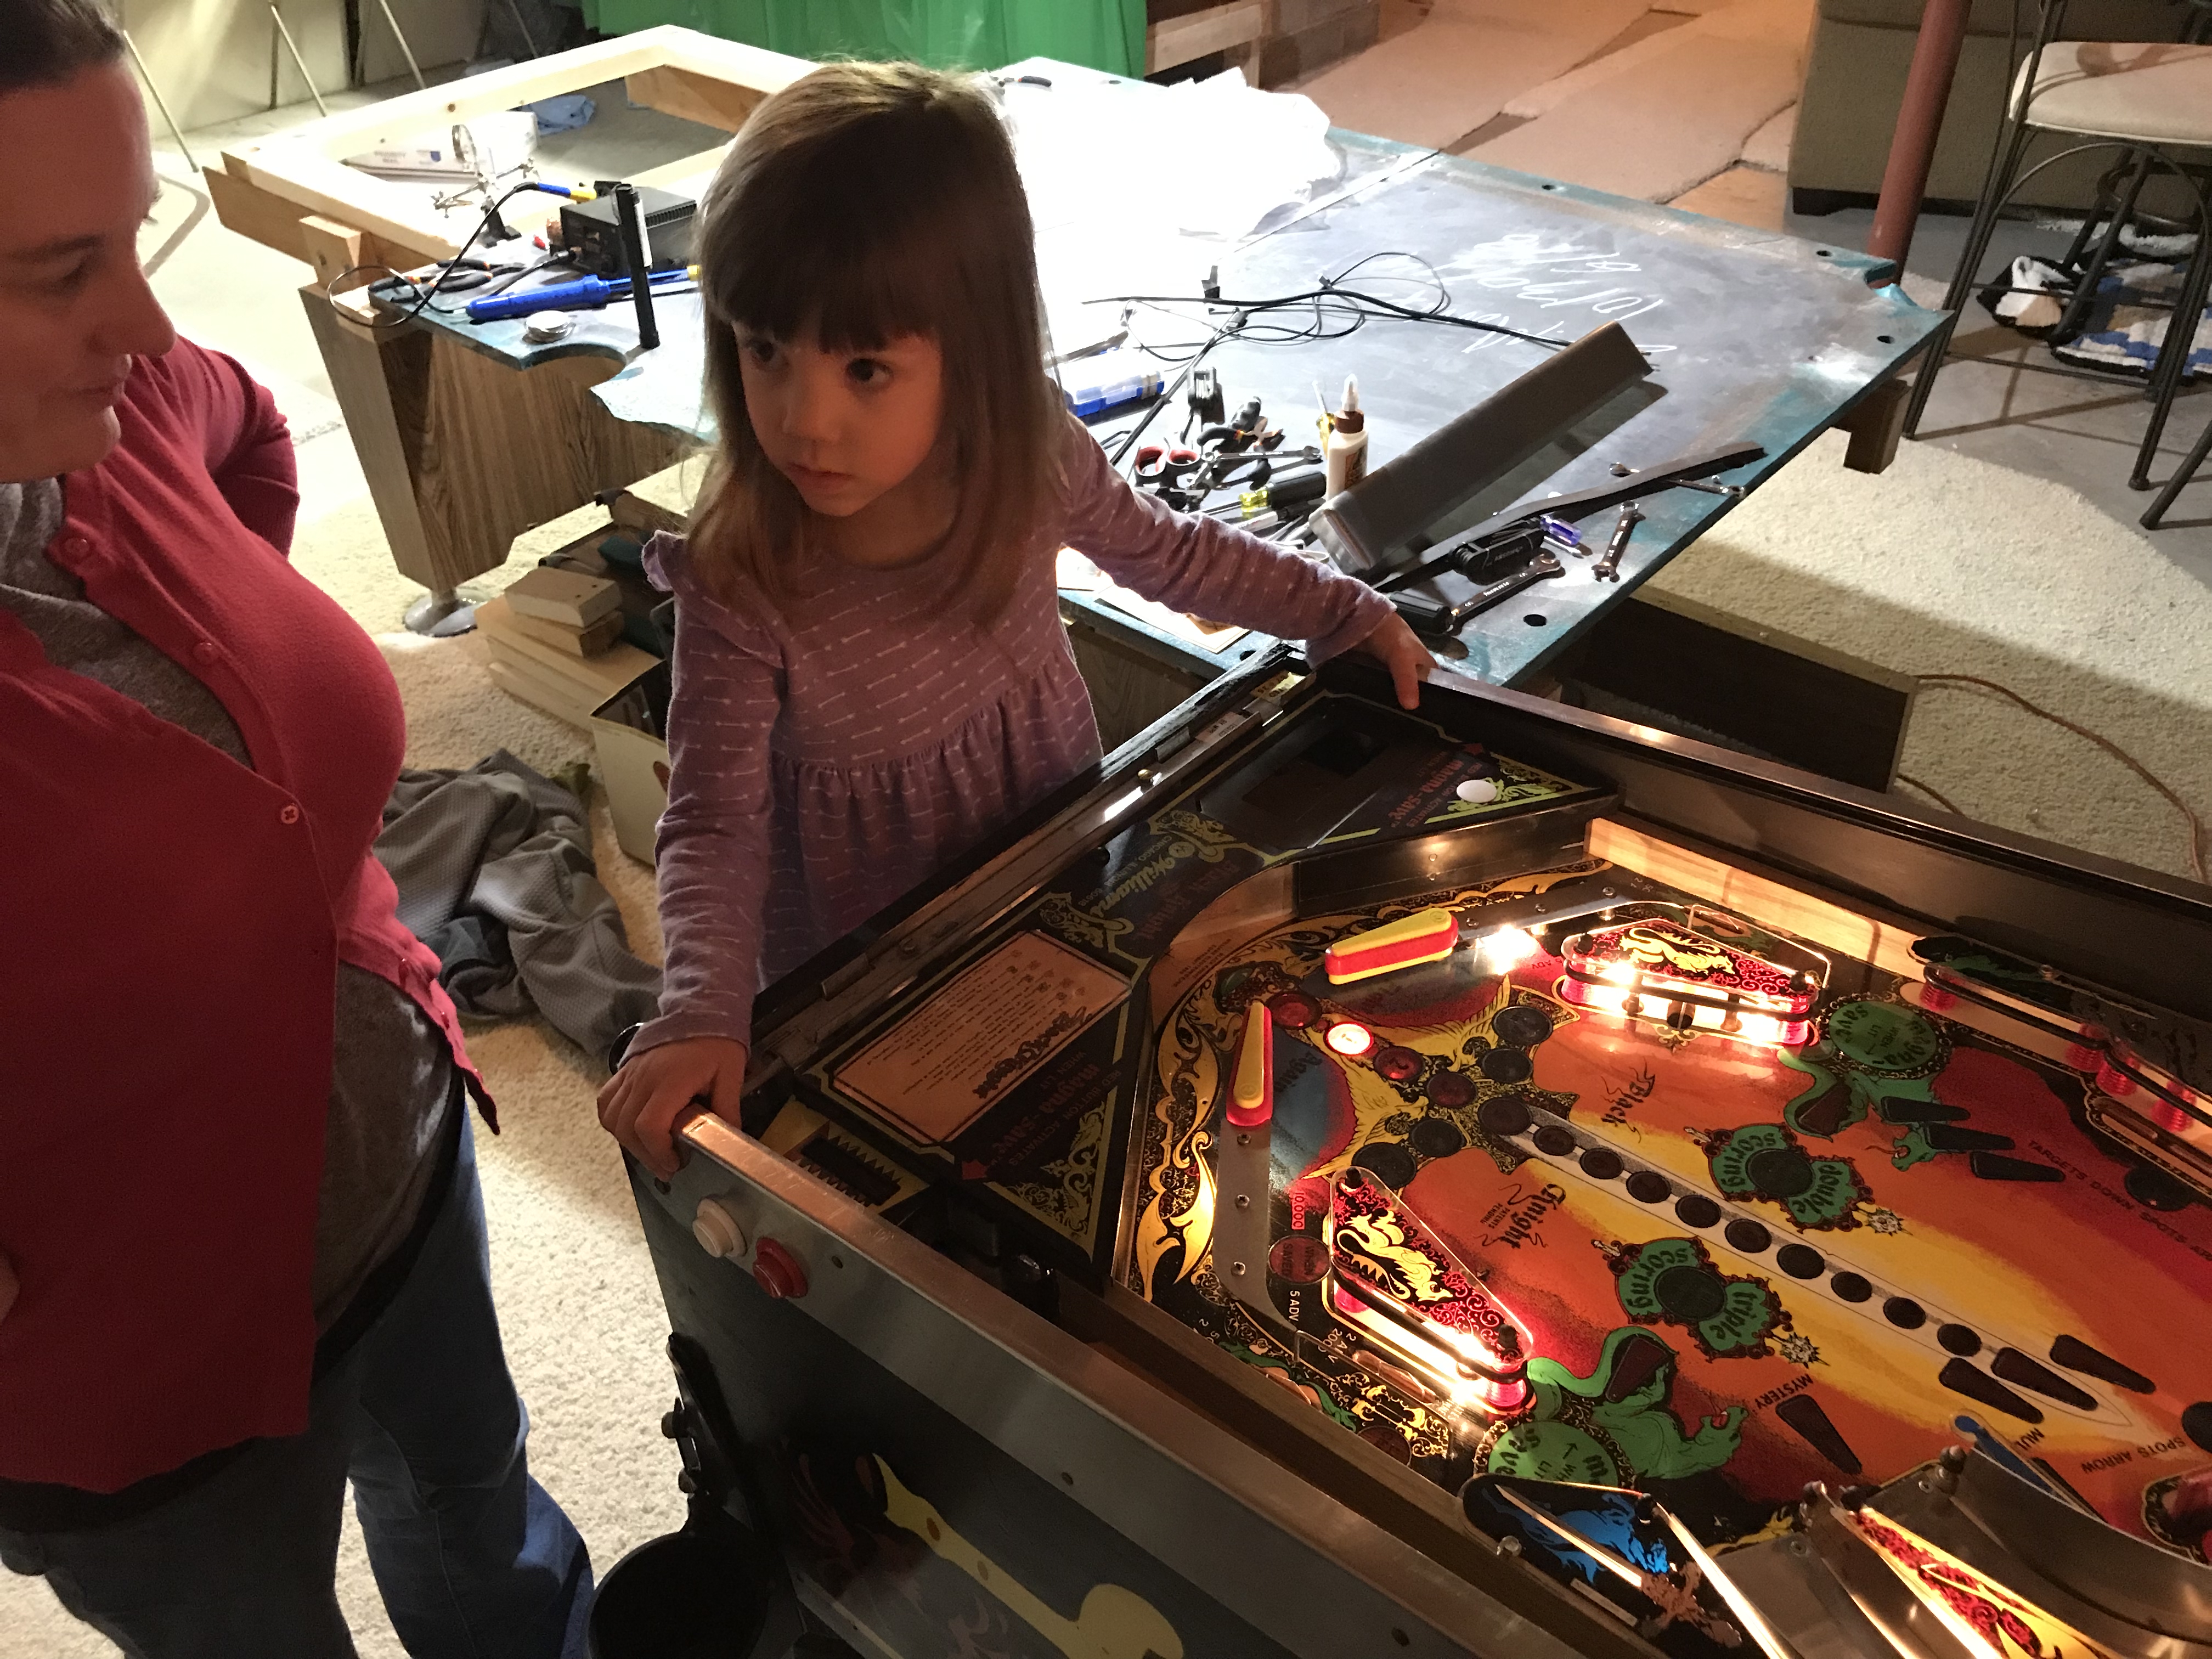
And my little girl playing again. She really loves doing the ball launching part, and is starting to get the concept of the flippers. It's been really fun for me watching her learn how to play.
This probably isn't a complete pile as I know in the beginning I threw a few things away, but here's the bulk of all the parts I replaced in the machine overall.

I invited a few friends over to play the machine and my friend Rob won the first game. He asked what the high score was and I told him the machine was so newly working that I didn't have one started yet. He insisted that we start one immediately, for our time with the machine, so that he would be forever cemented in as the first name on it. ha ha Below is the old high score sheet from Eli's family, and my starter one below it. I'm still very much improving my gameplay so don't judge that number! :)

My first million! What a rush!
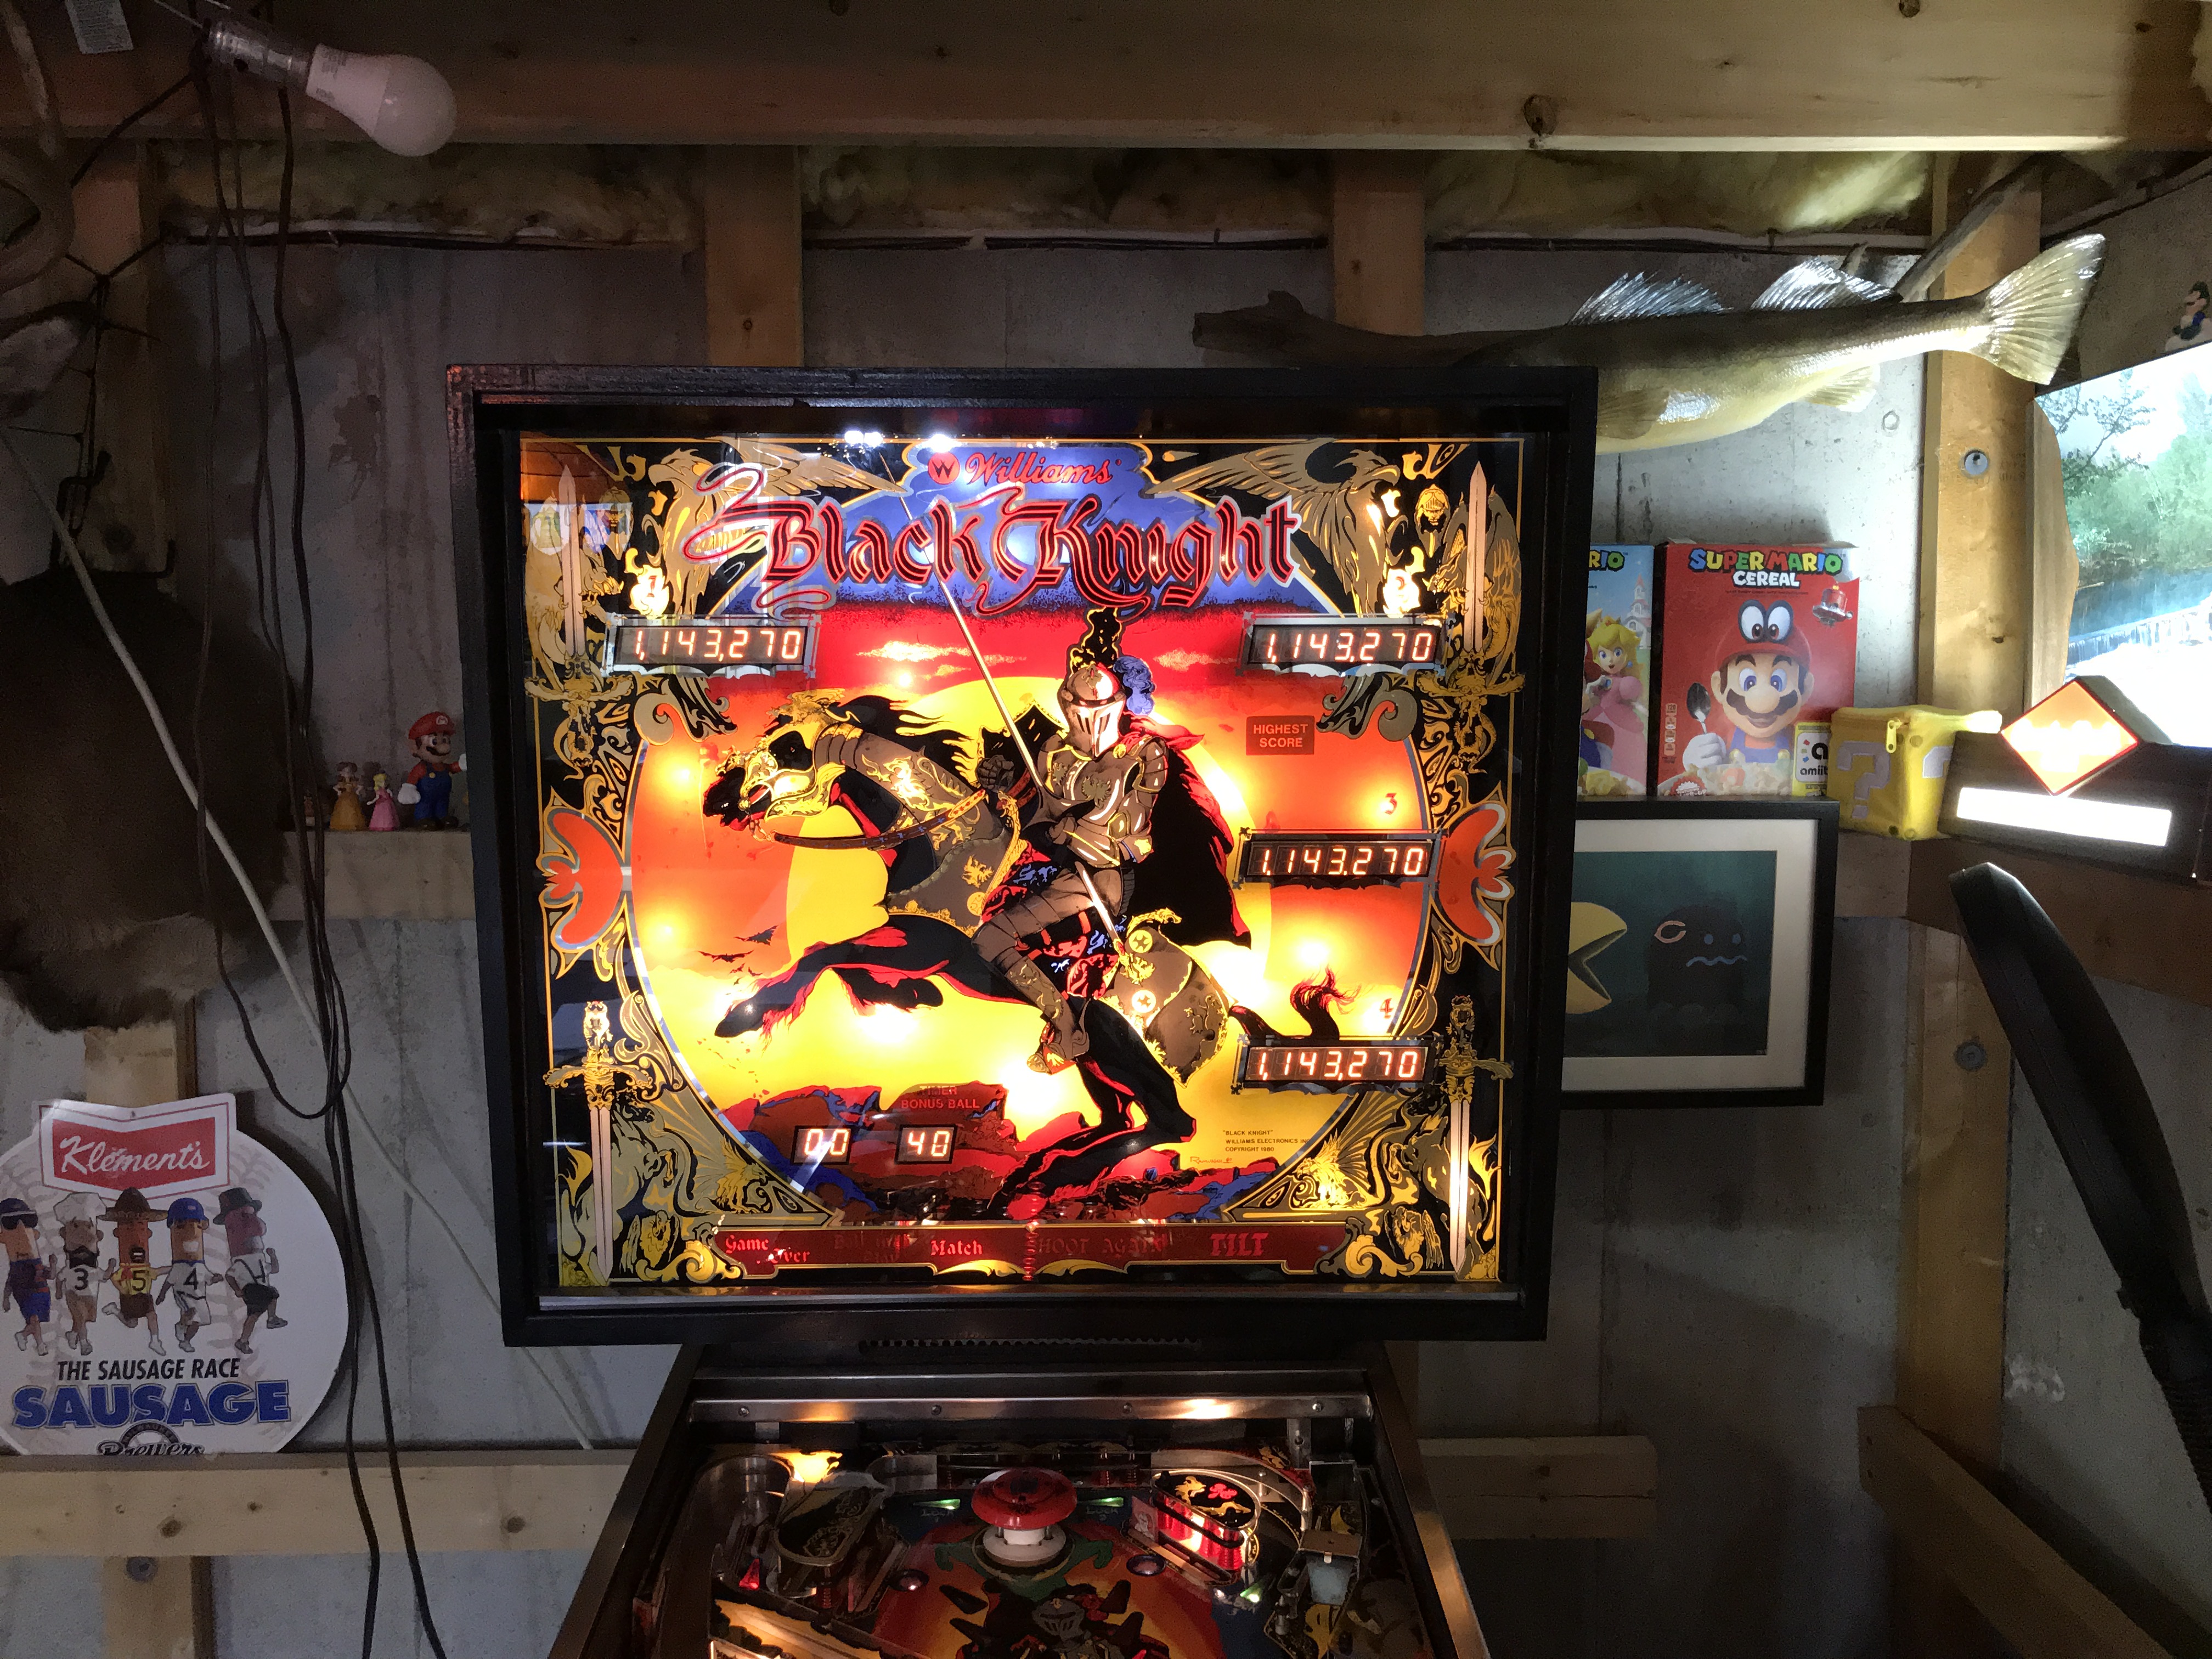
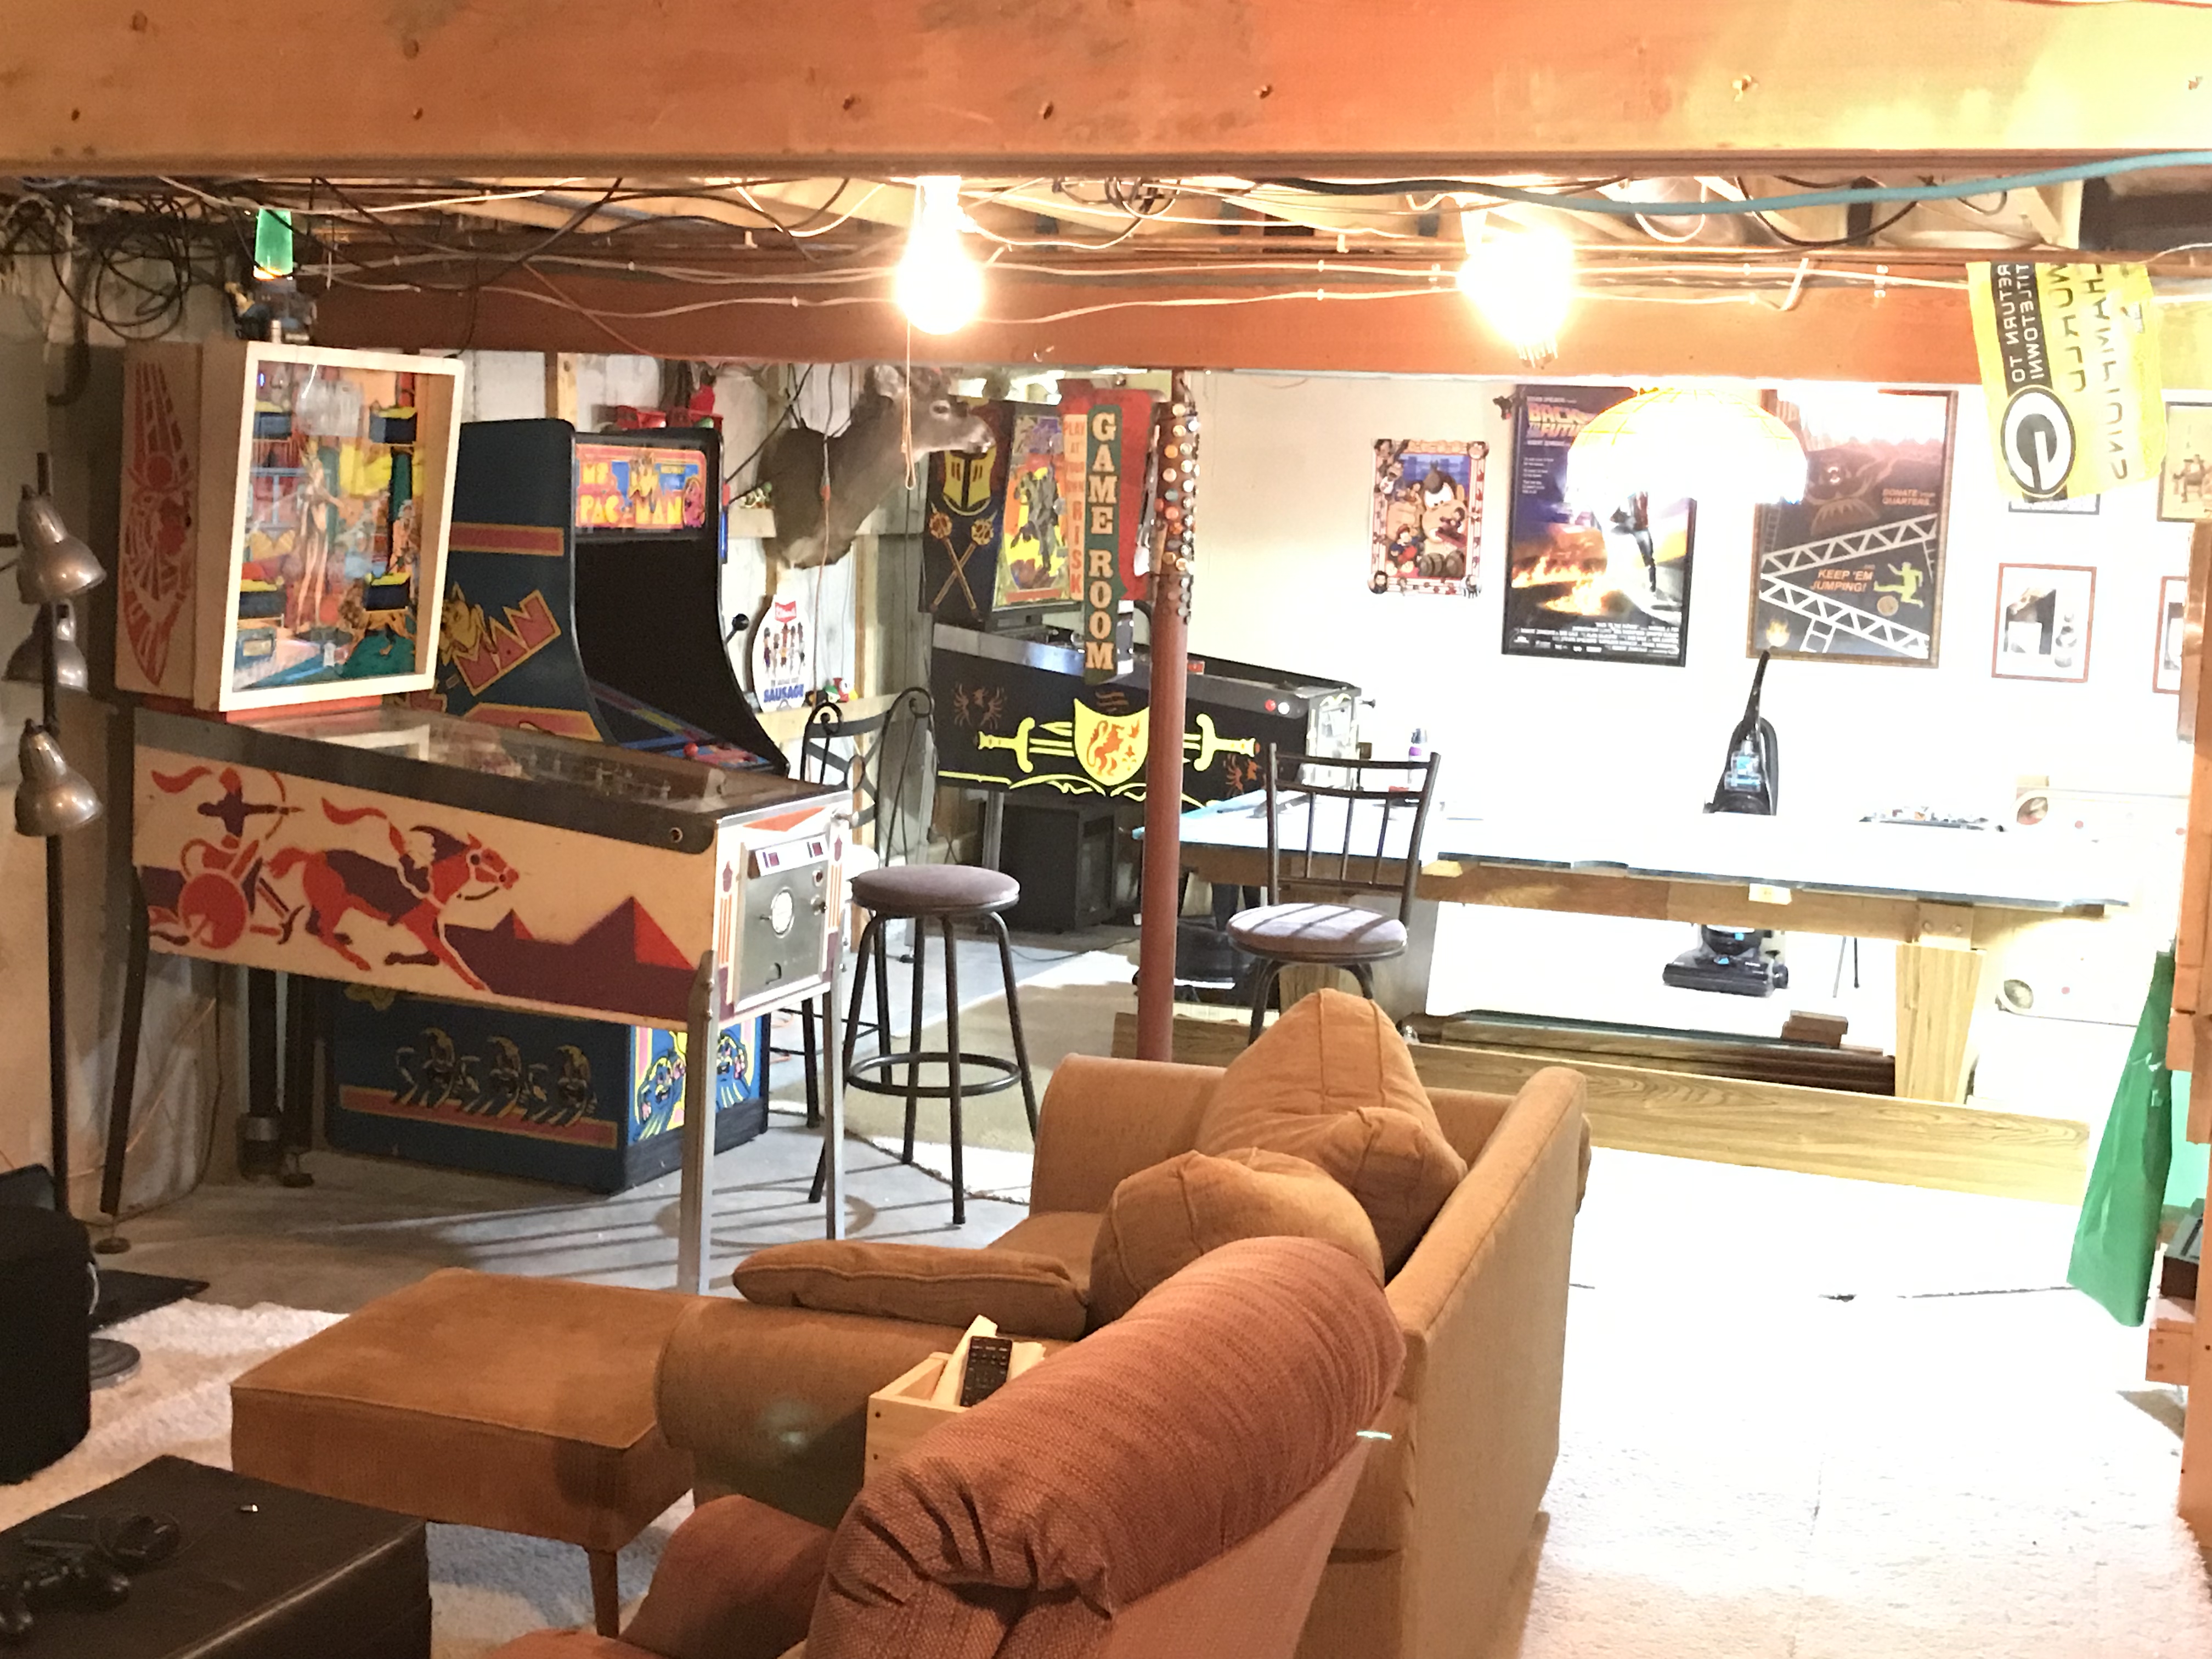
Man, that's a pretty sight to me! I love having all these games together in the basement. Too bad the Black Knight won't be sticking around for long, it's been fun having two pinball machines. The BK is so much faster and more complex than my Cleopatra, it's fun playing one after the other. It really hammers home how much slower and simpler machines used to be!
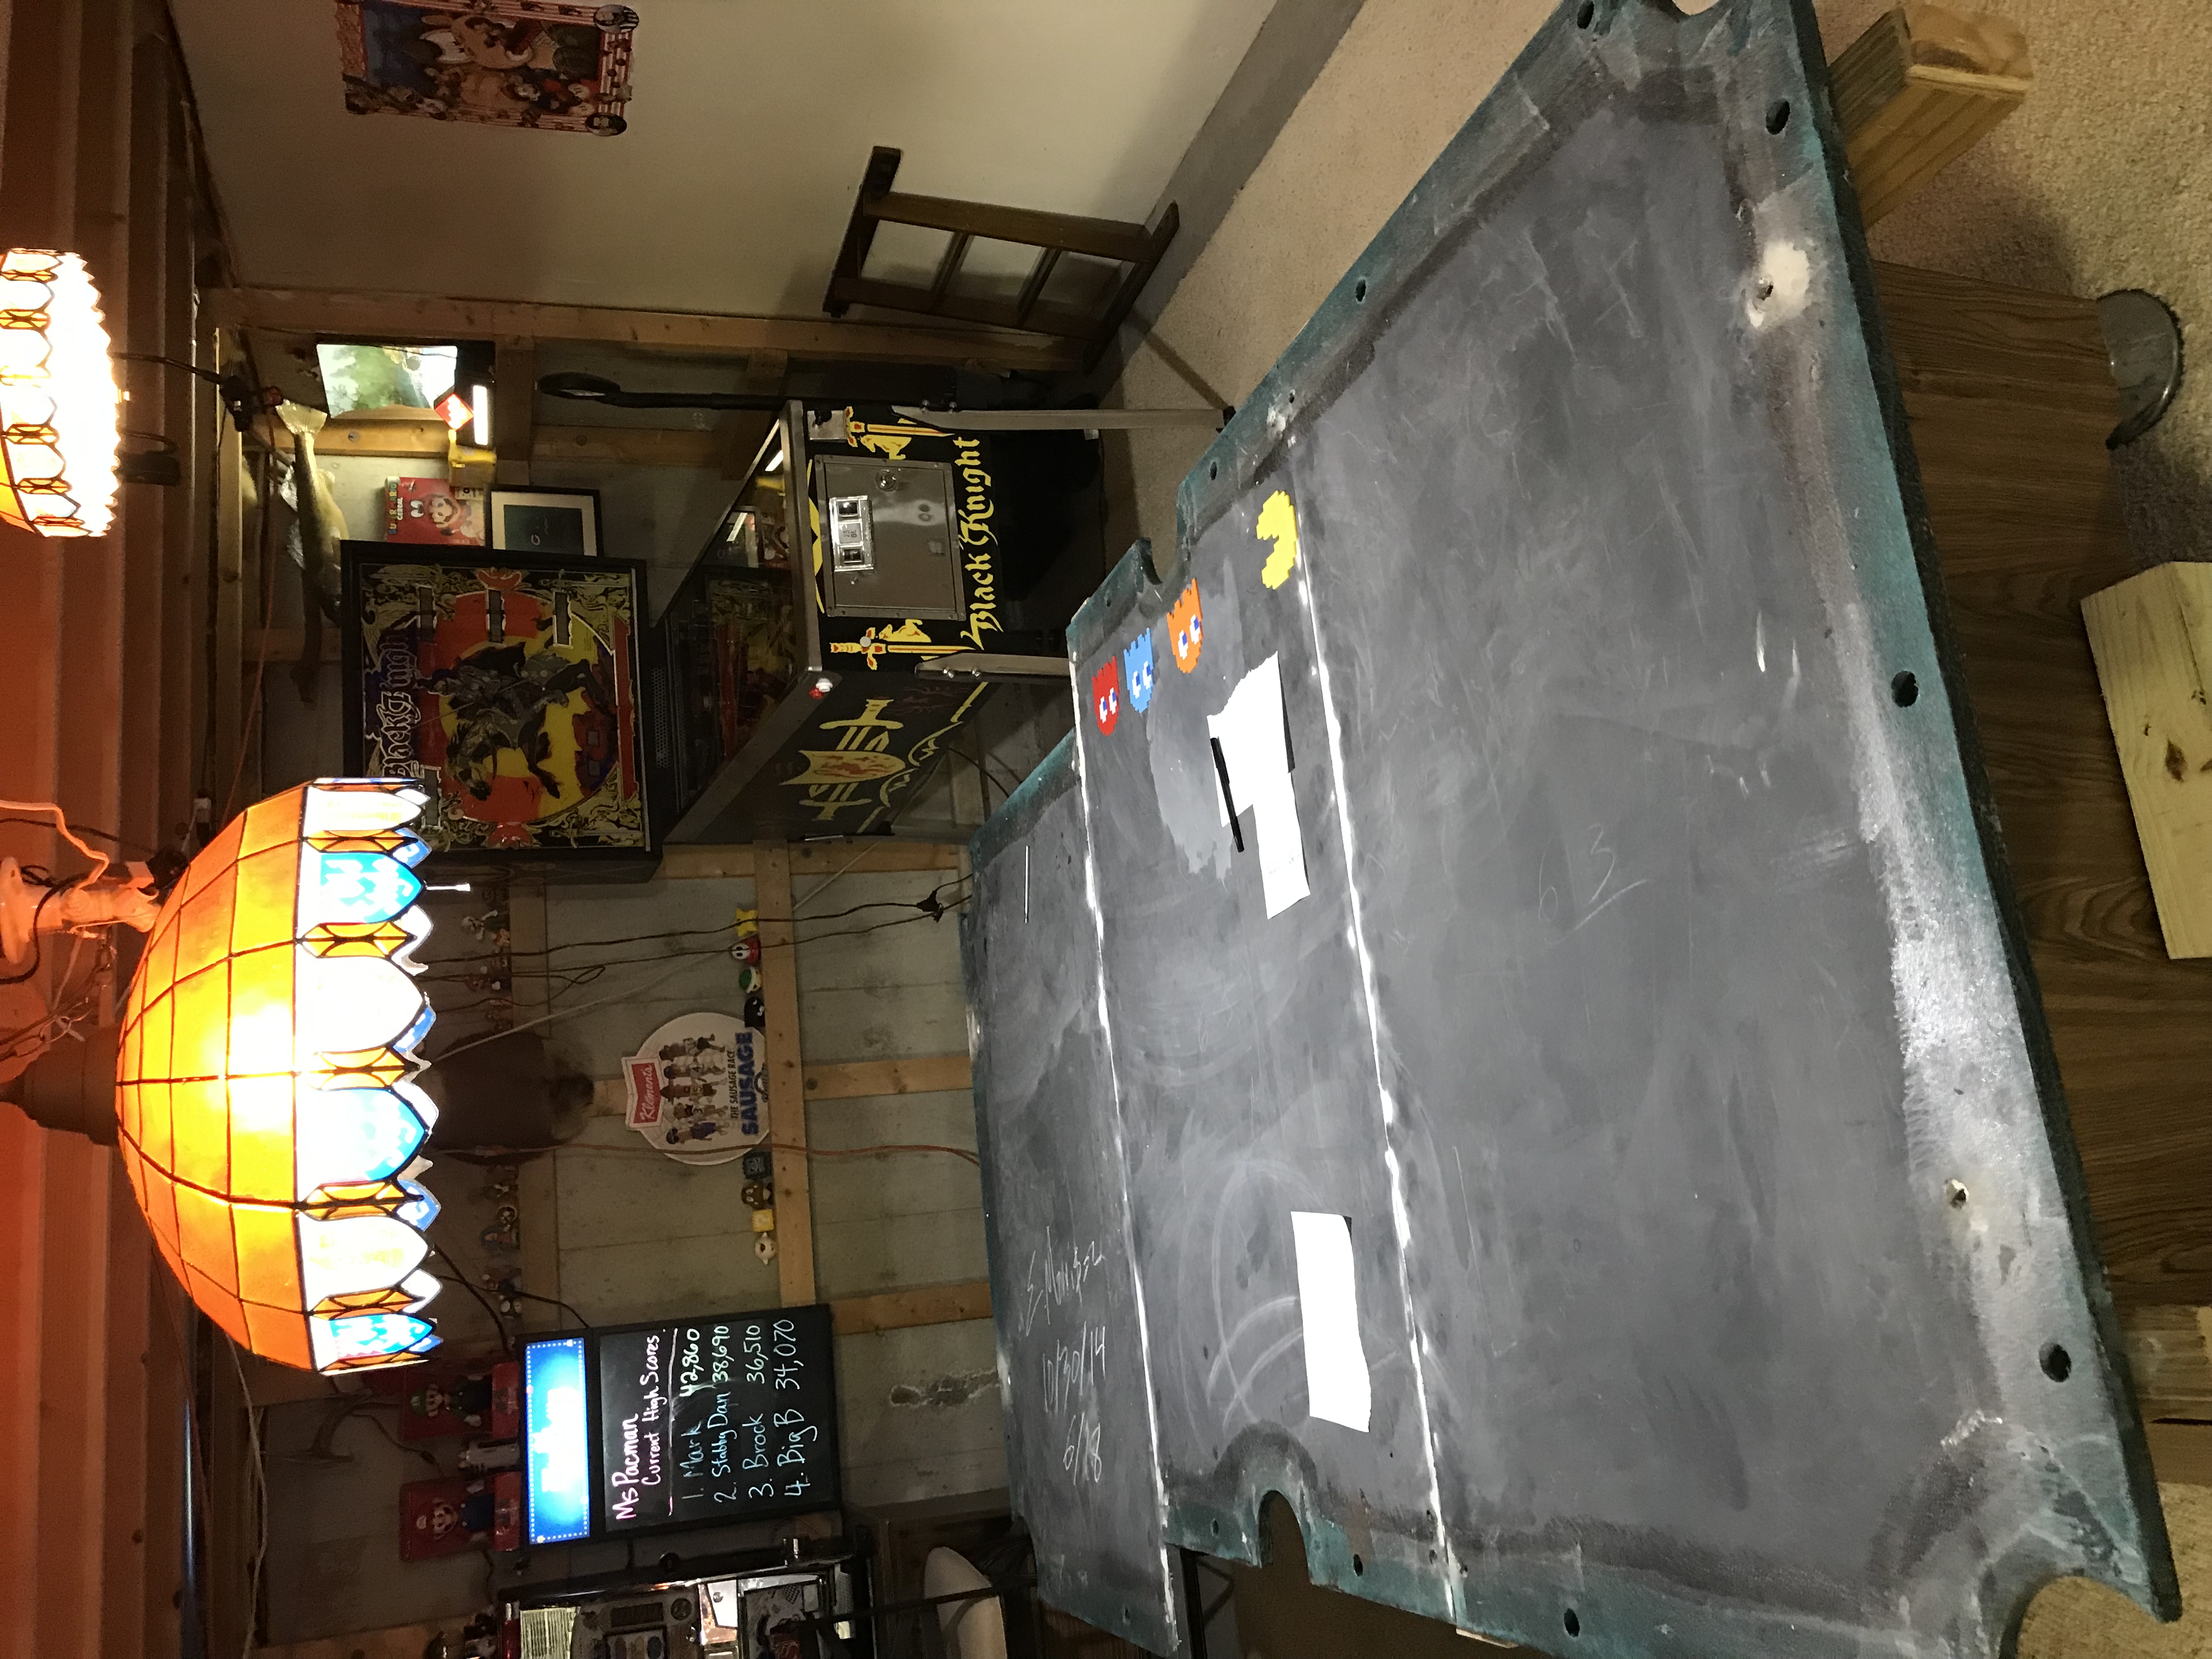
I had to post this picture because the top of the (some day to be finished) pool table is finally EMPTY! No more piles of parts, tools and cleaning stuff! It's been a long road...
And with that, time to get to the fun stuff!
![]()
Navigation Bar
![]()
![]()
![]()
![]()
![]()