
Navigation Bar
![]()
![]()
![]()
![]()
![]()
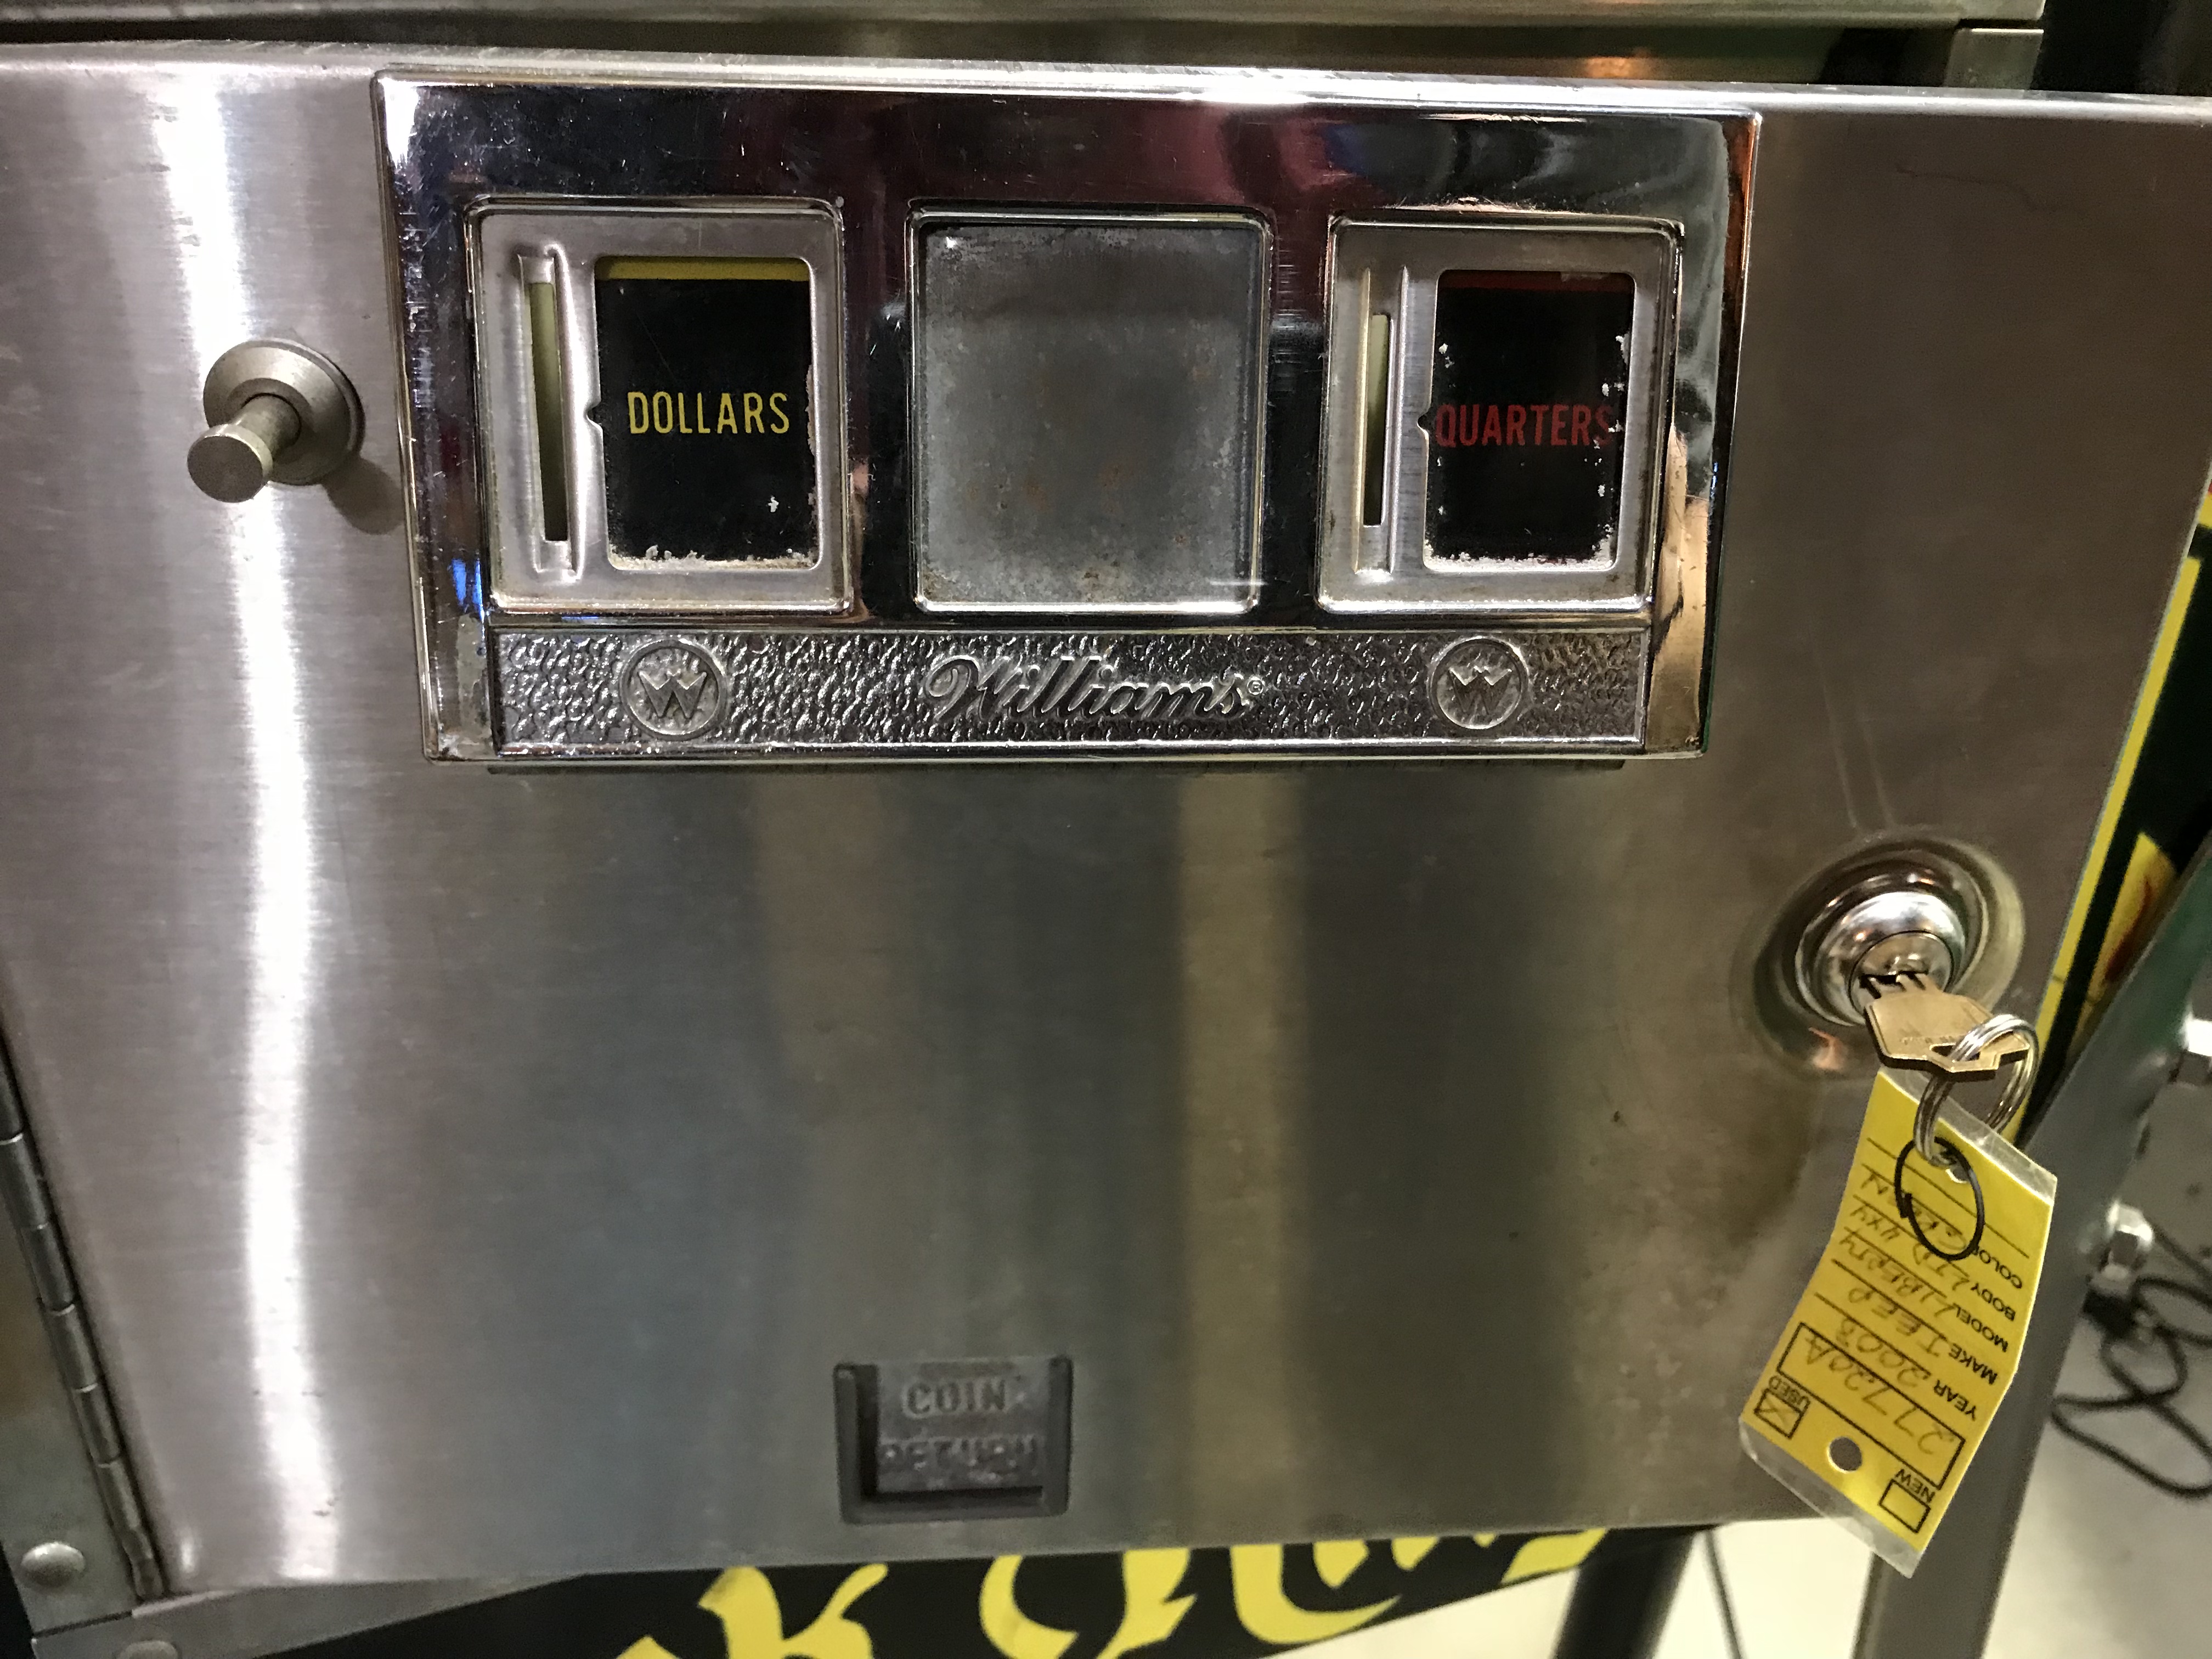
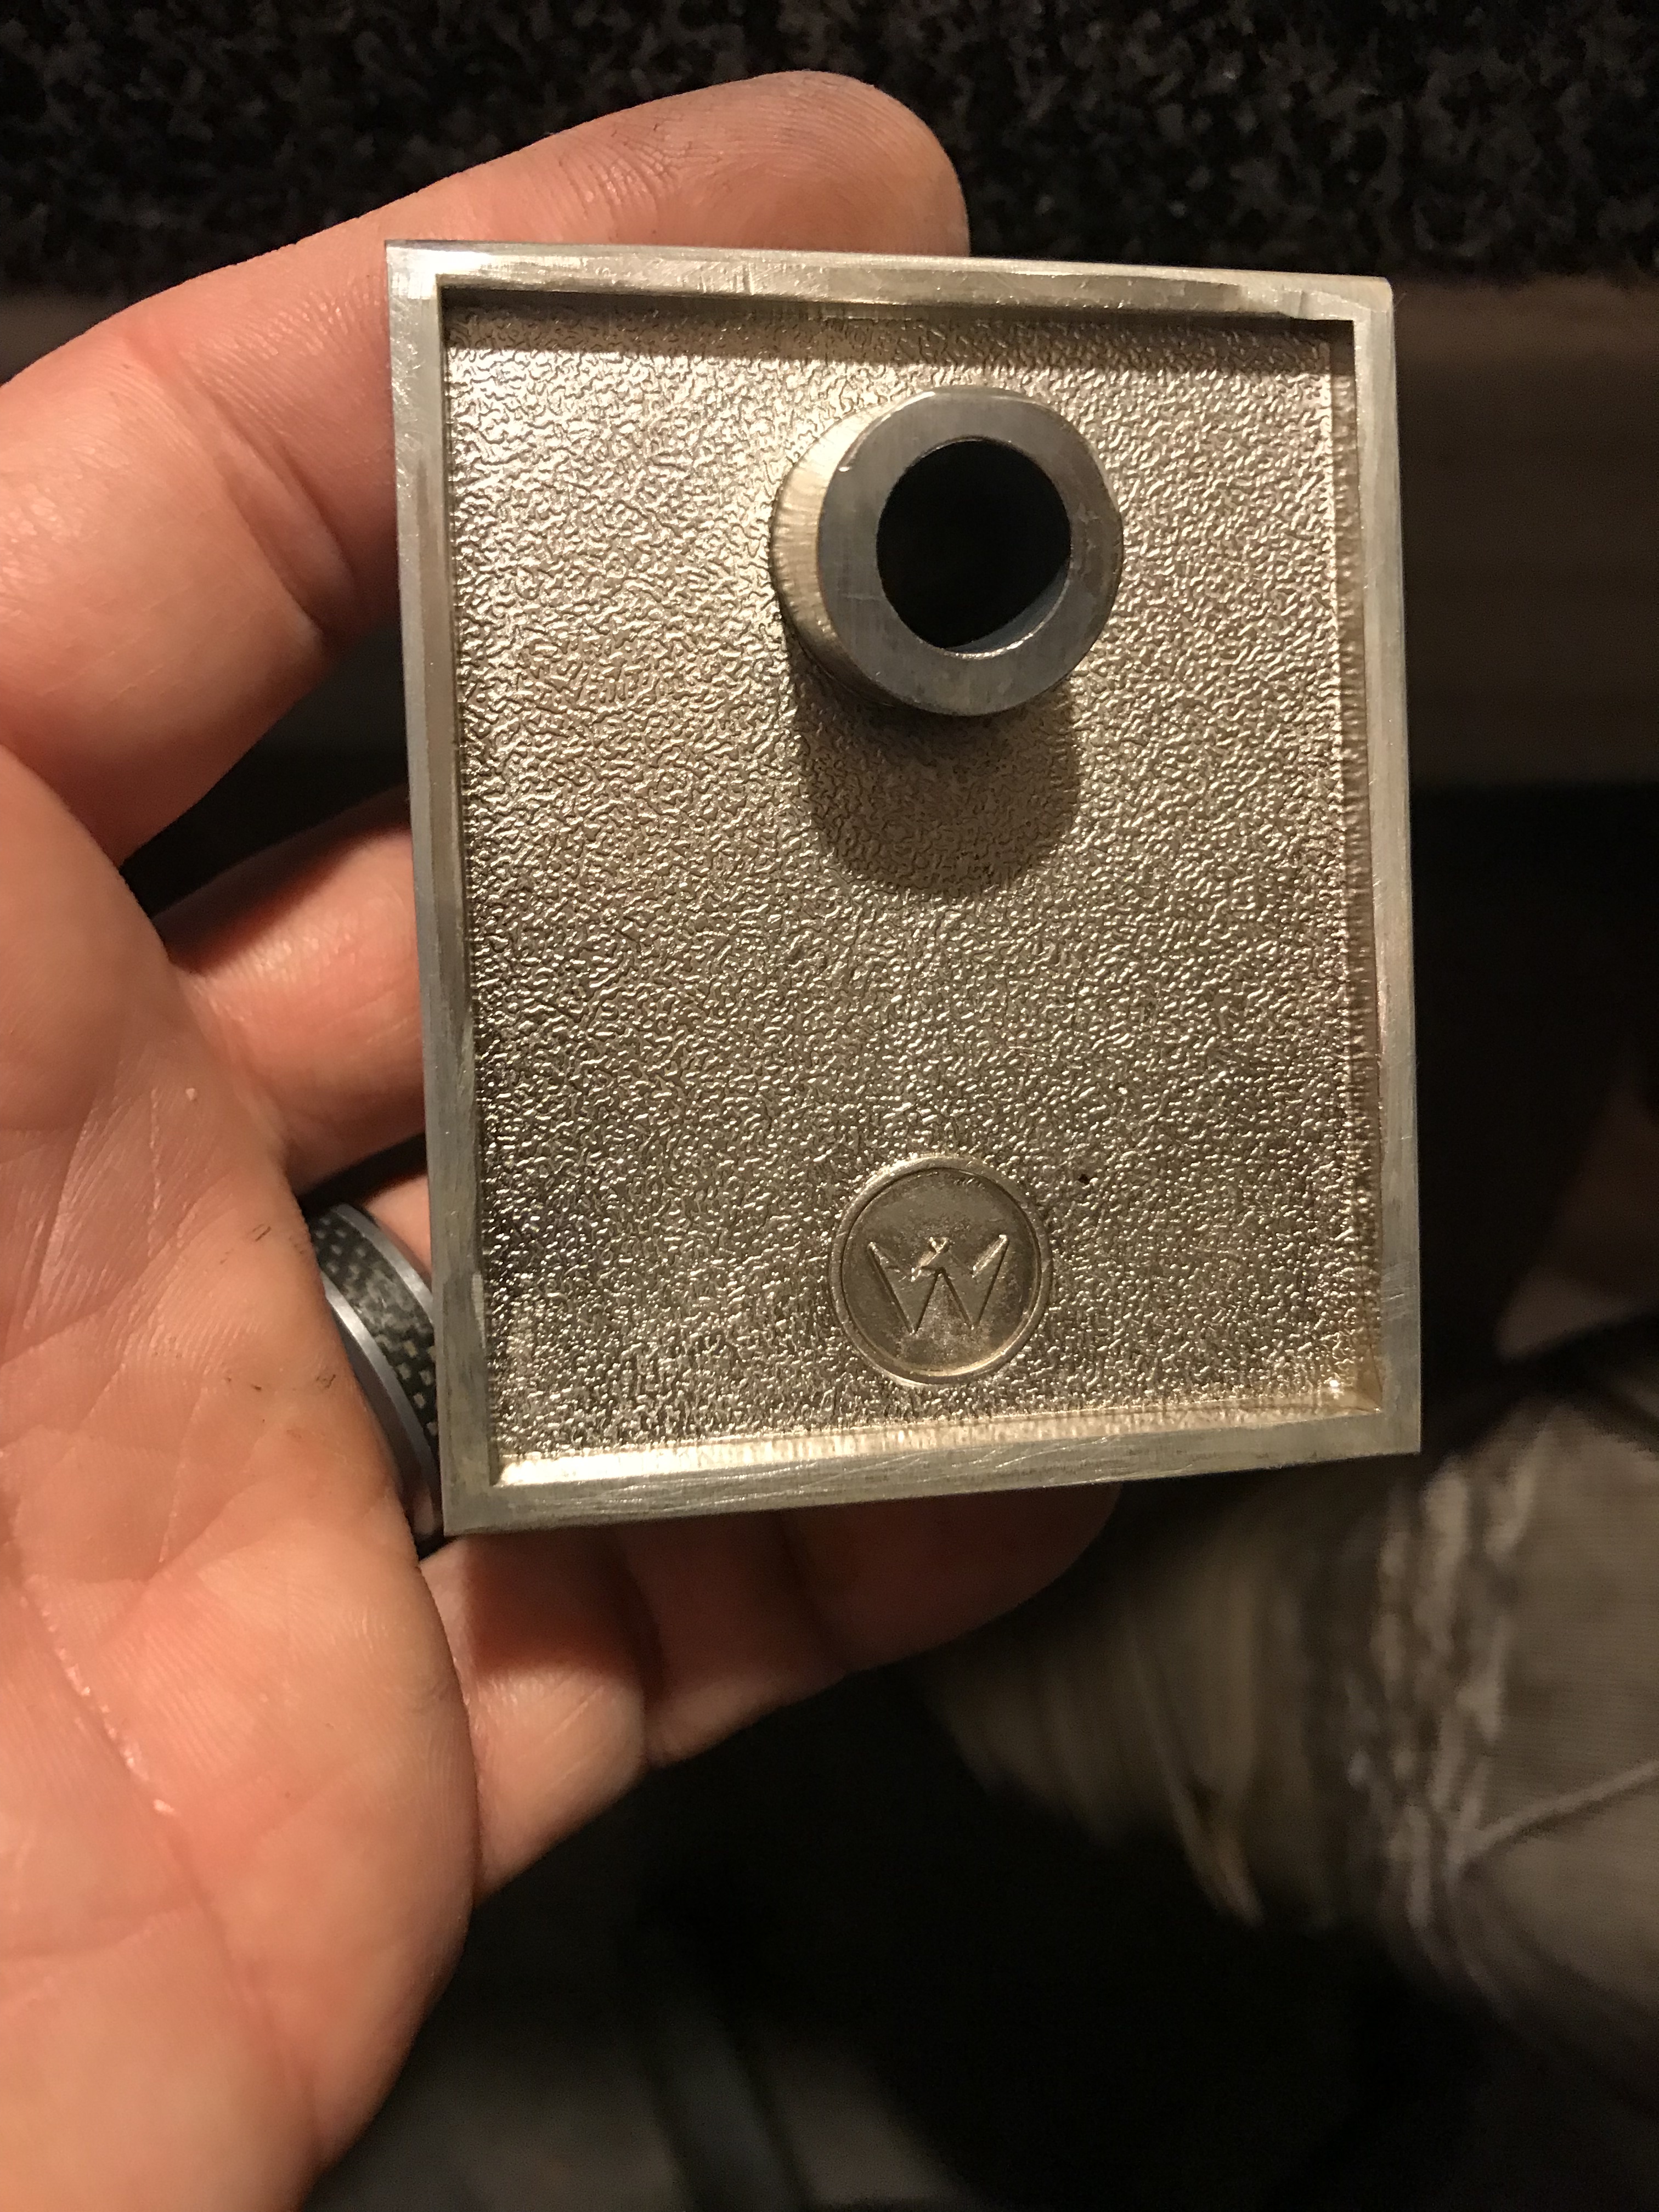
Next I decided to clean up the coin door inserts as well as figure out something cool to put in the middle slot.
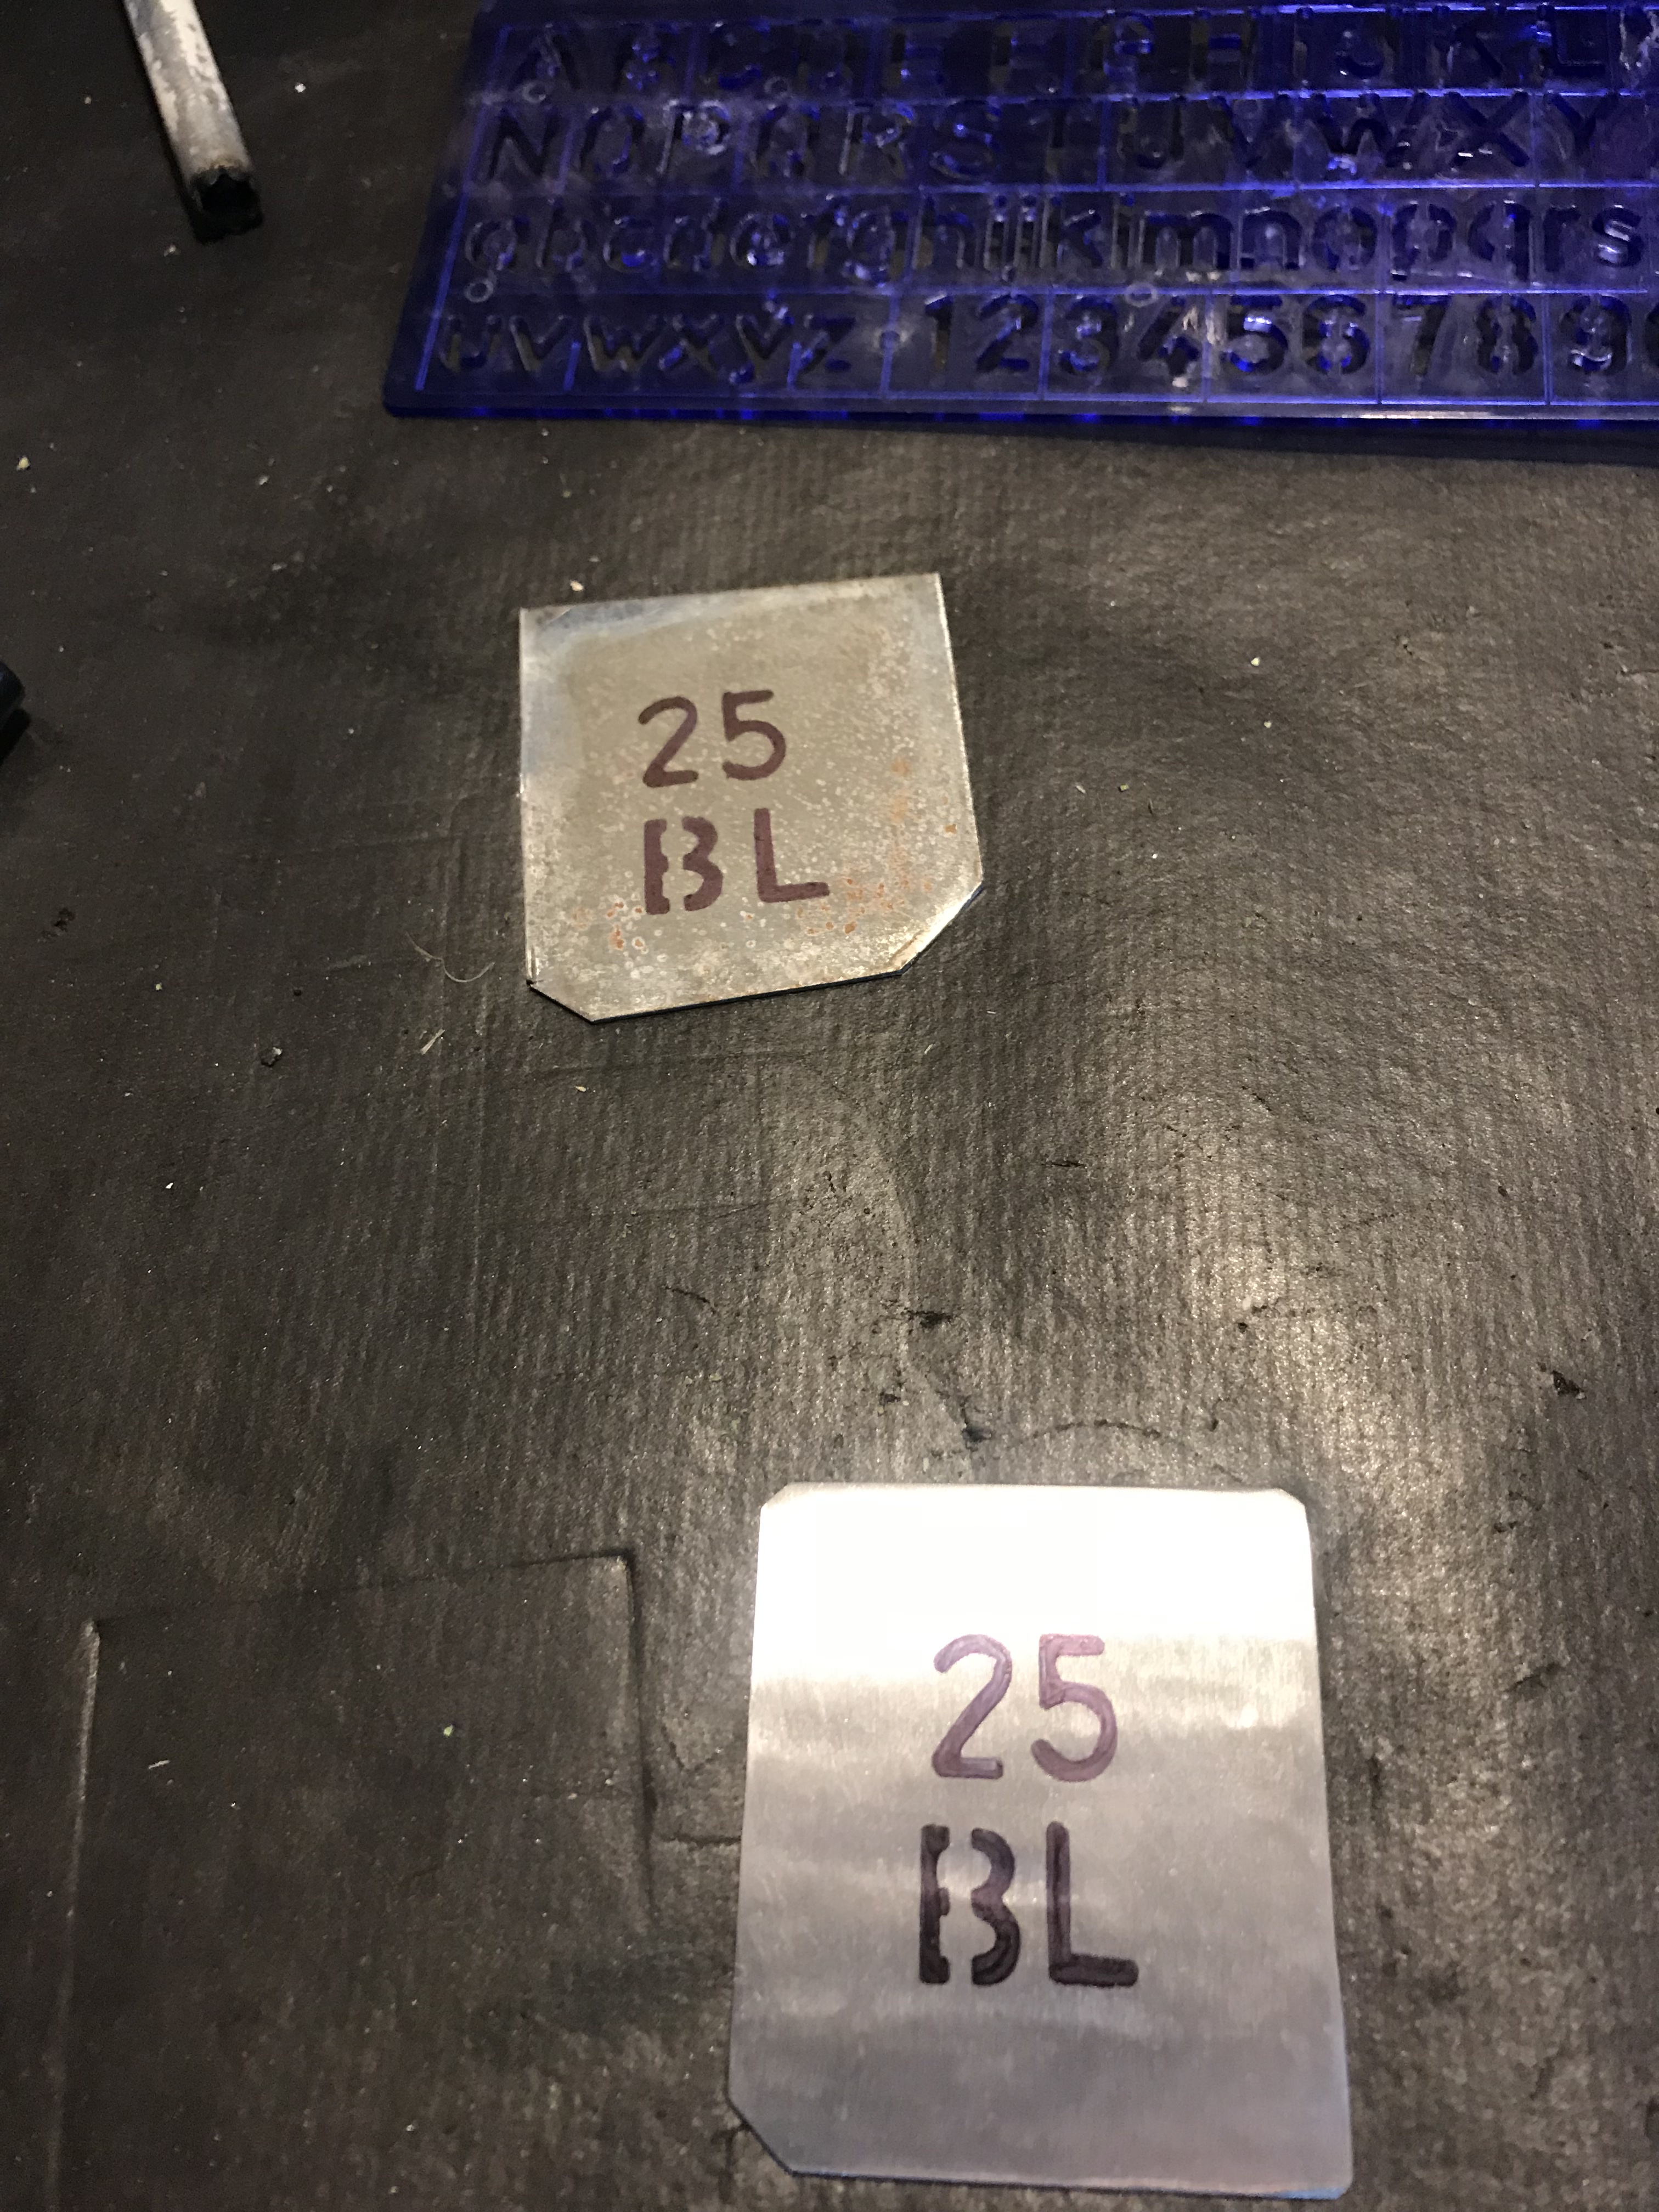
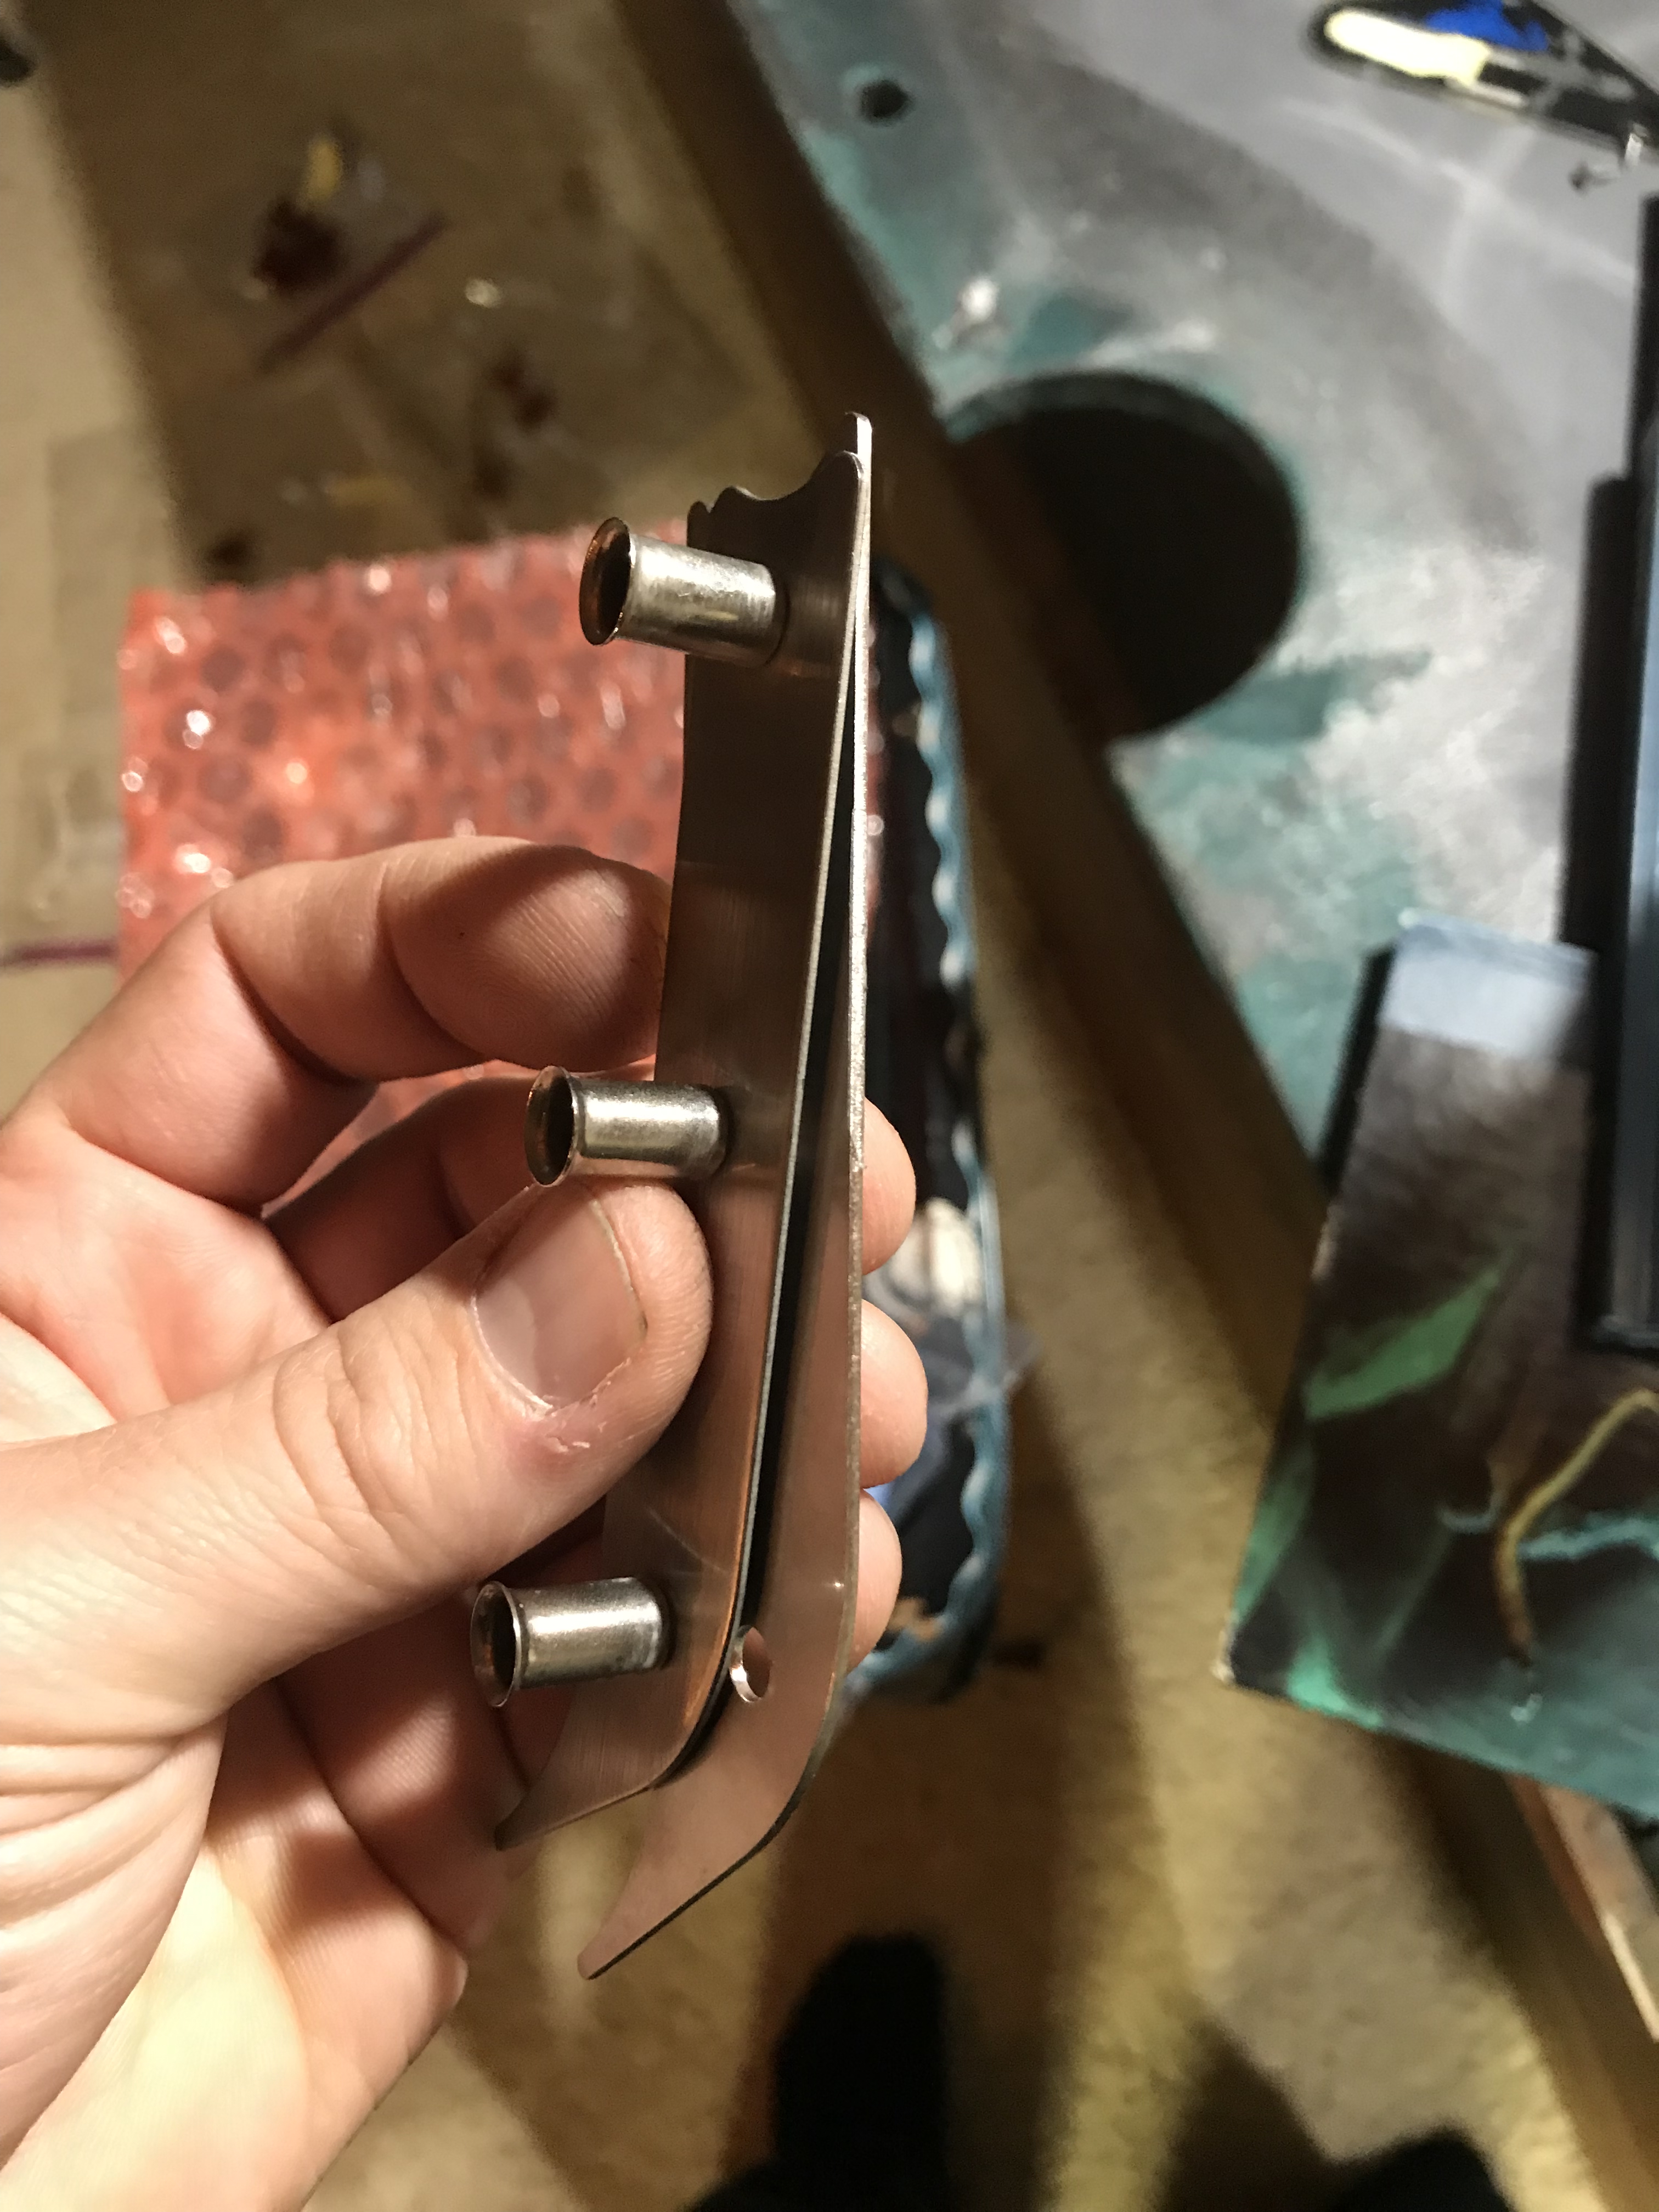
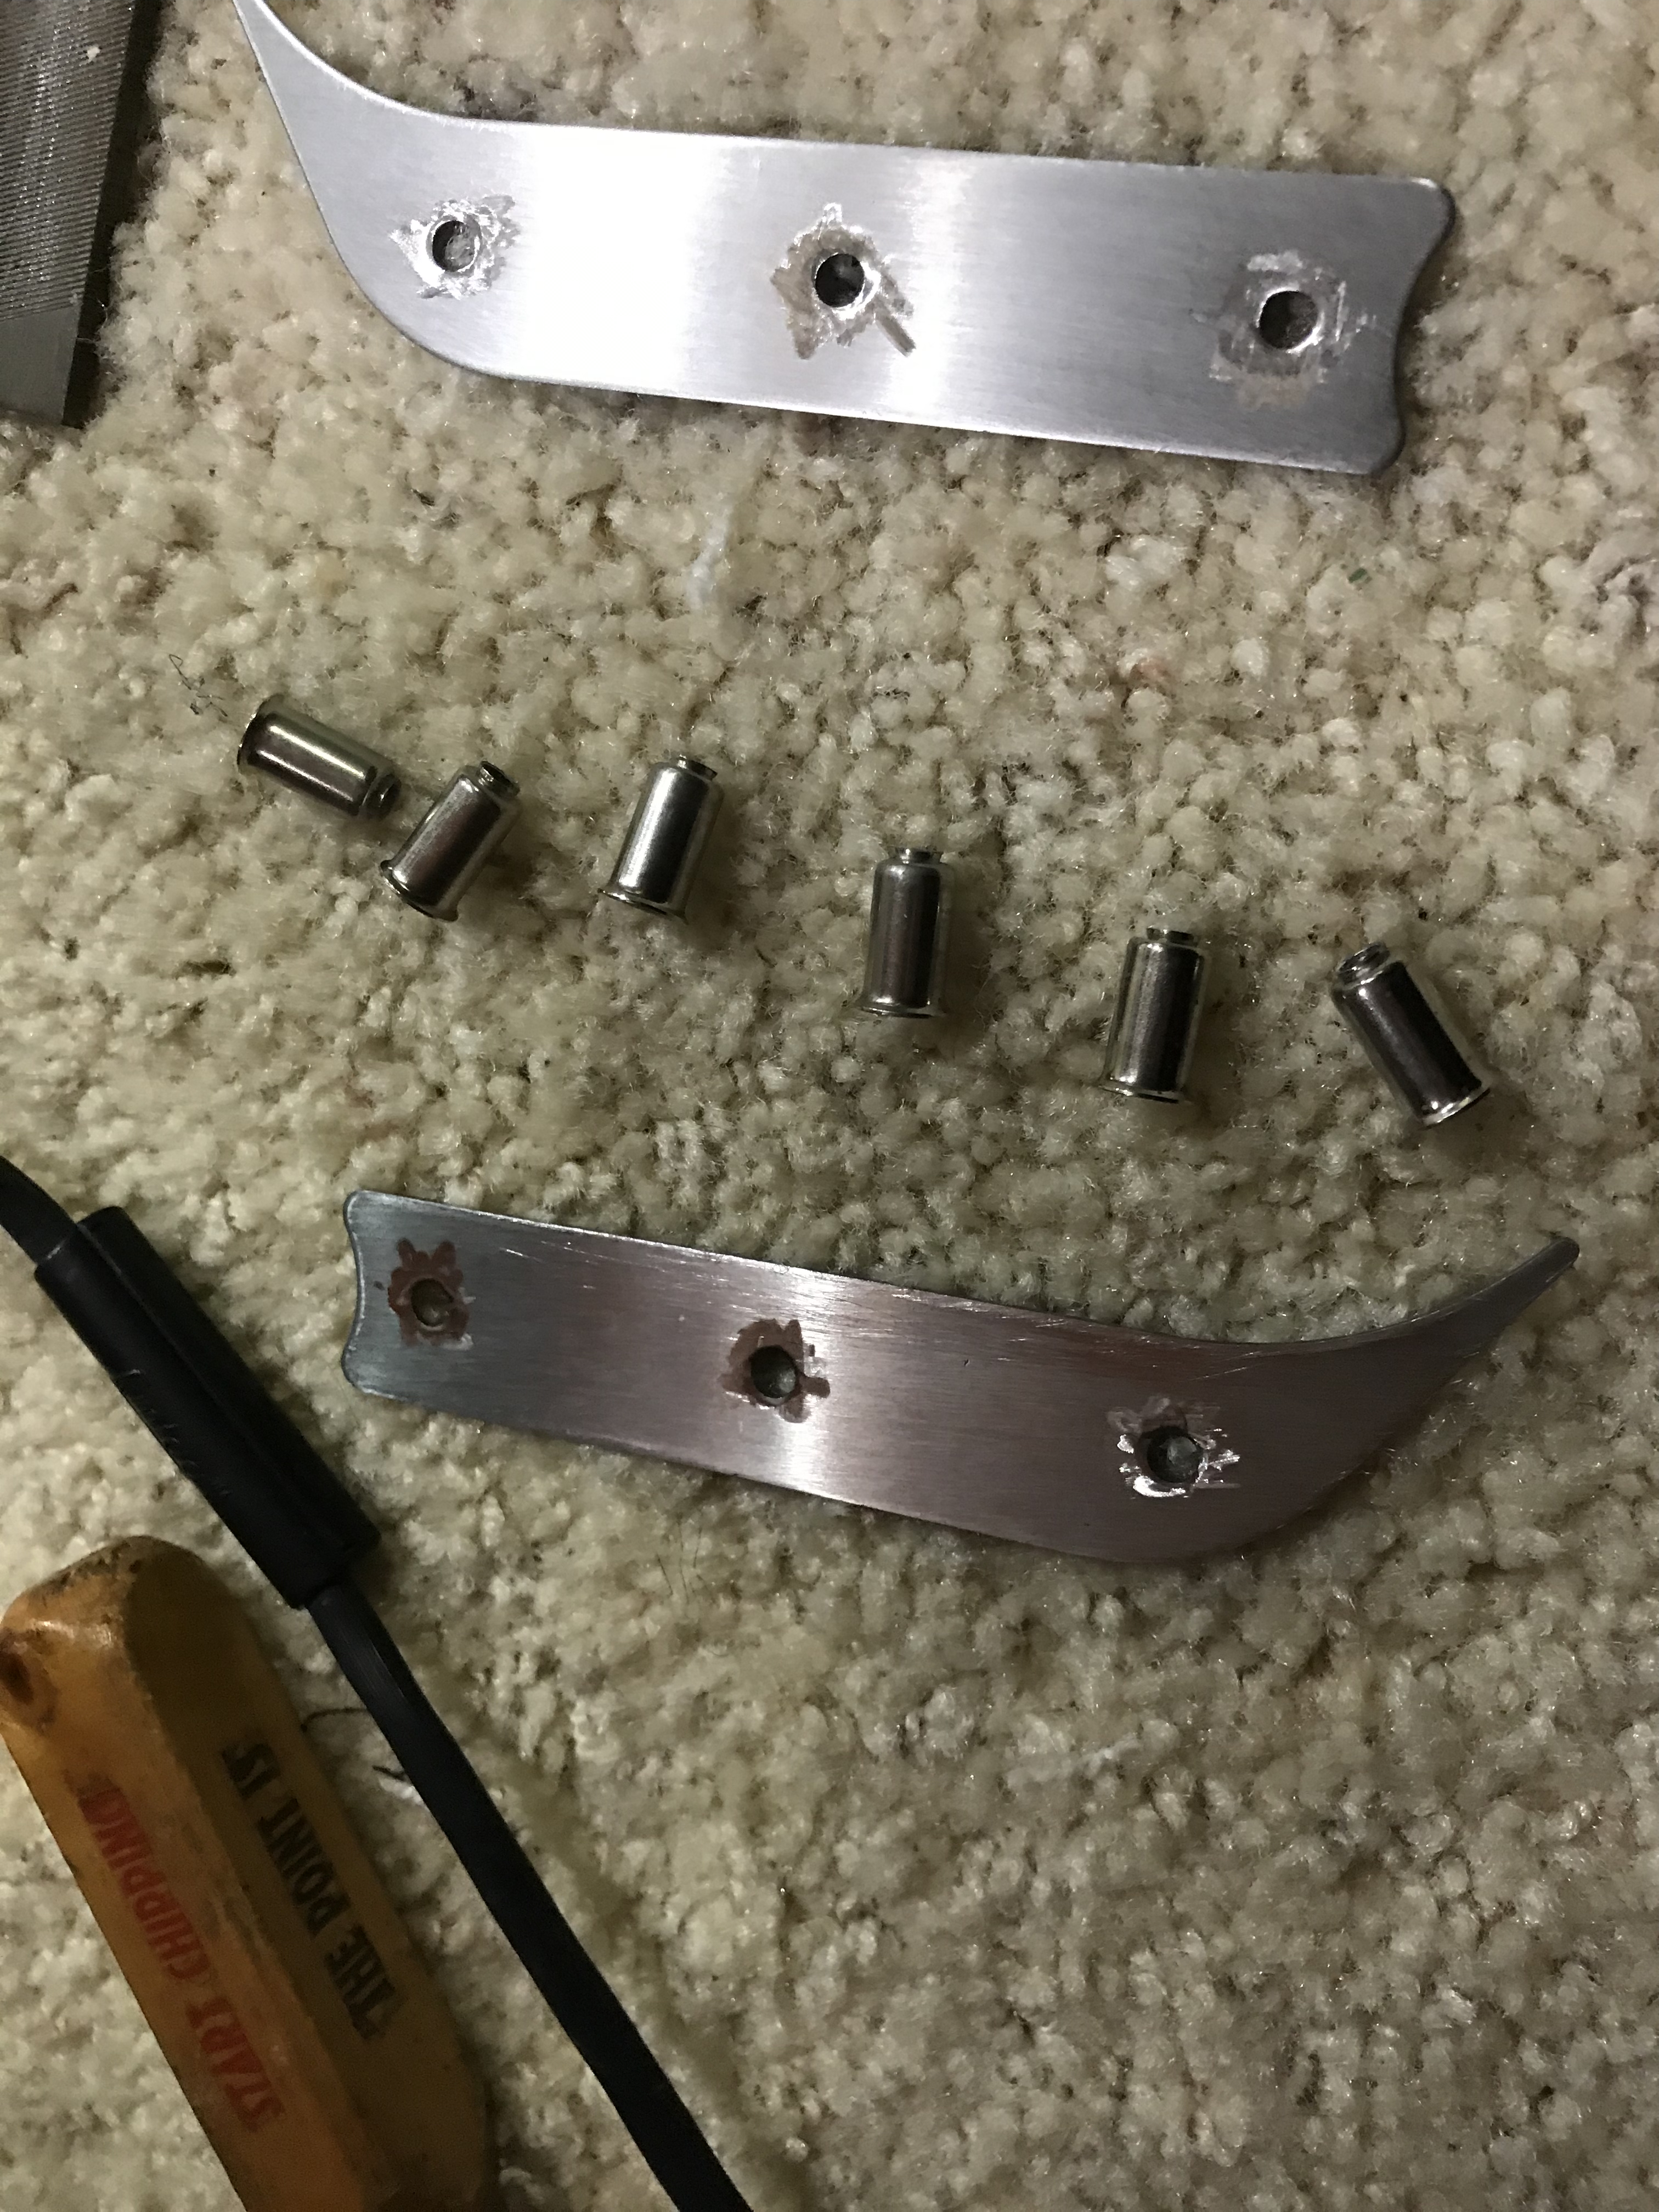
The old pieces in the middle were bent, corroded, and were some sort of cheap tin someone chopped up to fit in there. So I decided to fabricate my own replacement for the middle. I used an electrical plate cover to start with.
Chopped up a nice little square.

Next I sanded it down and rounded the corners as in the original.
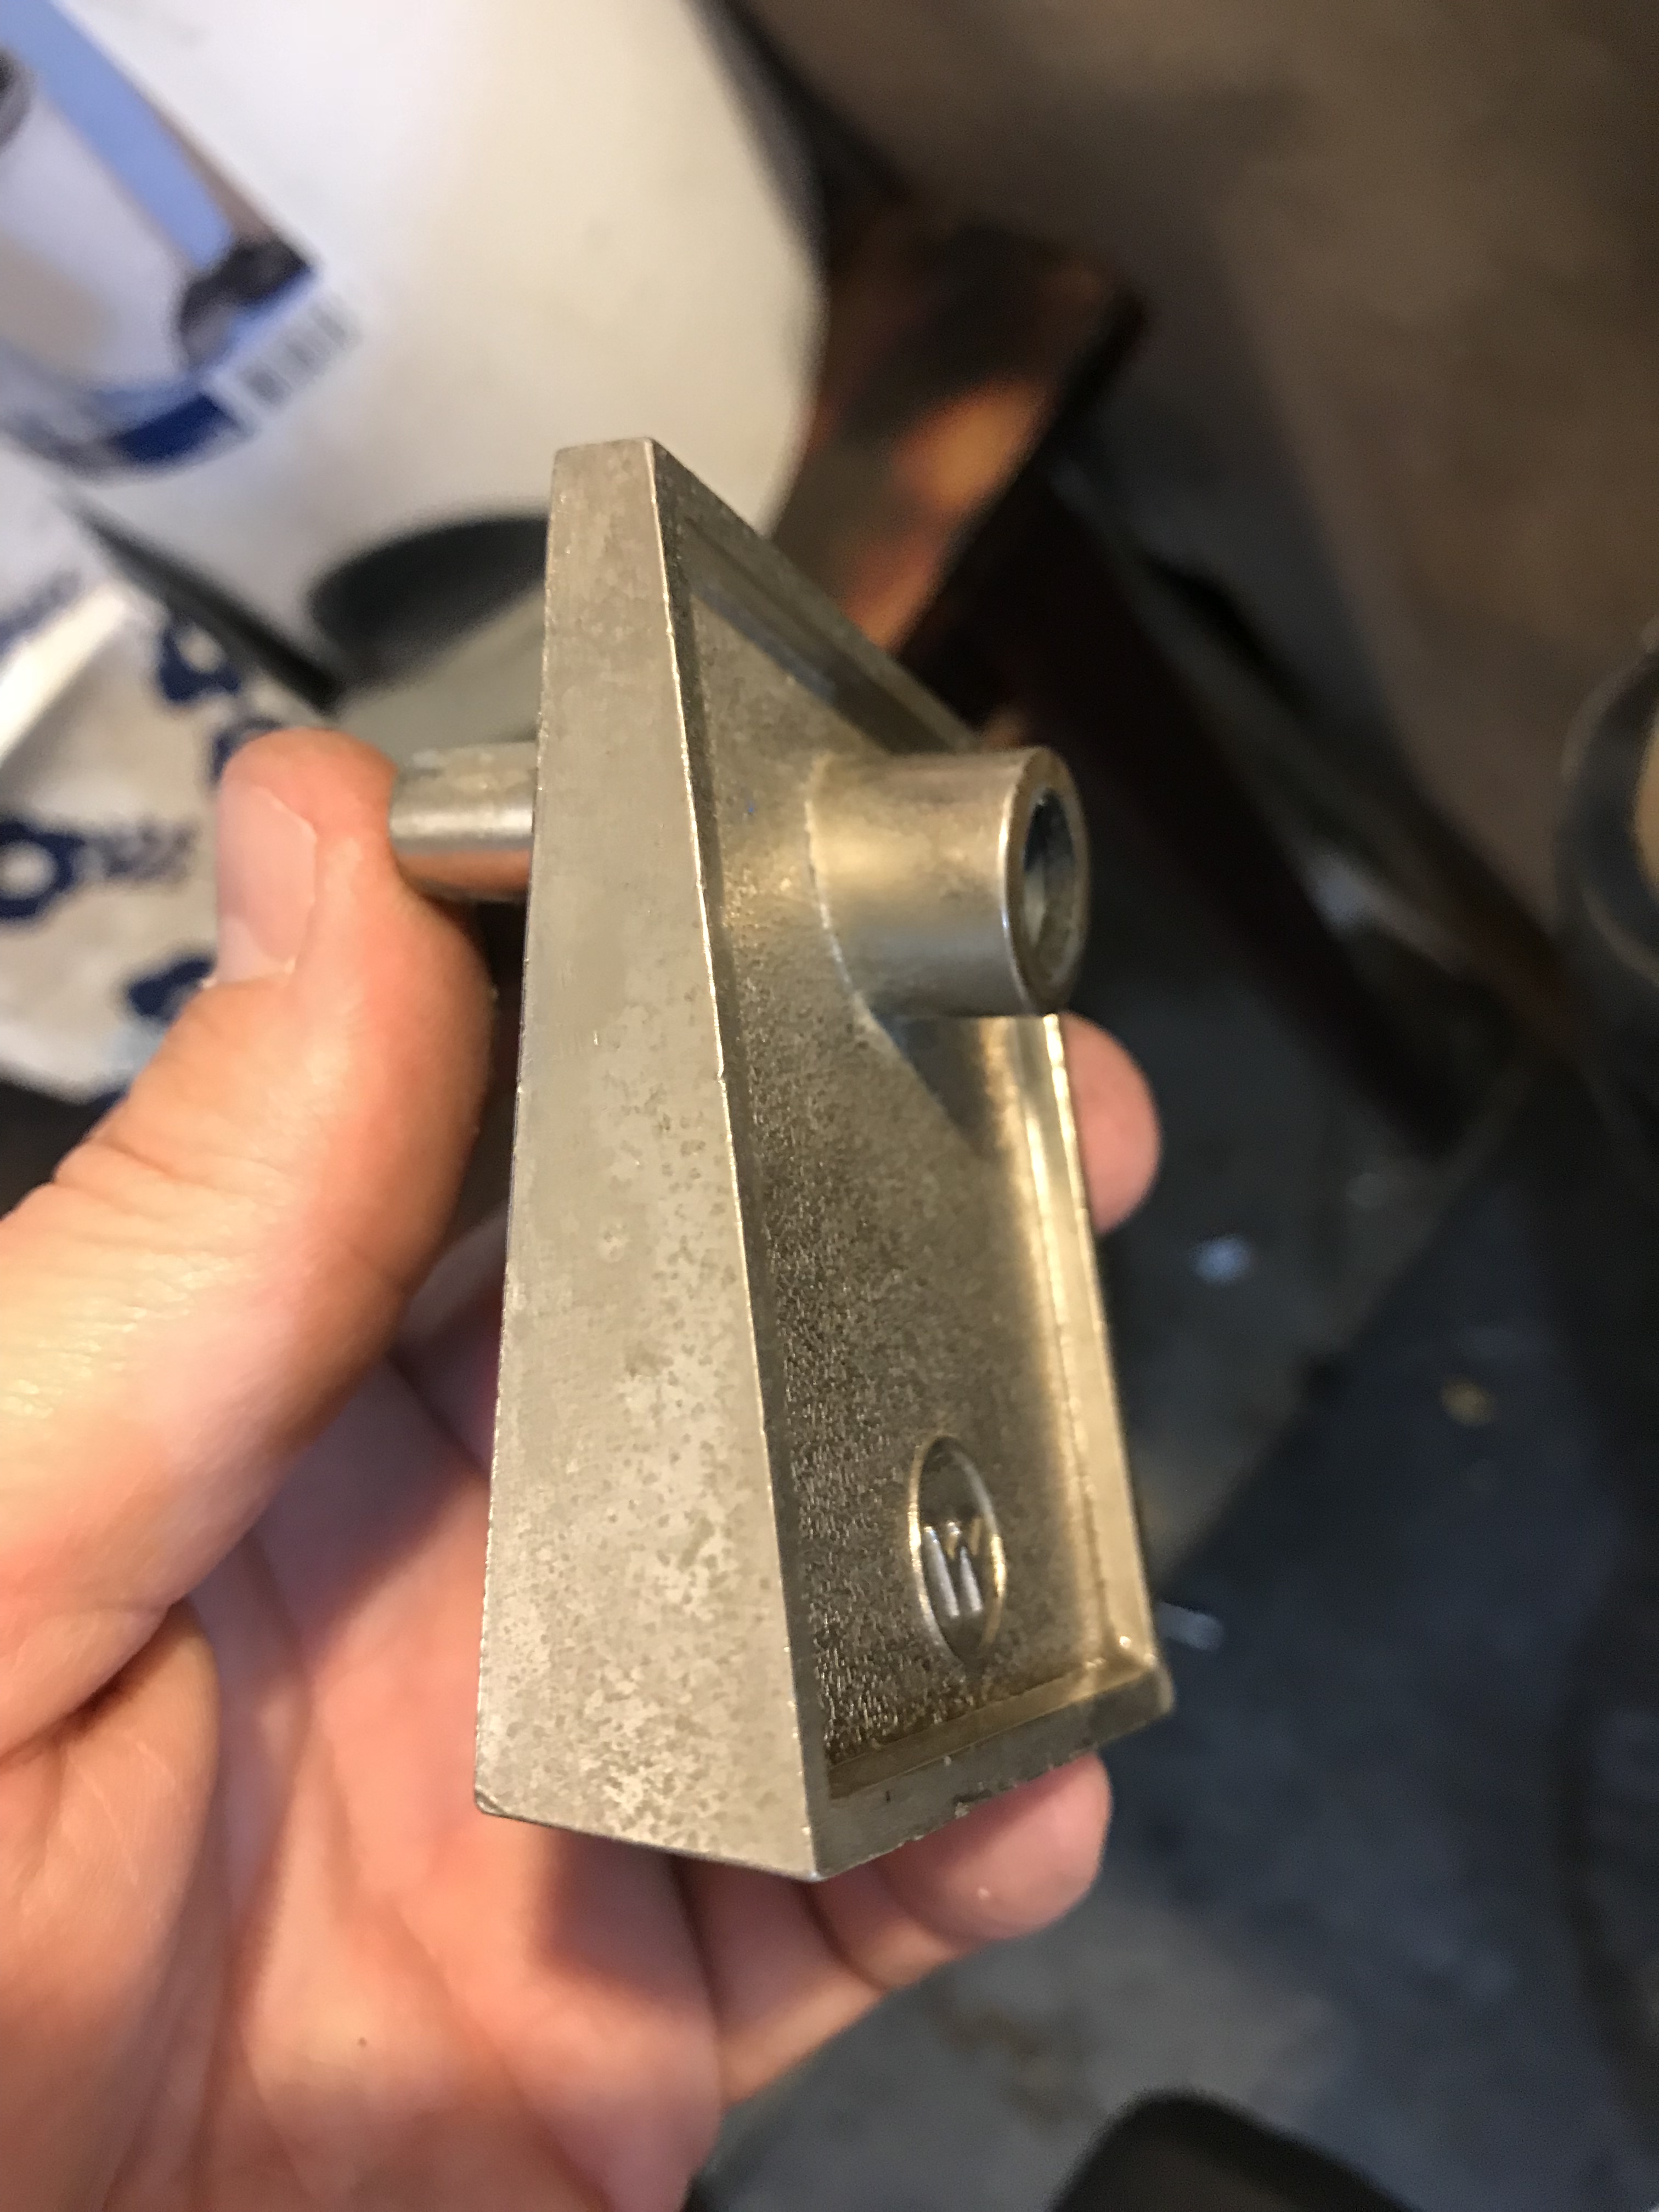
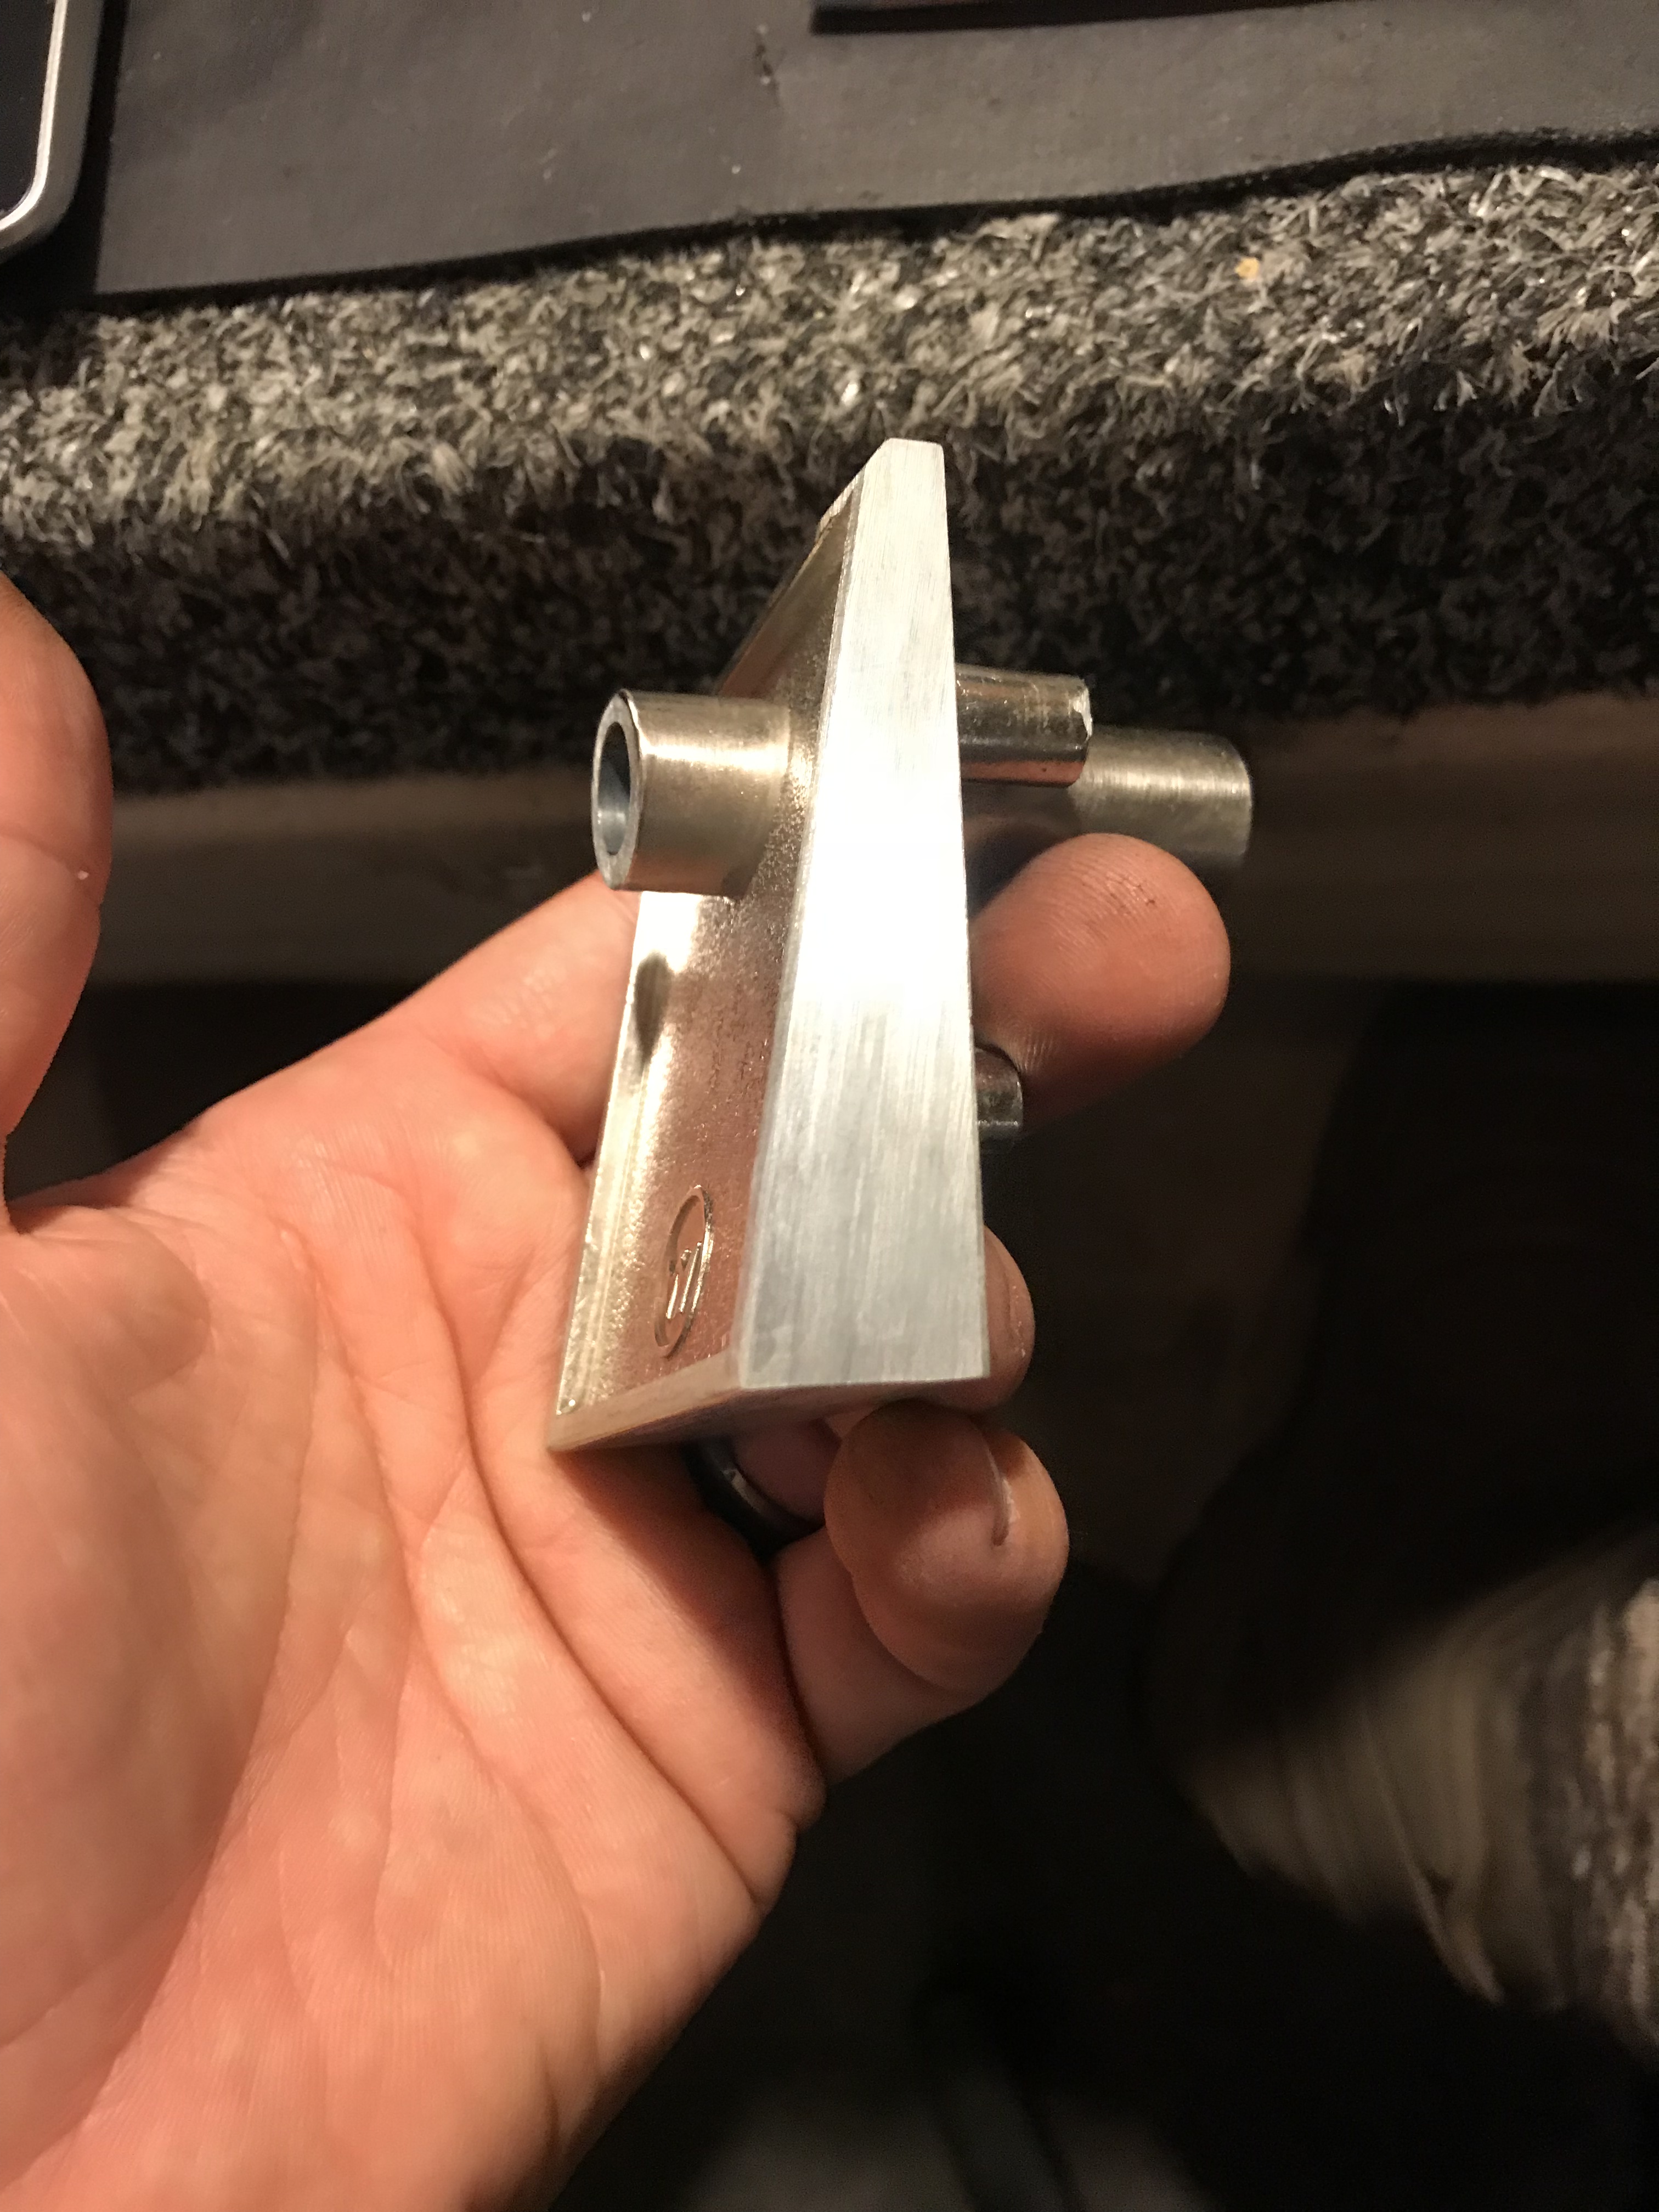
My friend calls his house "25BL" so I decided to put that on there. The upper one was the old metal parts where I tested the lettering. Below that is the new piece I made.
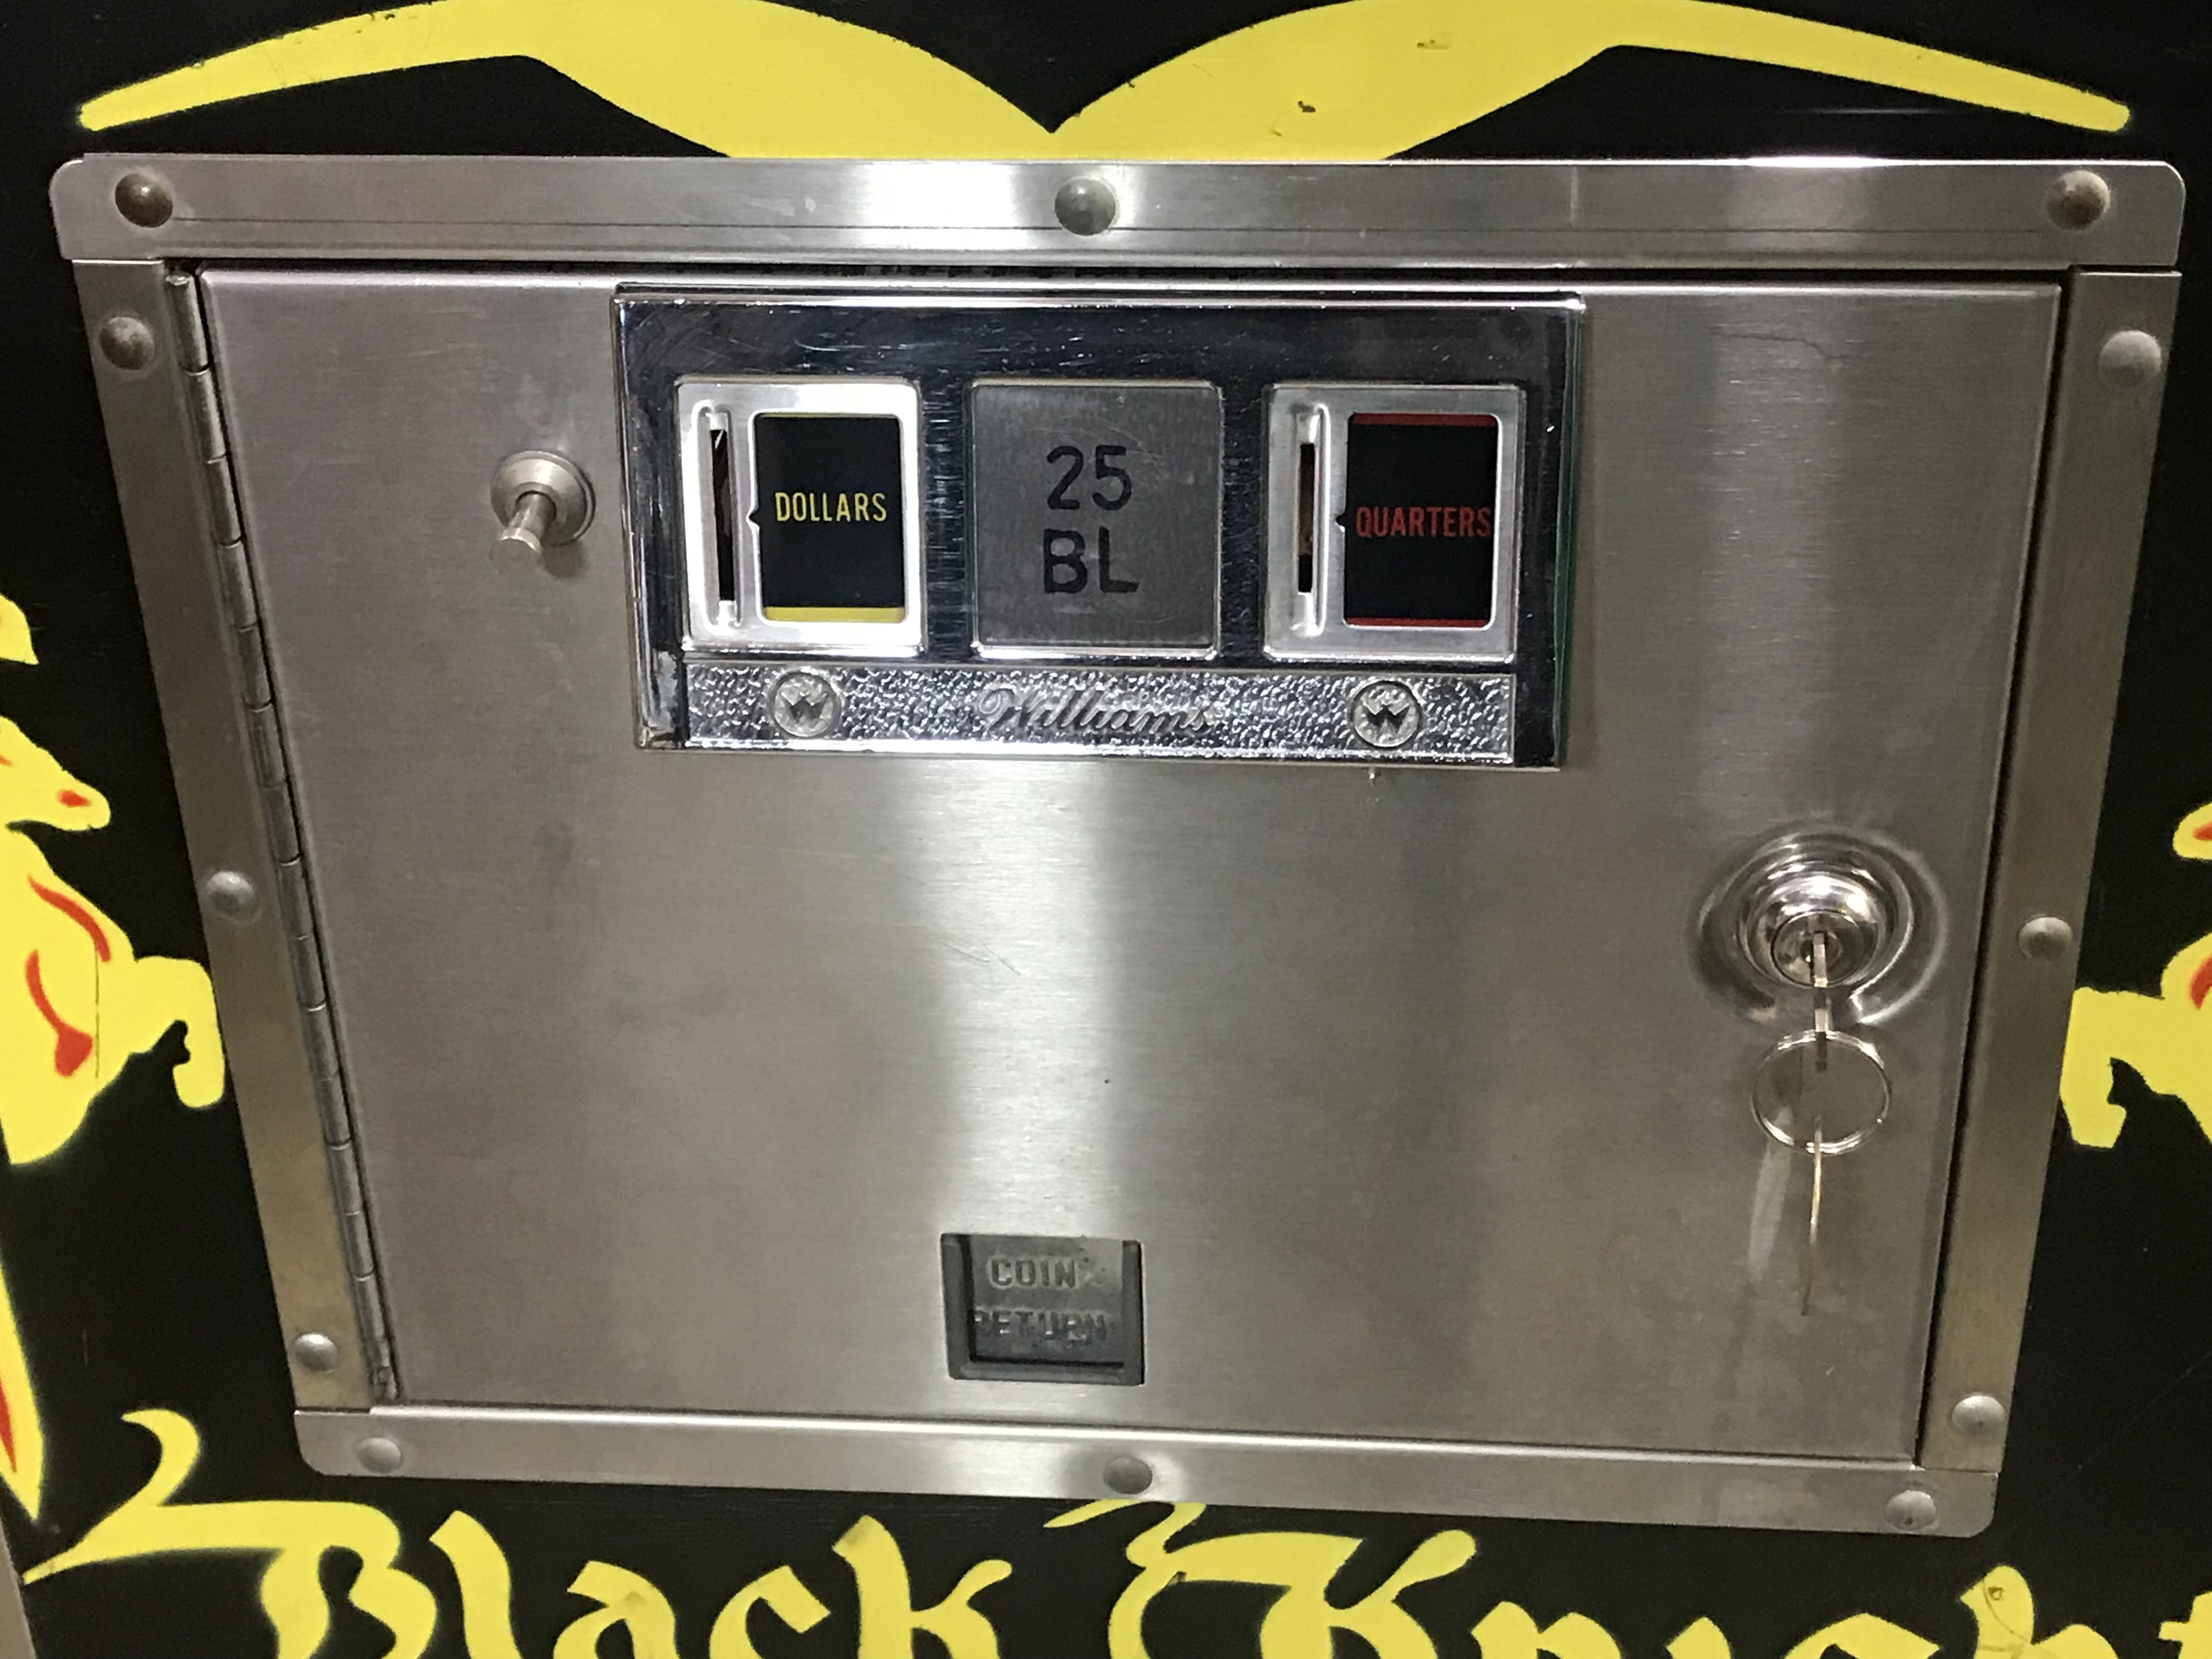
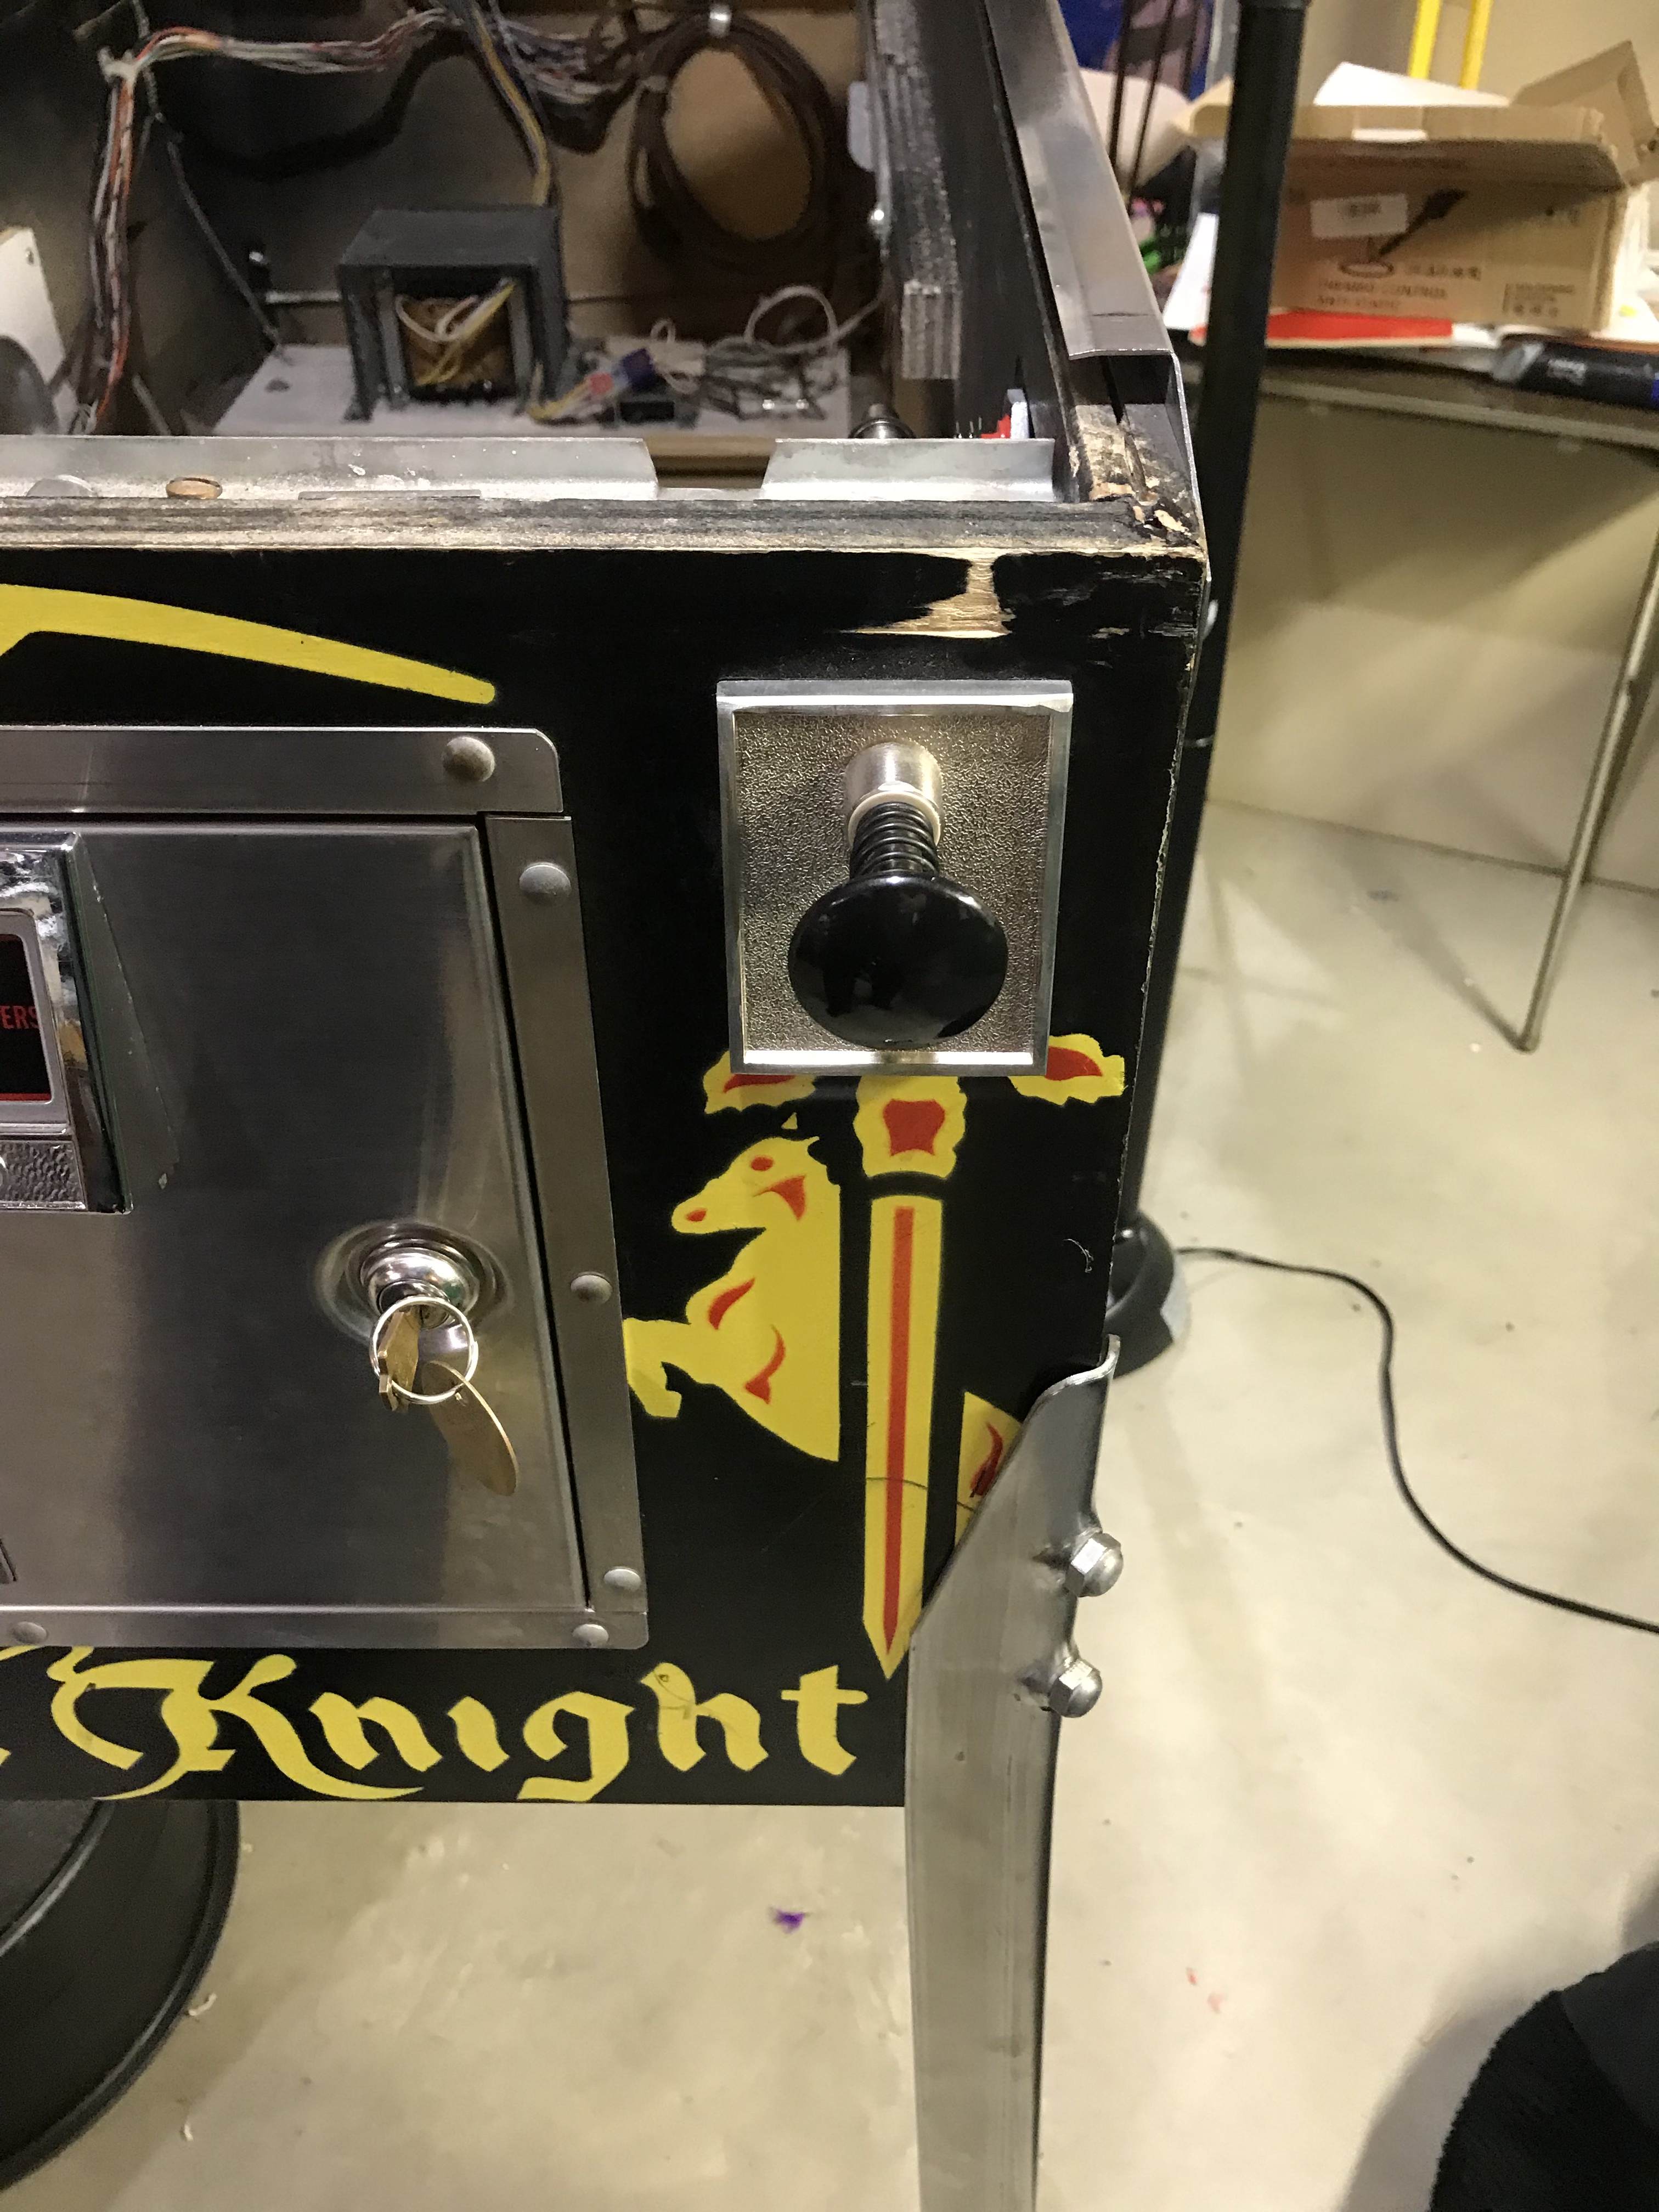
And here she is in place along with a cleaned up and polished rest of the coin door:
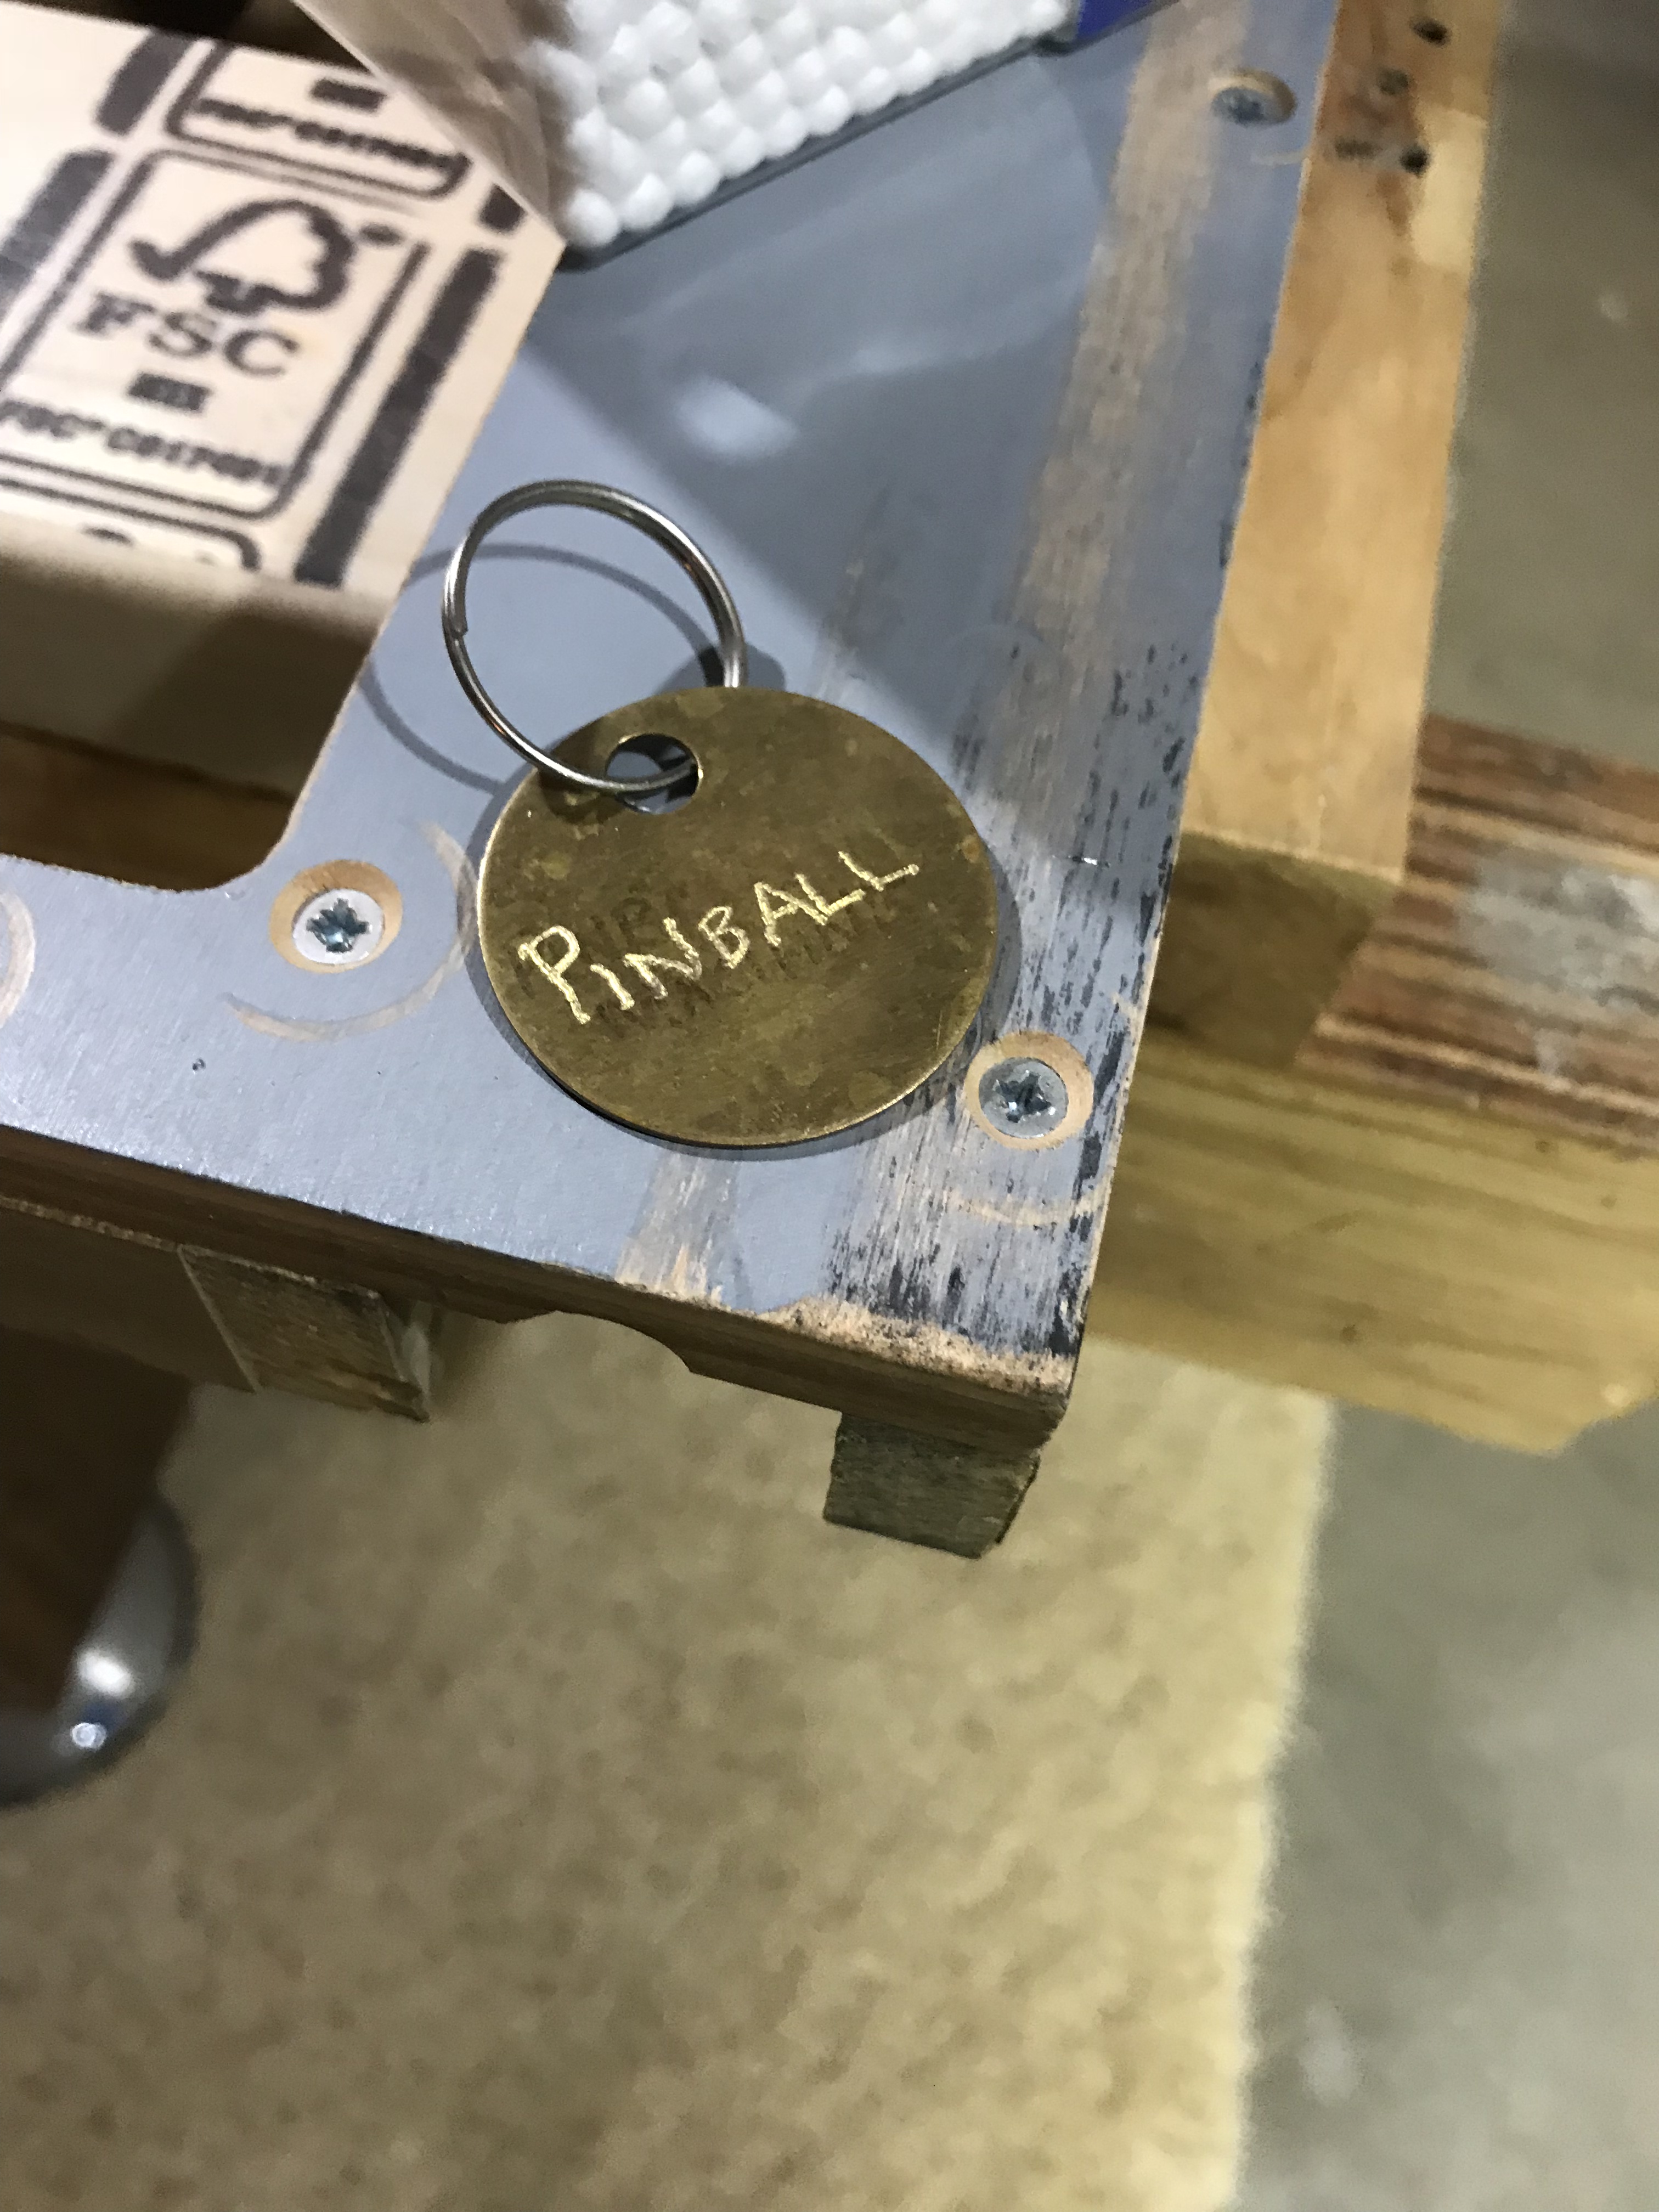
I decided to save this little keychain that were on the keys. Why someone decided to write on it with a Sharpie when it was already engraved, I have no idea.
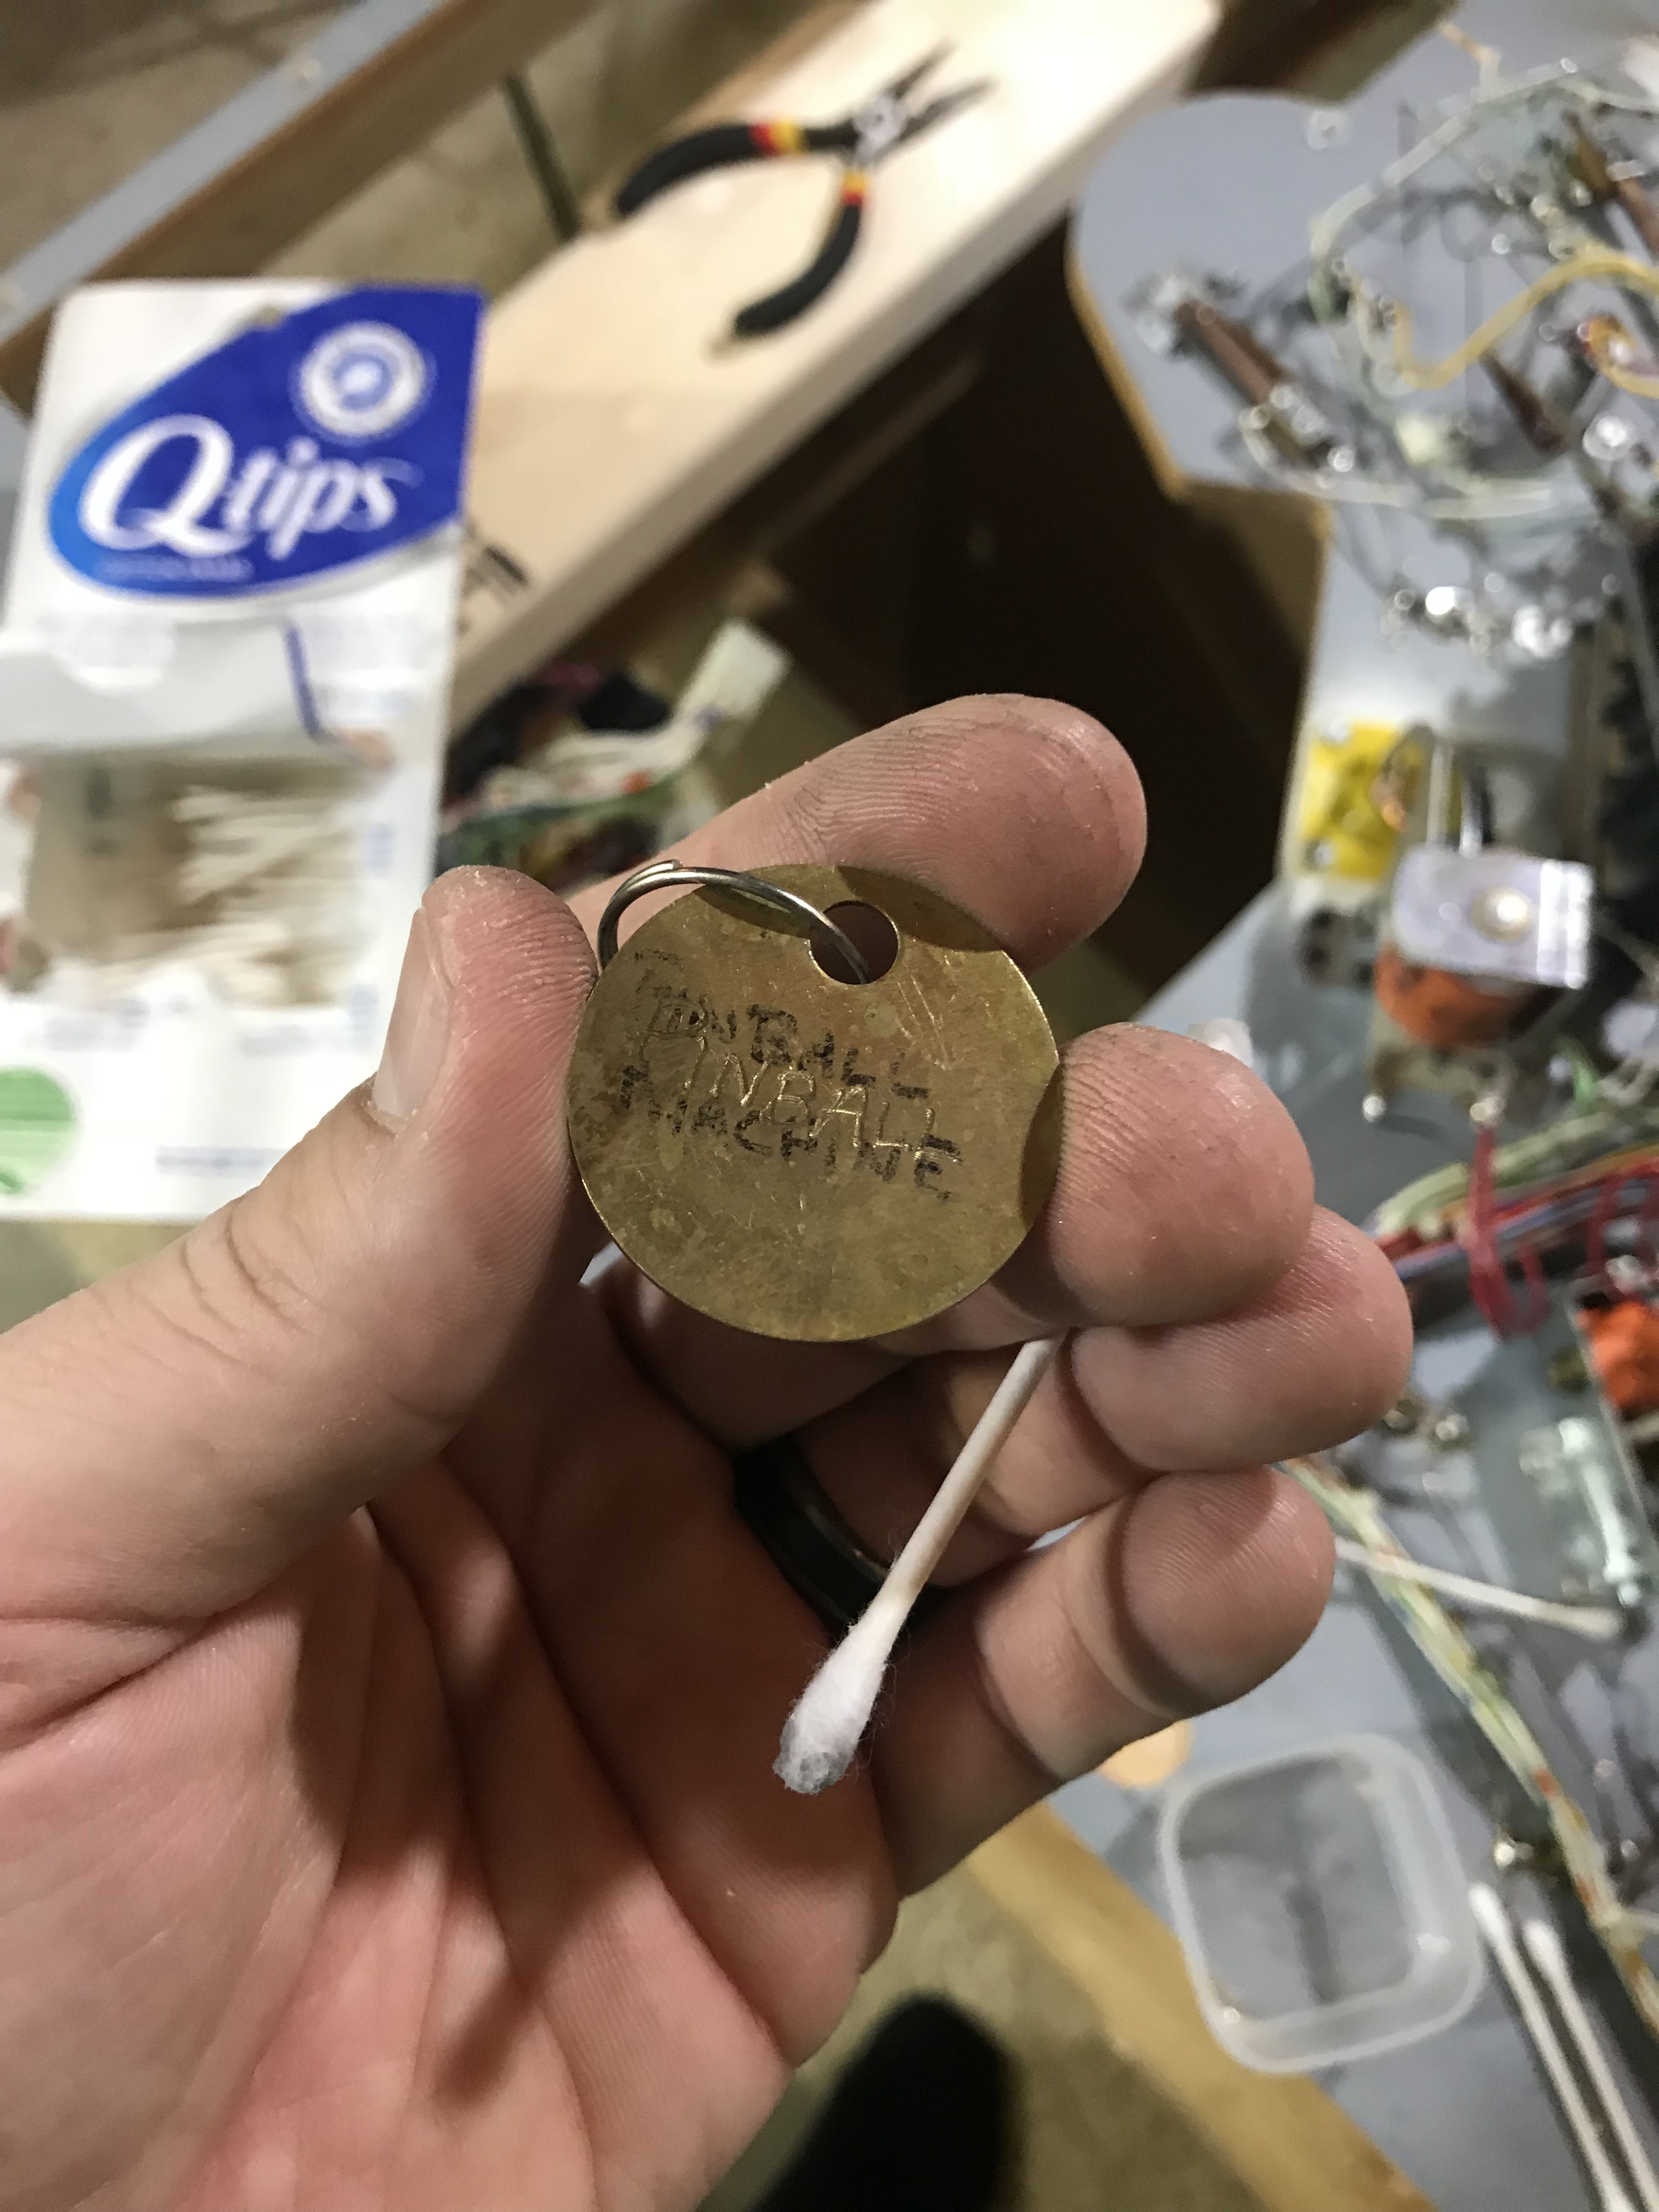
I tried to remove as much of the marker as possible, and polished it up. Looks at least a little better to me!
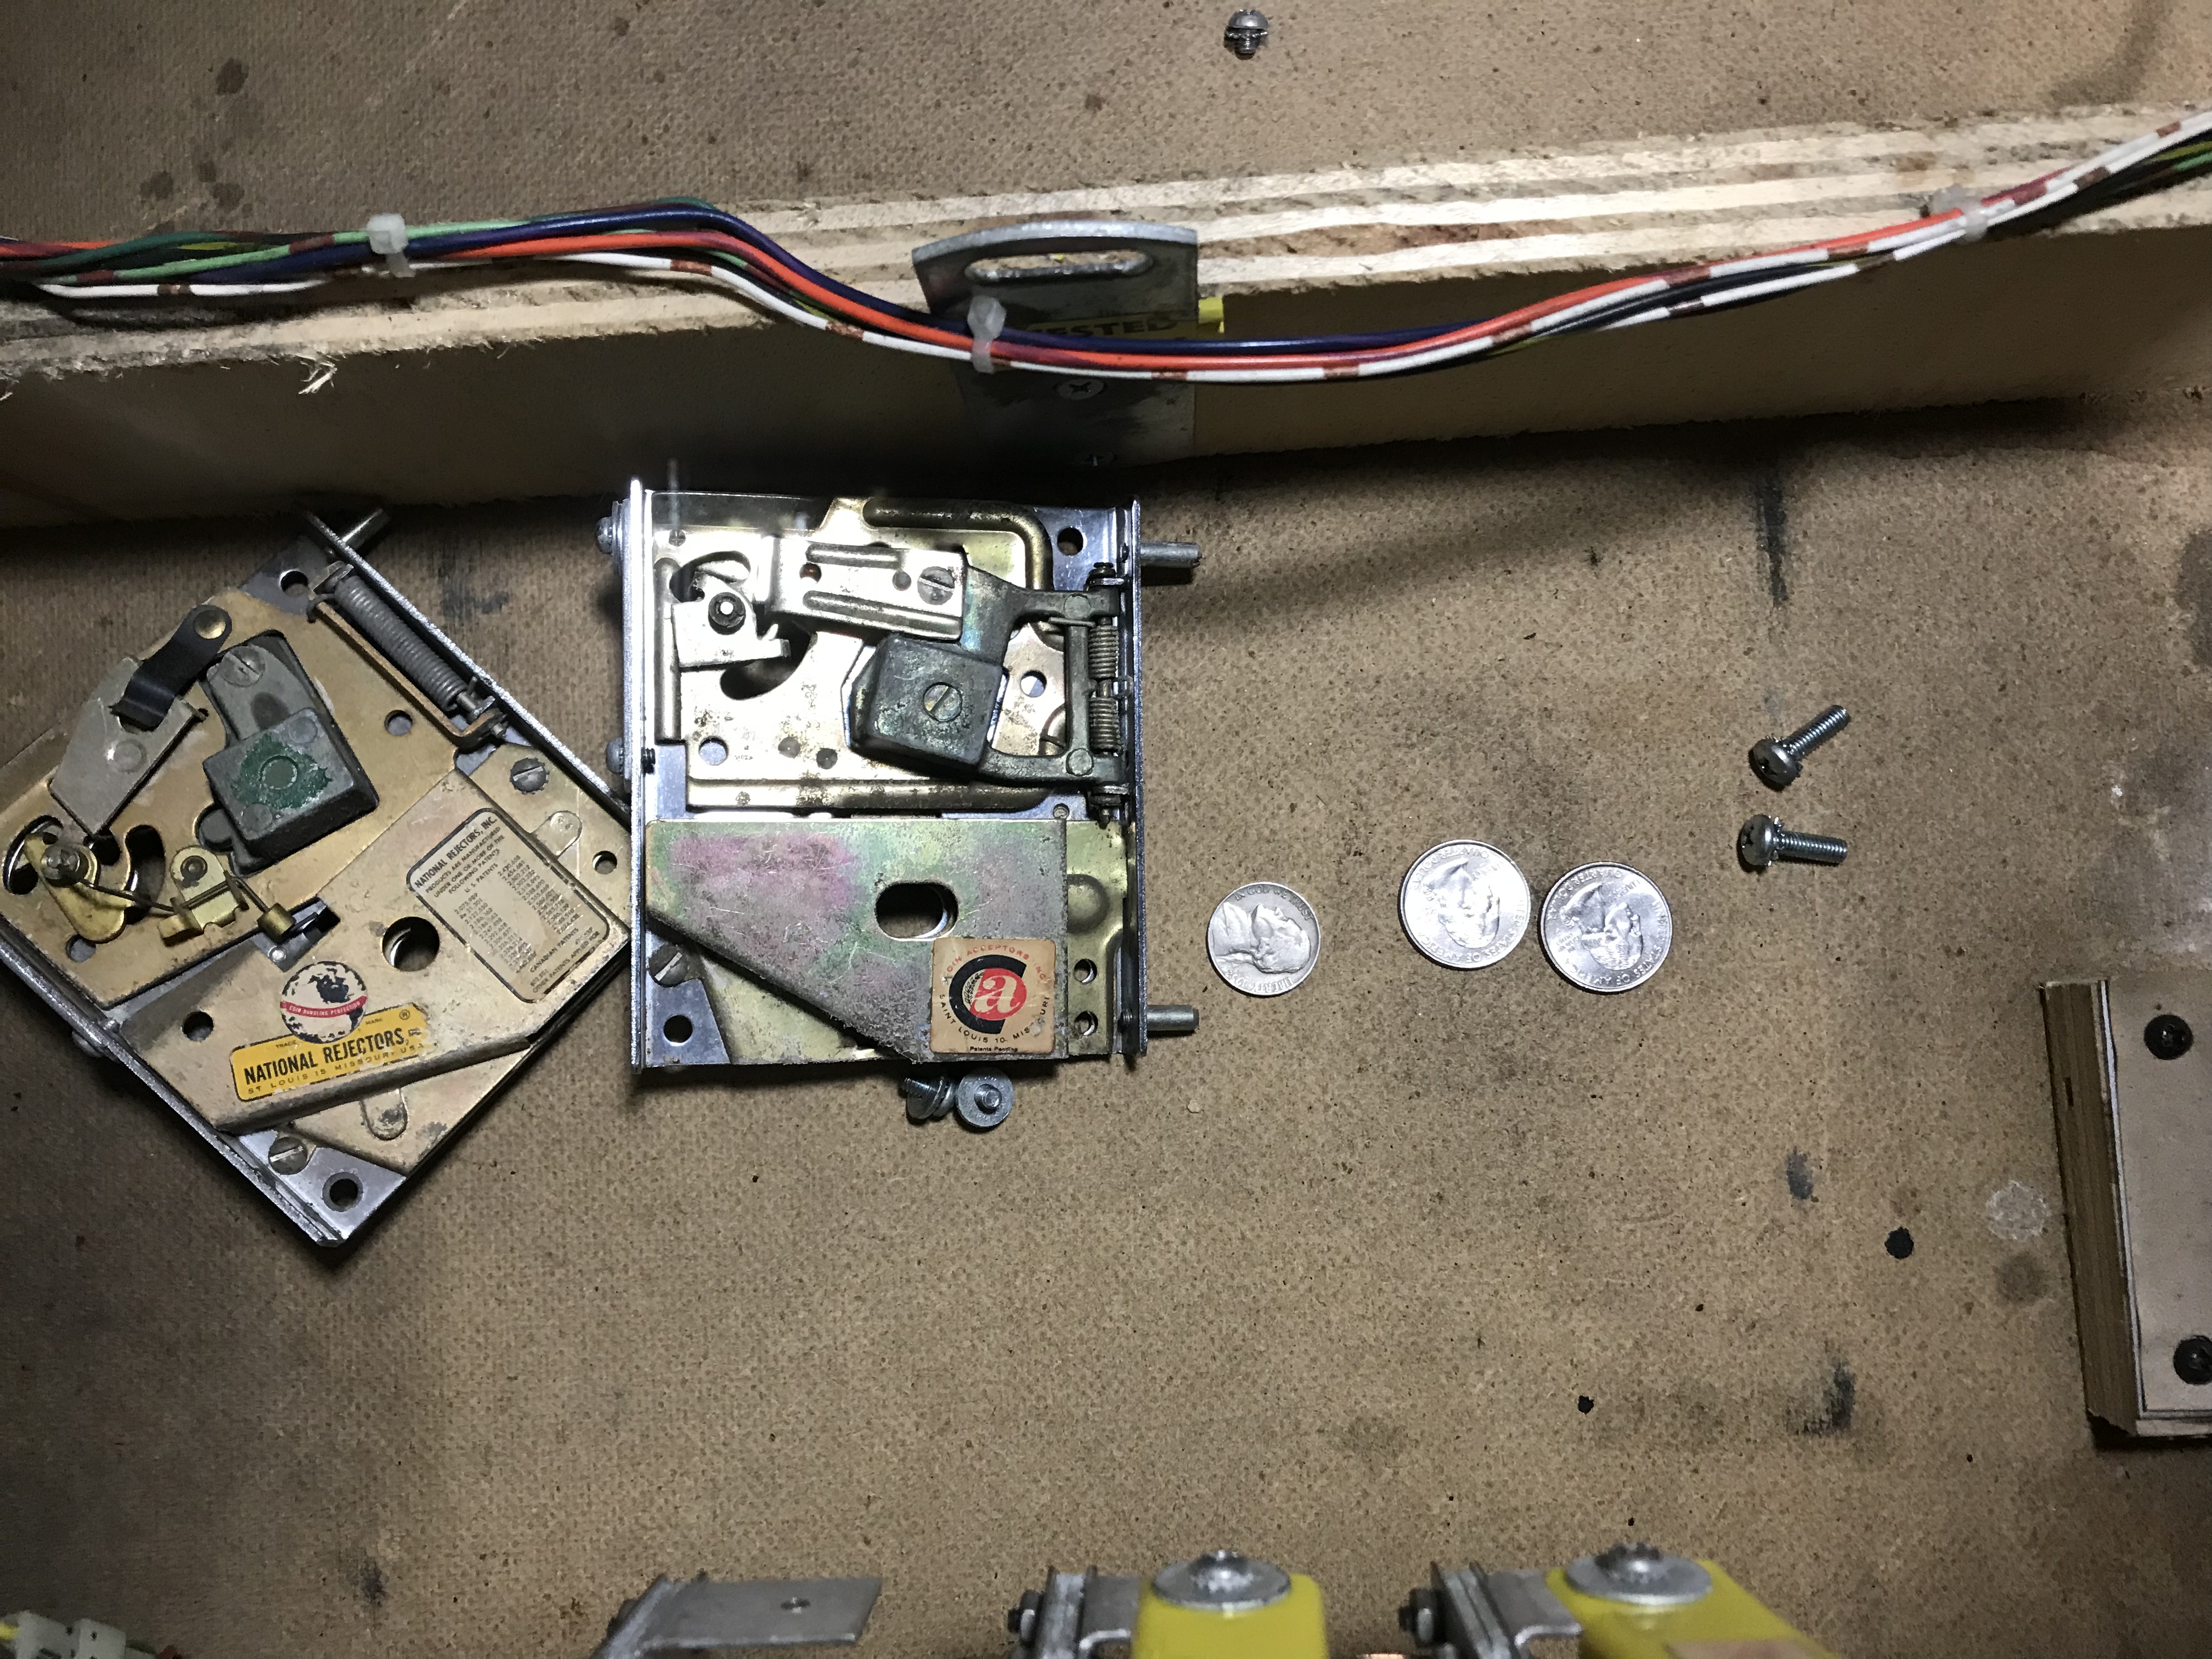
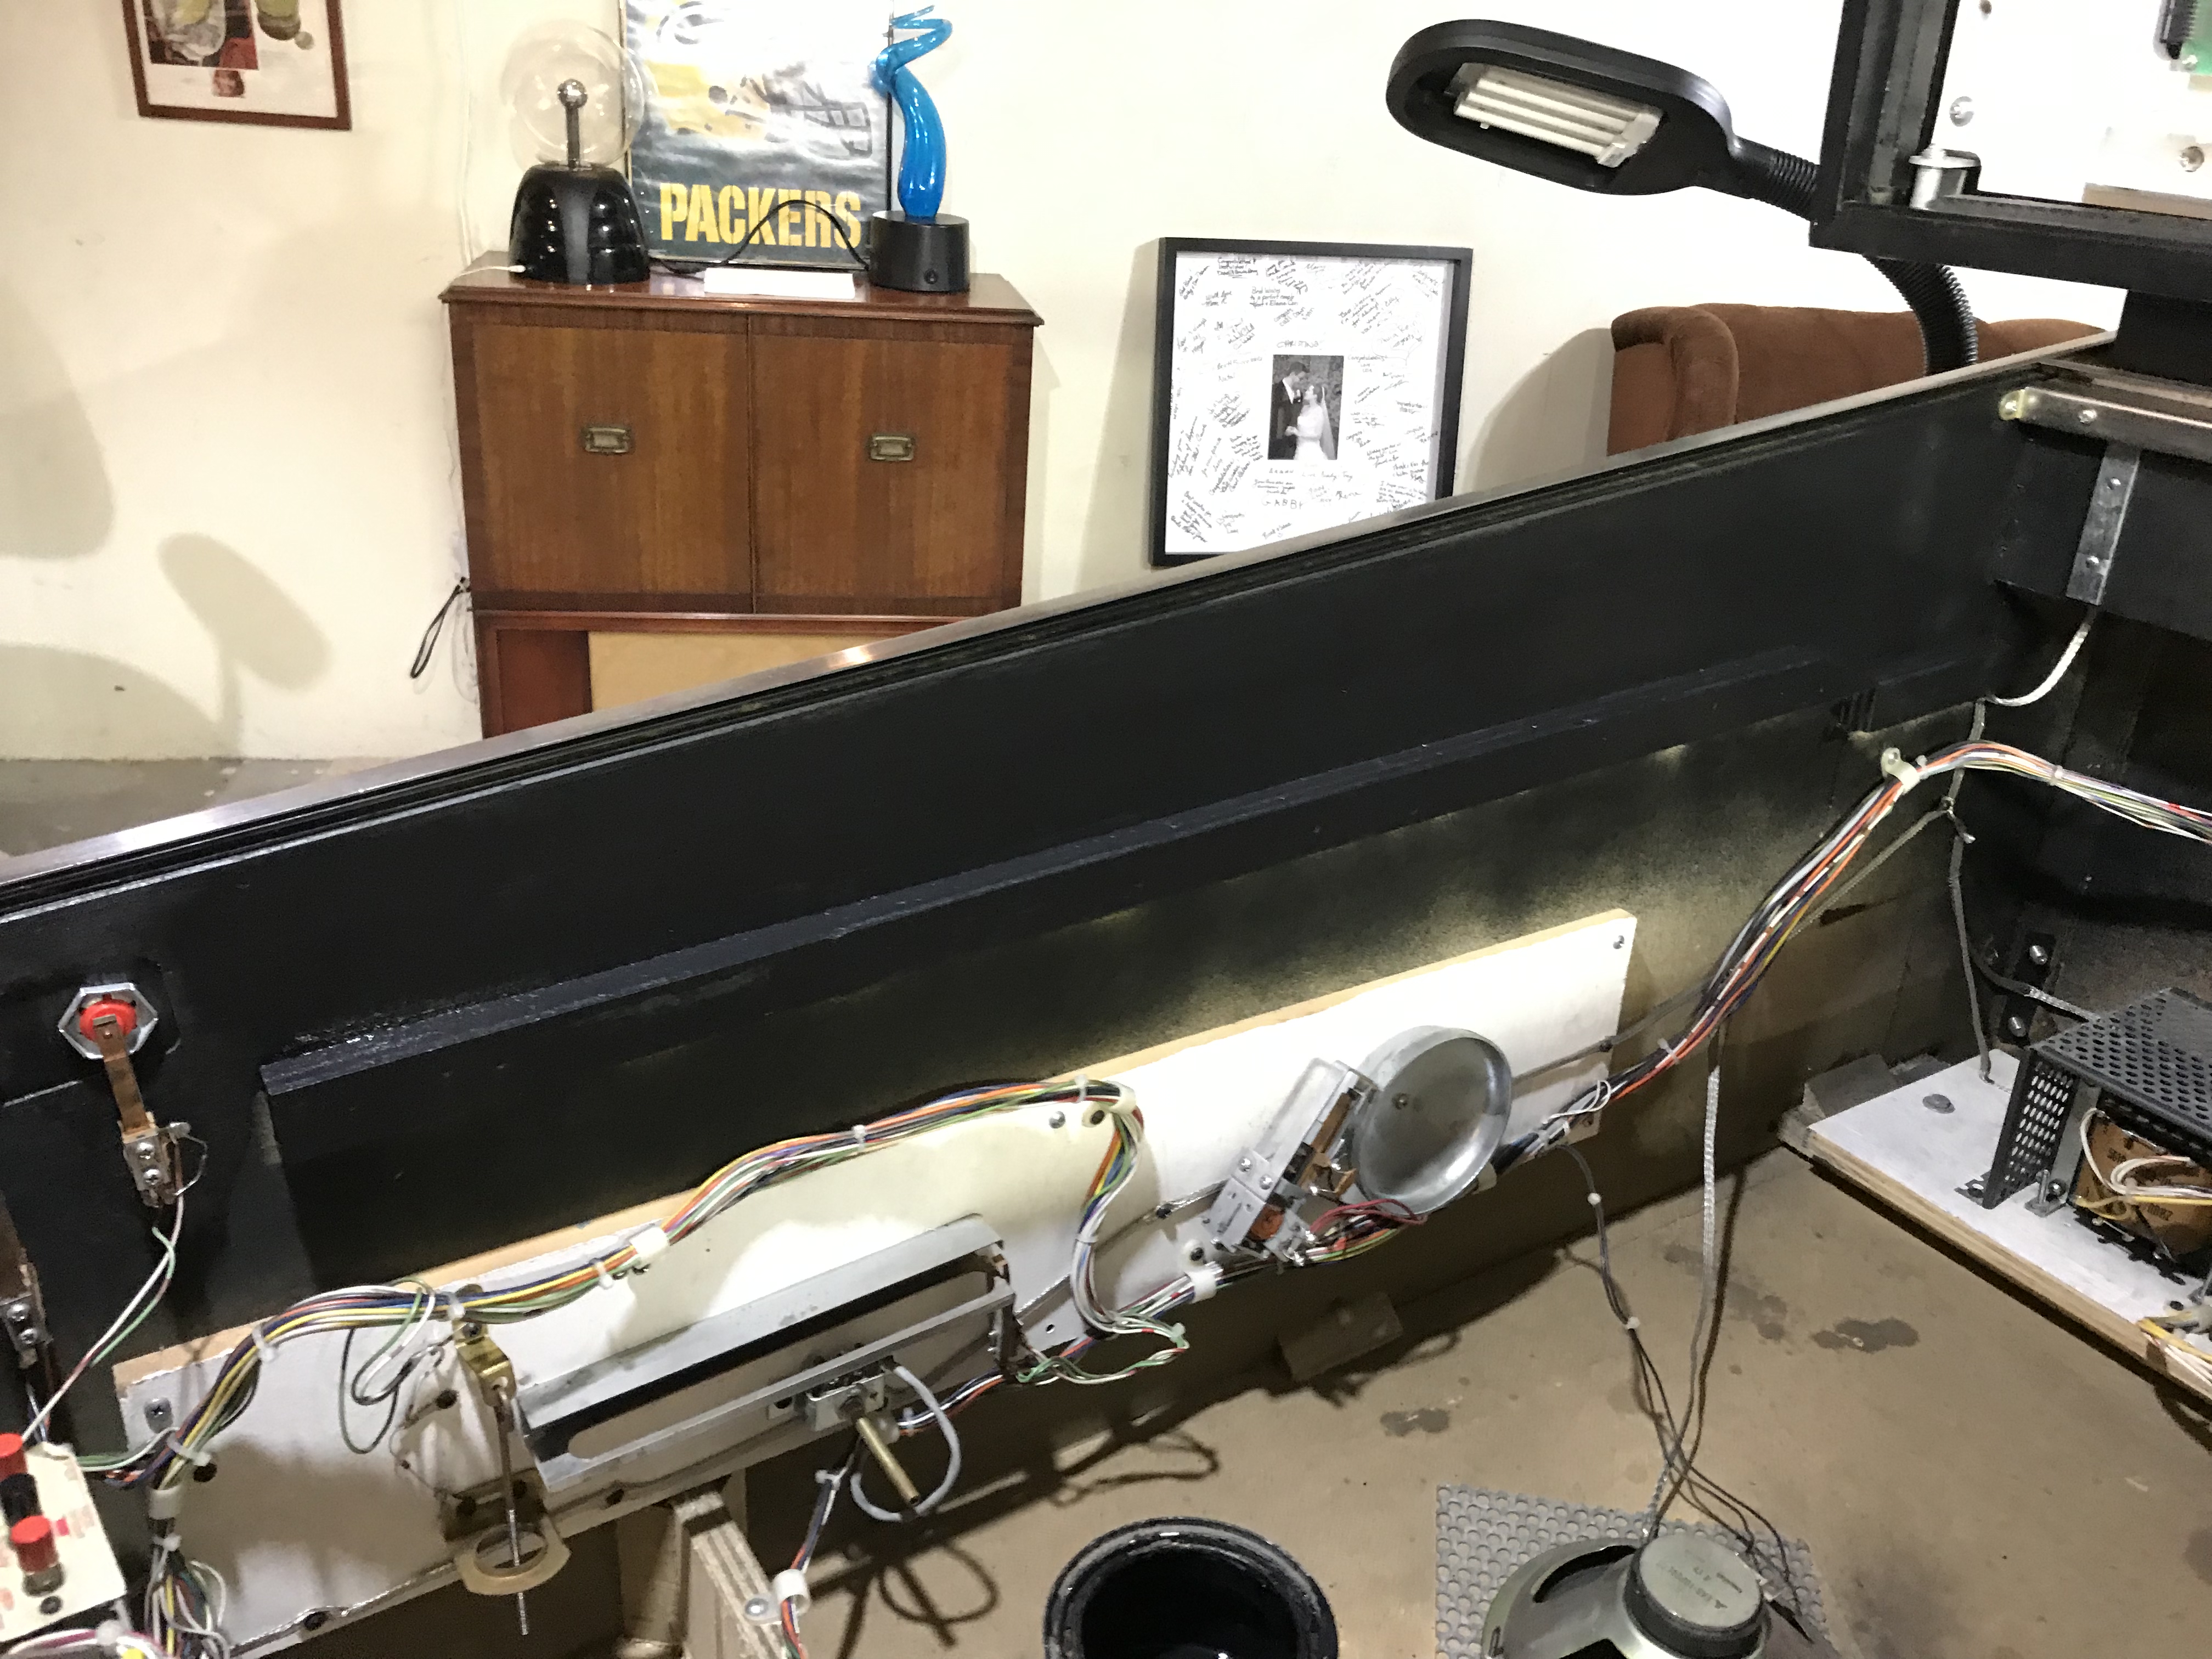
Despite the fact that this machine will be set to free play, I decided I should still clean up the coin door assembly. Here's everything cleaned up, minus the coin mechs.

The coin mechs had coins all jammed up in them. Who is the jerk who wedged a nickel in there??? Eli?
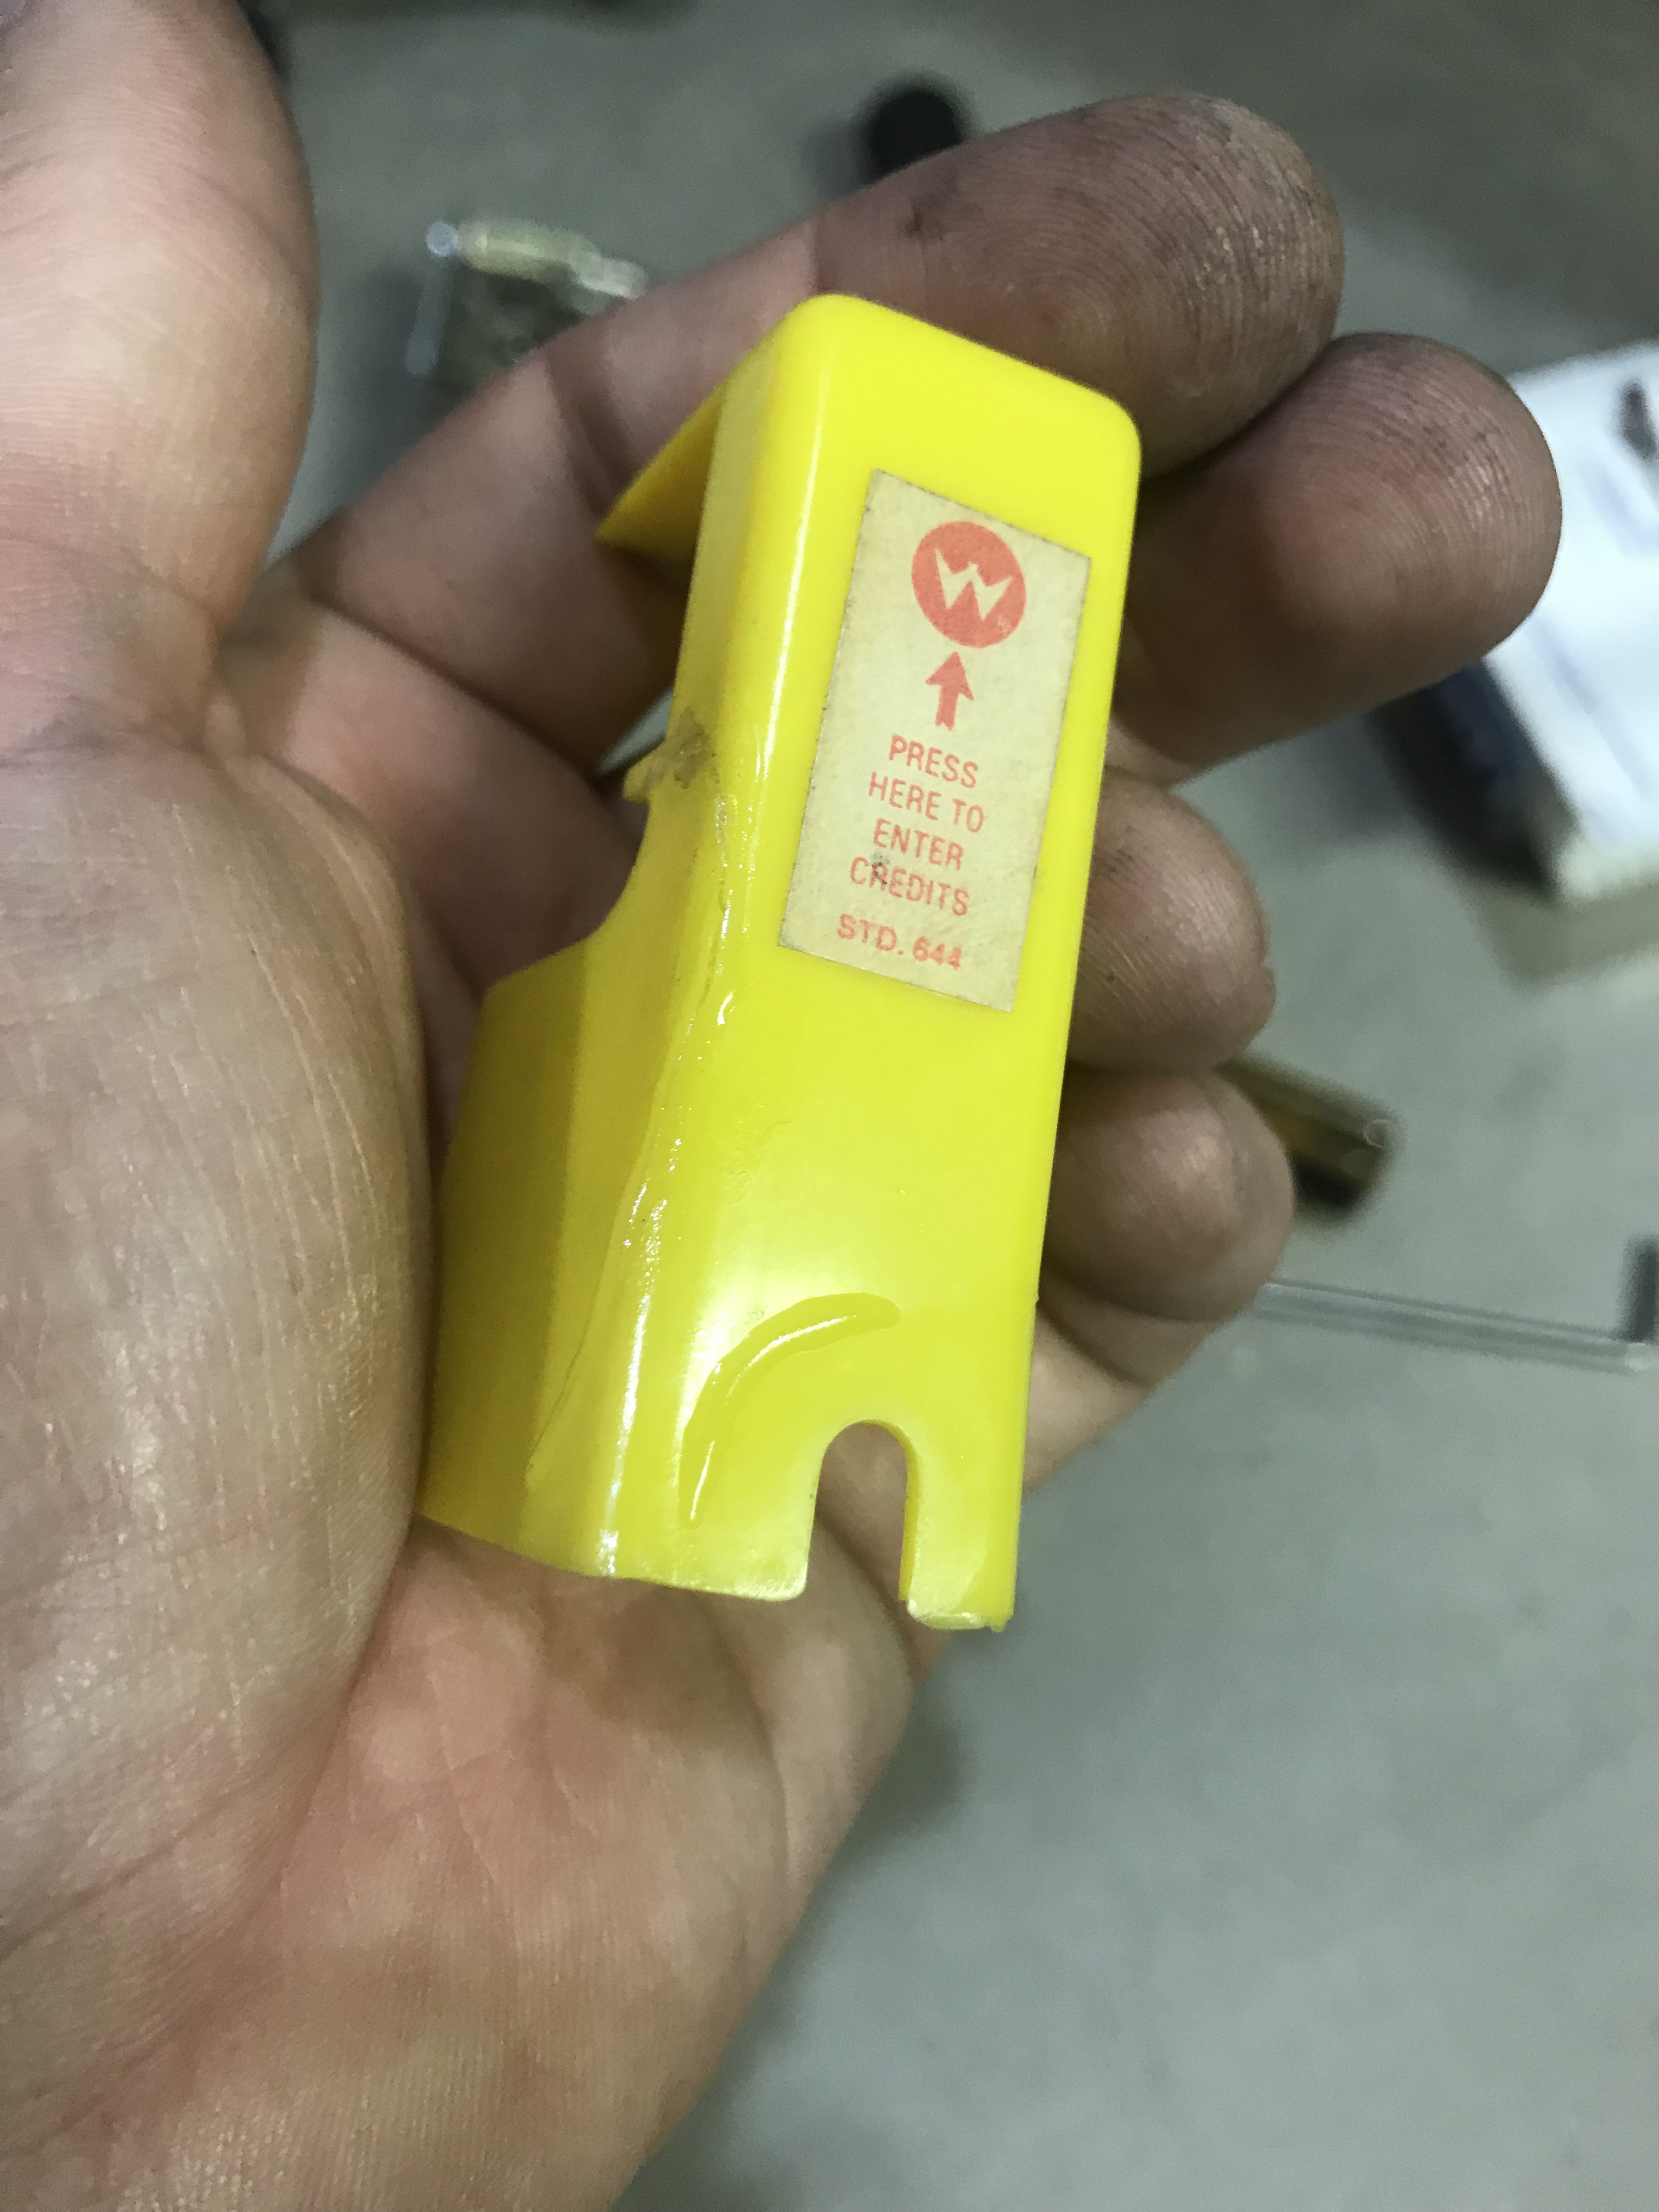
These little plastic assemblies could be pushed on to add credits with the coin door open. As you can see one of them had a decent crack in it from all the years of use.
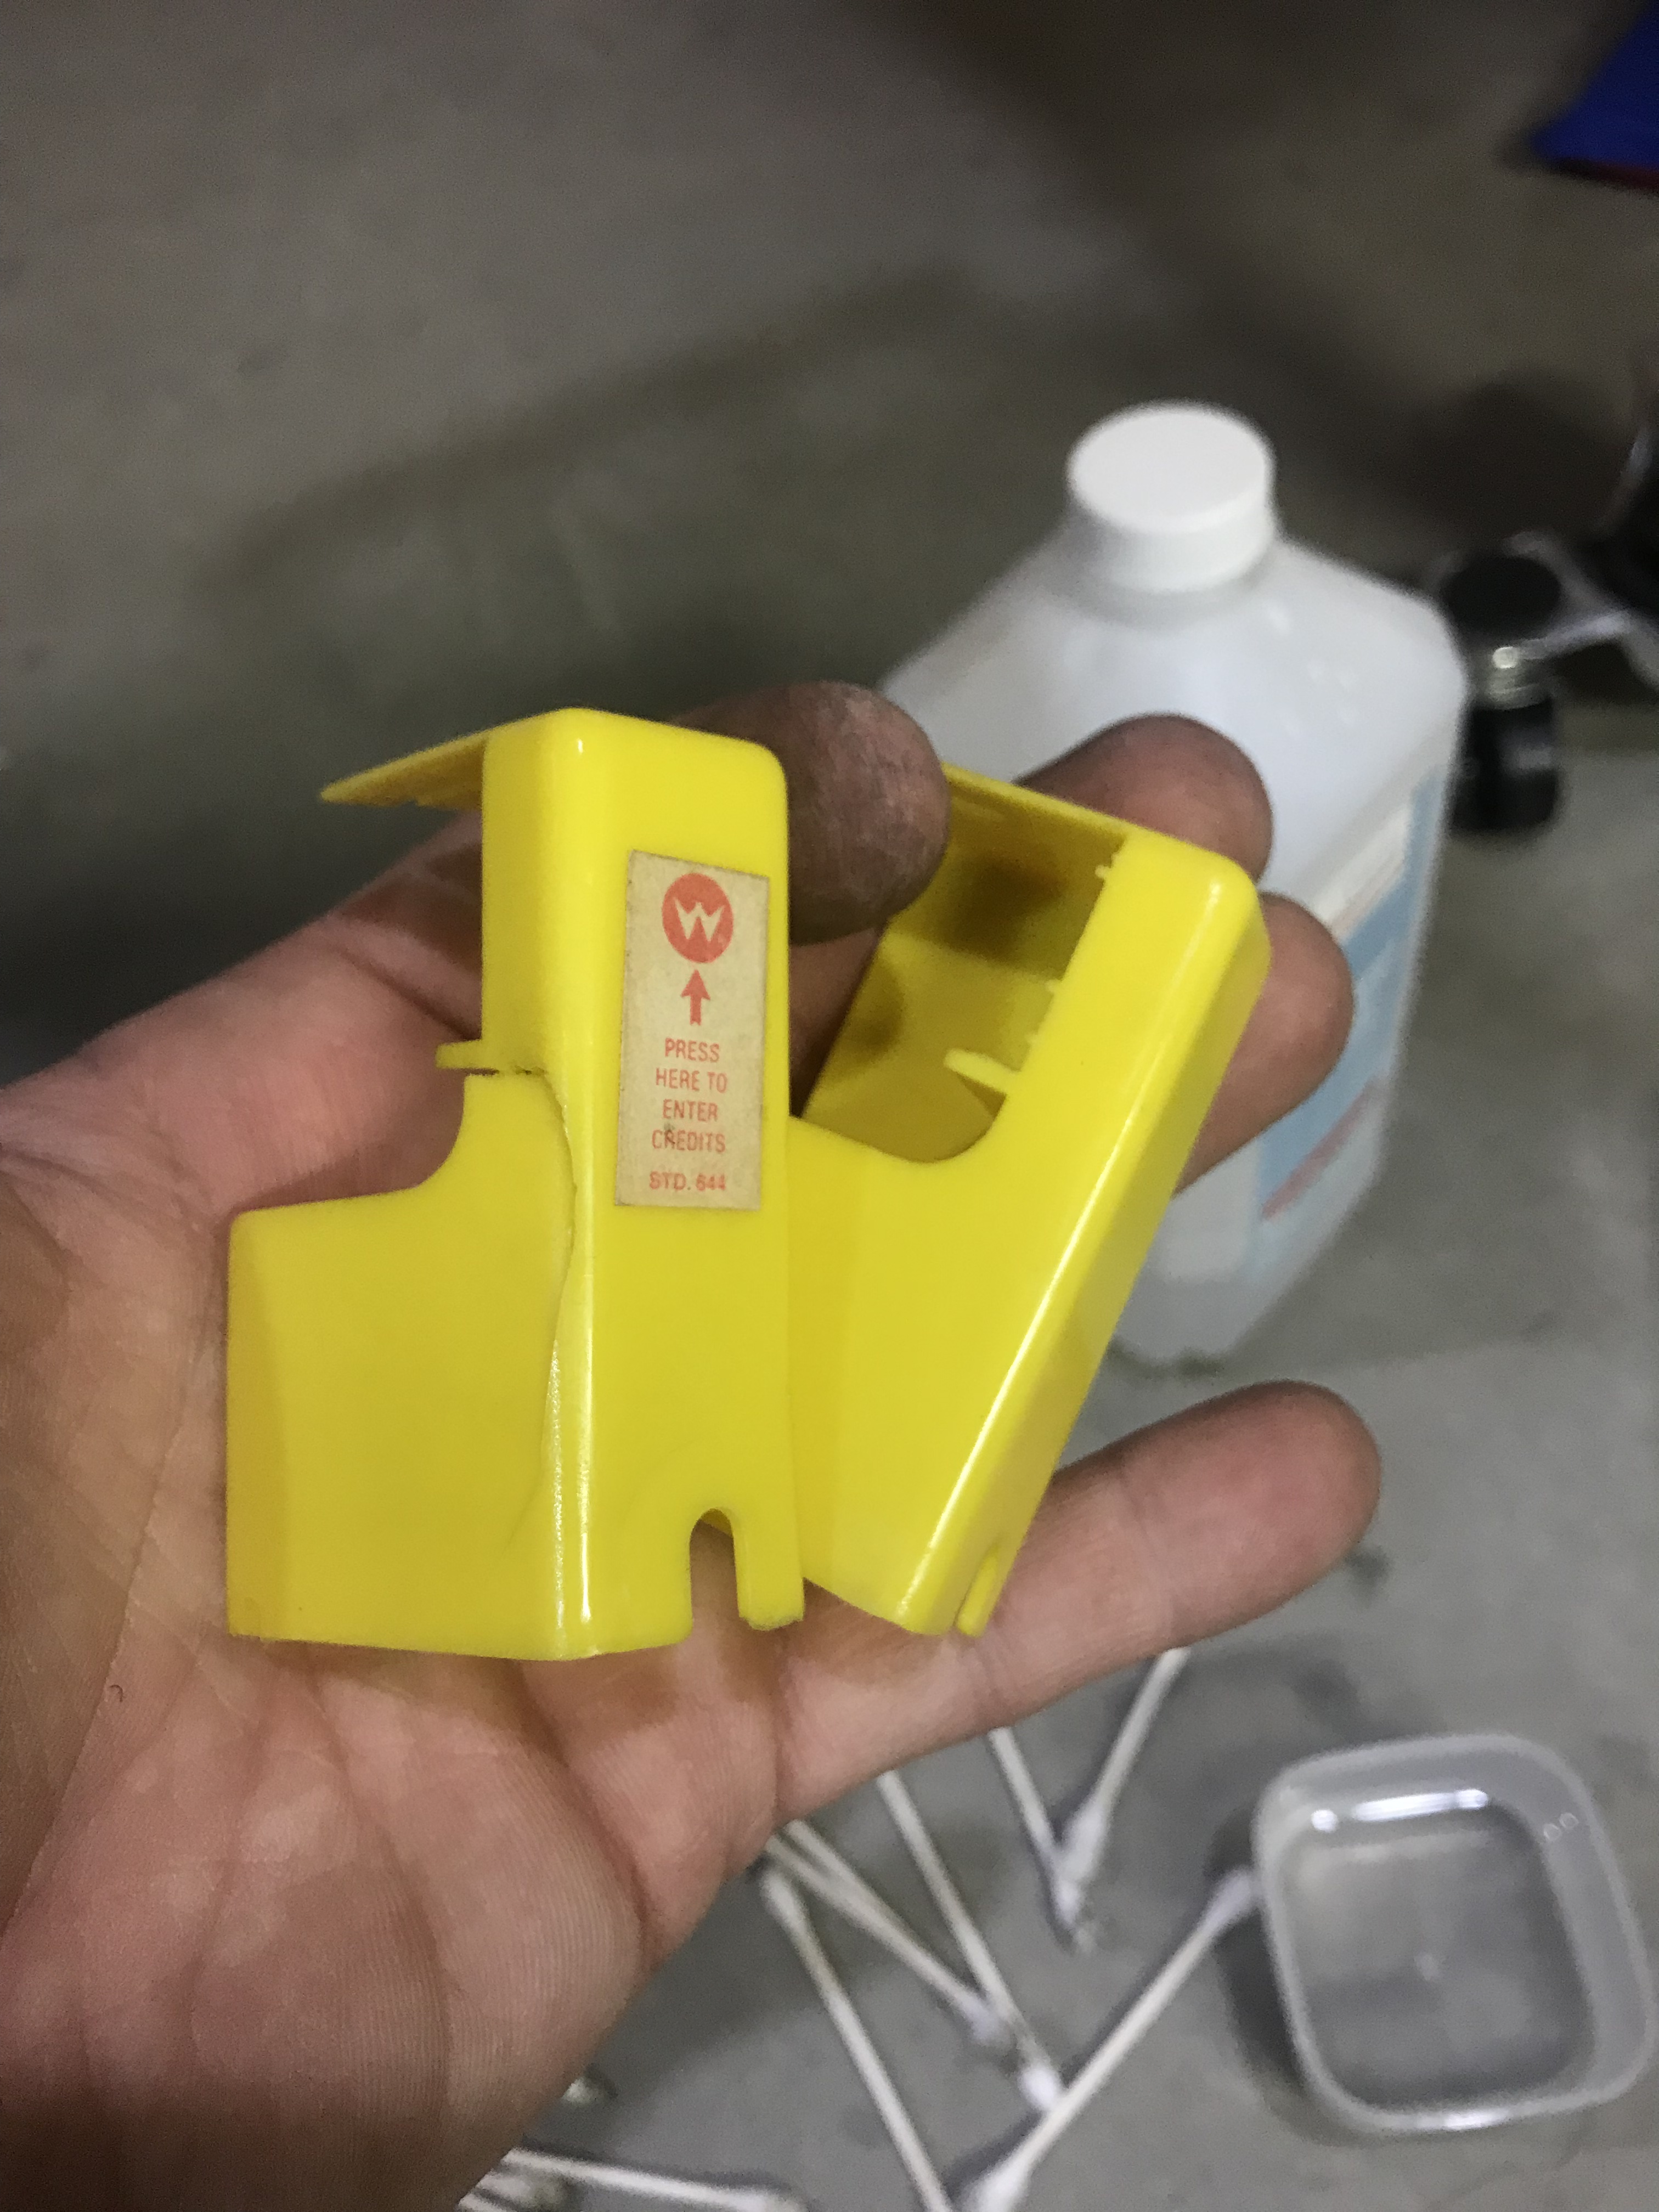
I used Bondic, which is a UV light curing solution for repairing plastics and such. Here it is all glued up. It might not look the prettiest, but it's certainly more sturdy and able to be pushed on again (not that it's needed any more).
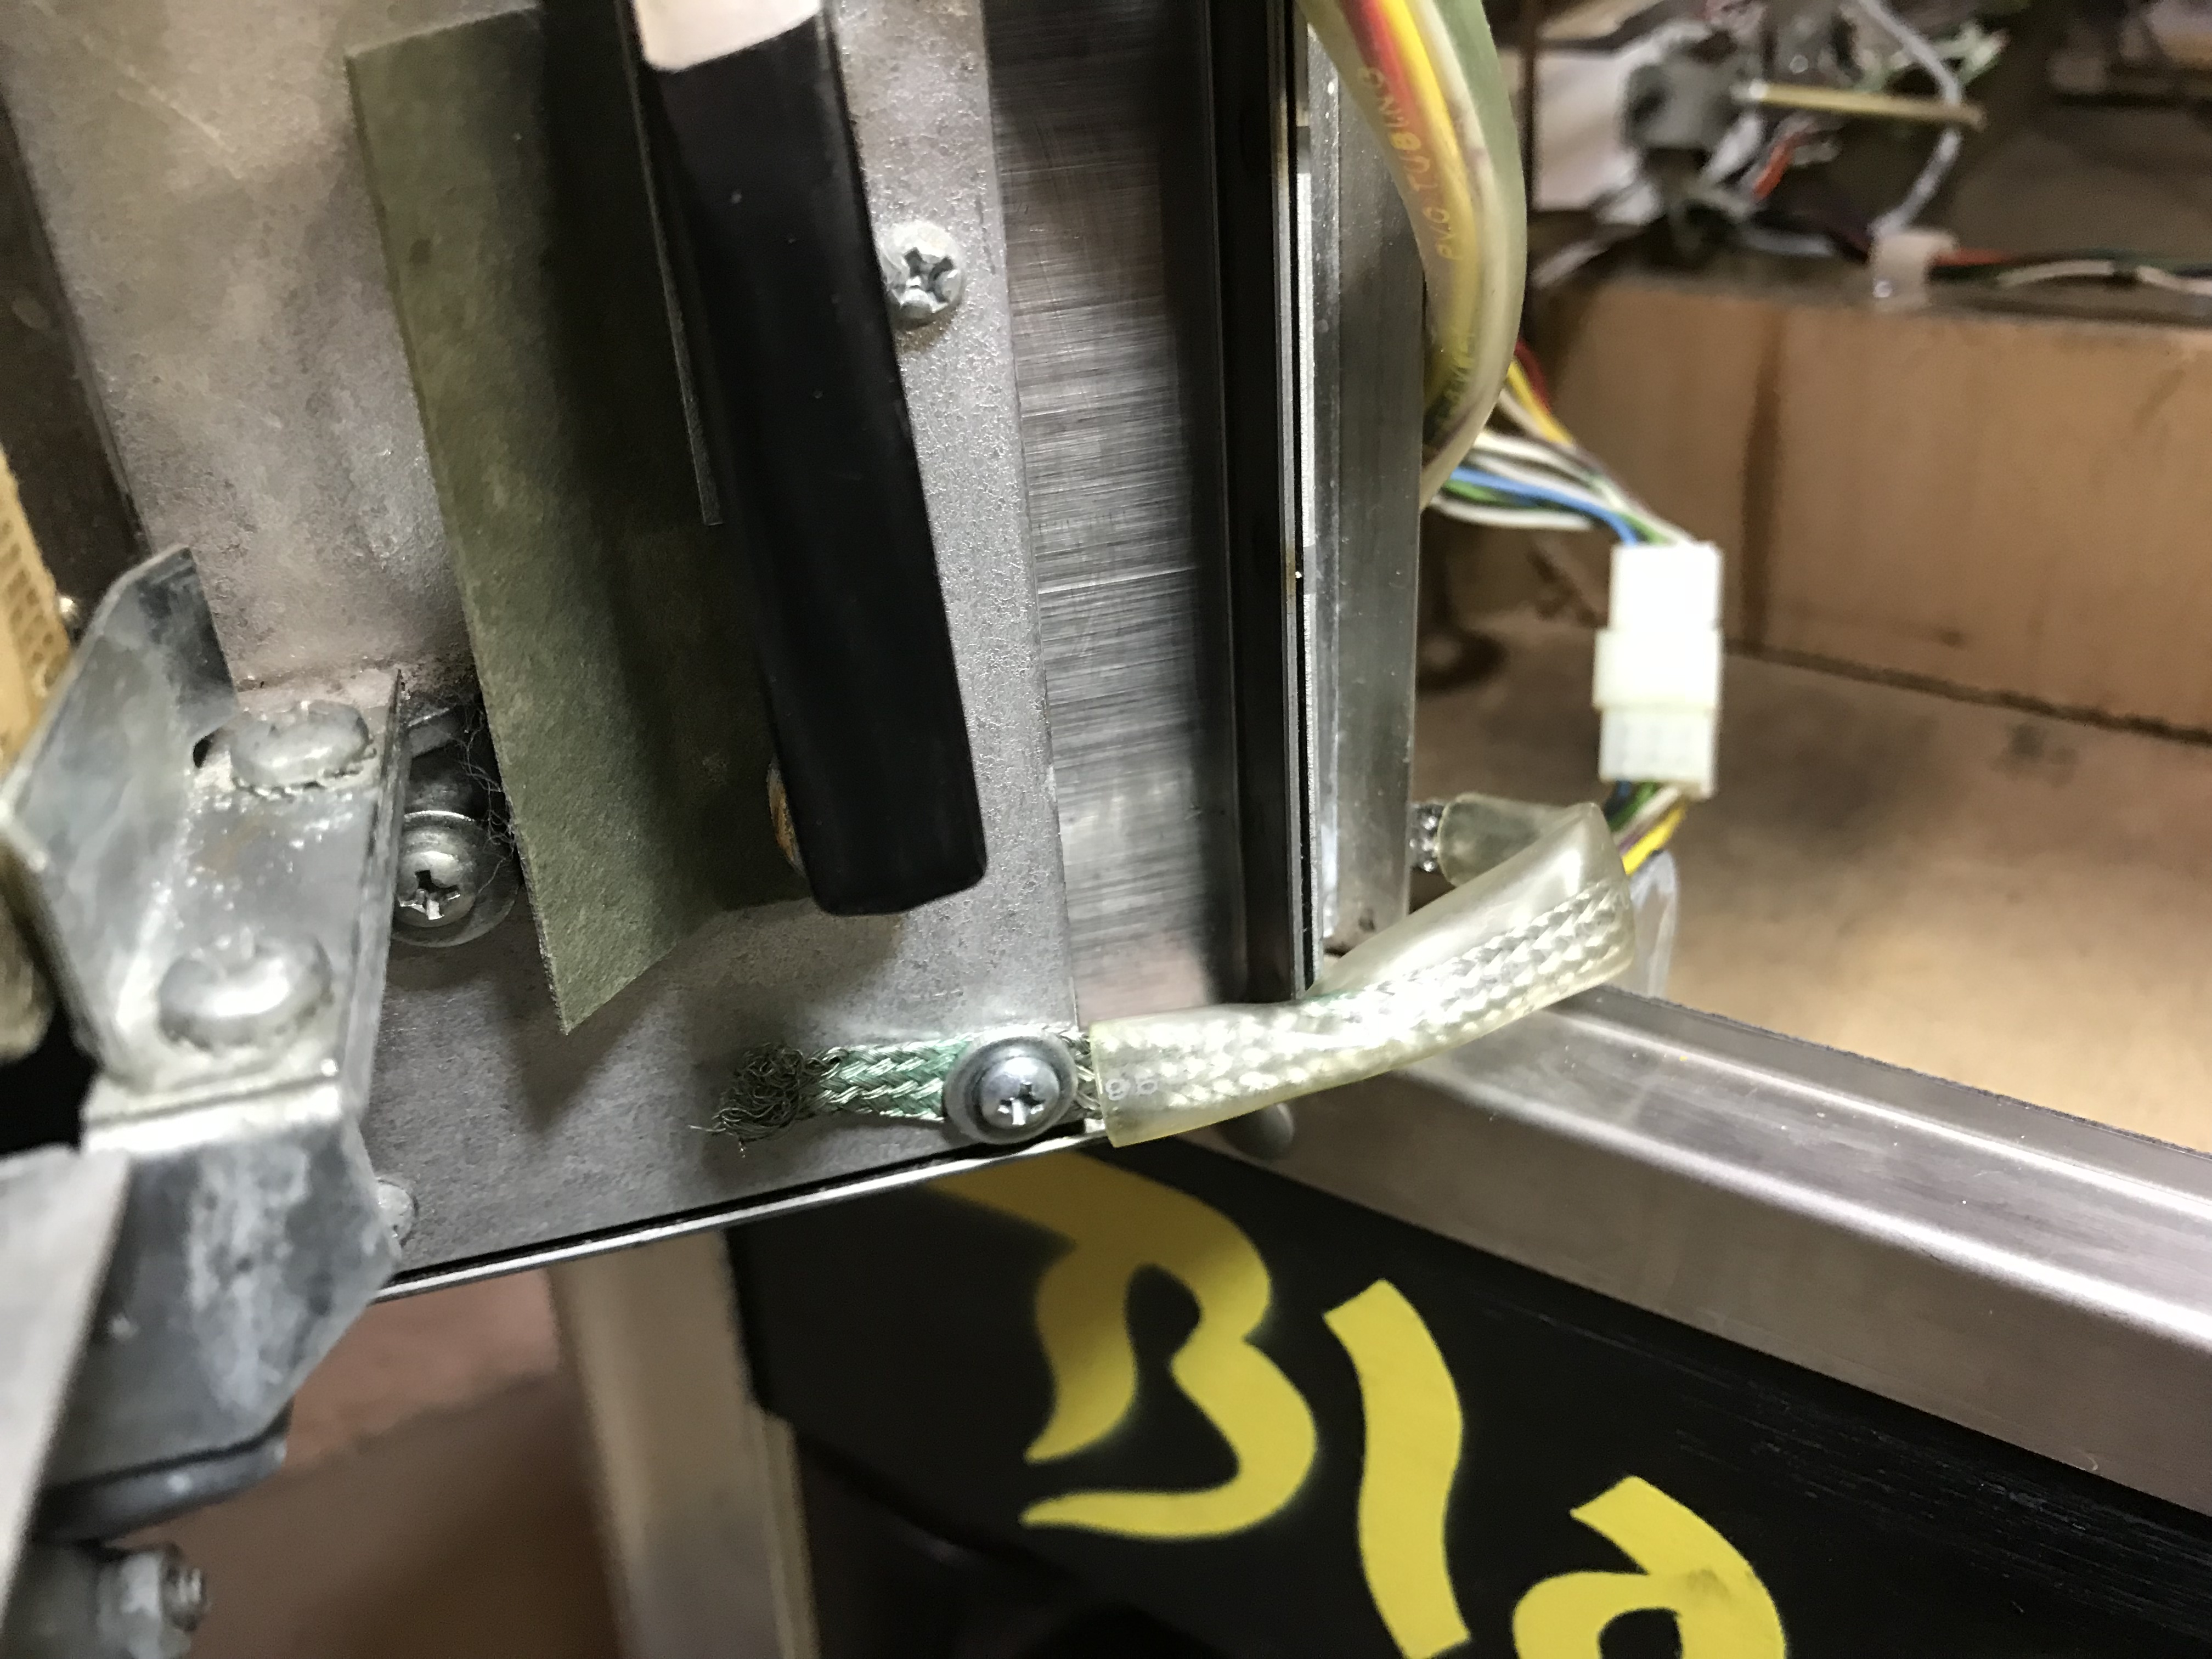
Next I noticed the ground wire going to the coin door was frayed from years of being opened and closed.

I used some of the extra slack in the wire and cut off the bad part, and moved the good part up.

Here it is back in place. I also put the plastic tubing around the edge there, so hopefully it will be better protected in opening/closing the door.
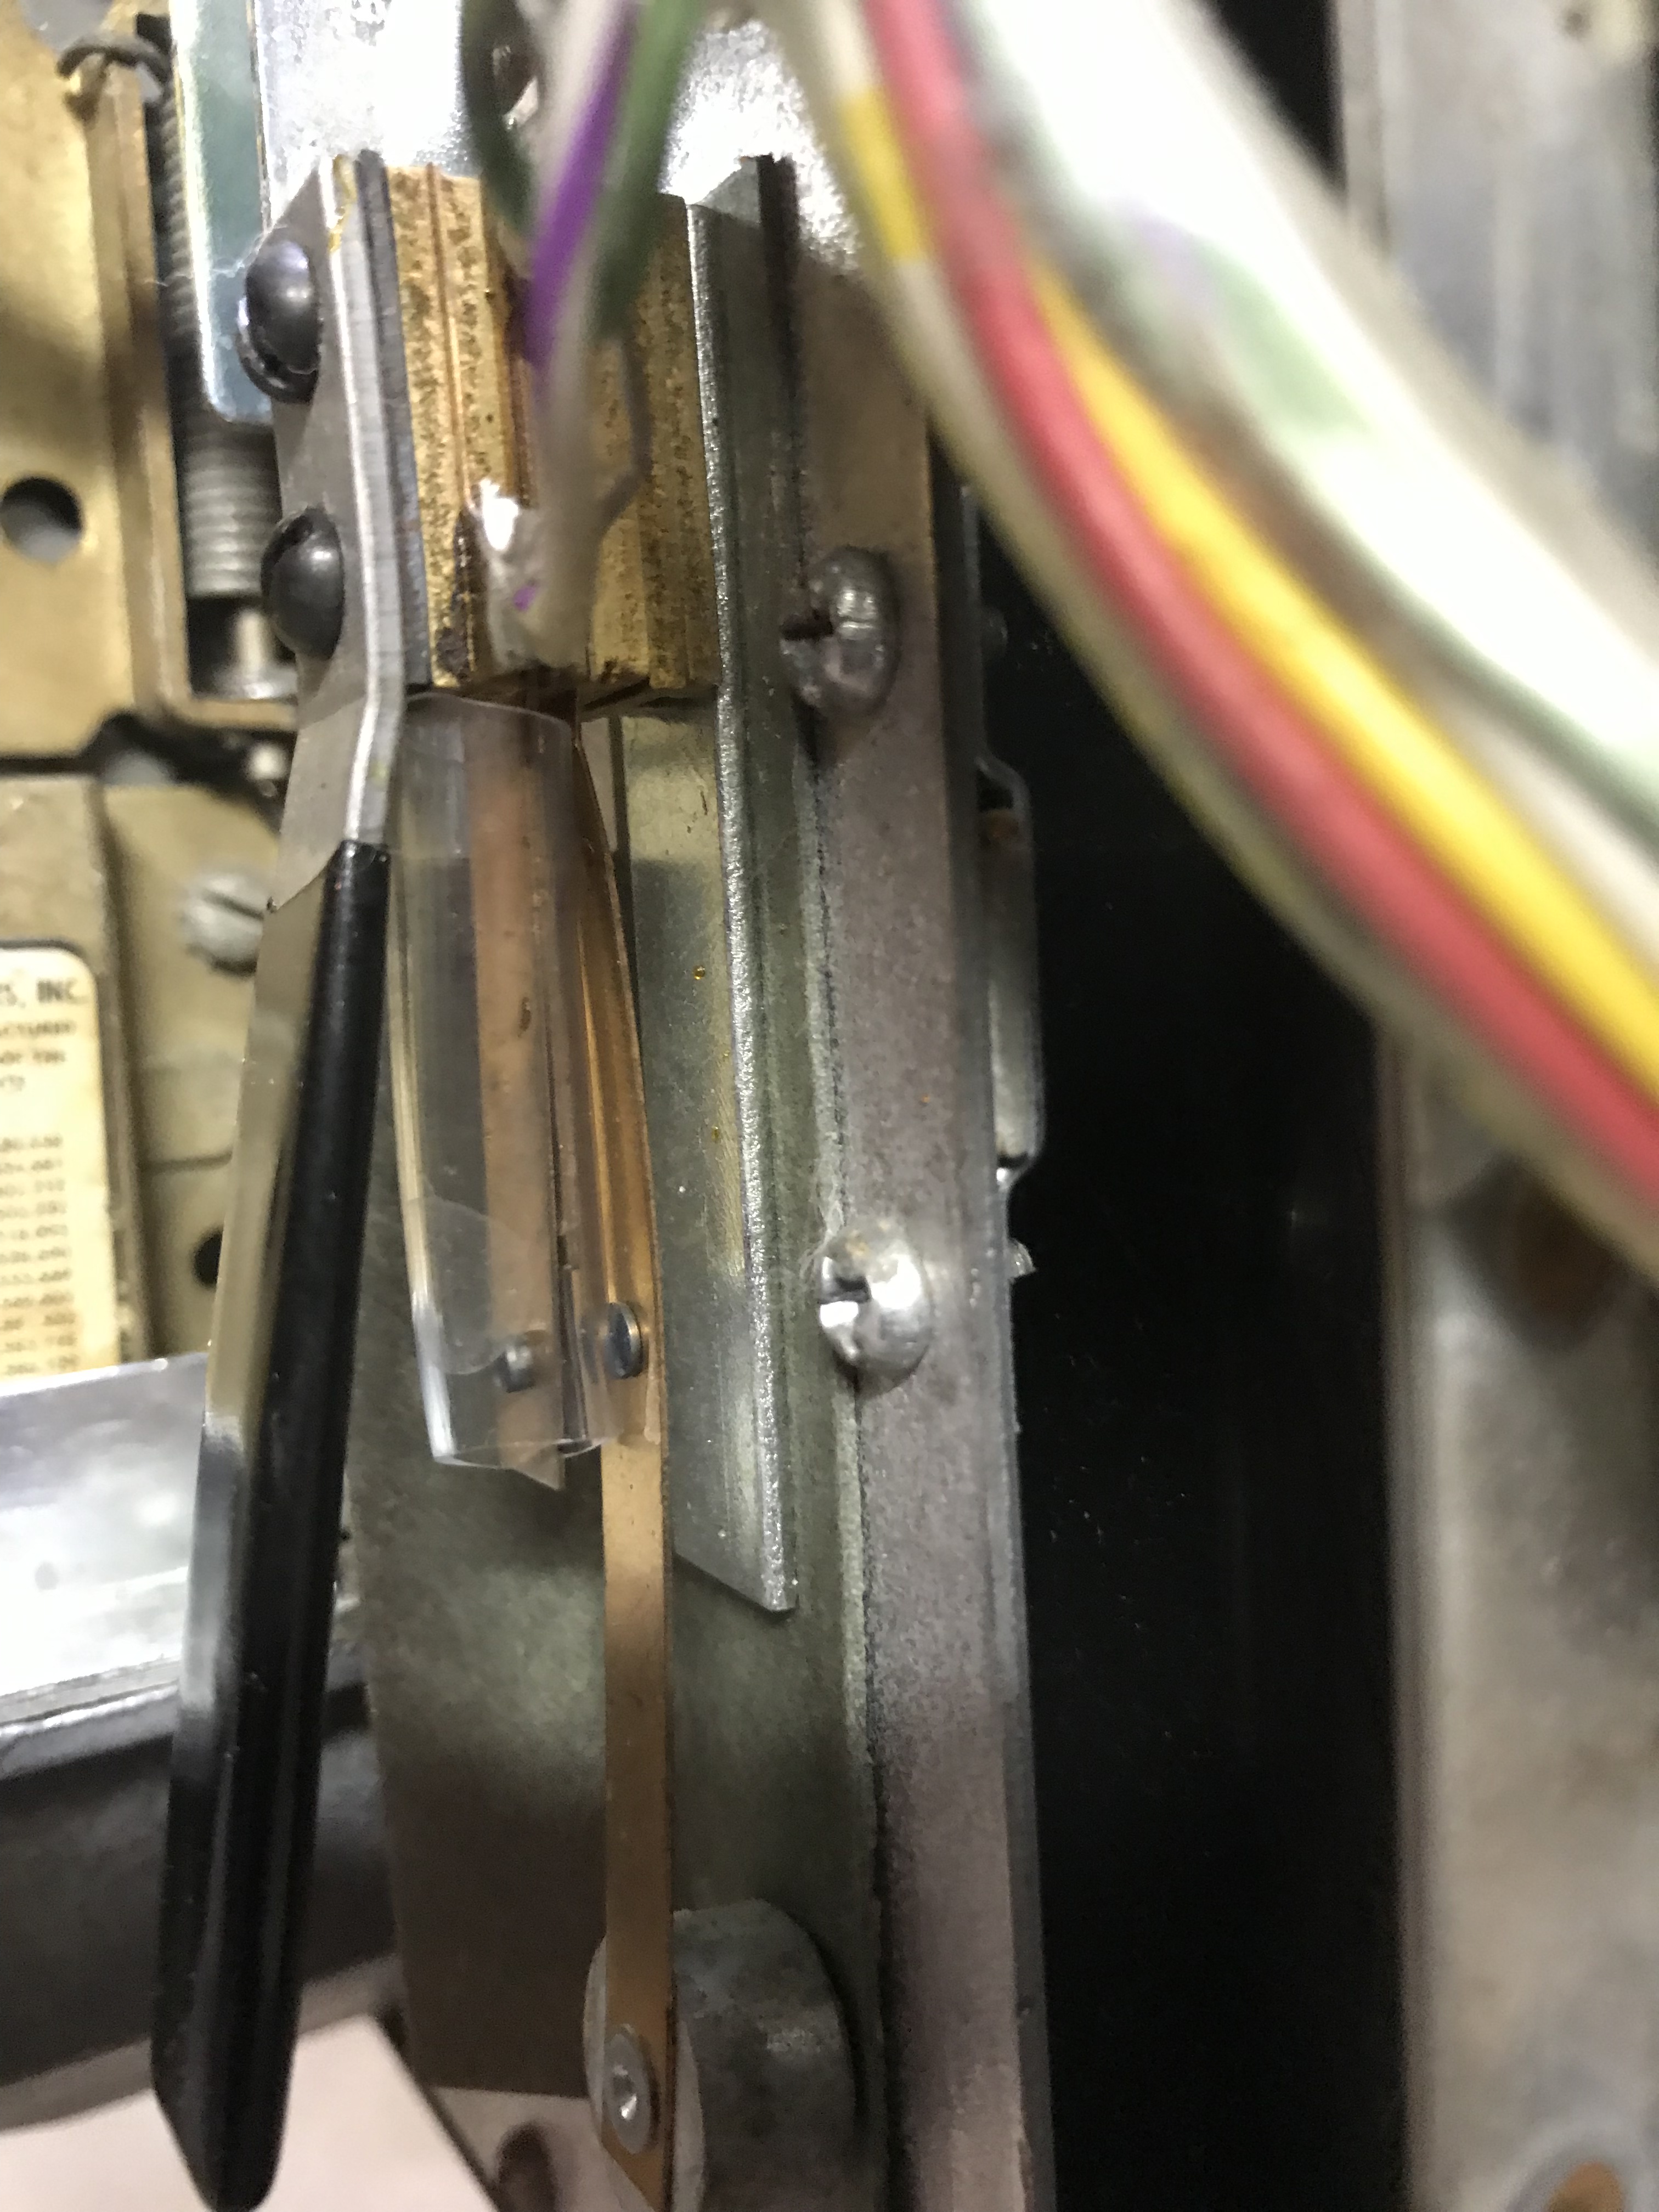
And lastly, I put some protective tubing around the "slam switch" on the coin door as well, to essentially deactivate it. IMHO its not necessary in a home use machine.
Next I cleaned up the launcher pad. Here you can see it originally below.
Here it is all cleaned up and a bit more shiny.
Here you can see the "before" of the sides.
And here you can see it all polished up a bit better.
I replaced the plunger with a new one with a black handle, new springs.
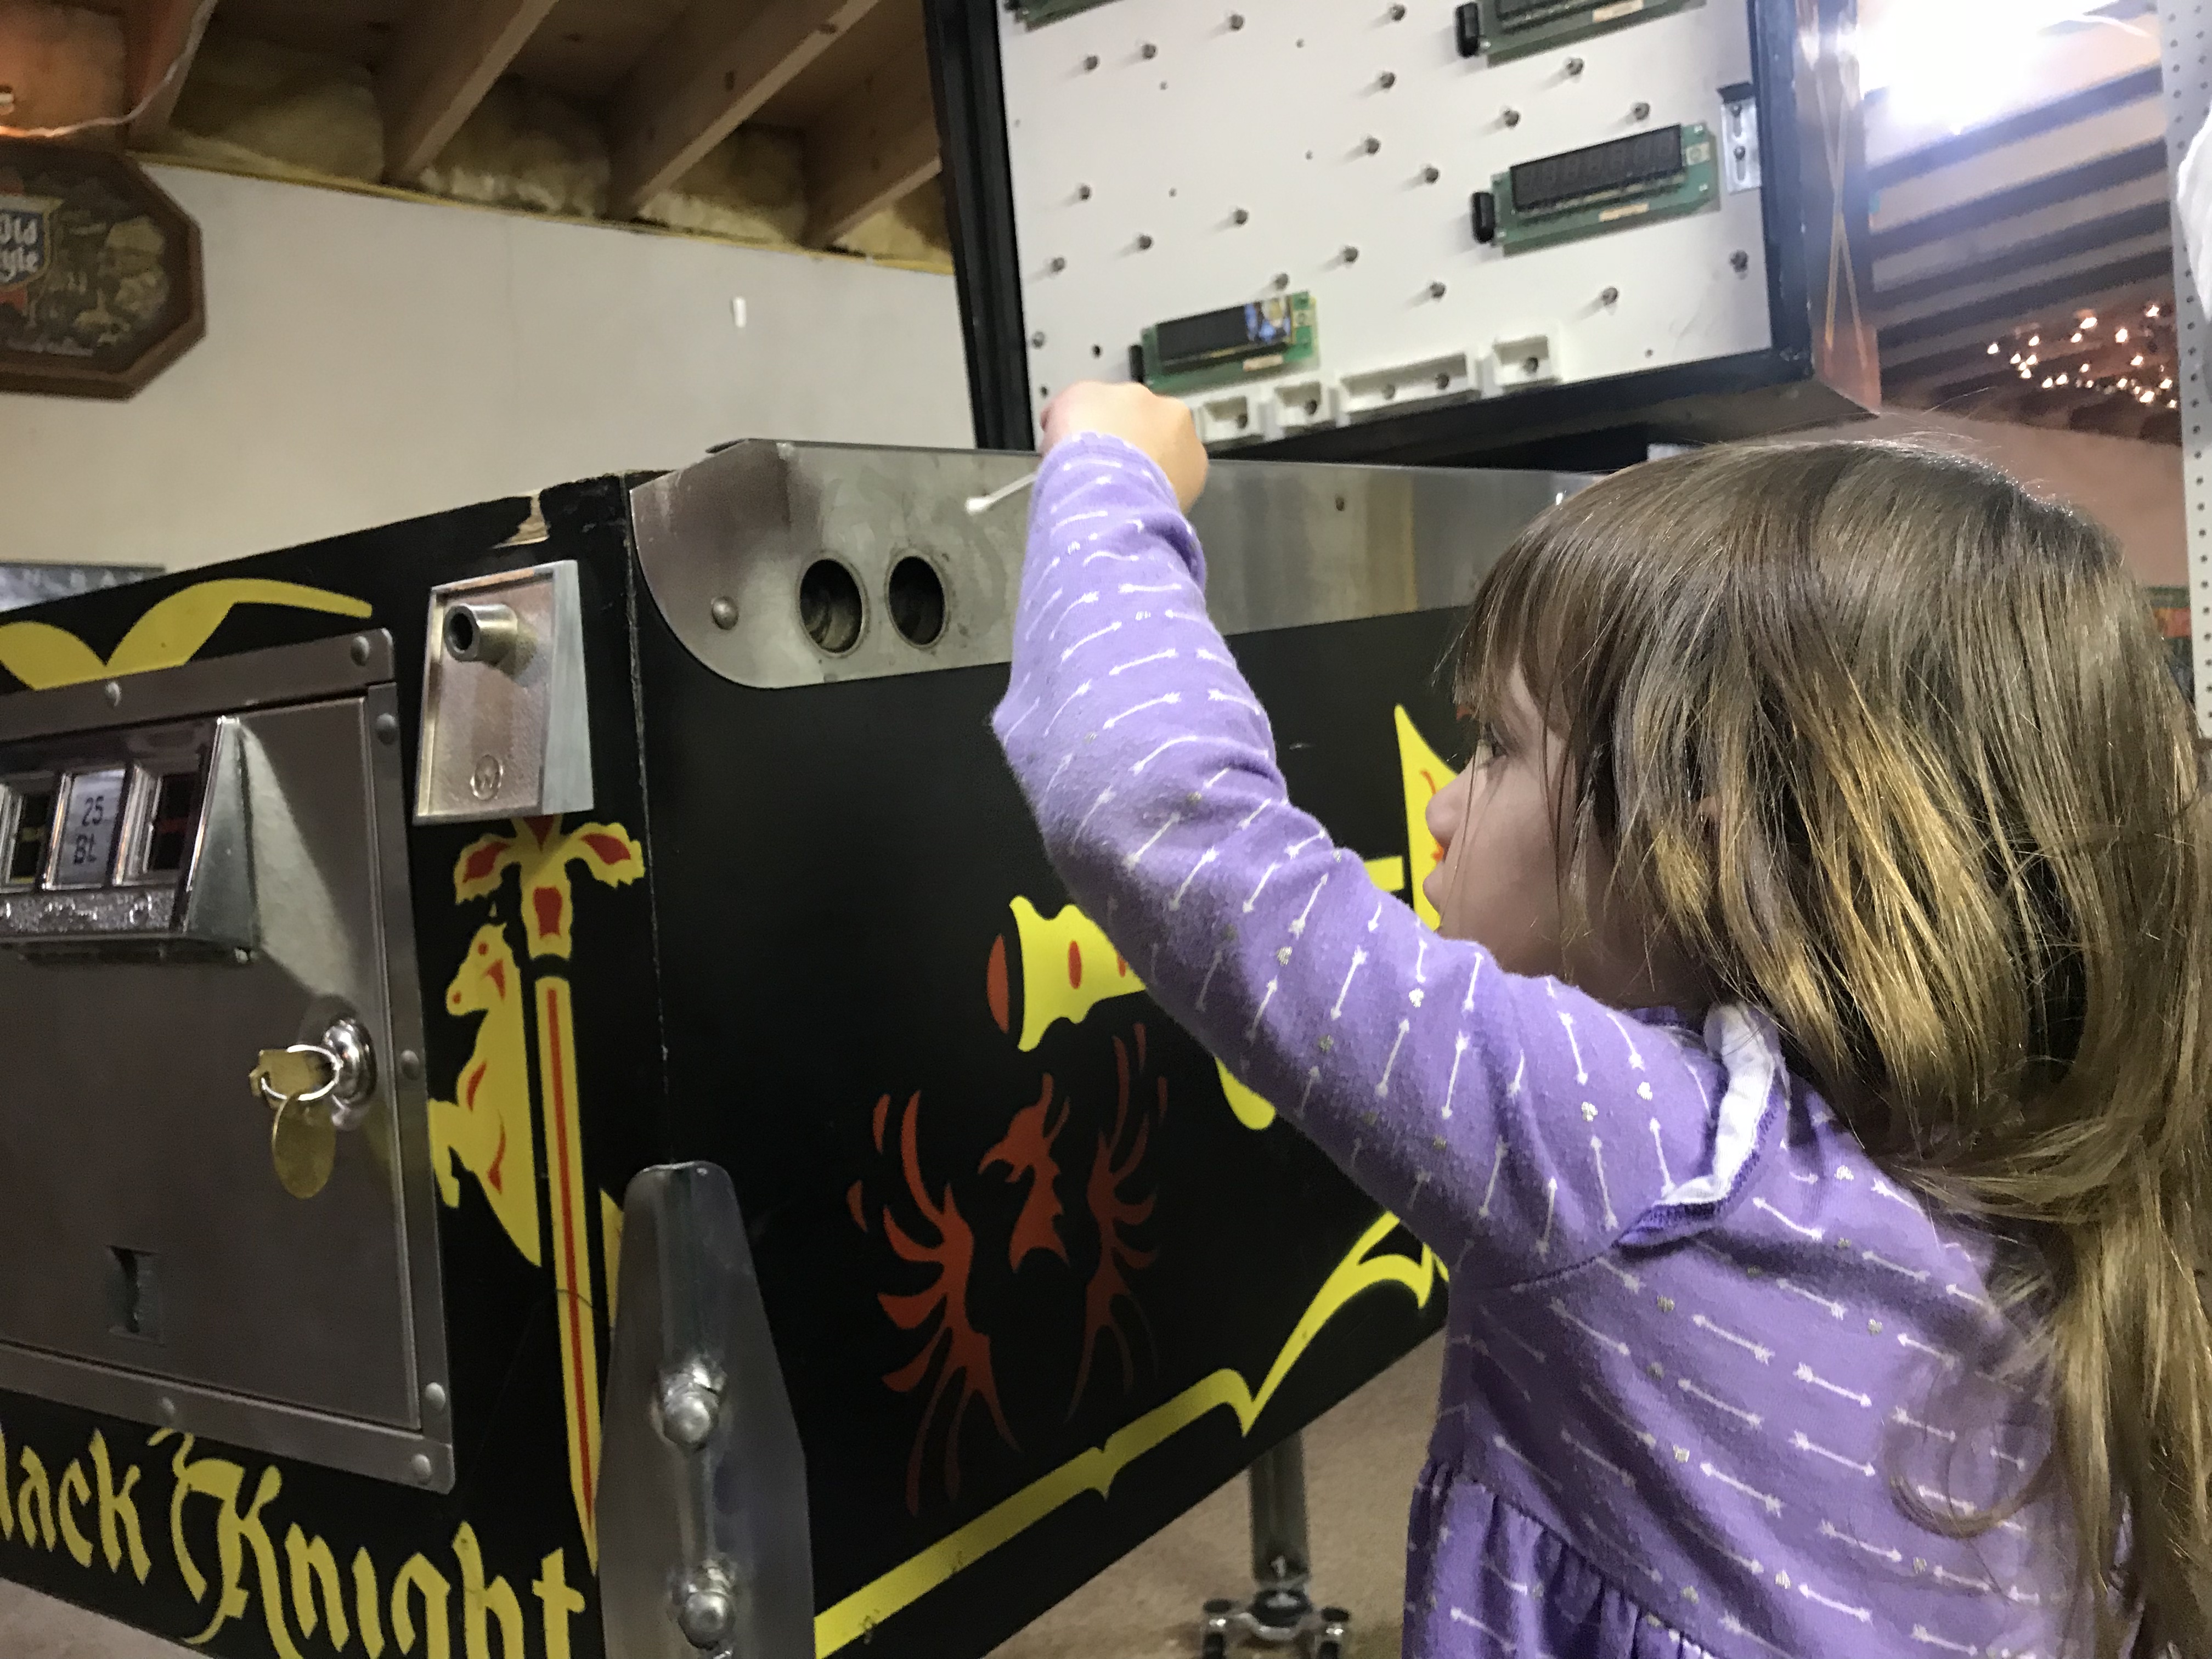
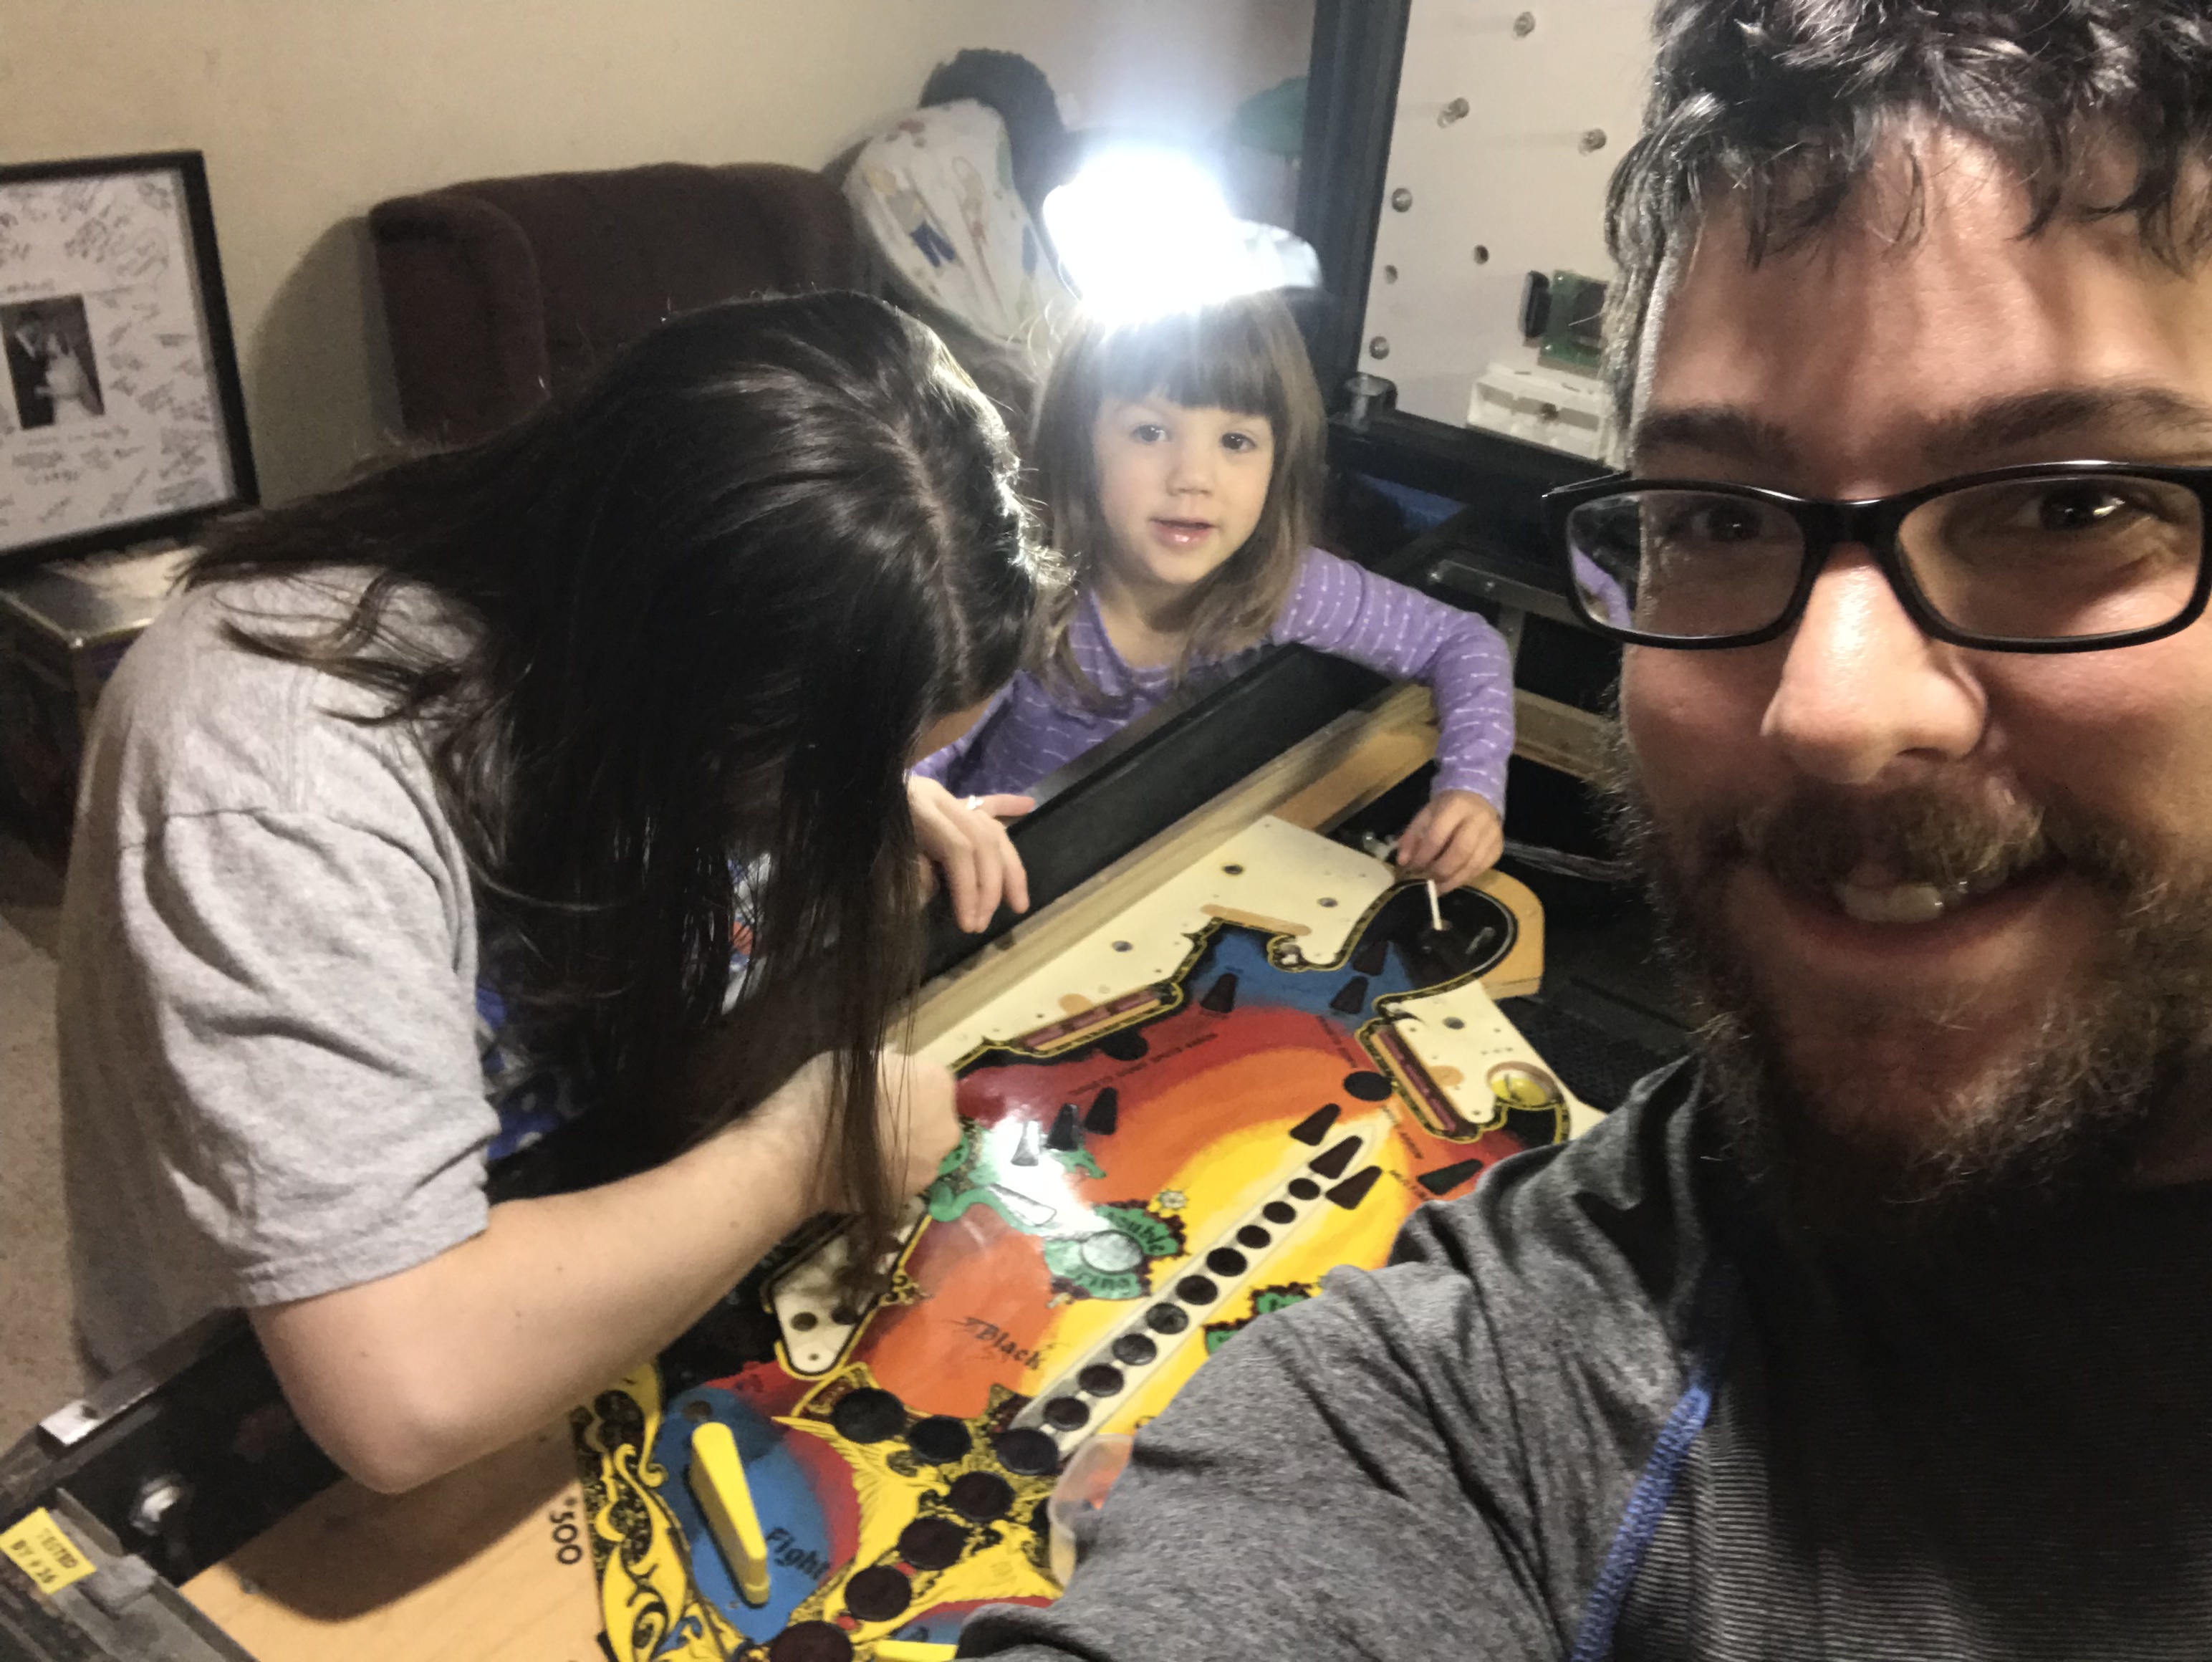
My little assistant then helped me replace the flipper buttons.
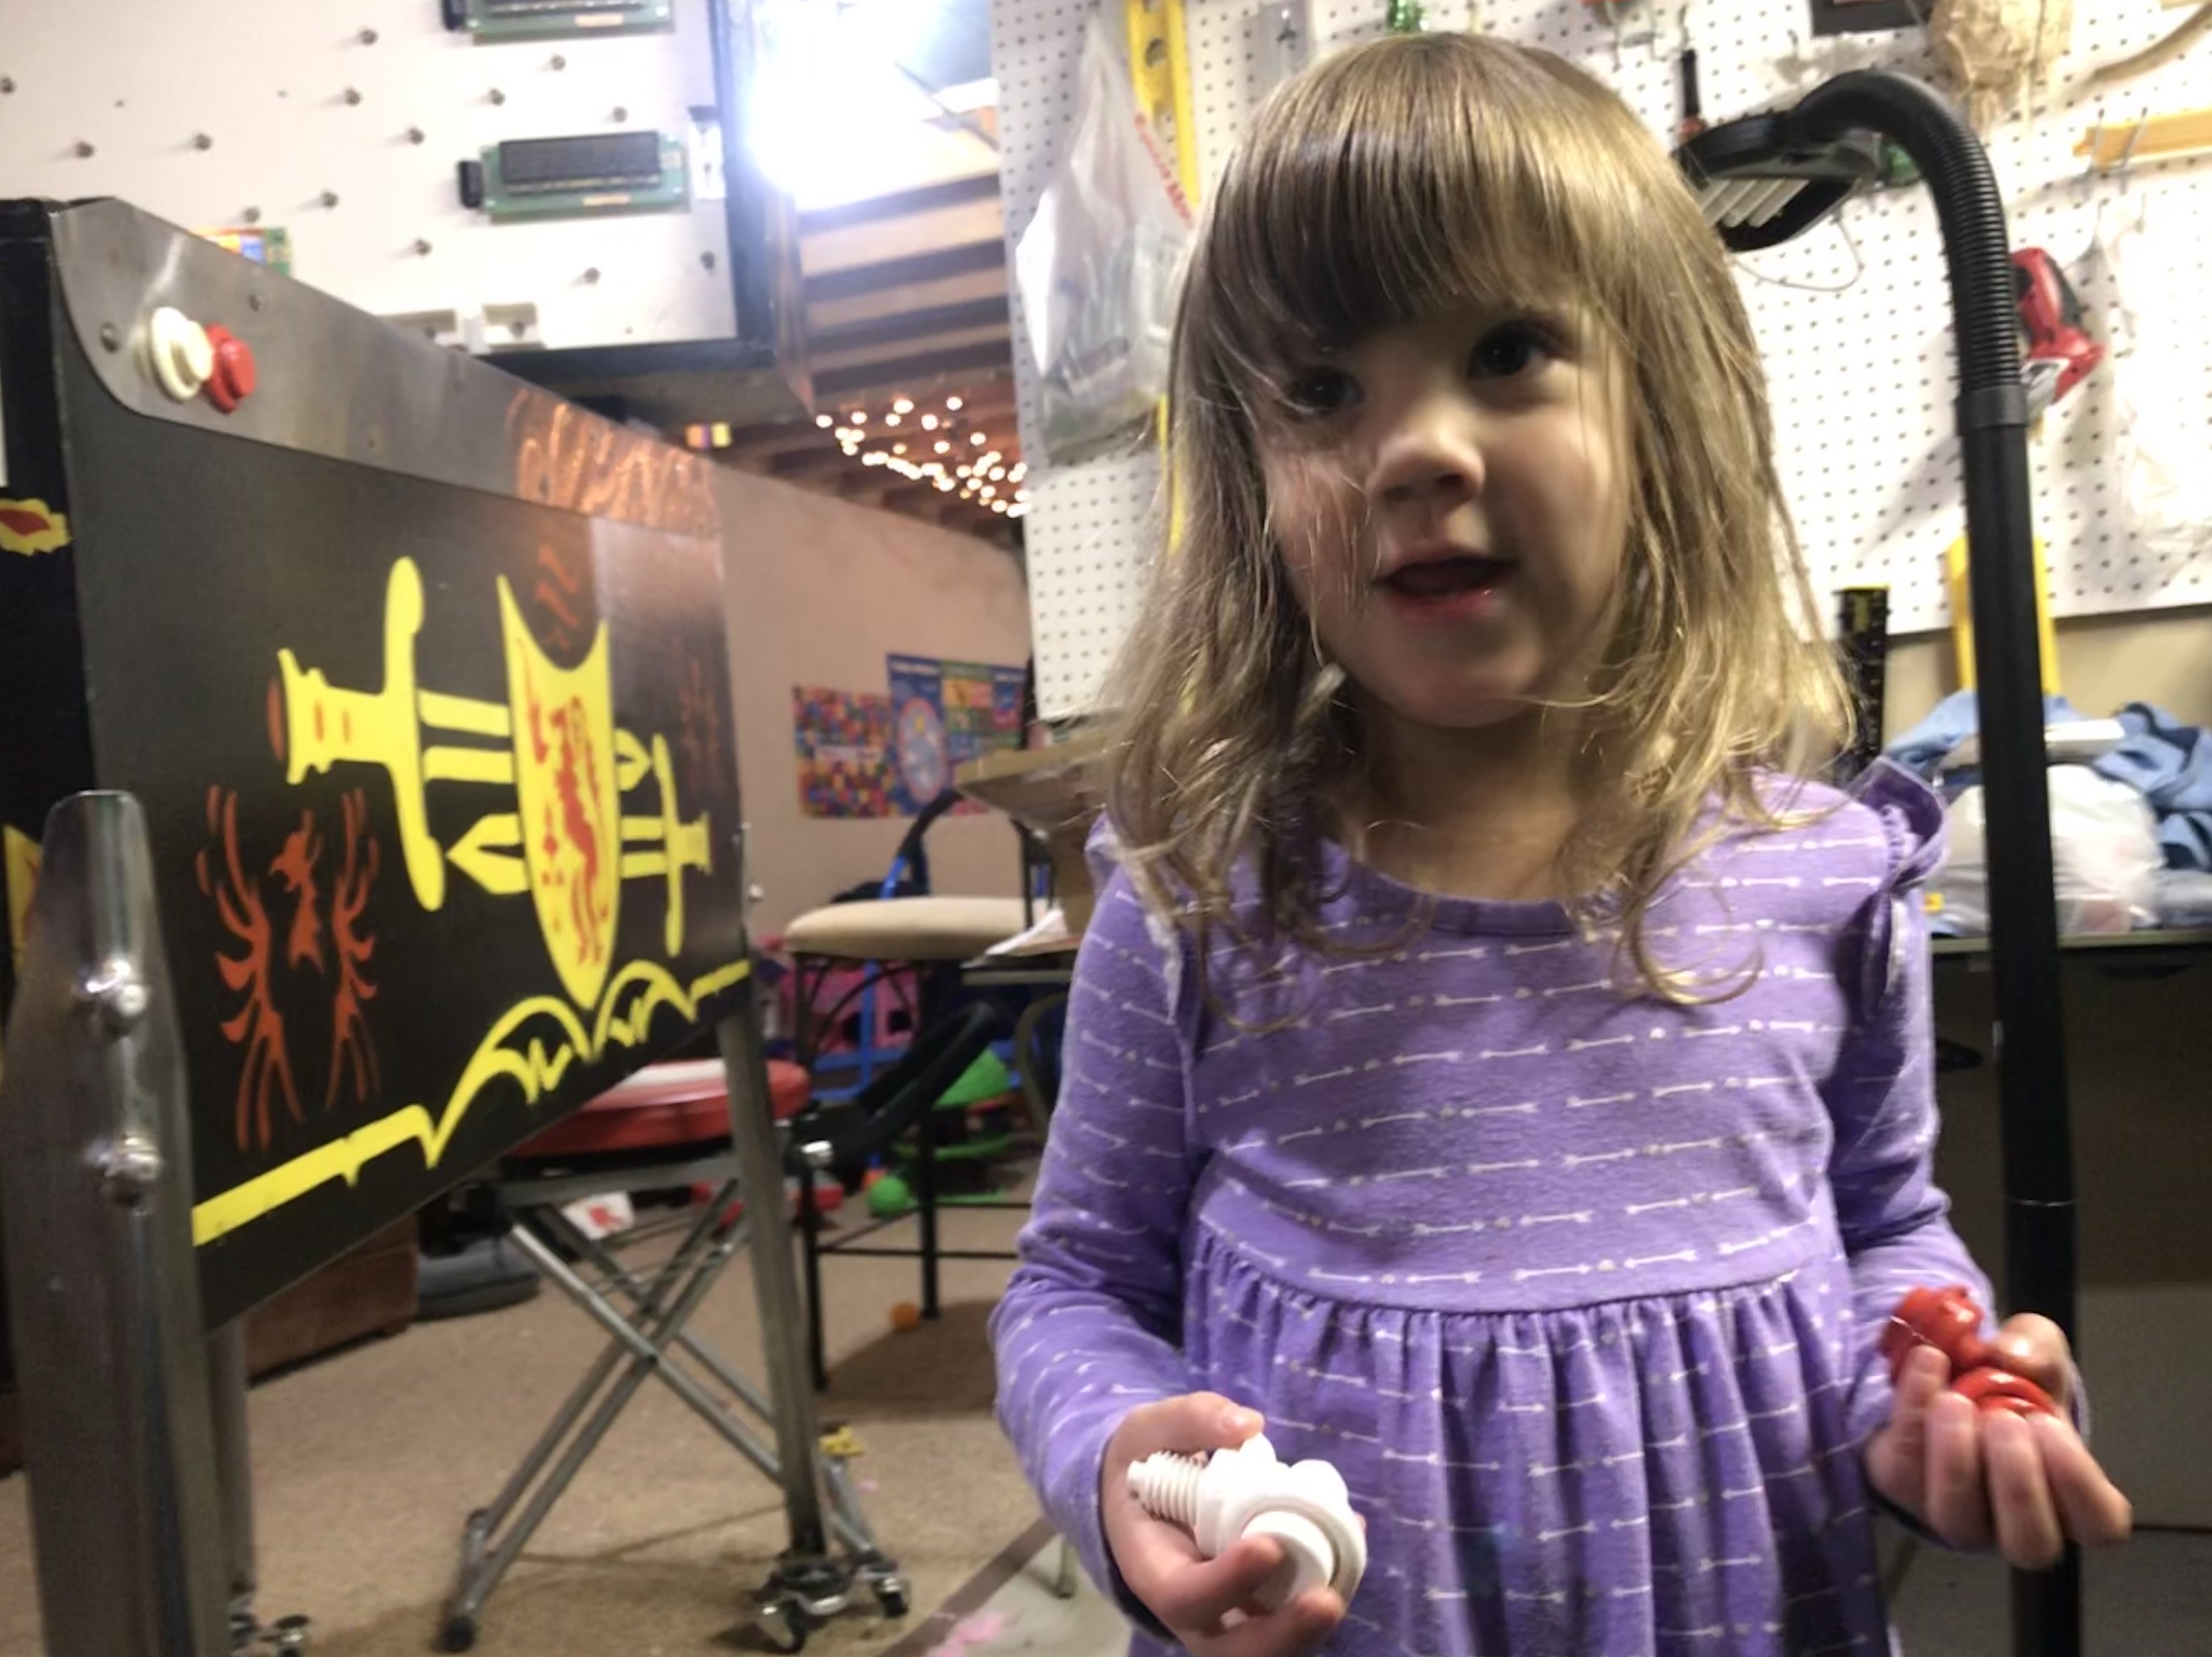
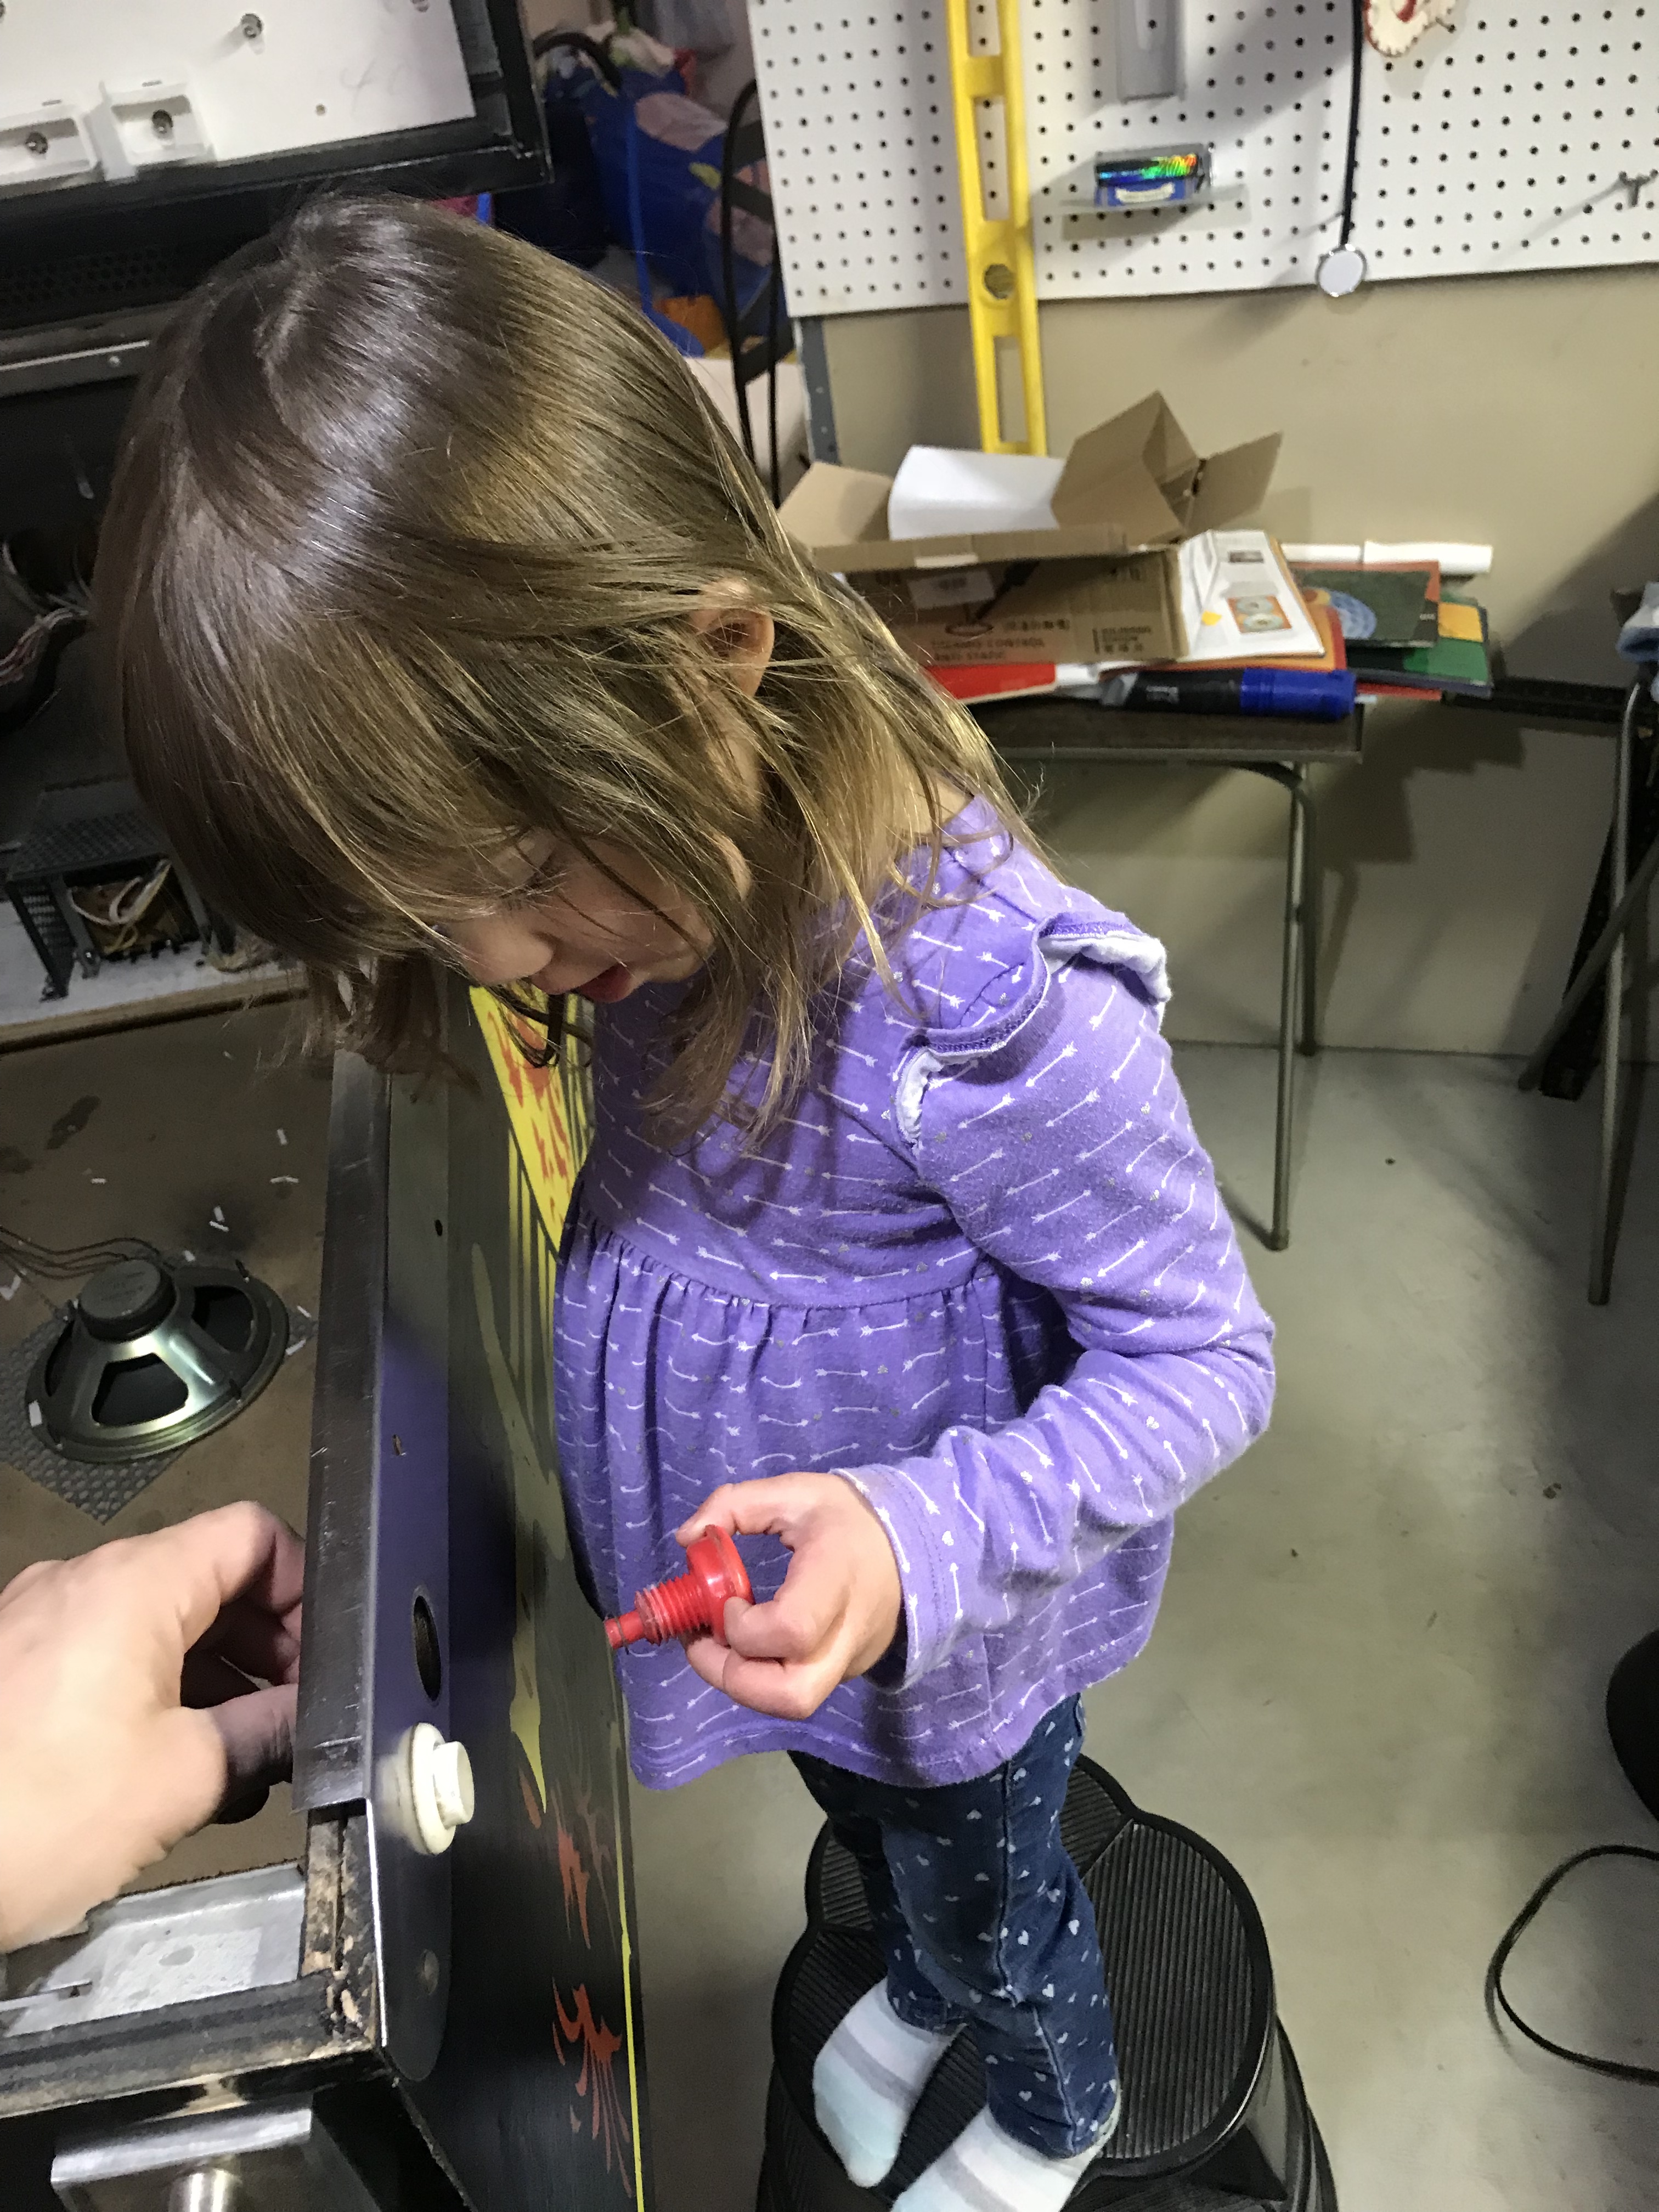
She even loved dipping the Q-Tips into alcohol to help clean off the old grime. What a useful helper!
Next I replaced the "beer guard" tape on the bottom of the lockbar that goes on the bottom of the playfield. This is to create a seal between it and the glass, just in case someone spills a beer on top, so that it doesn't drip the liquid onto the playfield:
I was preparing to take measures to protect the backglass, but I found that someone already took measures to do just that already. You can see that they touched up the artwork with some color below, and then they added a protective sheet of plastic over it too.
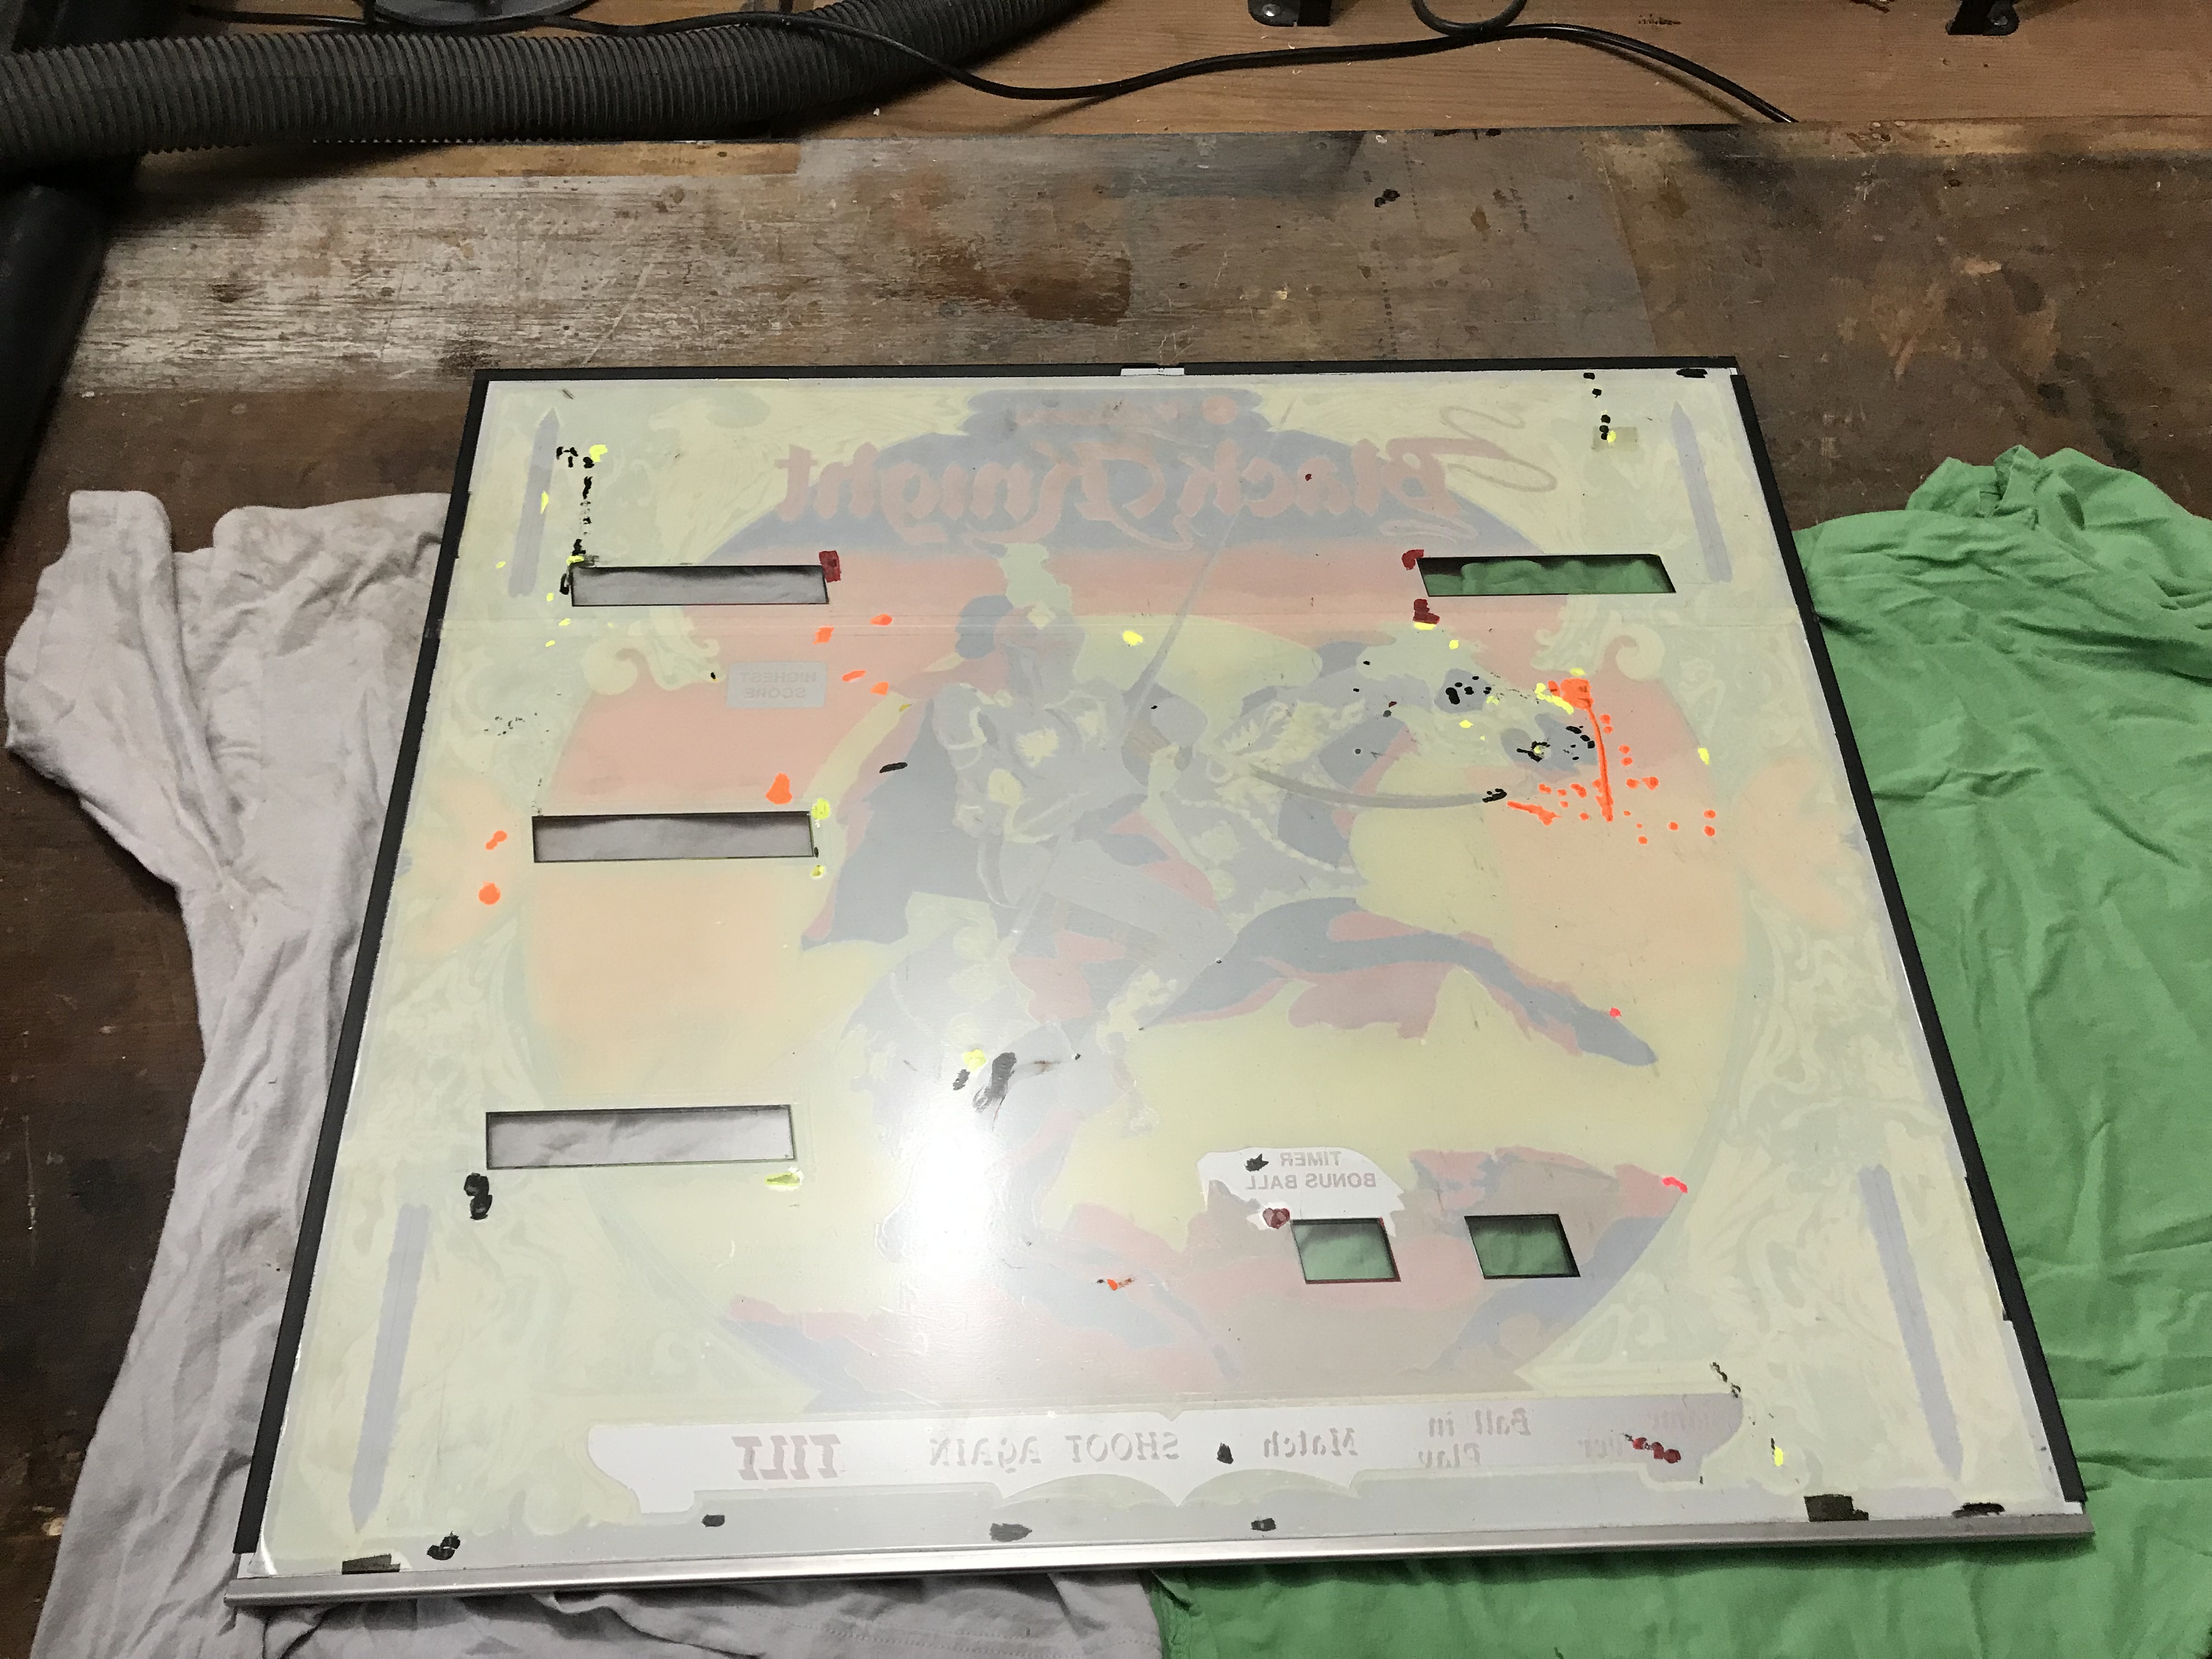
Here you can see the plastic covering protecting it.

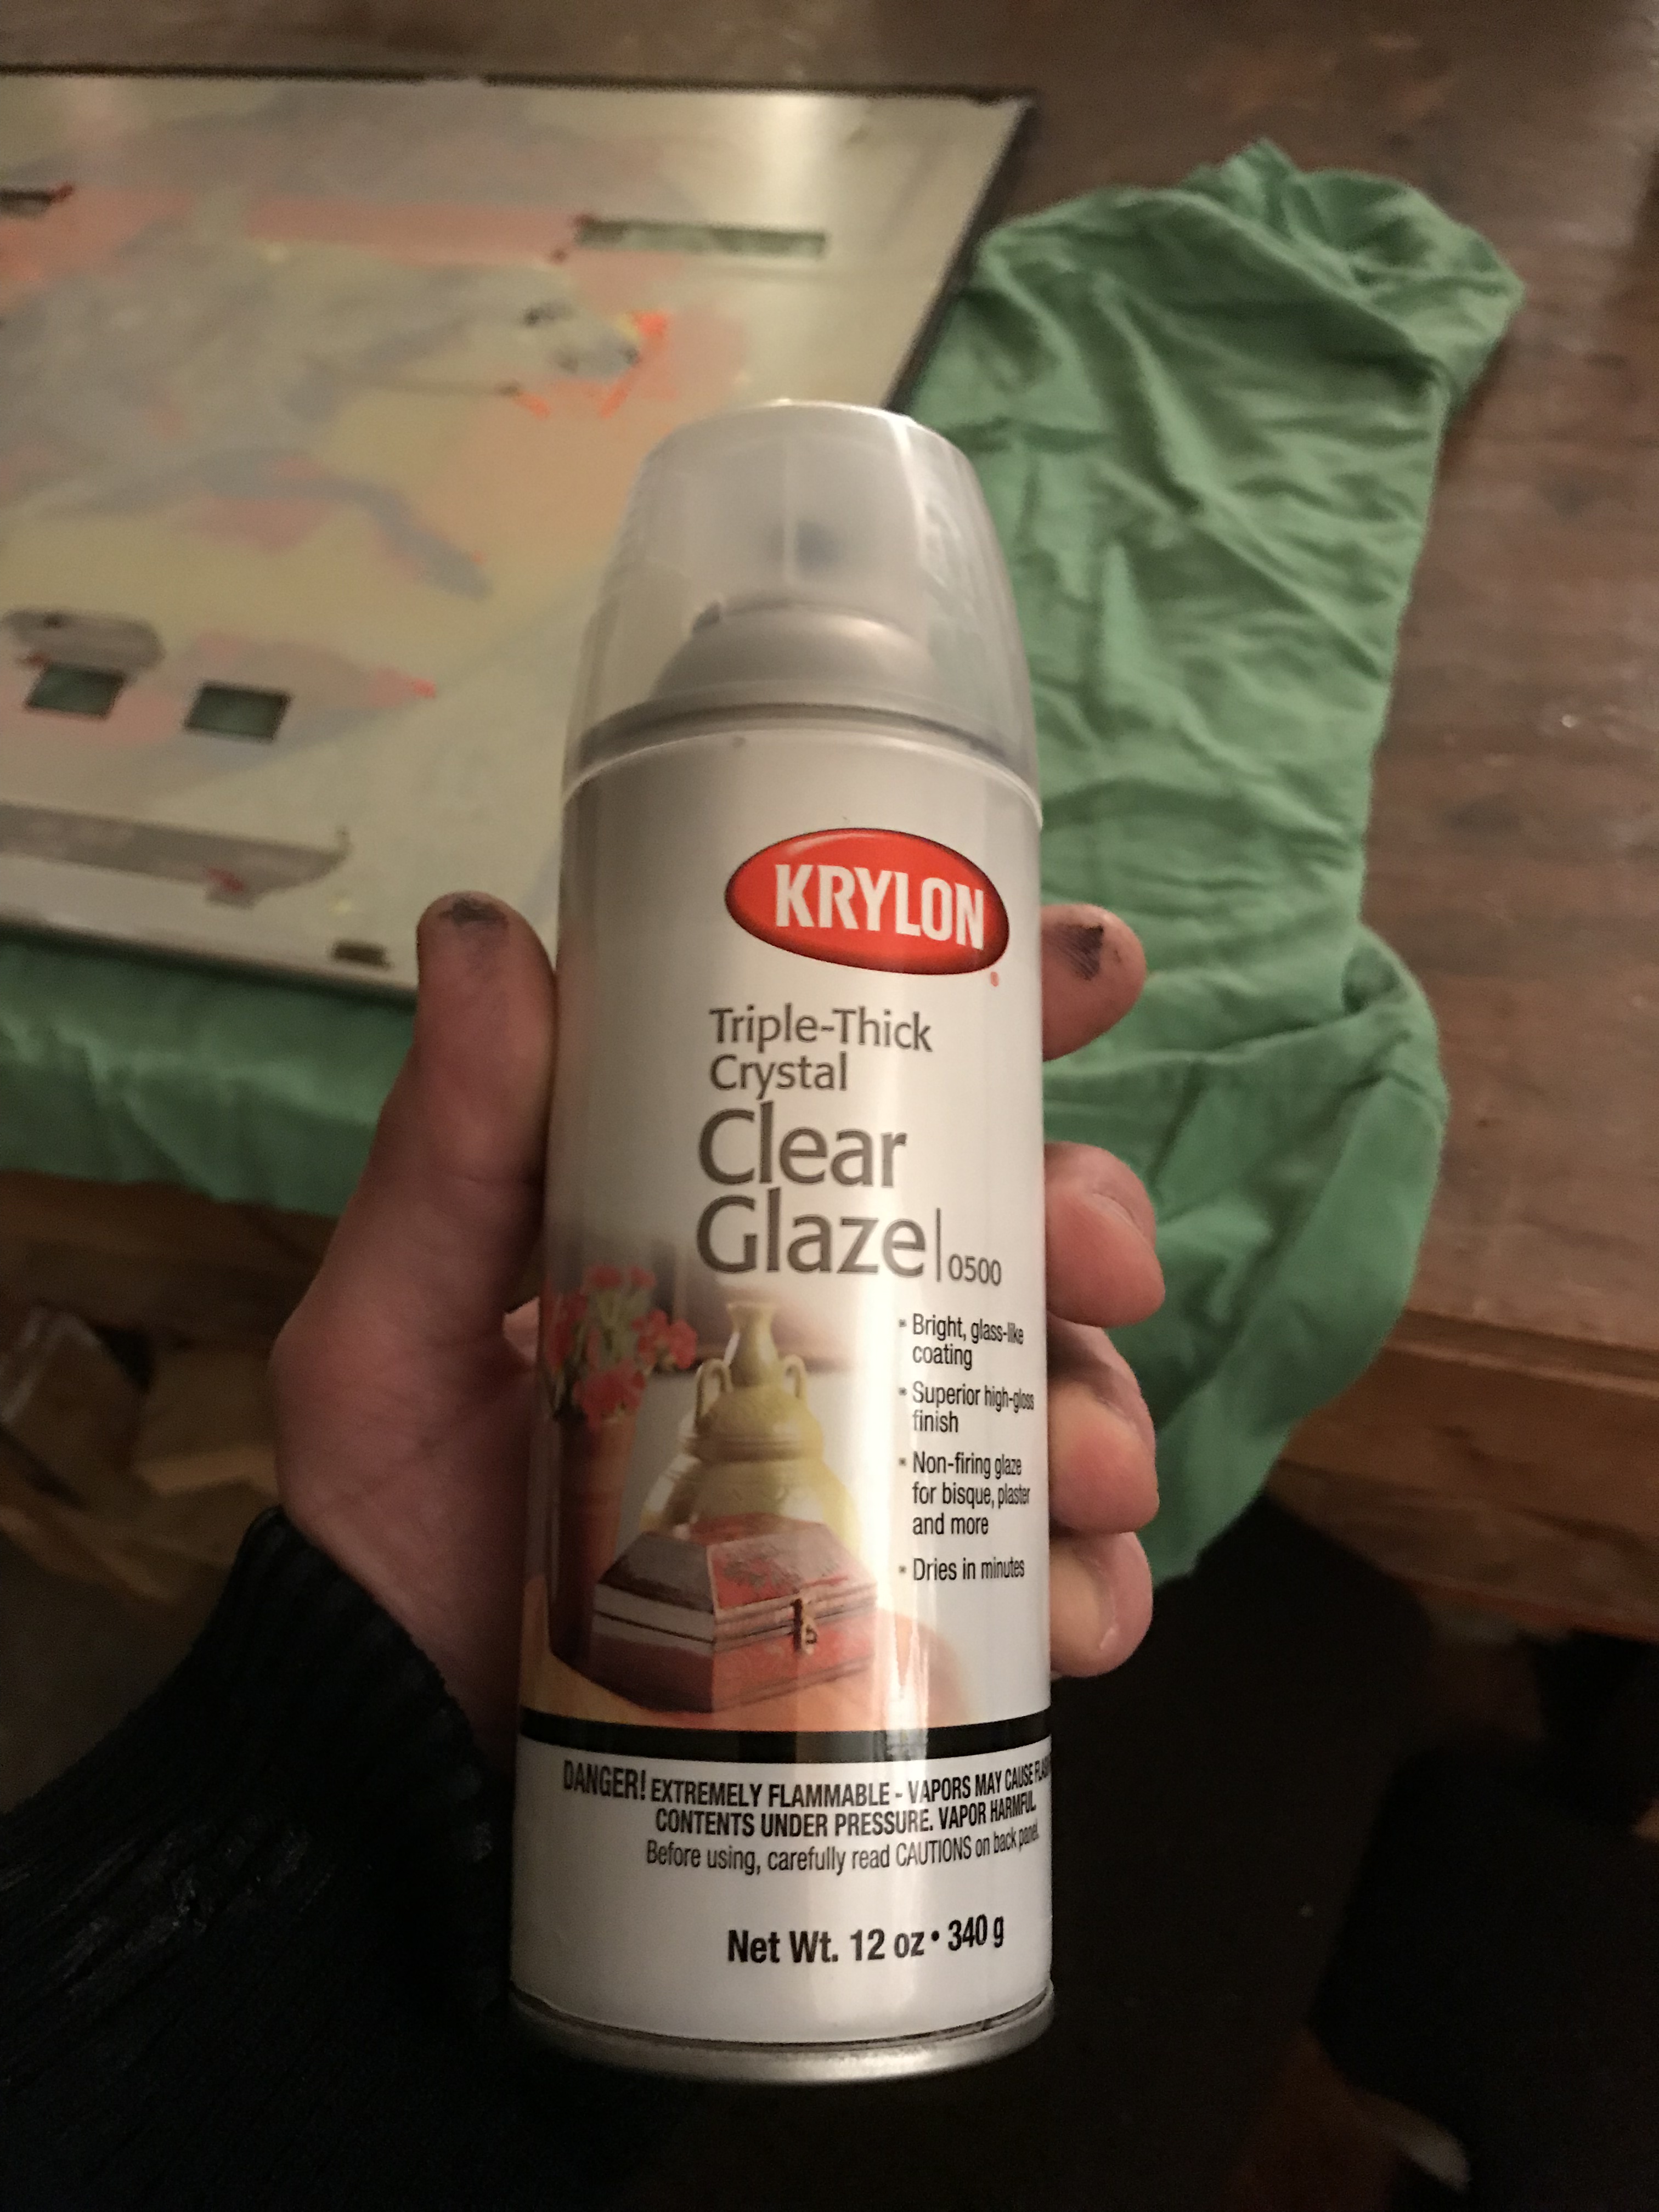
Since the backglass is beautiful, and this all seems to be working well, I didn't end up doing anything to the backglass. This is the protective stuff I was going to use though, but didn't end up needing it:
Next I cleaned up the cabinet a bit. The cabinet itself is really in amazing shape, so it didn't need anything major. But along the edges you can see some wood chipping and other little knicks through out.
And here you can see this side touched up. No more chipped wood look.
Then I did the same touch up on the bottom box sides.


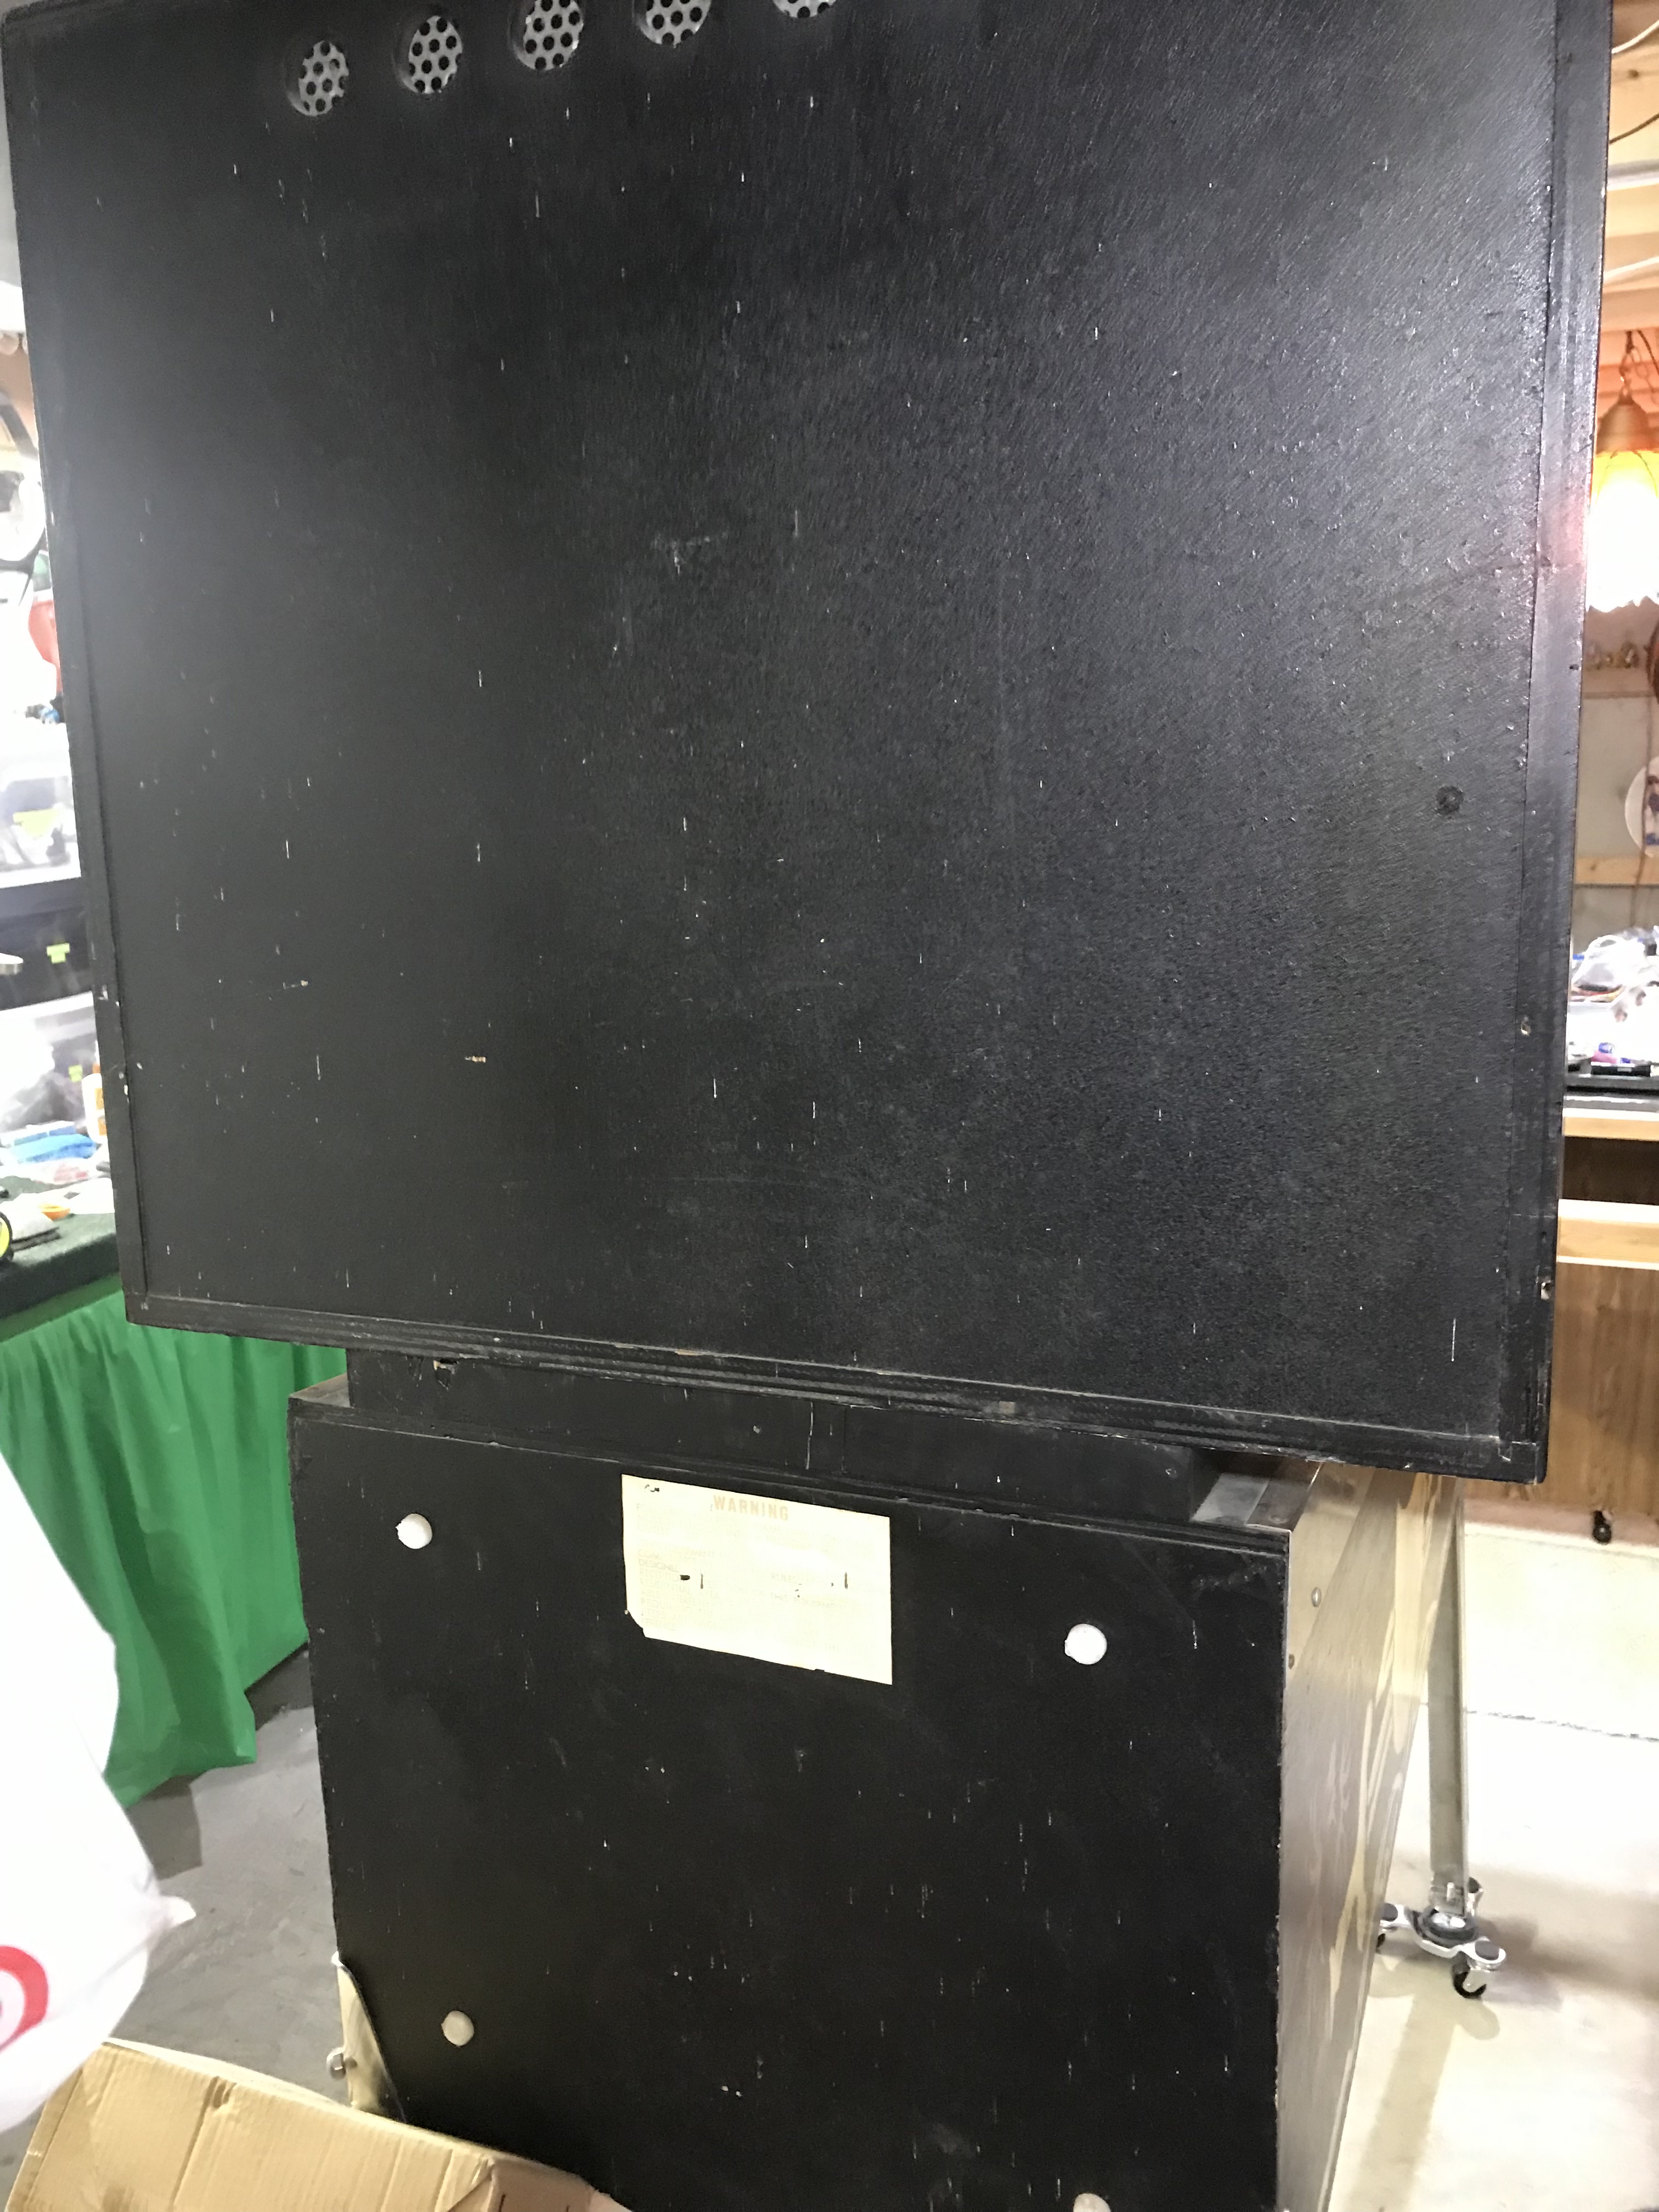
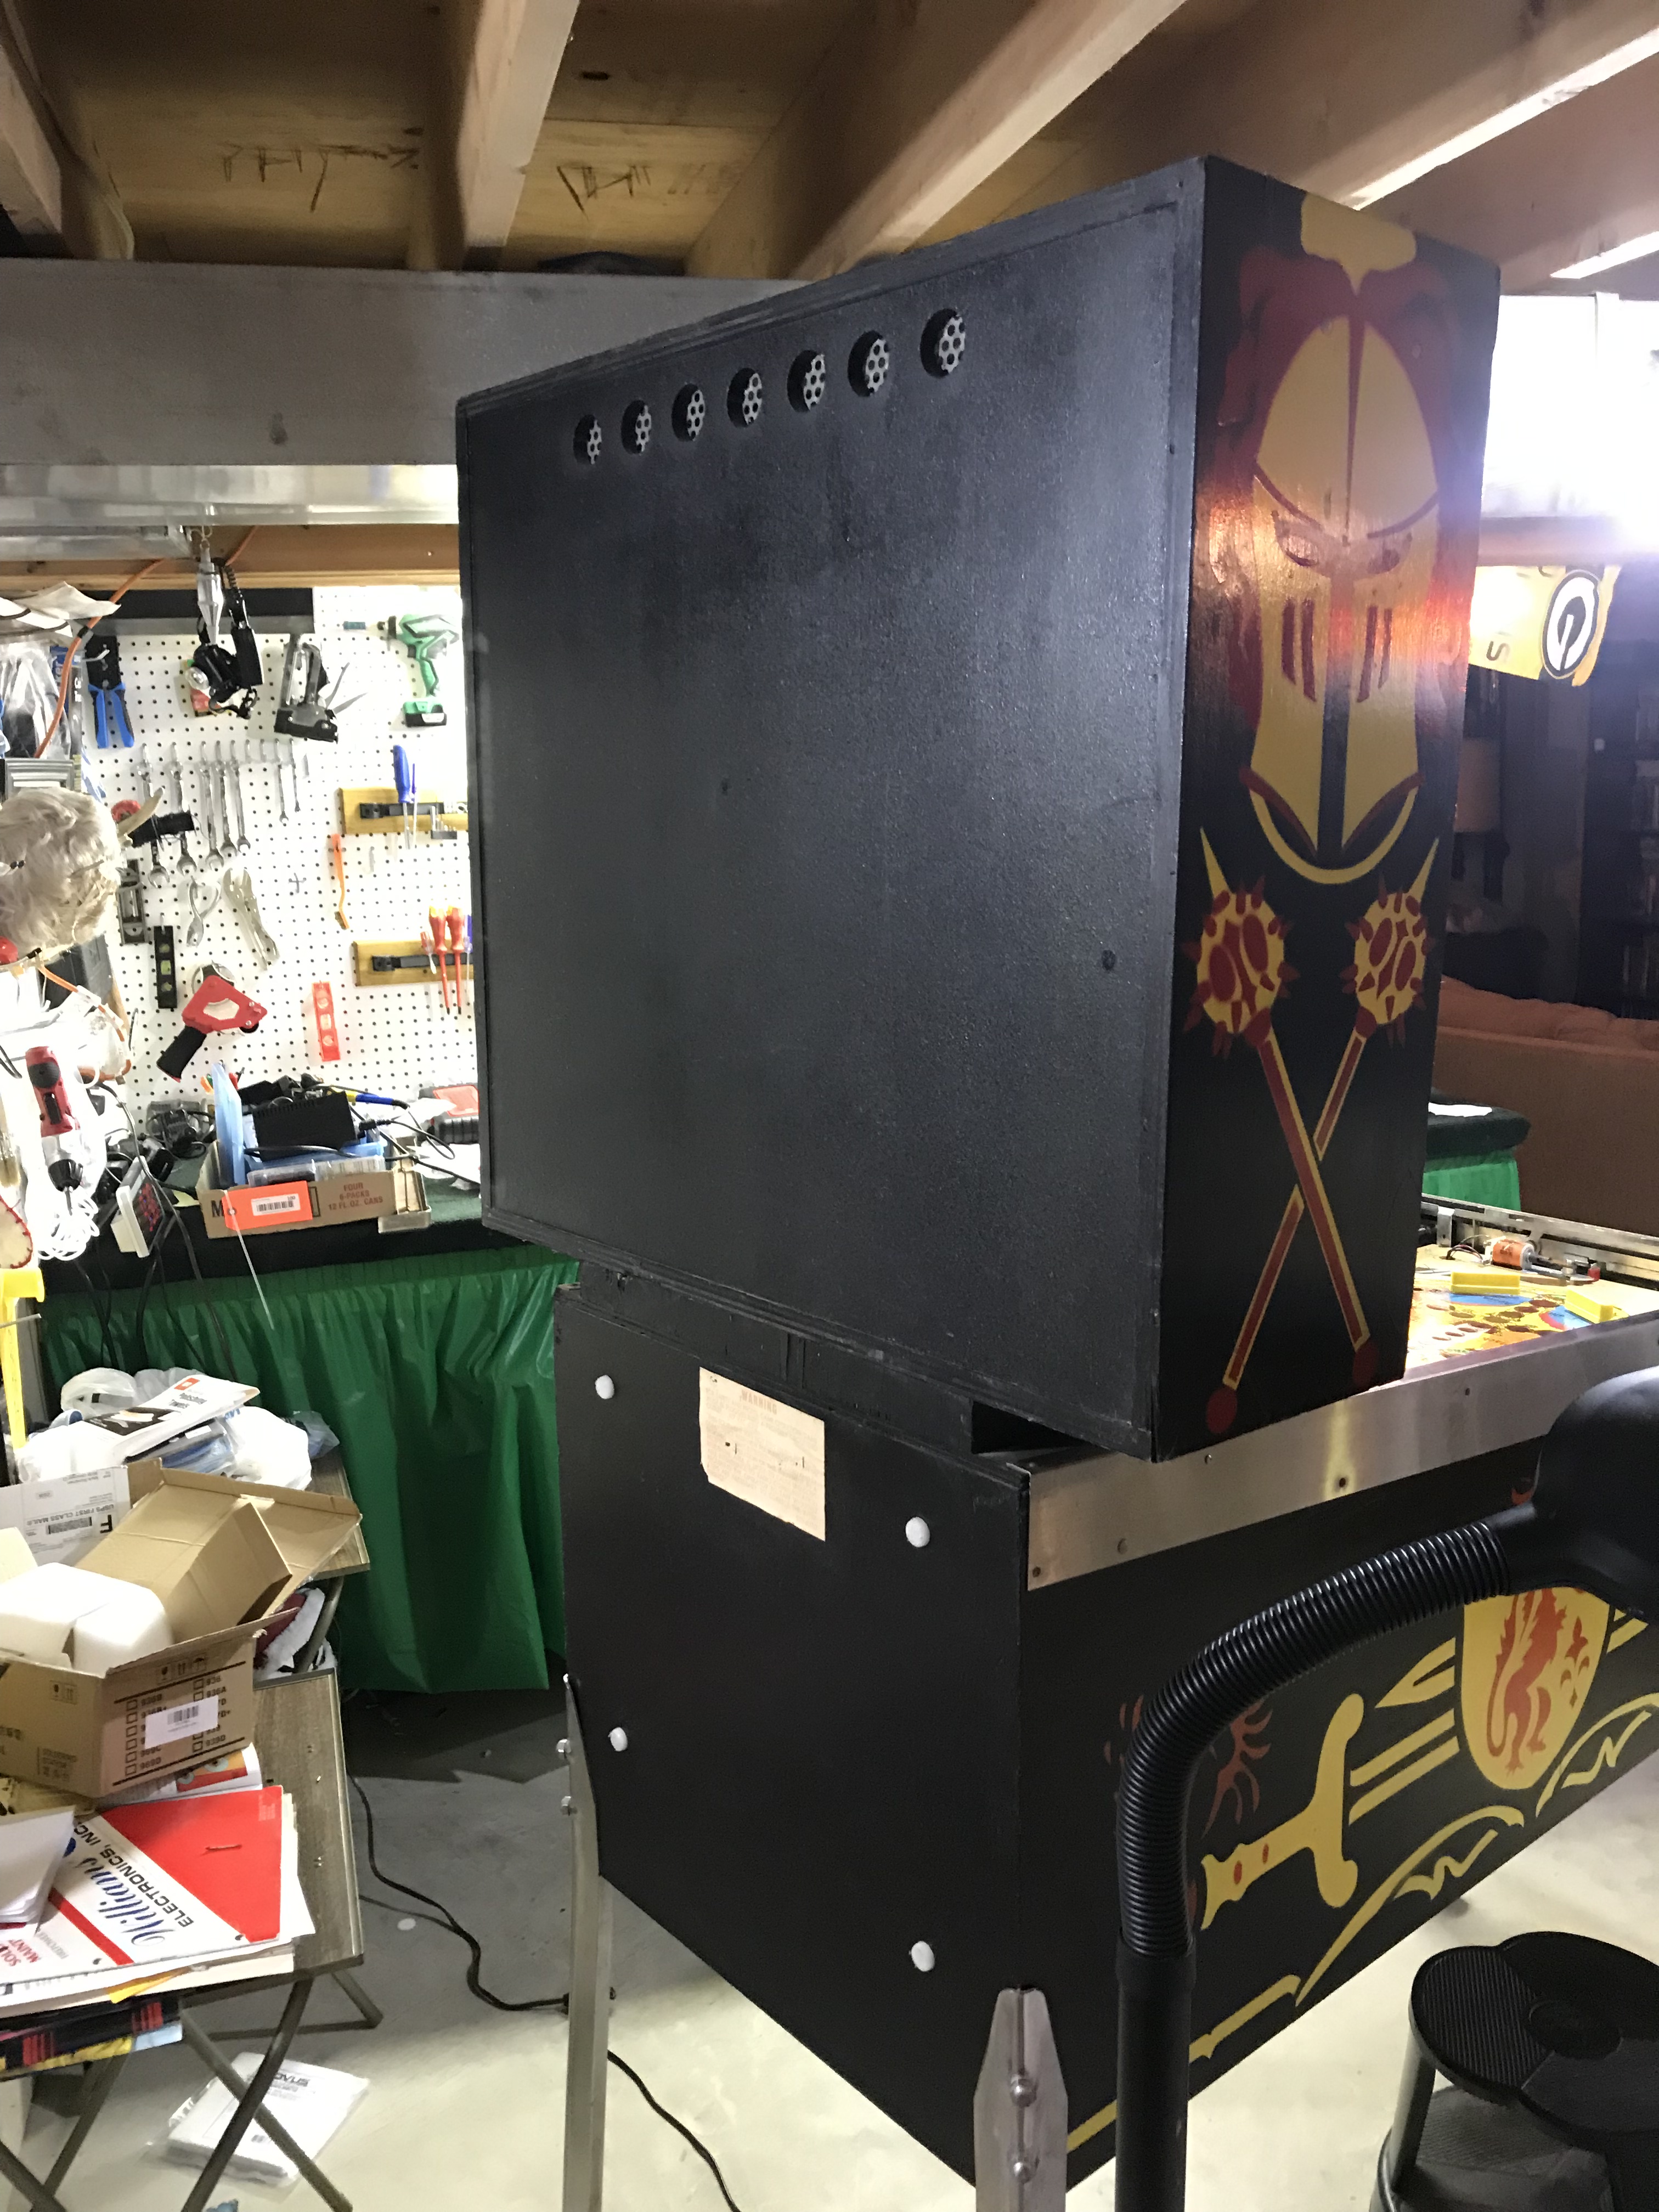
I even spent a good 20 minutes cleaning up the back of the machine, knowing full well that it would likely be placed against a wall and never seen again. I'm nothing if not thorough!
Here it is before clean up:
And here it is all cleaned up. Enjoy the view, wall!
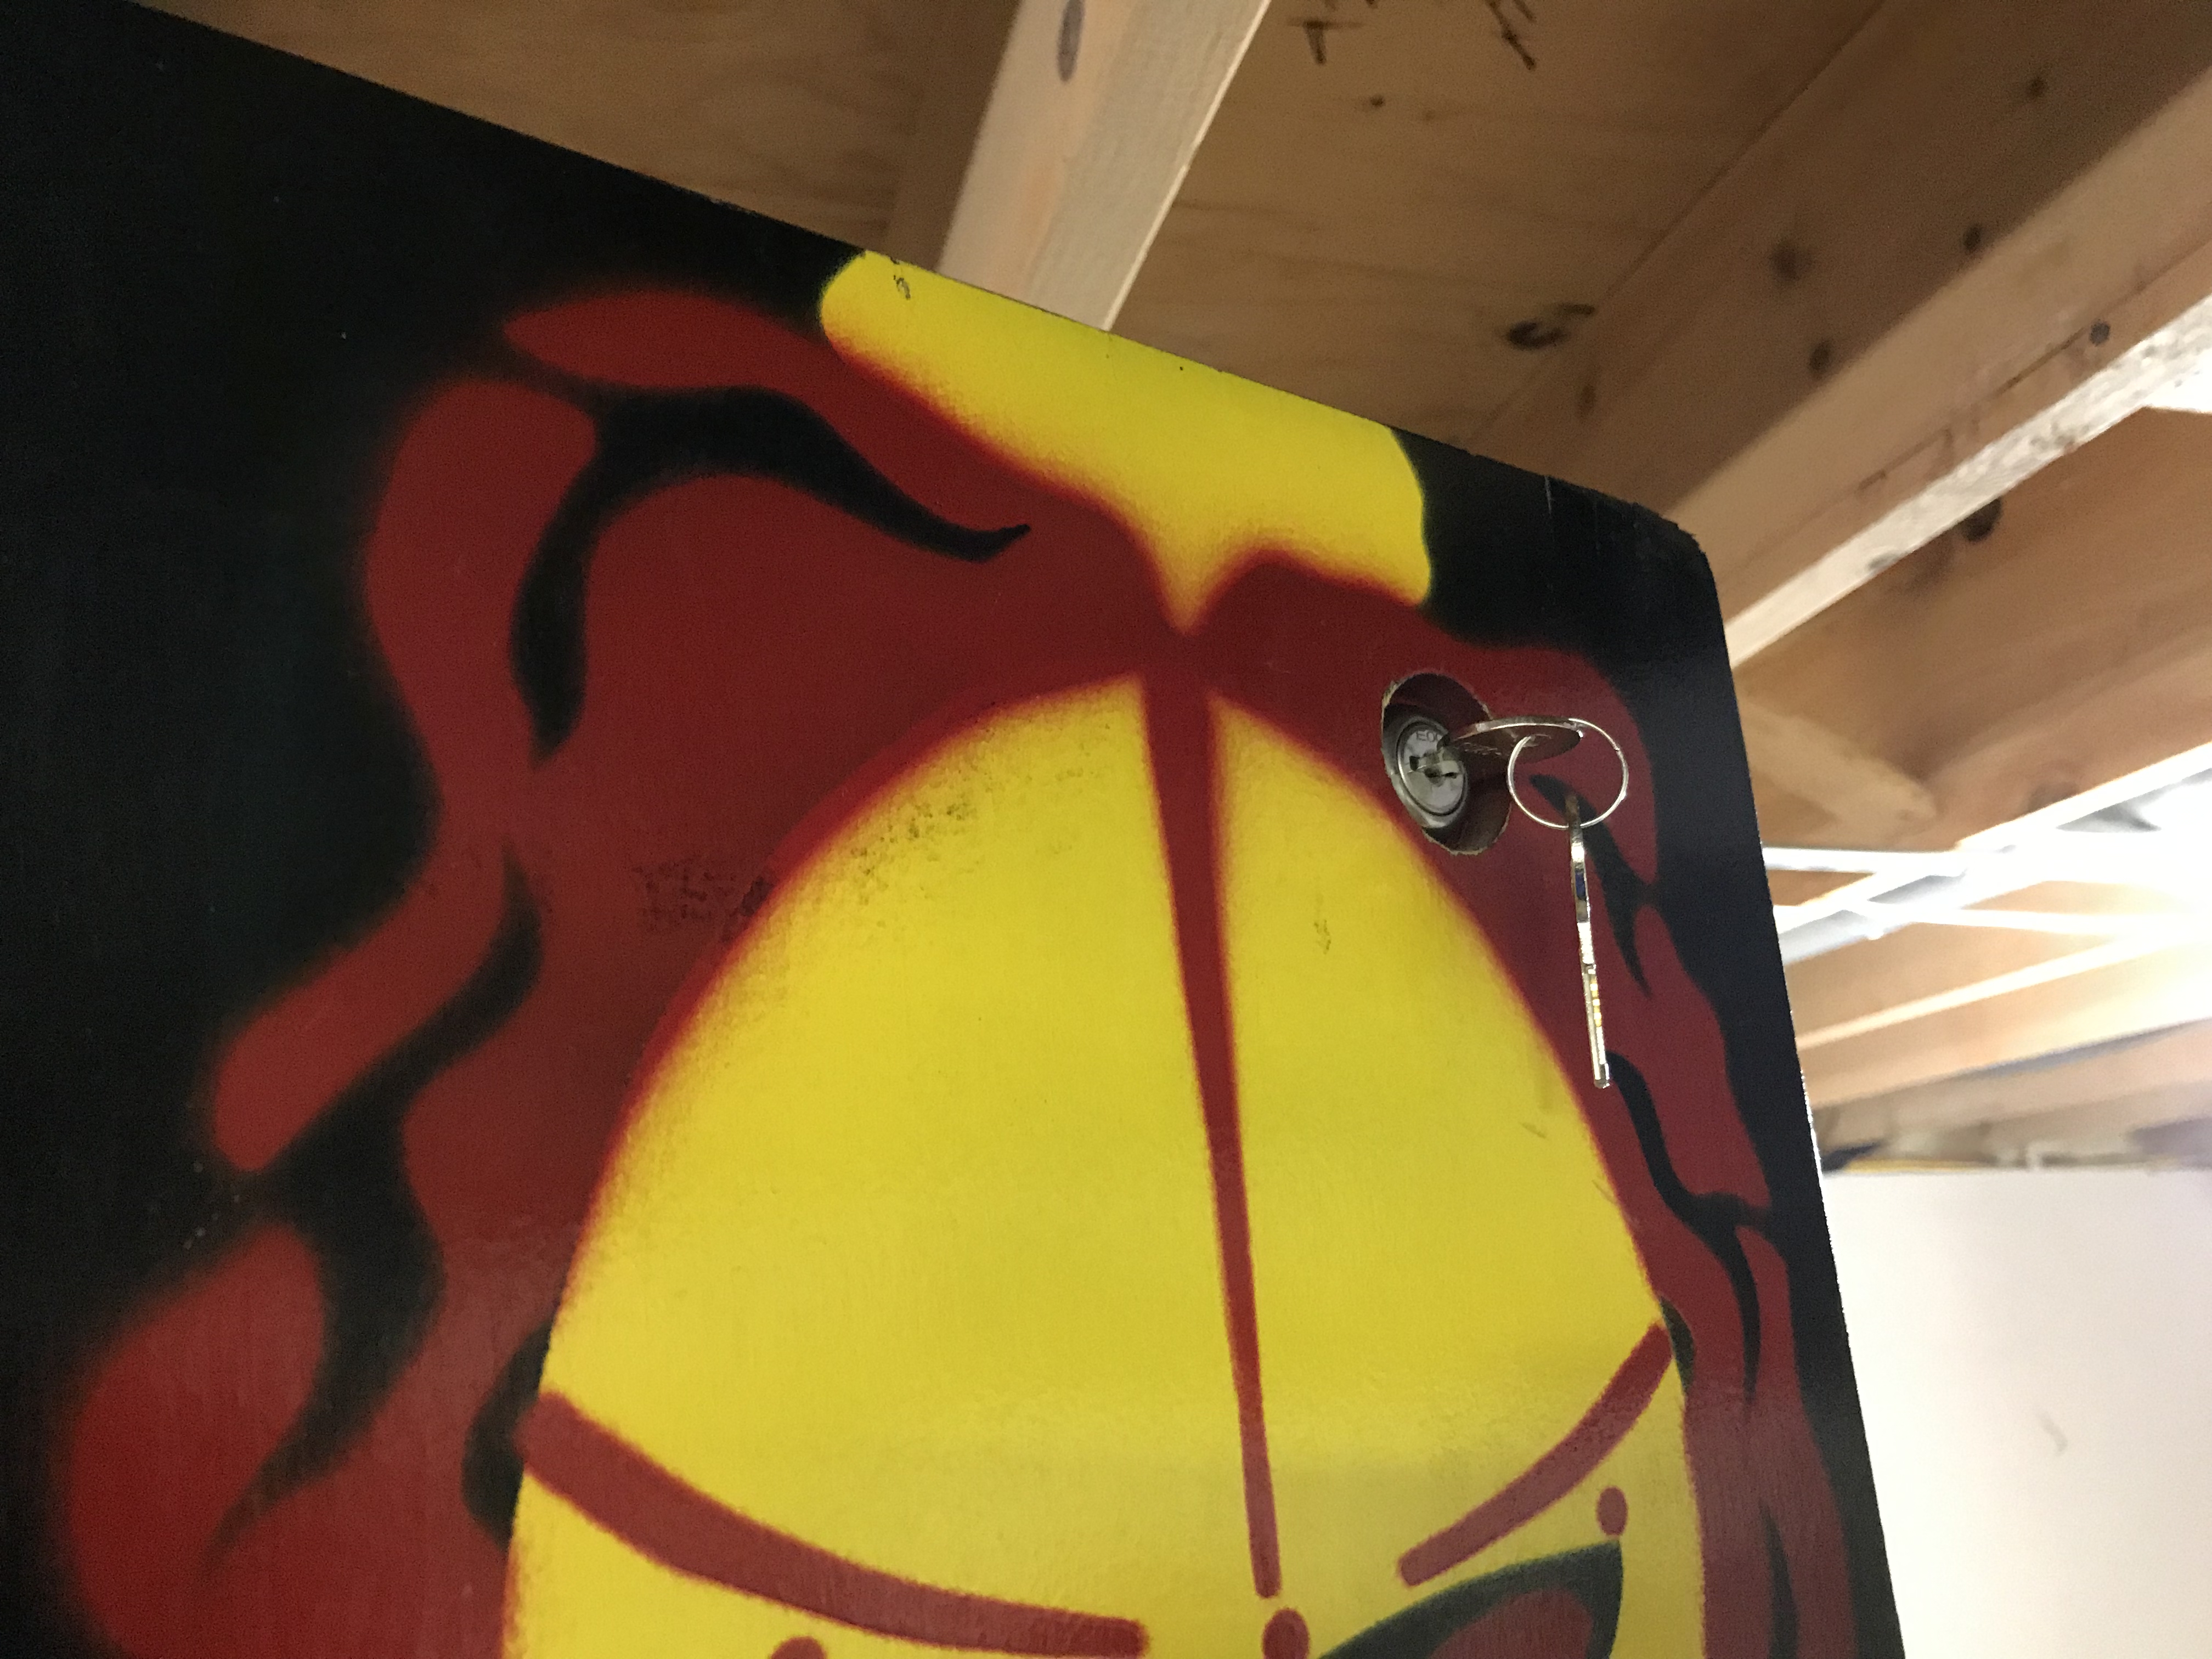
I had to install a new backbox key as well. The cylinder from the old one fell out and did not want to be put back together.
Then I painted the sides of the box that are visible above the playfield. Here you can see the scraped parts above the board ledge rest.
All touched up!
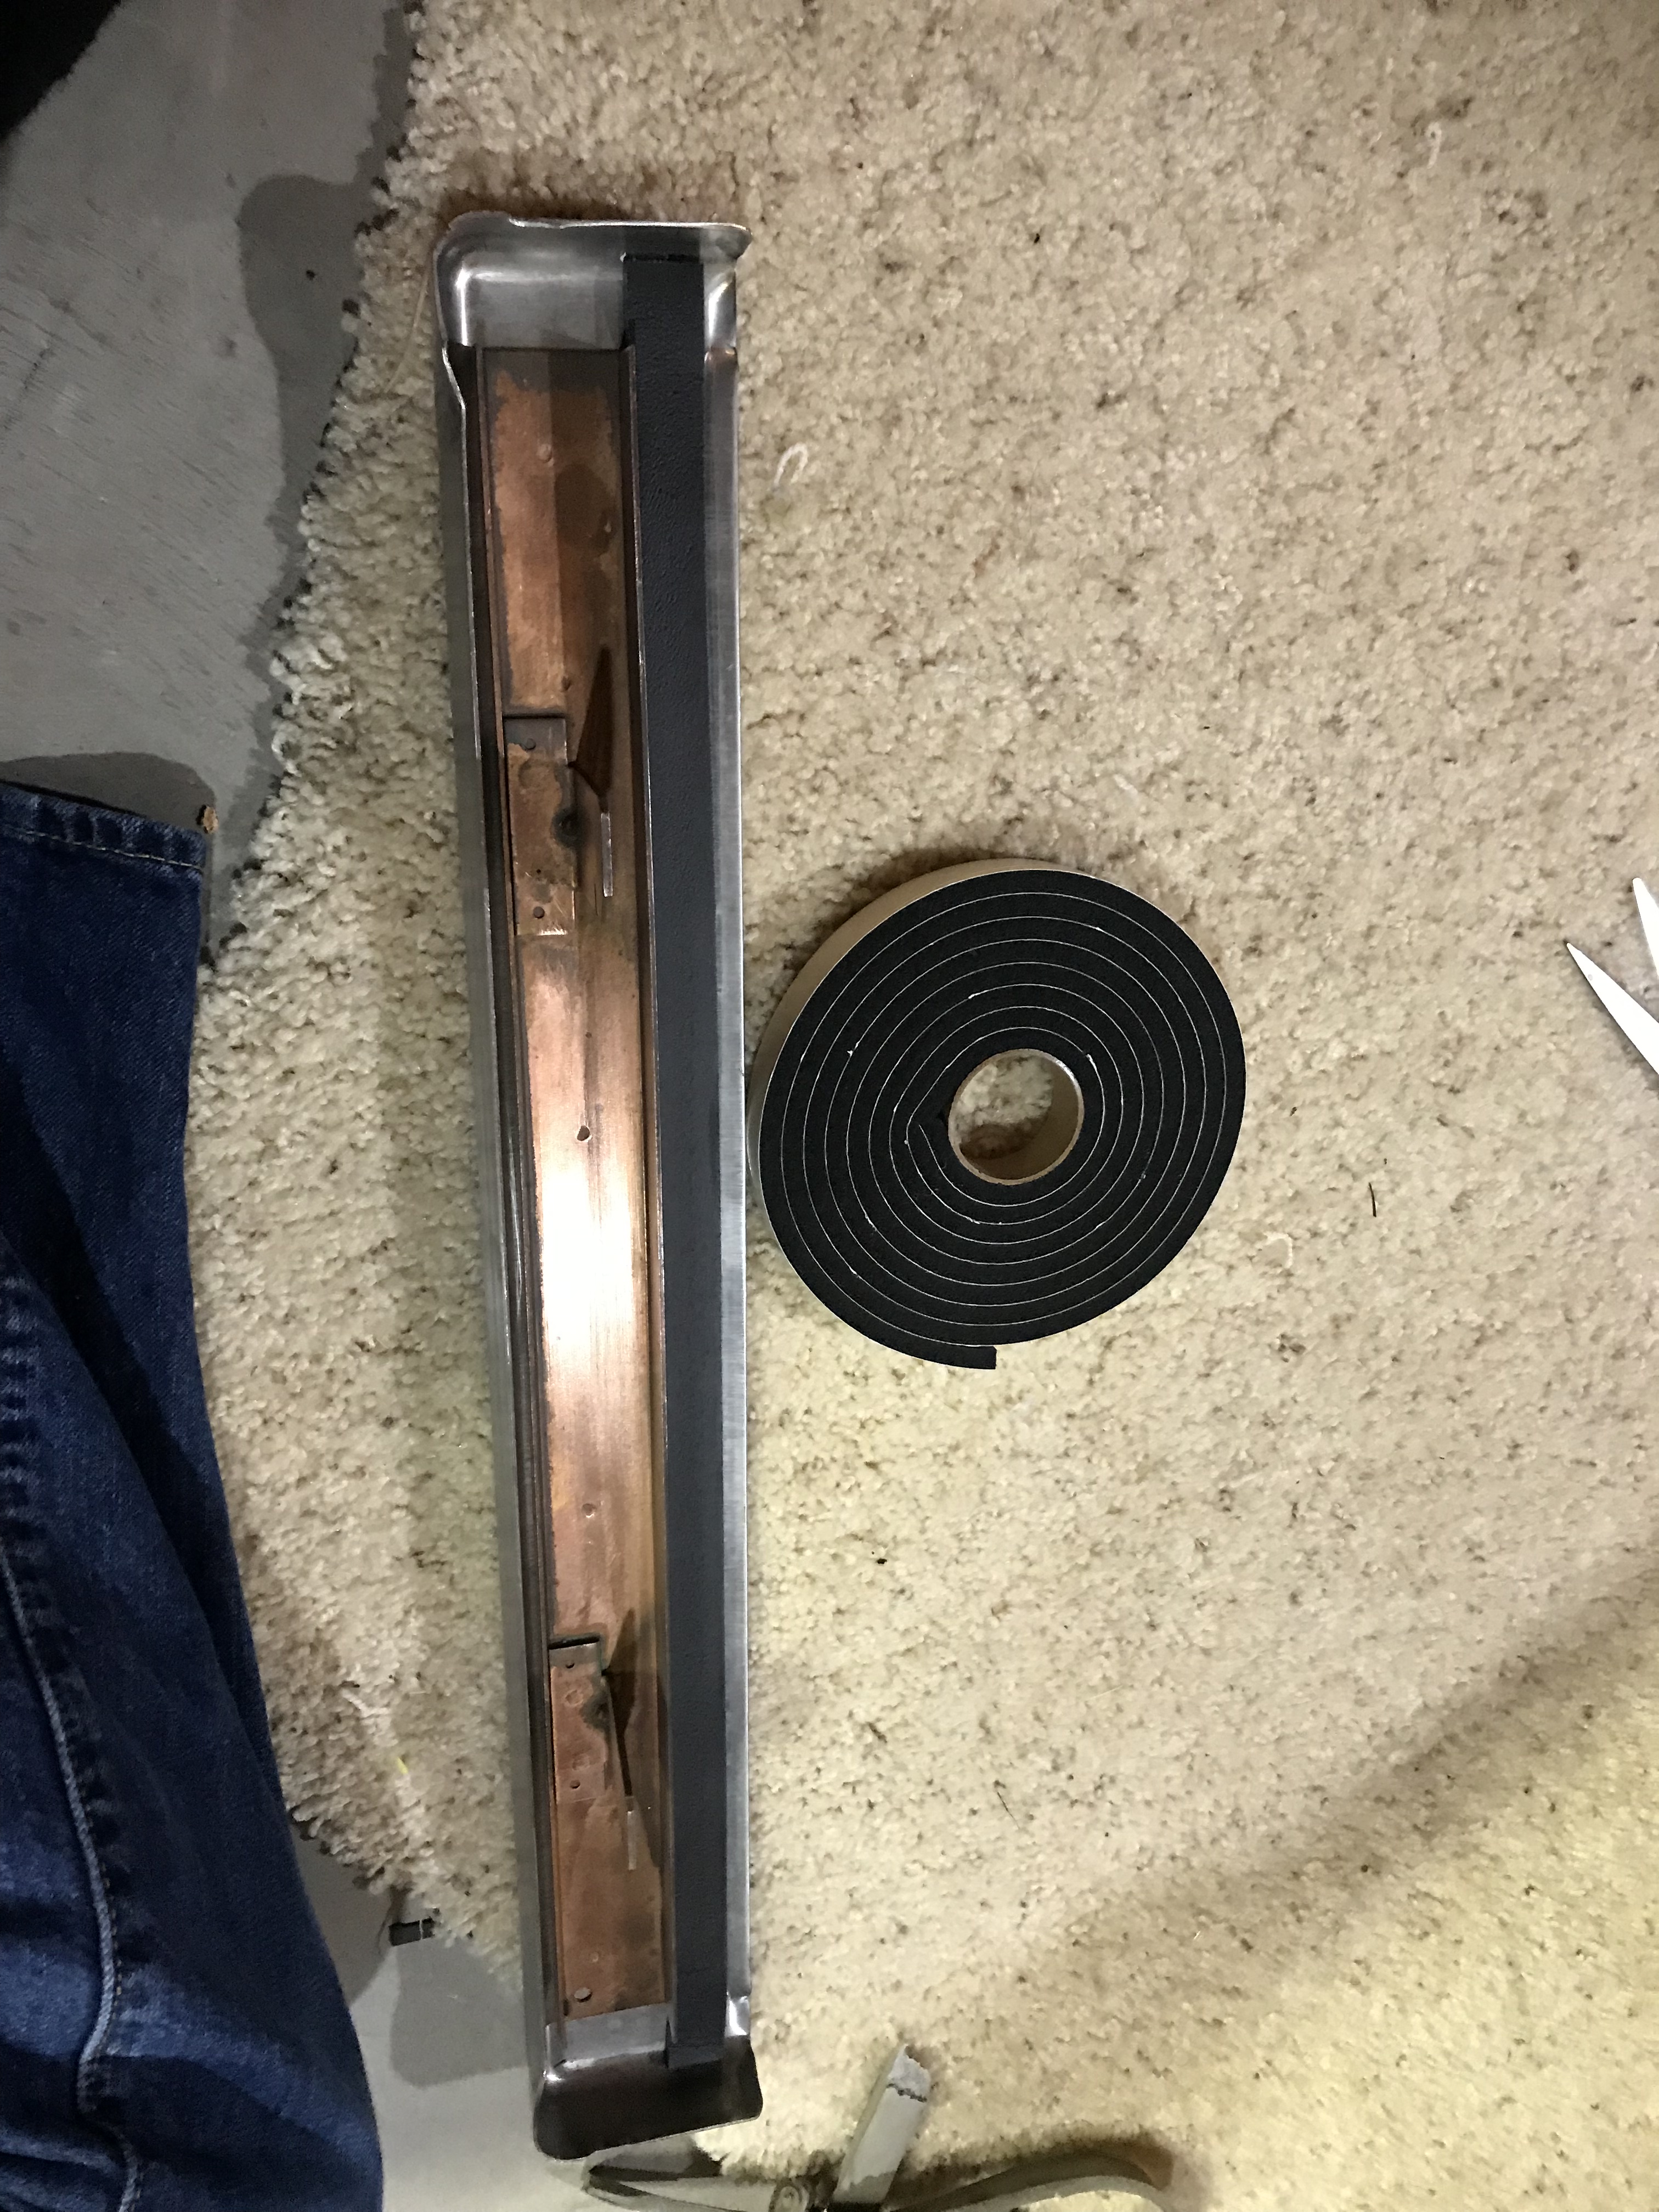
Then I added felt to the outside of the playfields to help eliminate scratching the sides so much moving the playfield up and down.
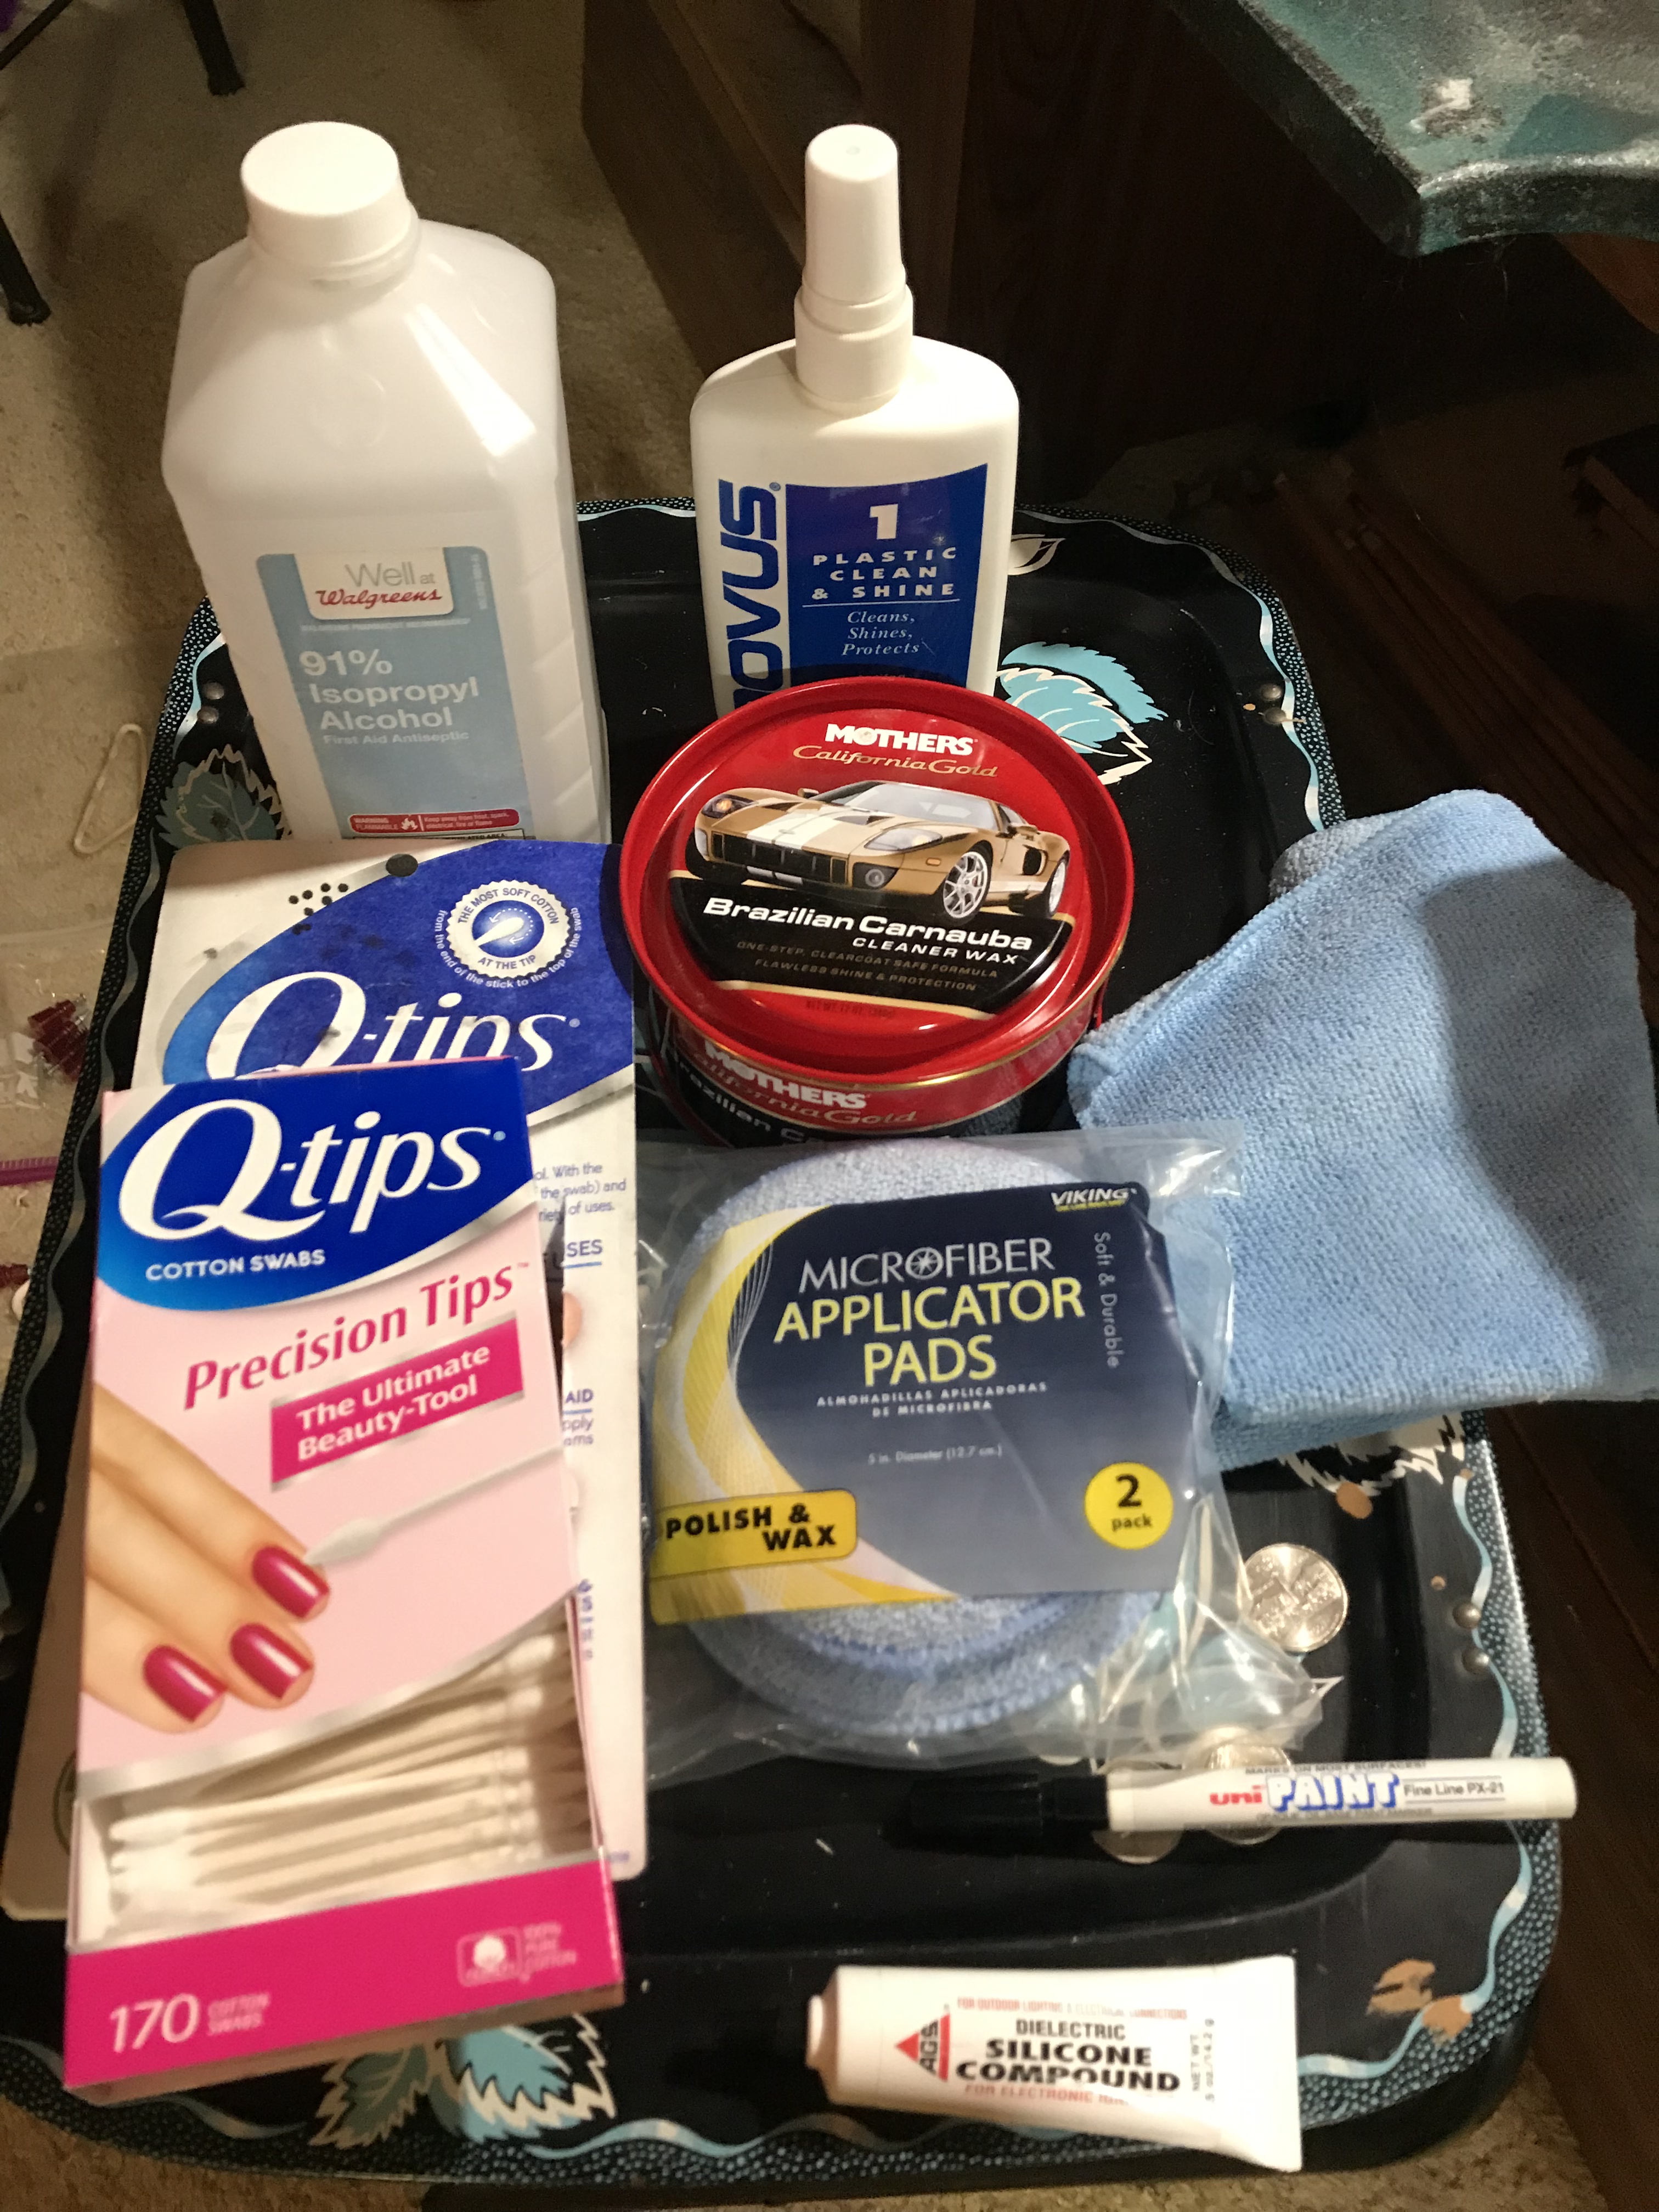
Here's what I used to clean up and wax everything. I used well over 300 Q-Tips throughout this project!
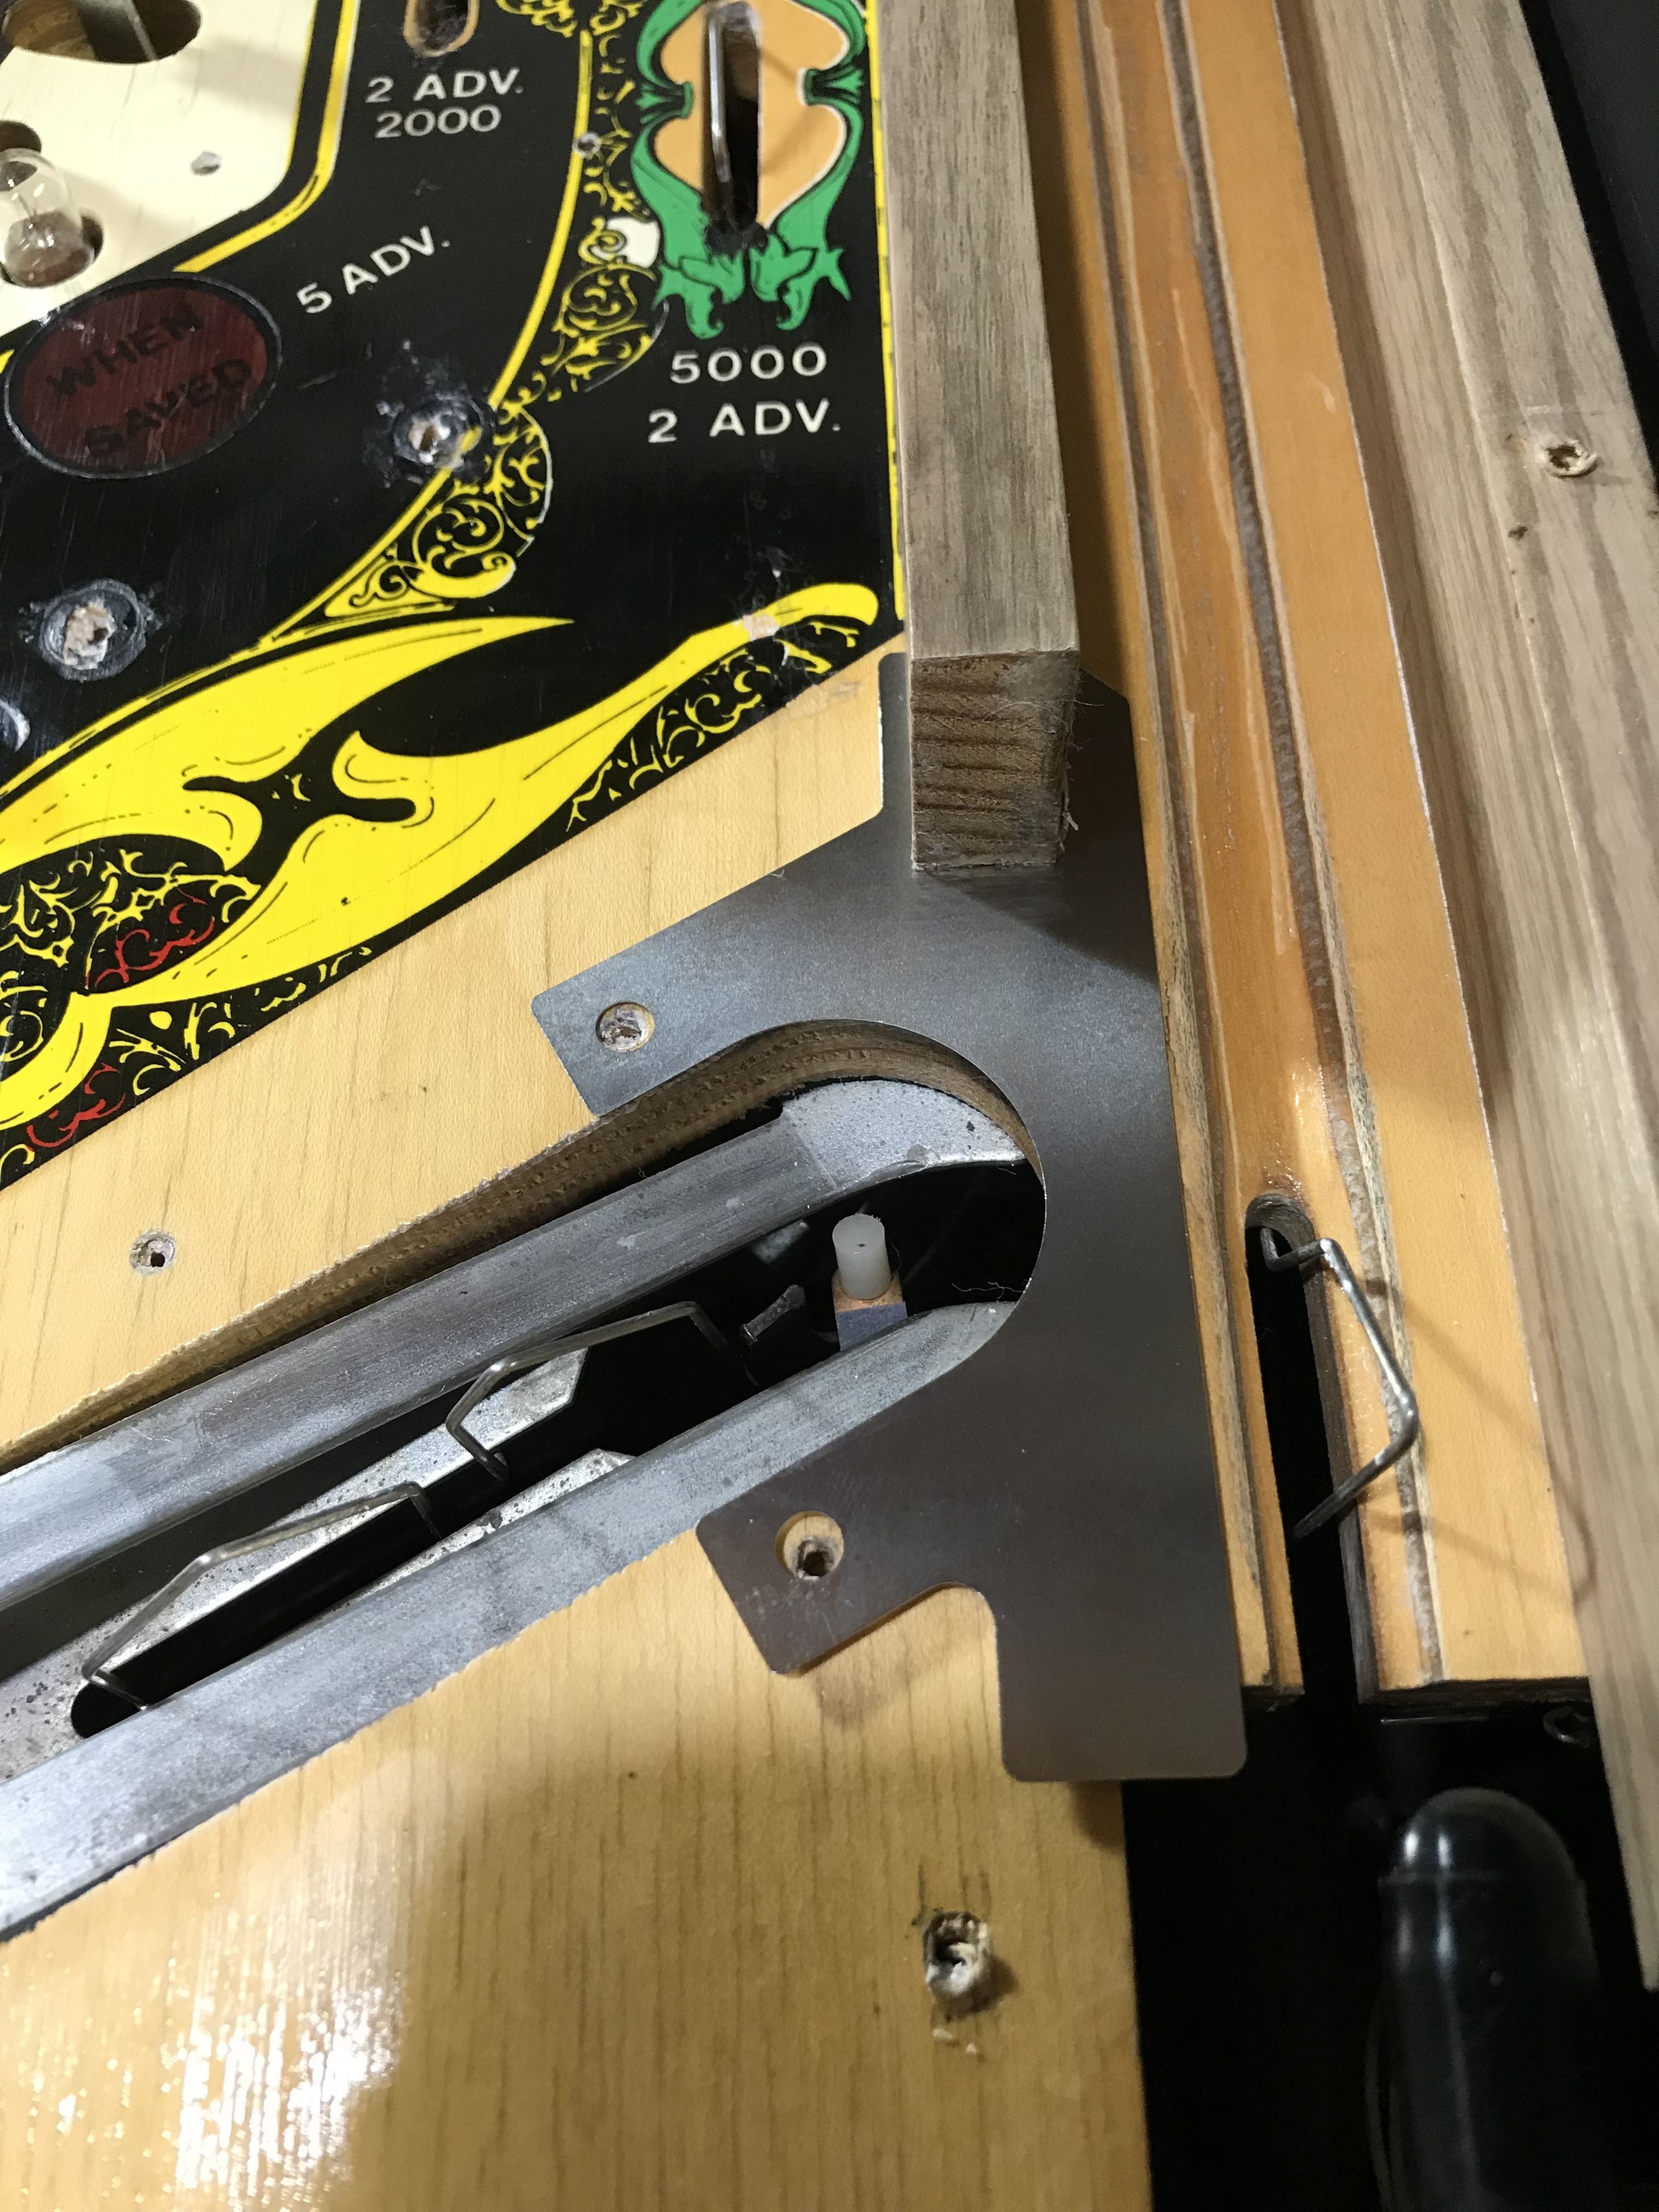
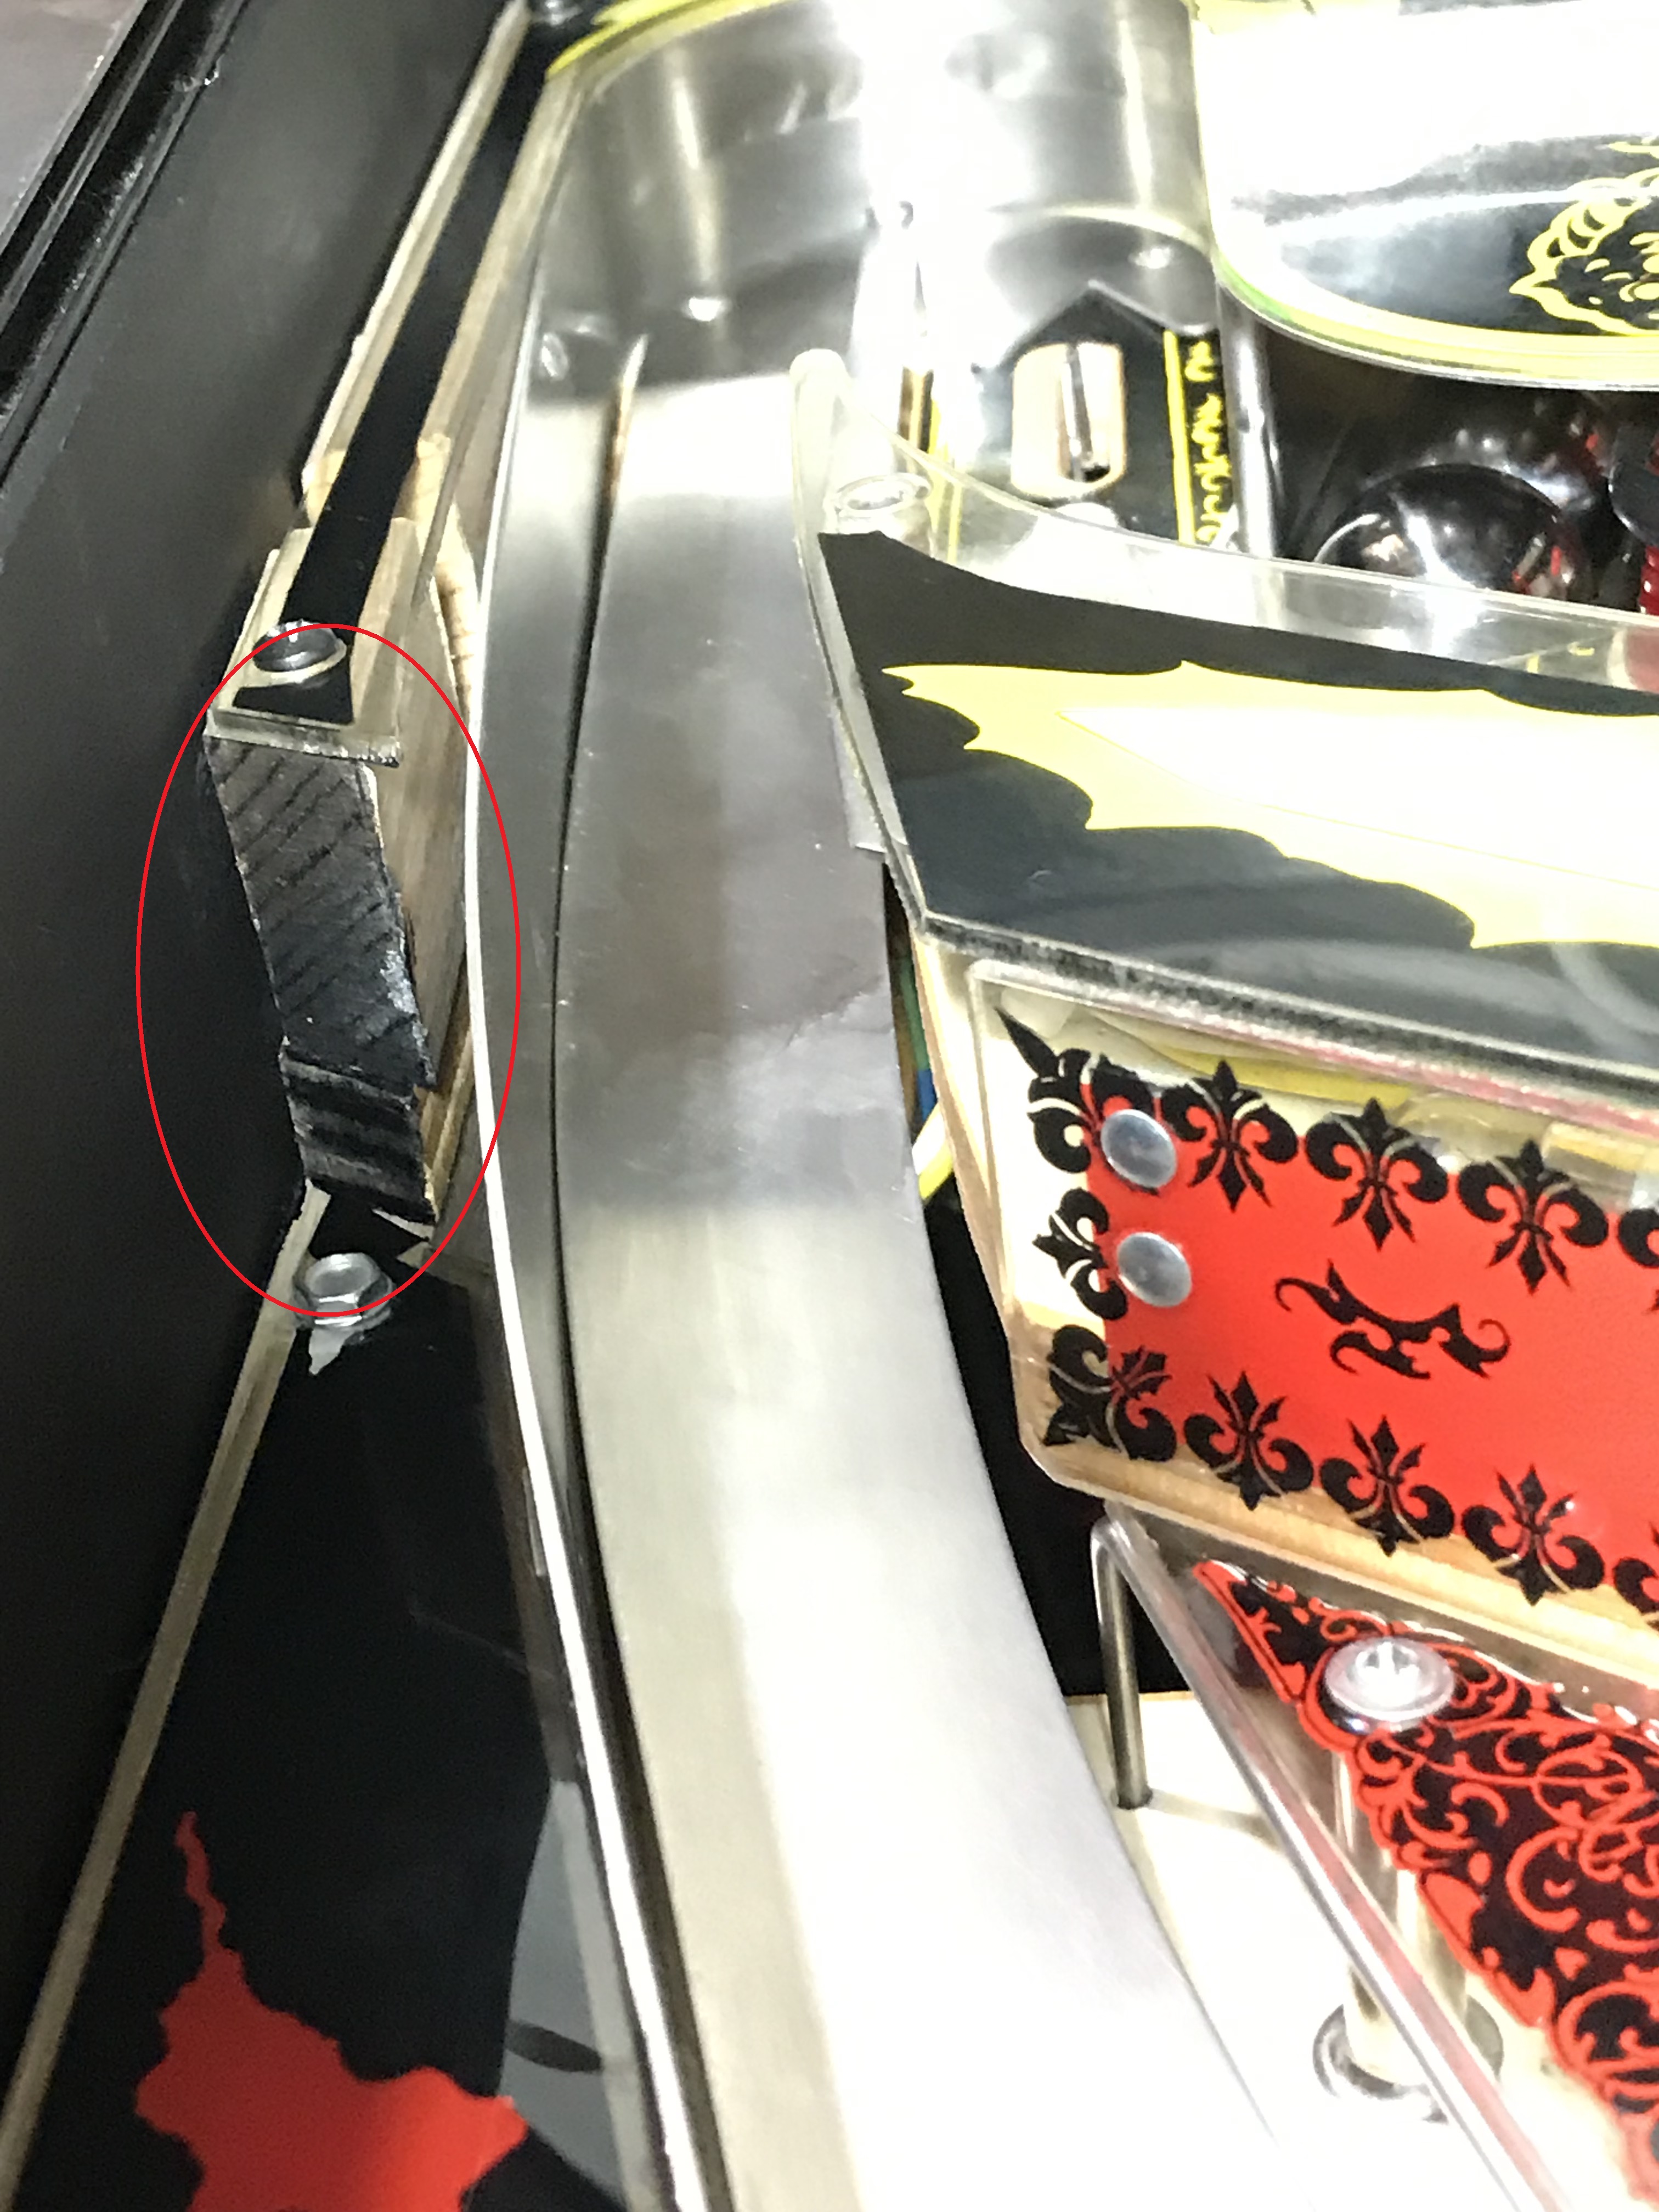
A few of the guide rails must have fallen out over the years. Some of them, like this one, were repaired with a not so pretty glue that was becoming ineffective and unsightly.
I used a match stick to fill up this particular large hole.
Chopped off my little piece and glued it in place.
Then from here I just re-drilled the holes and got the rails to stick in like they should.
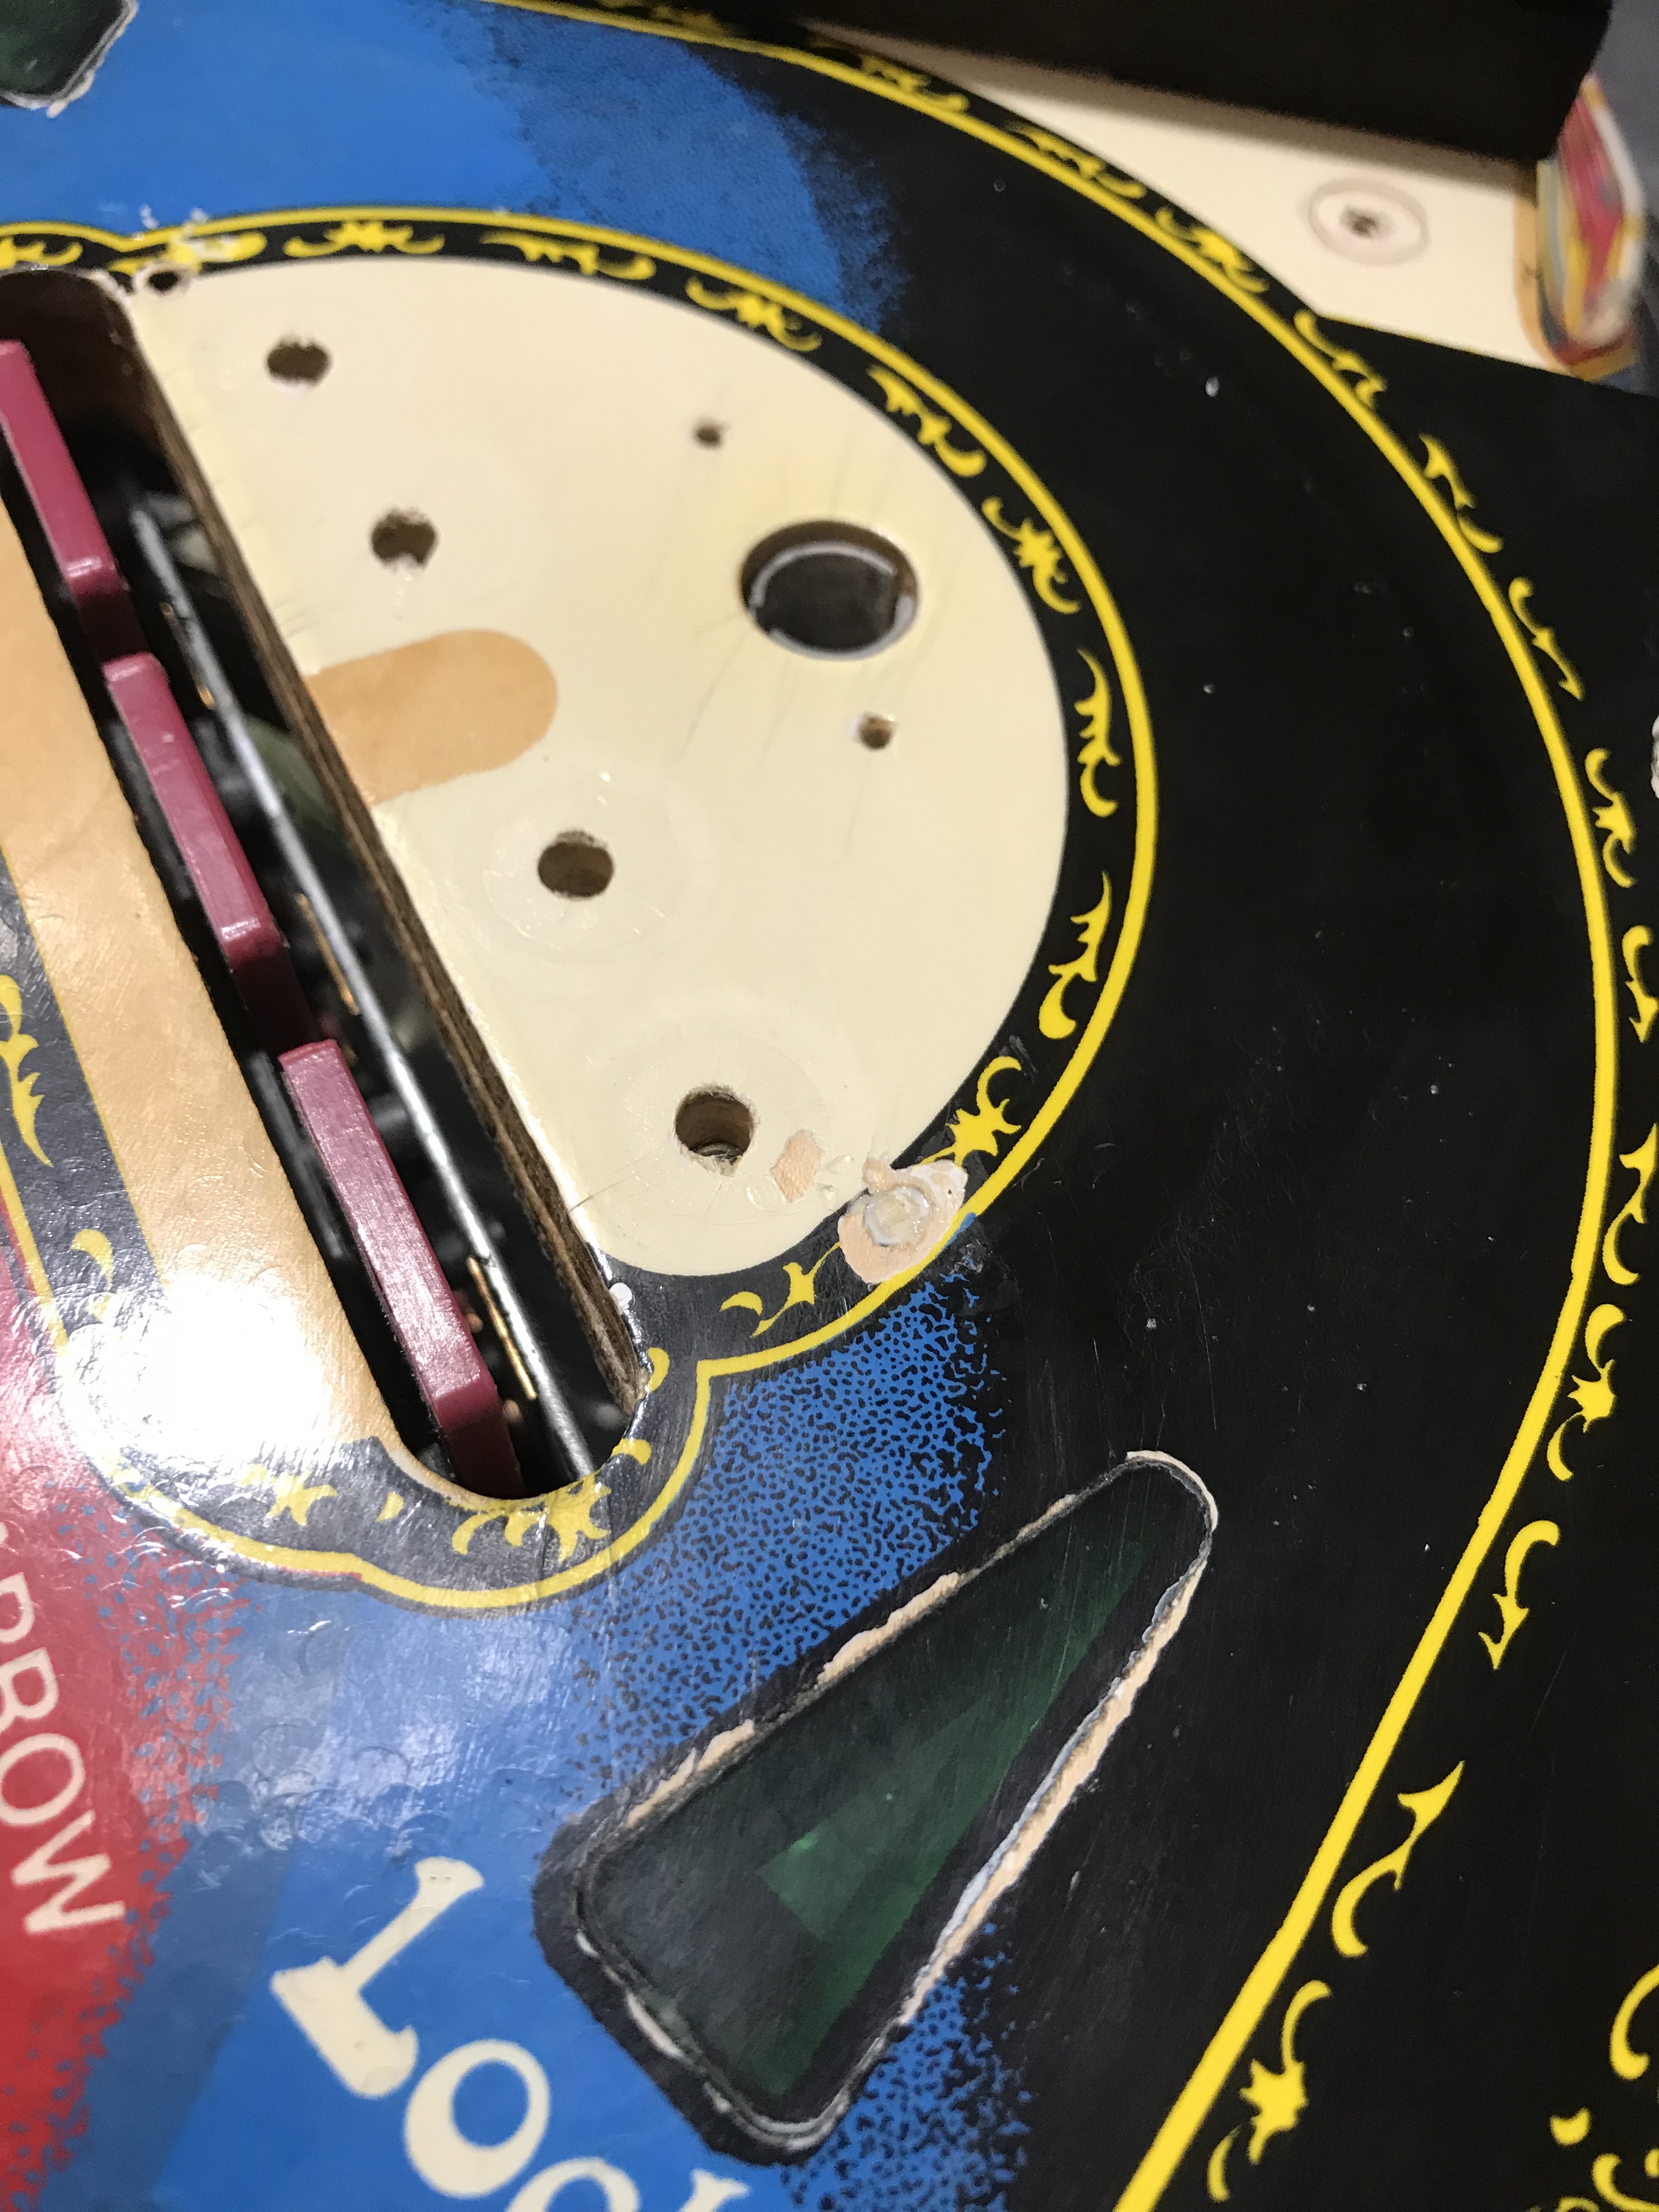
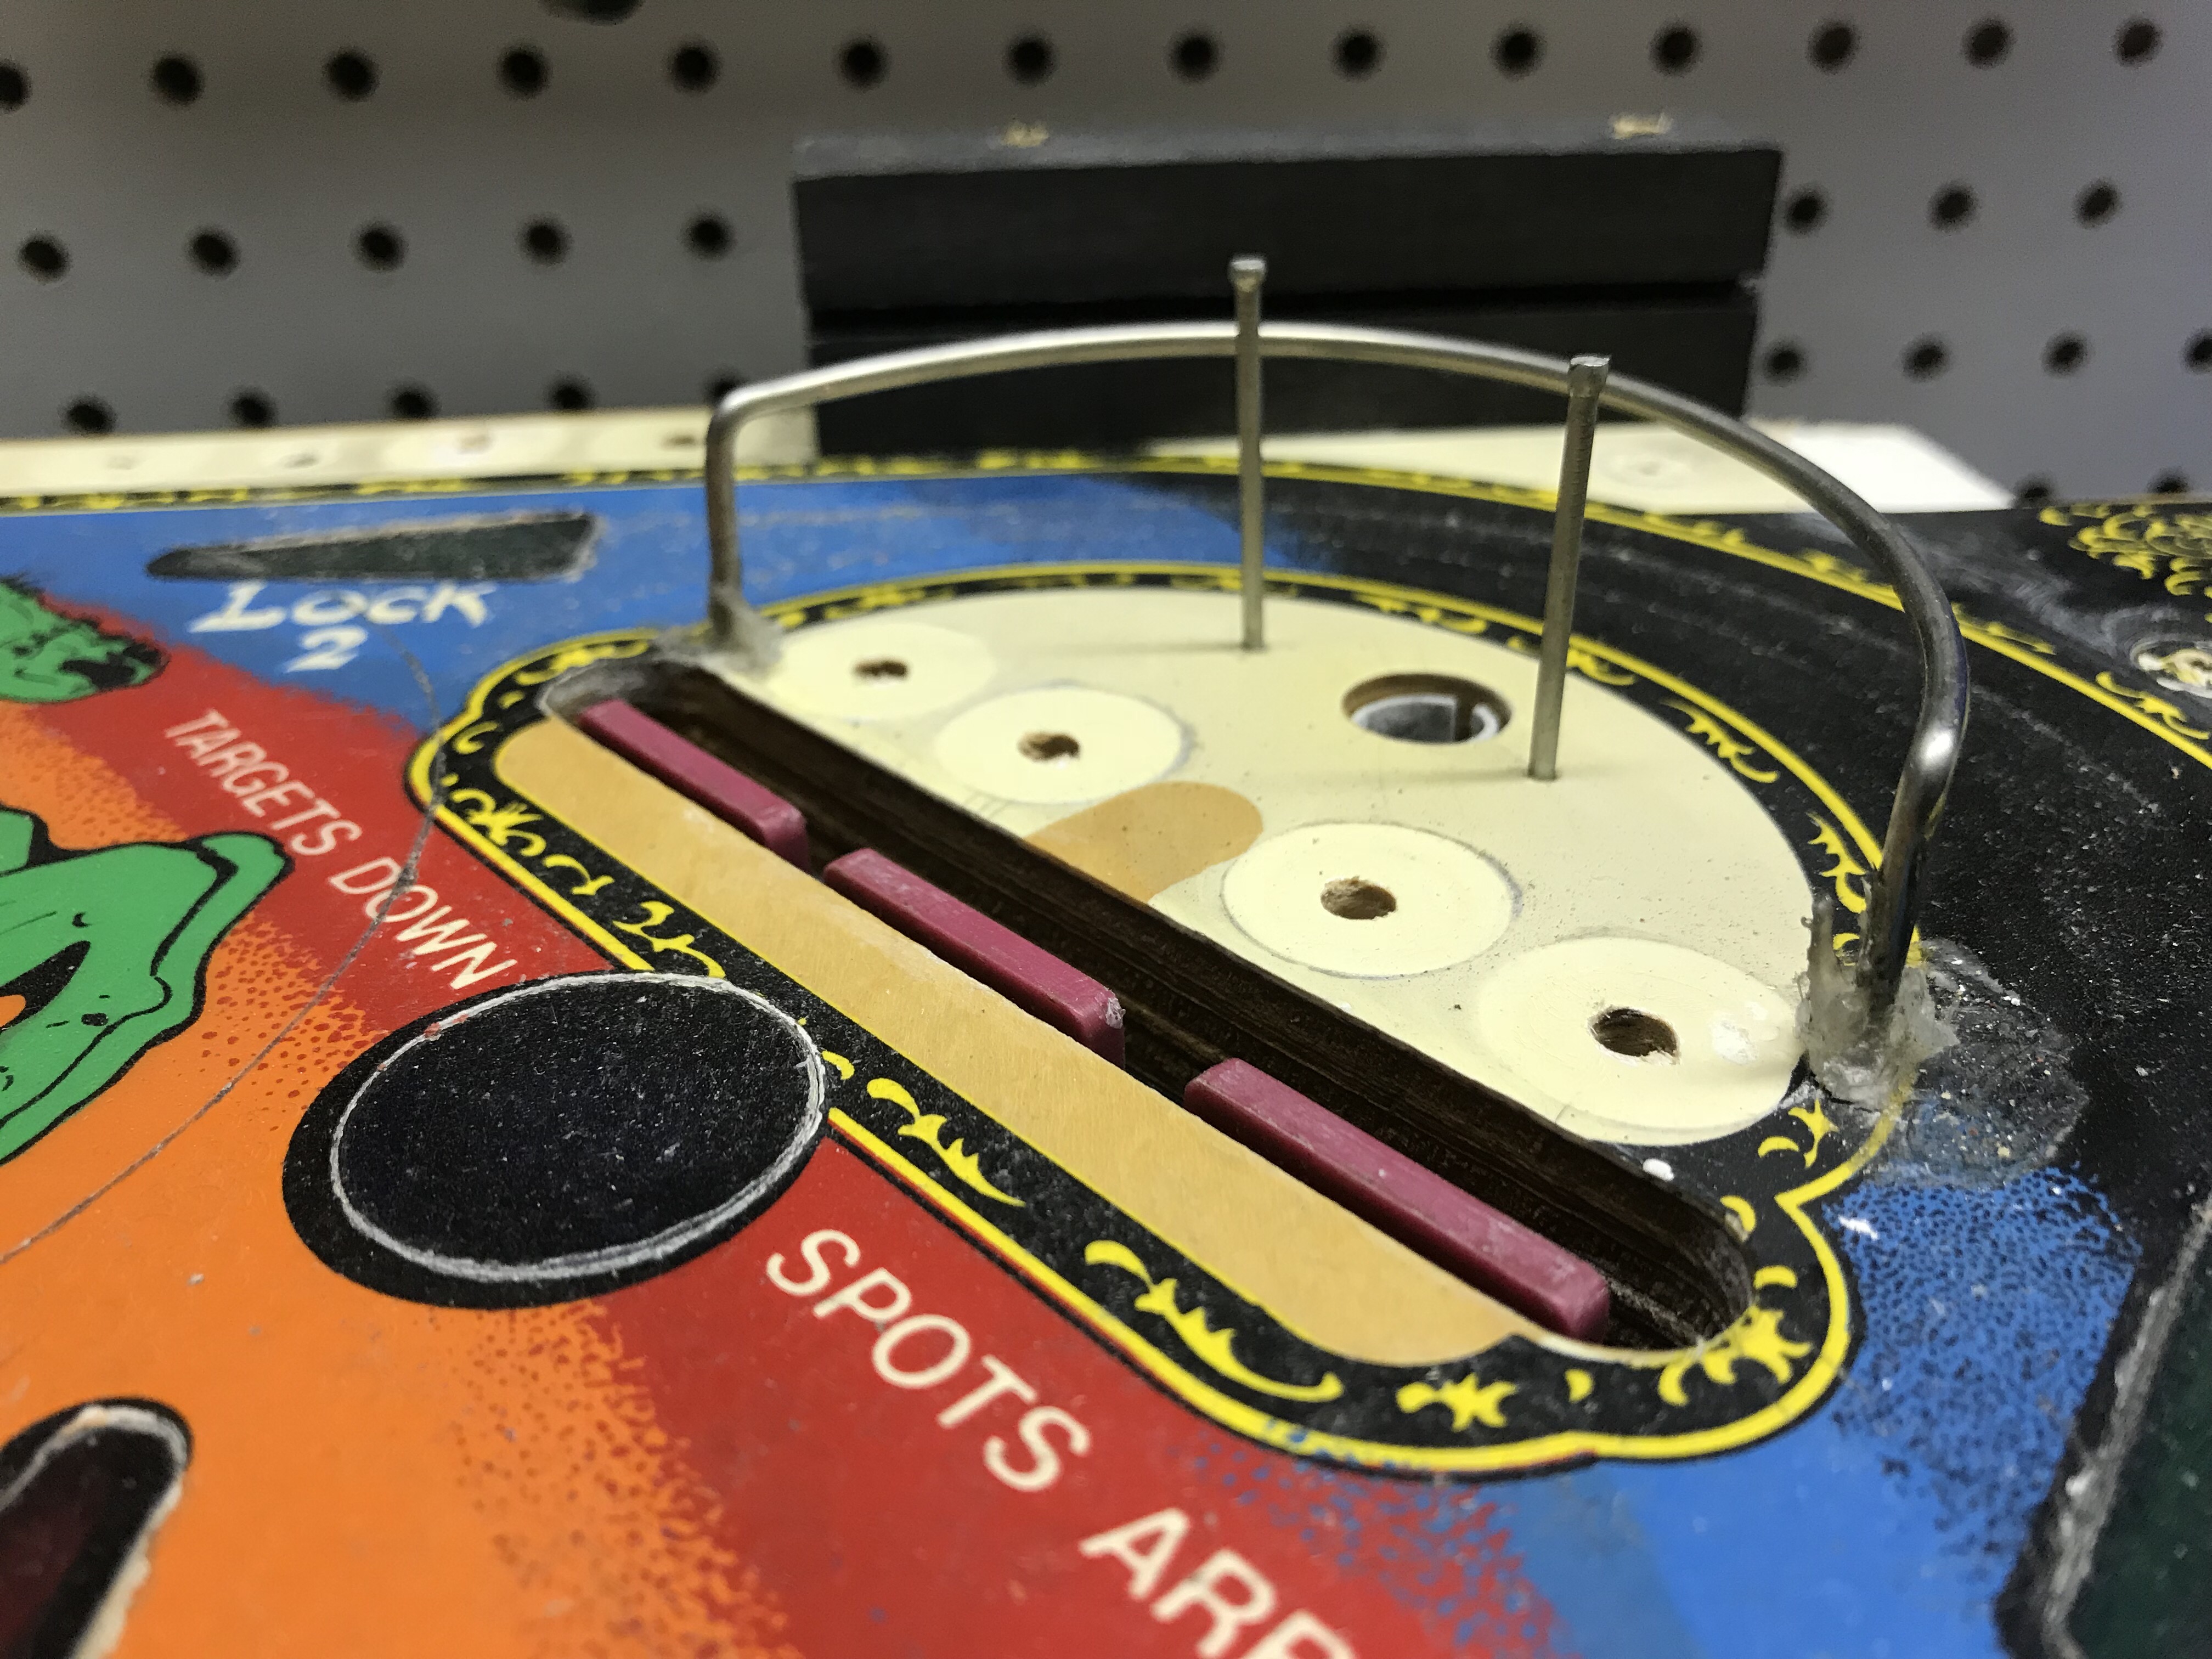
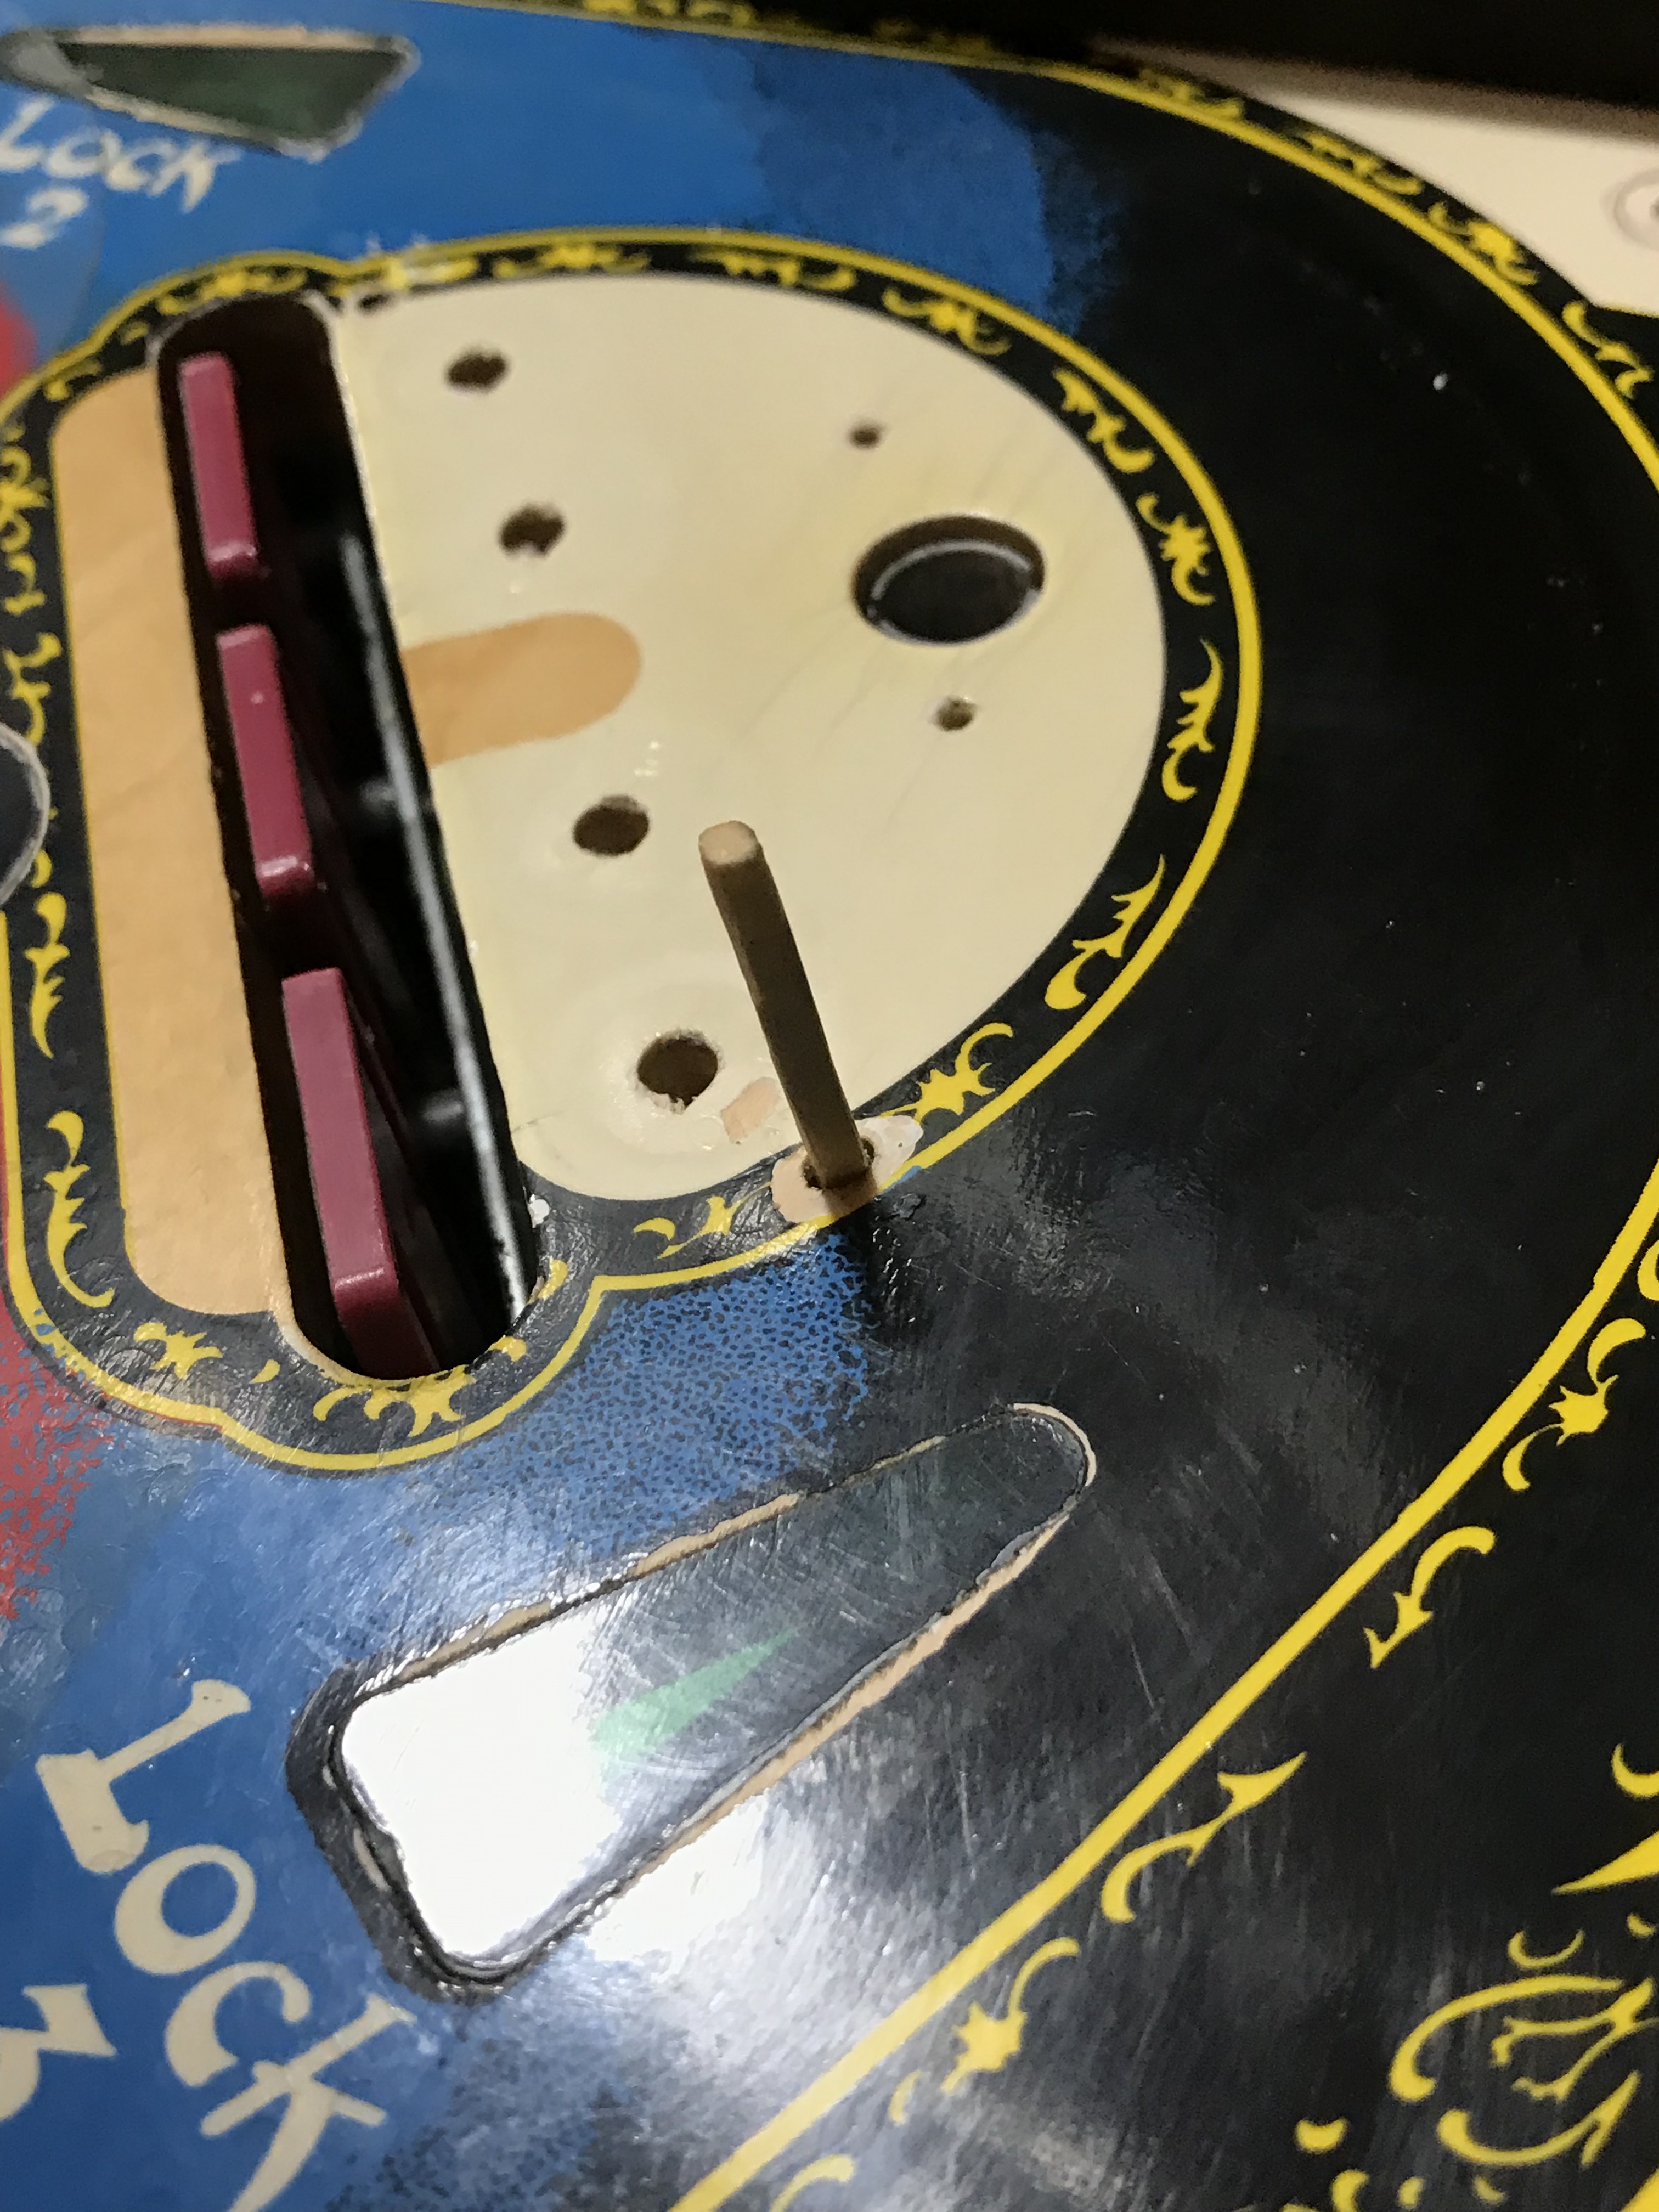
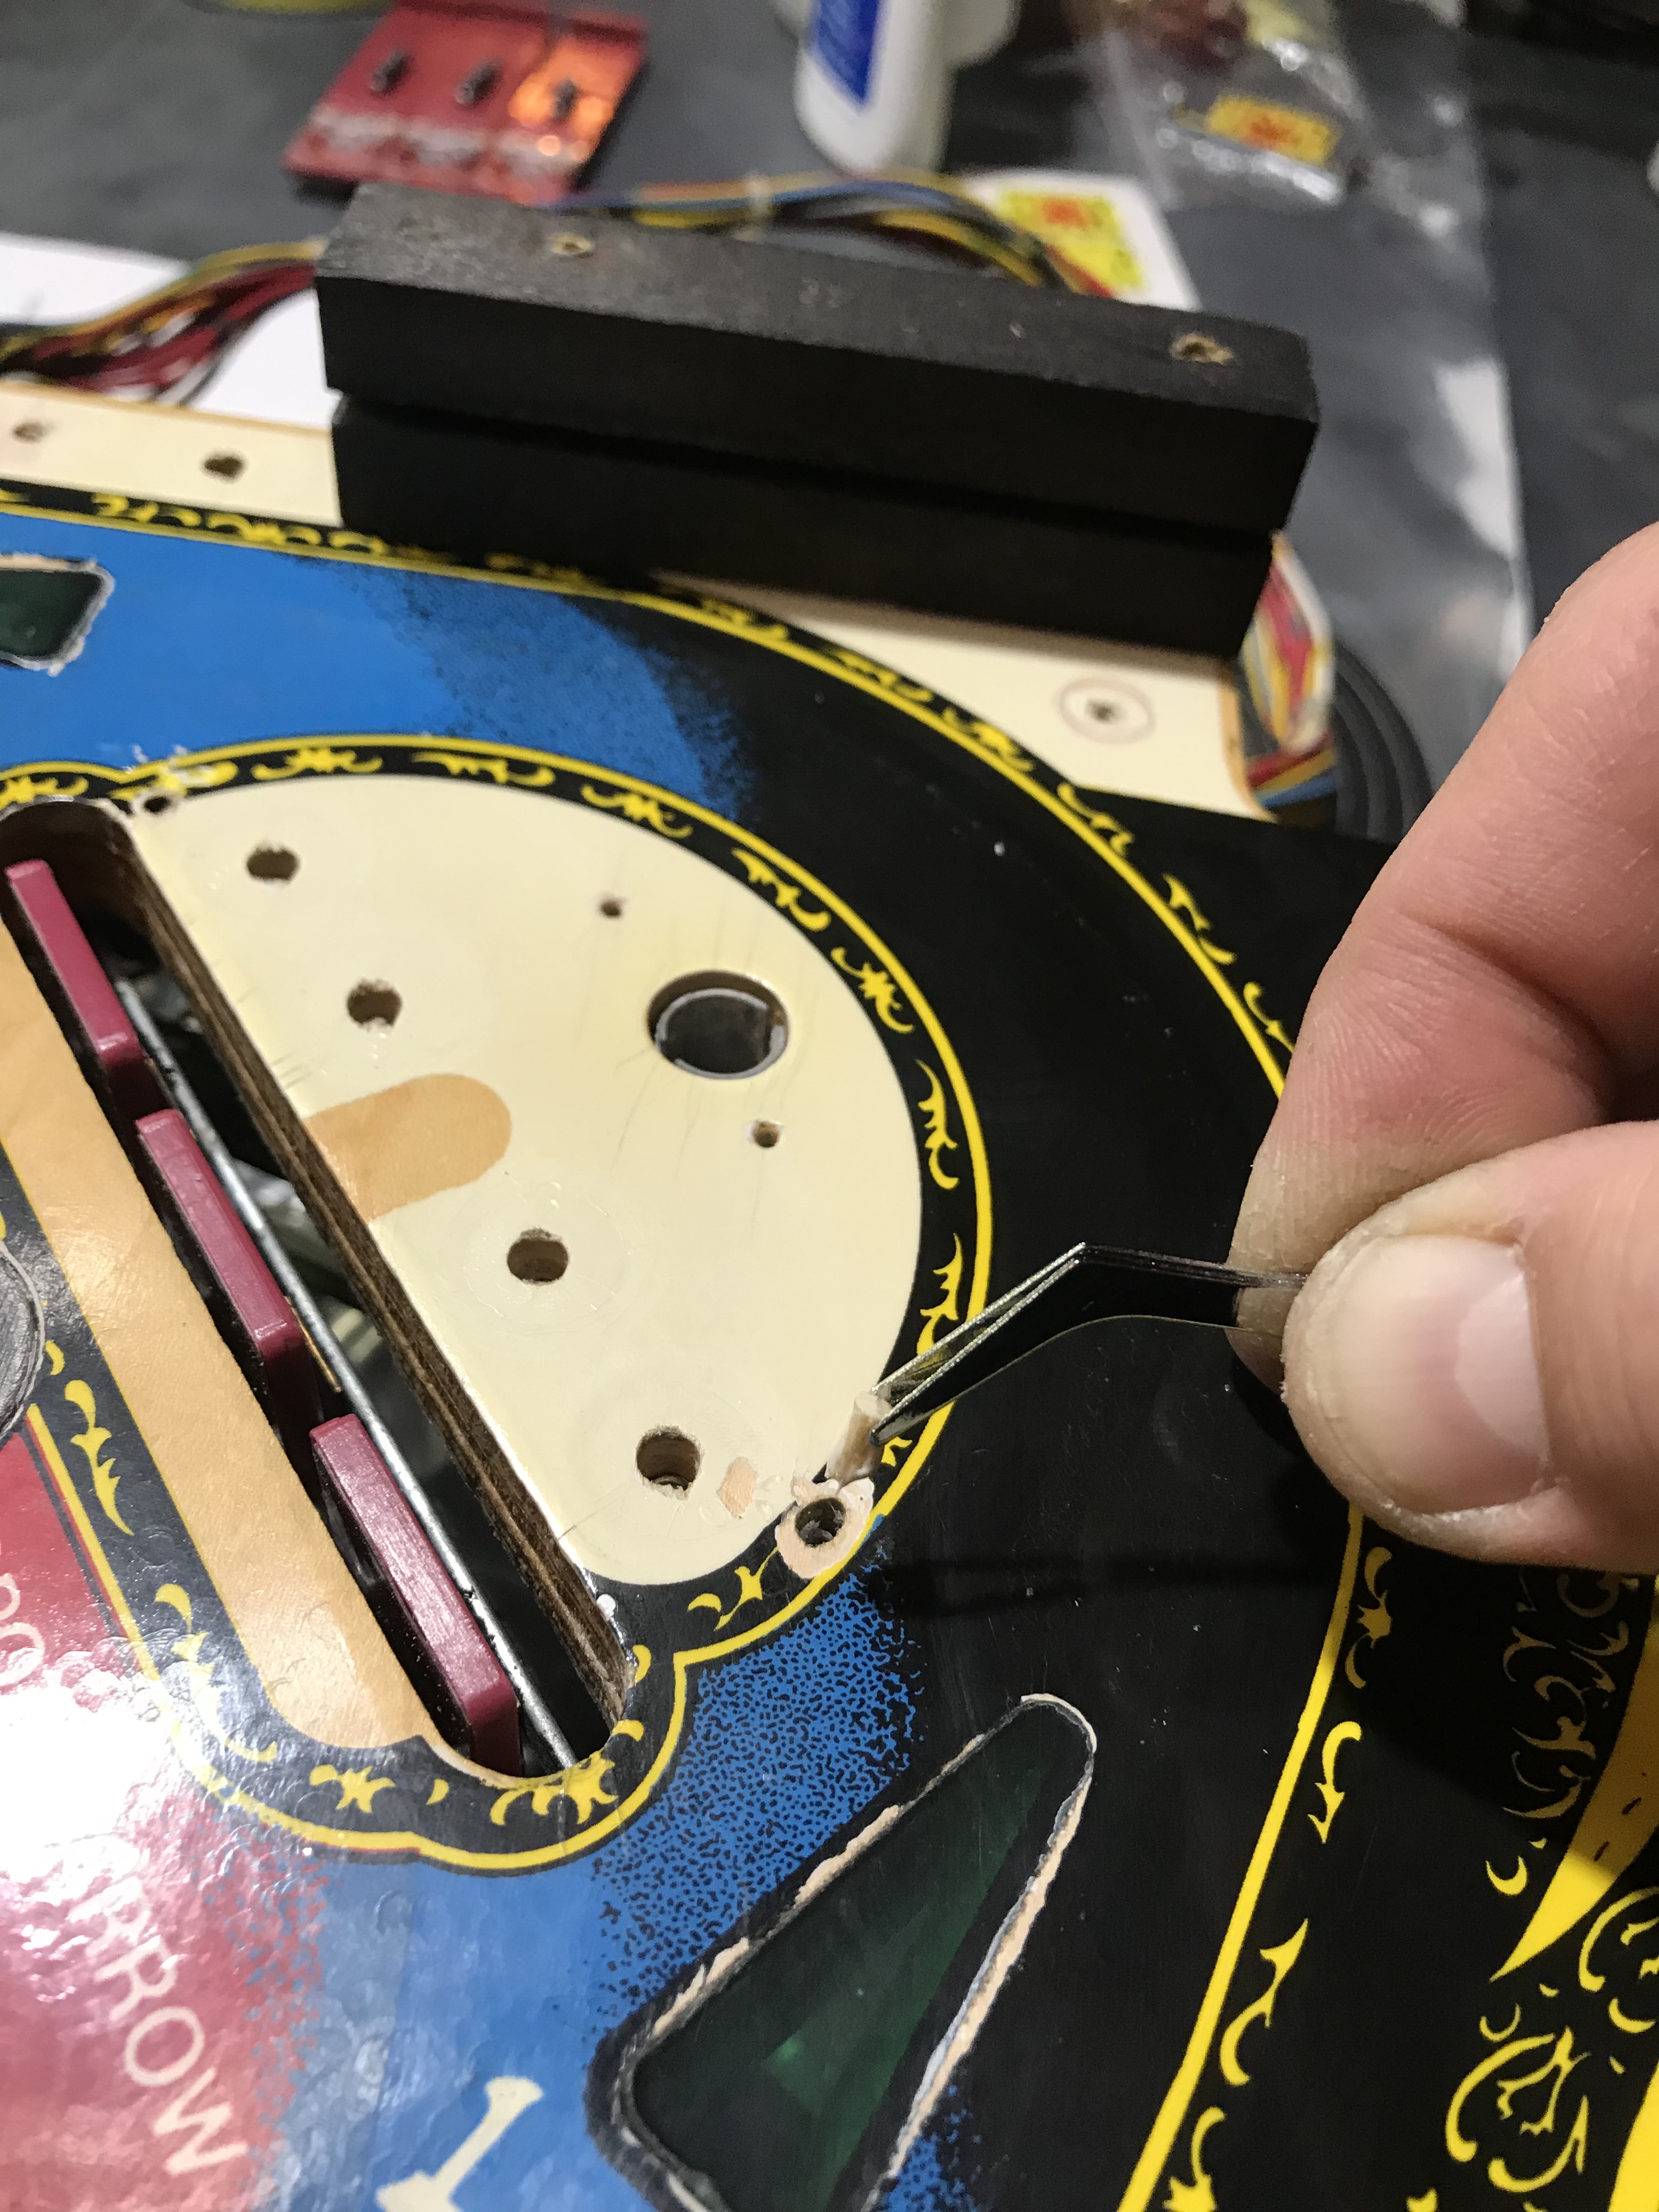
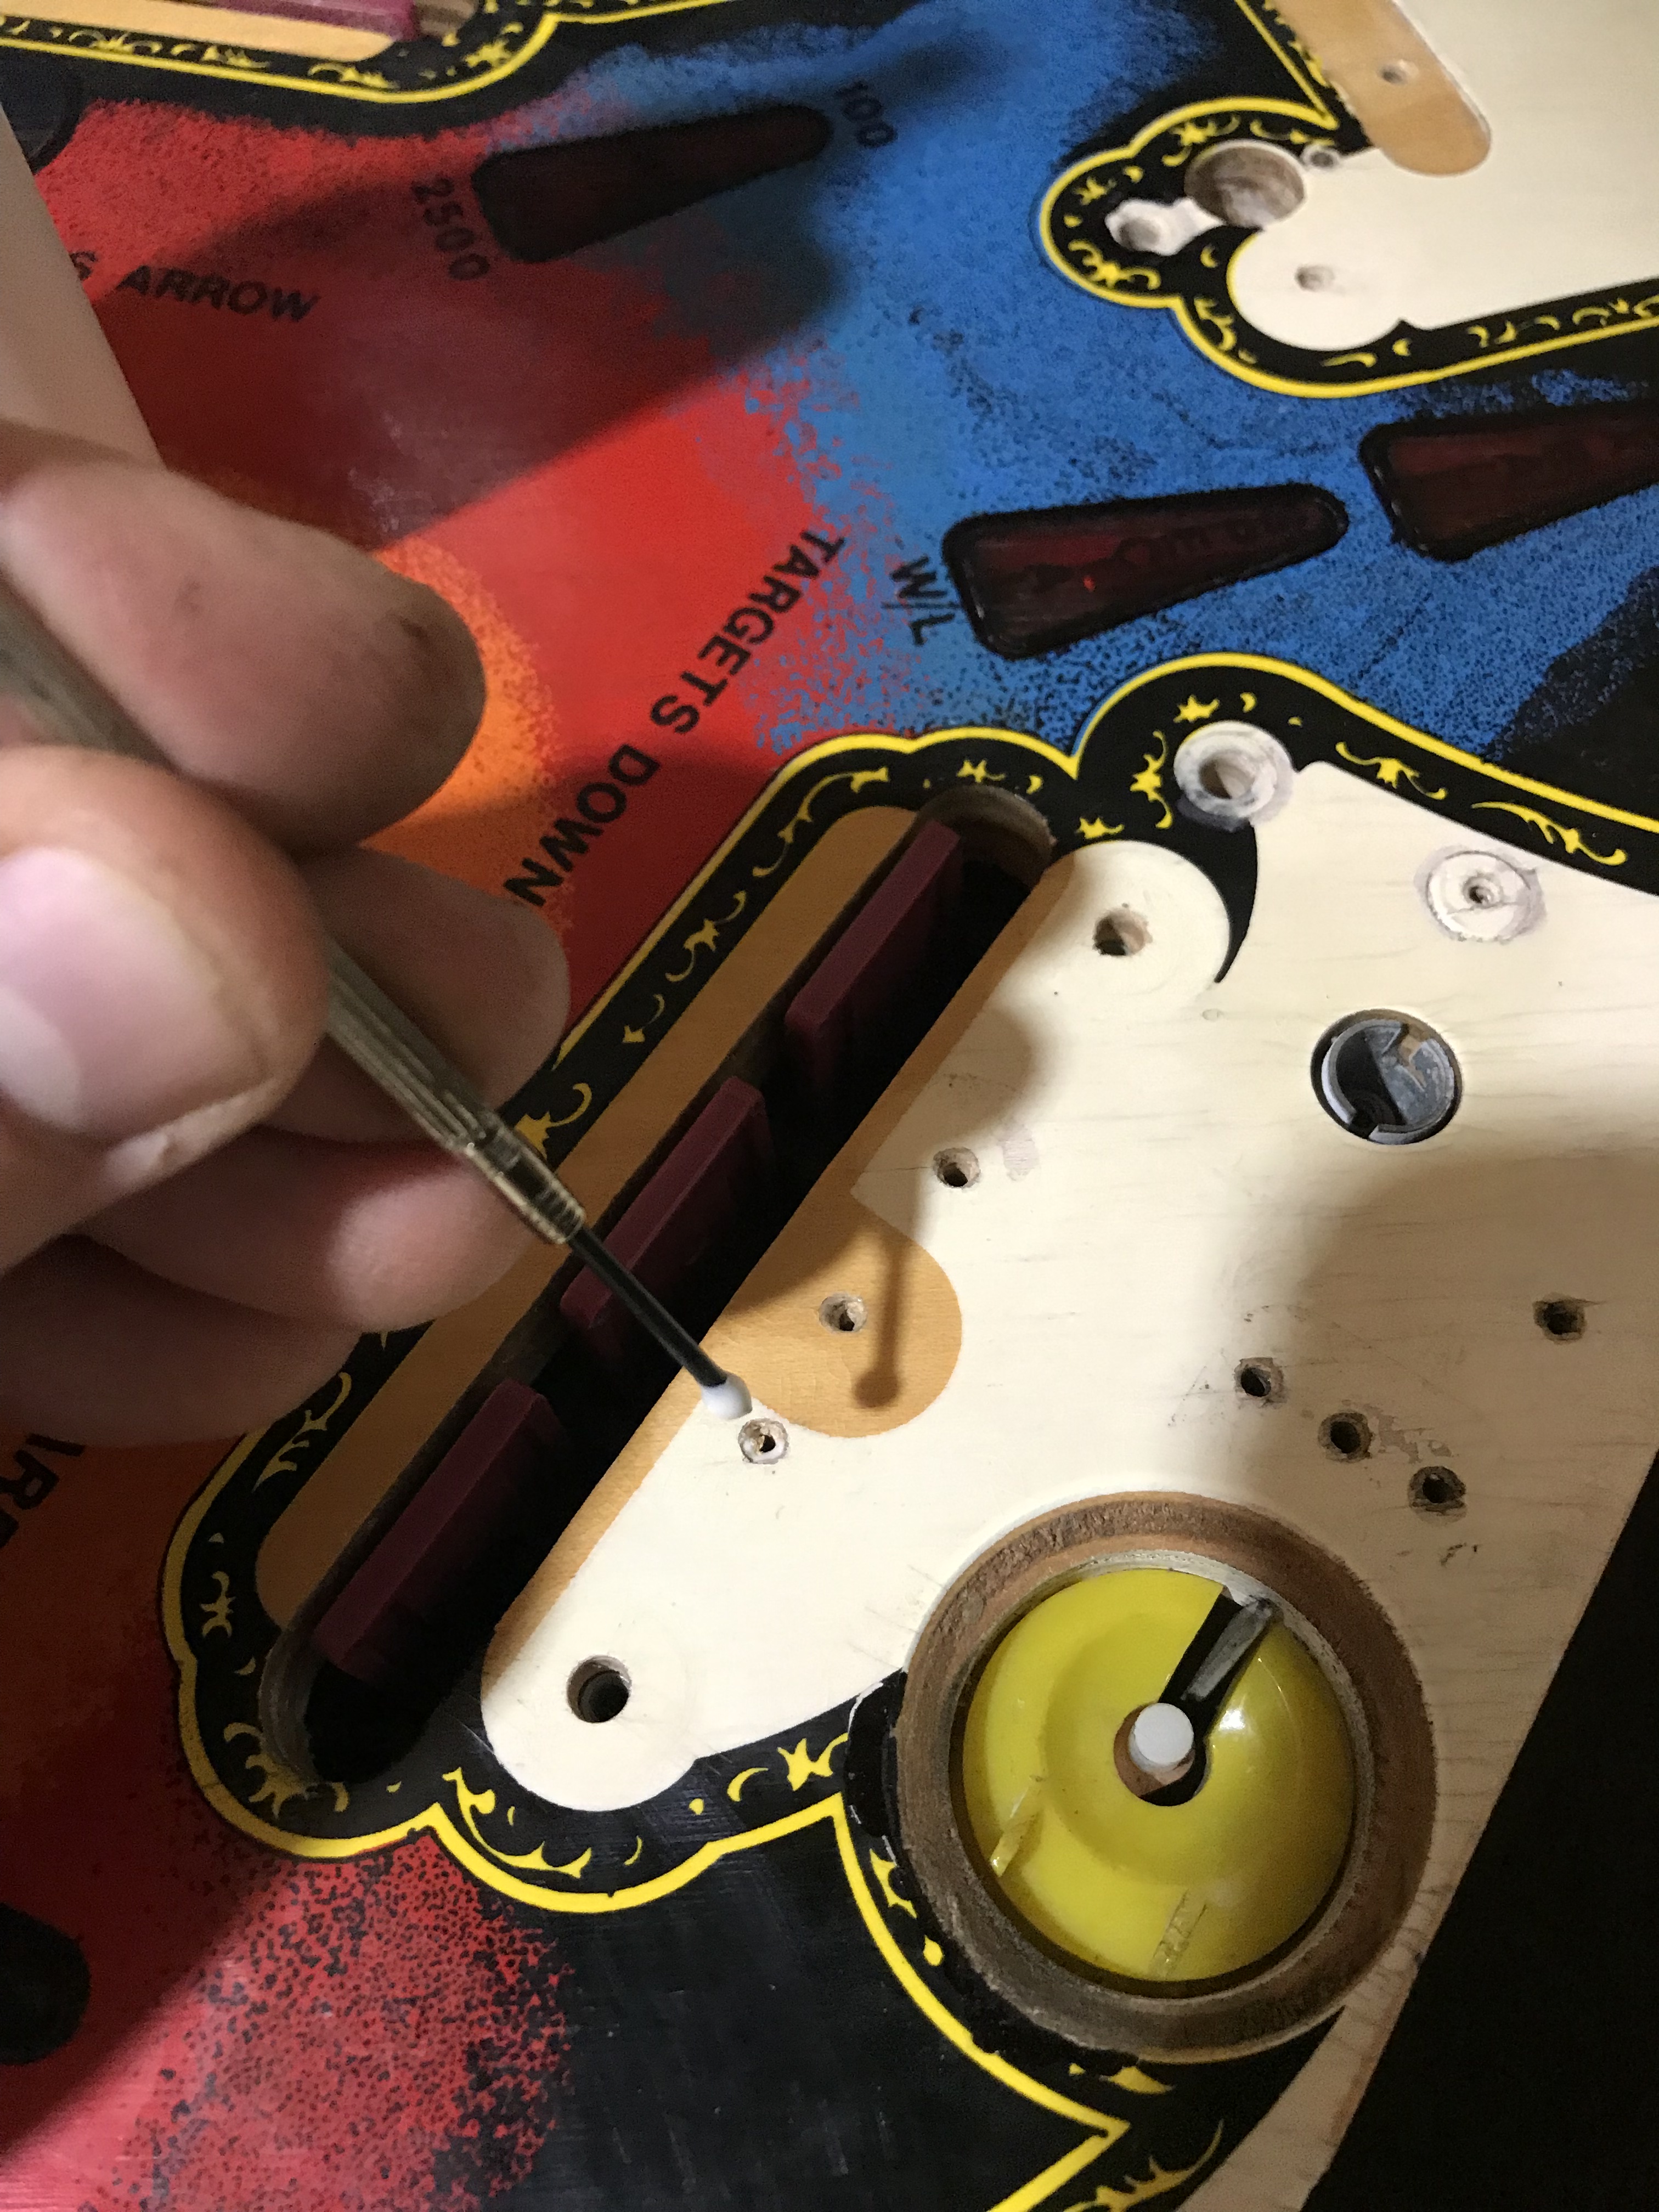
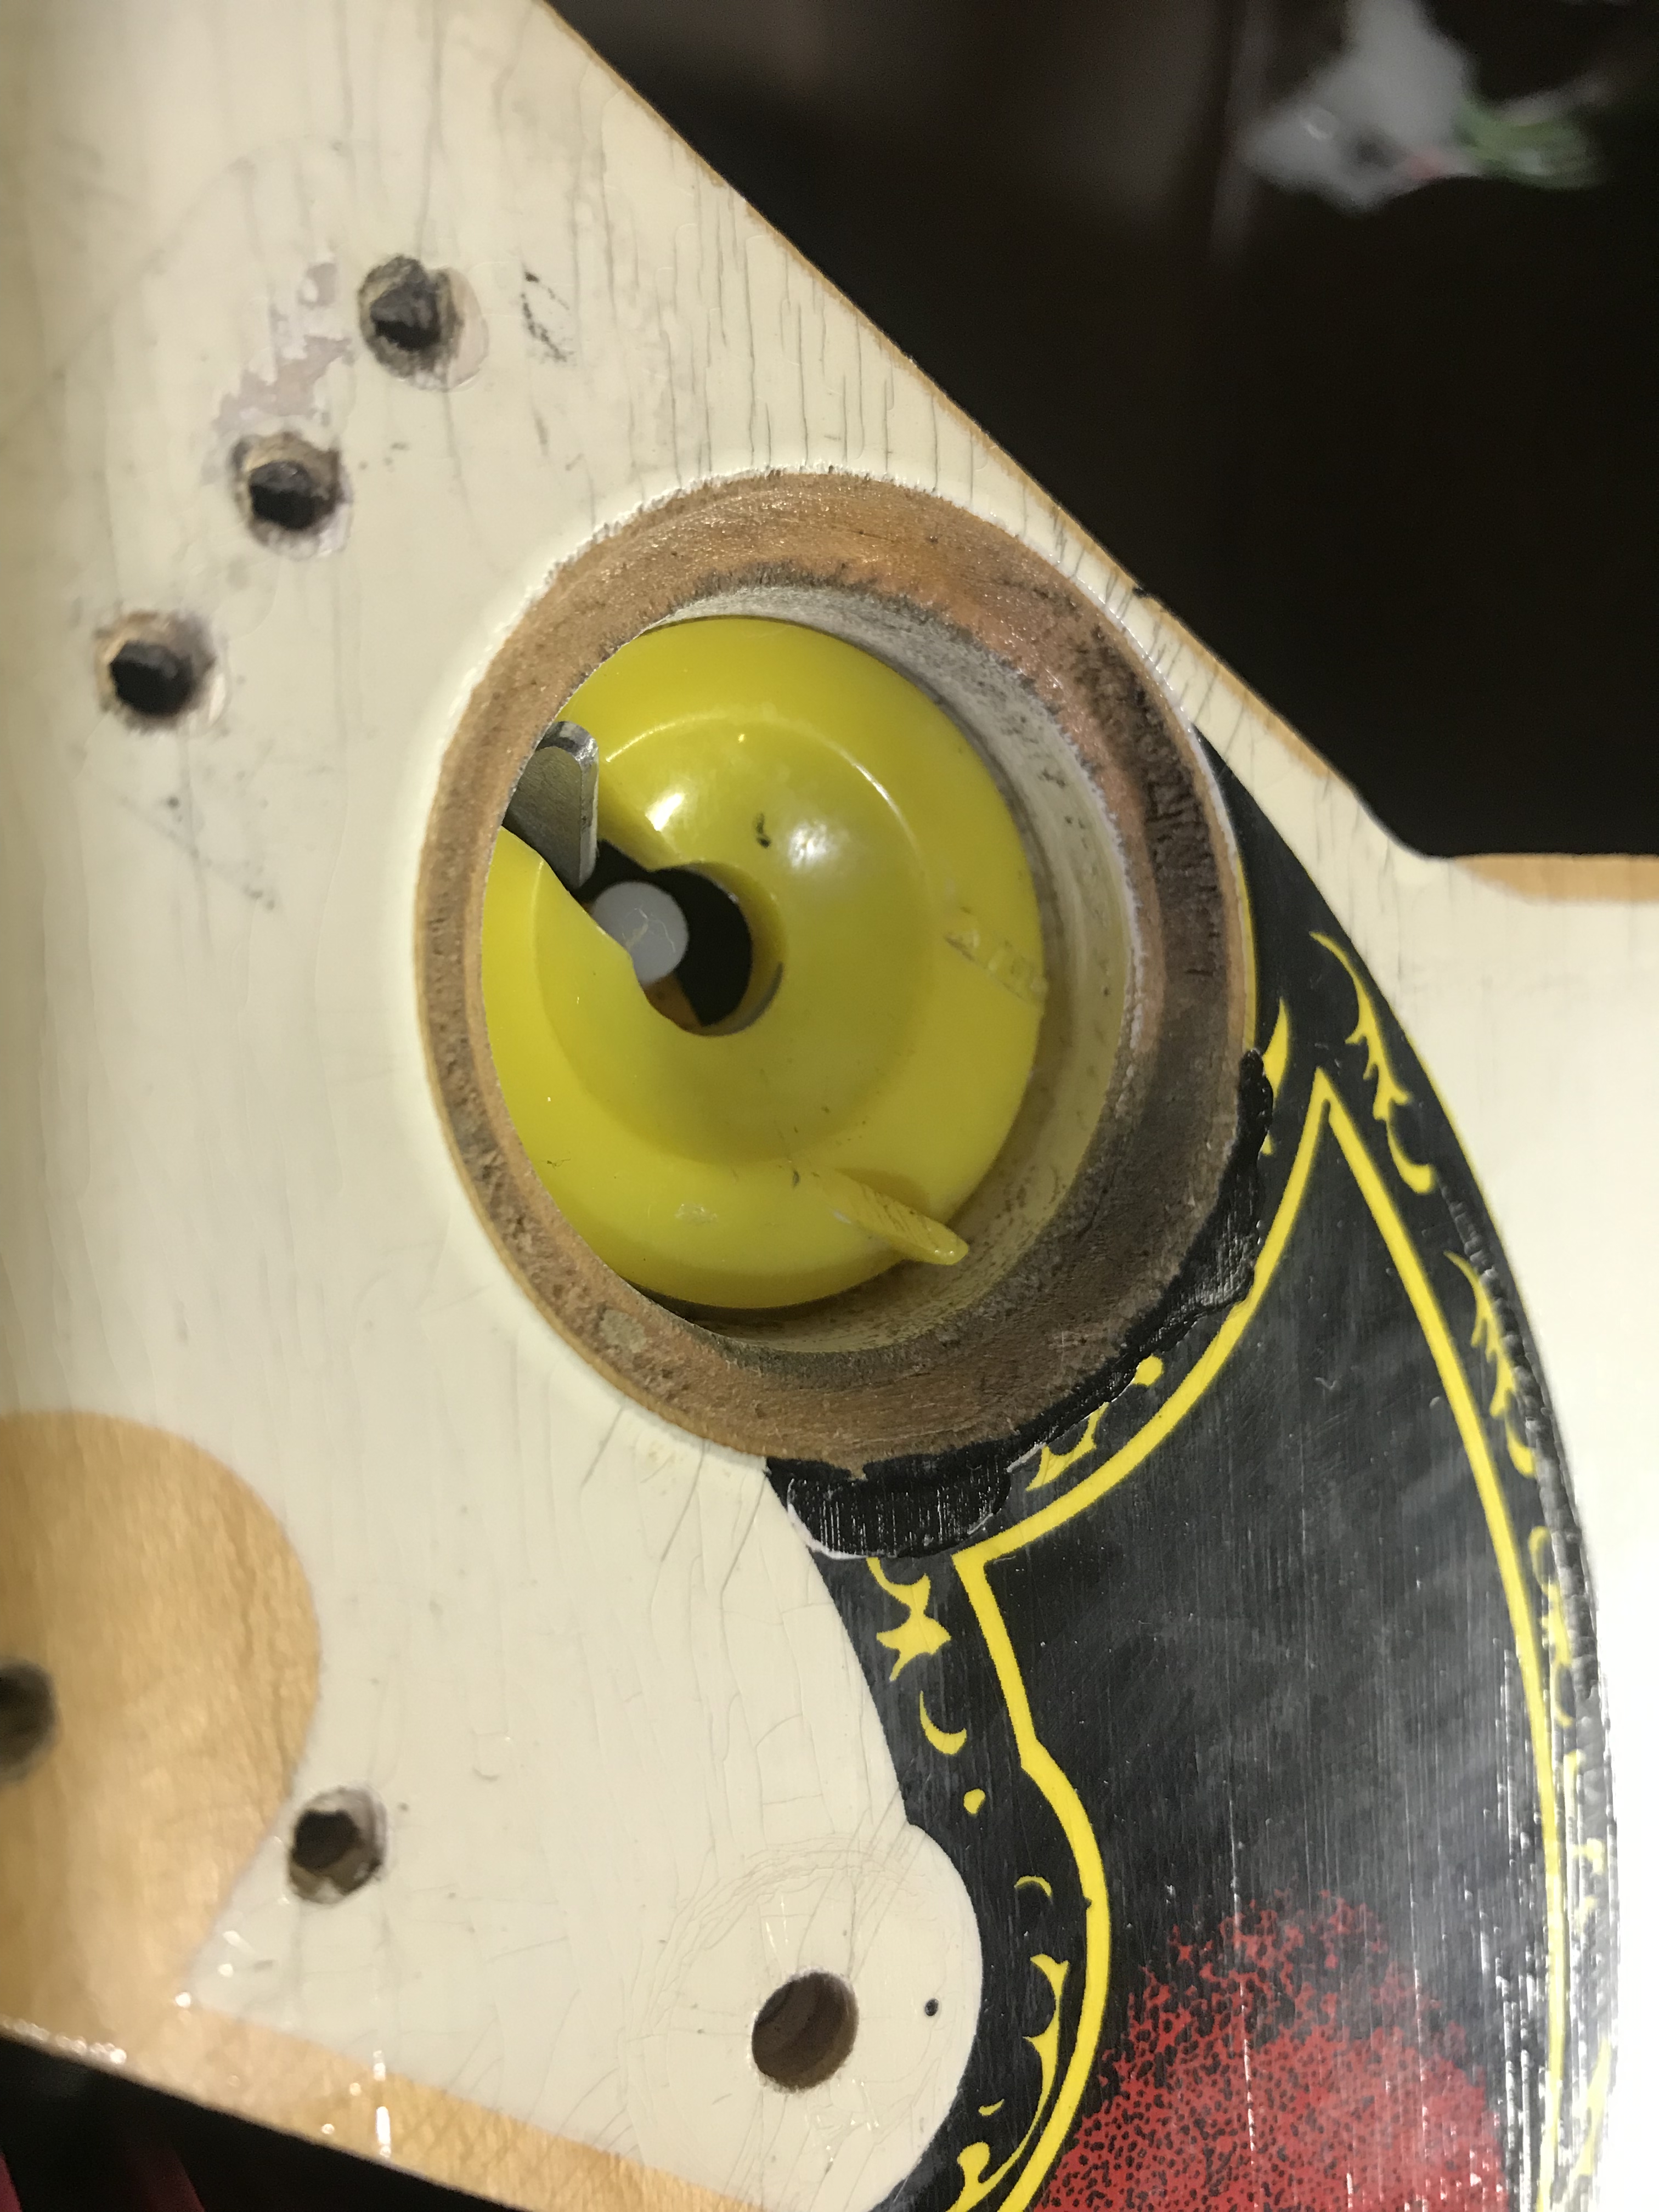
Then several of the post holes had some loose material around them as well. I cut out or otherwise cleaned up every hole on the playfied to get rid of stuff like this.

And in some of the less extreme holes, where I didn't need the whole match stick fill process, I just put a very small amount of glue in the holes (with the screws out at this point) and let those dry in place. This helped some of the holes be a bit smaller and hold the hardware a bit more securely, while not really gluing the screws in place.
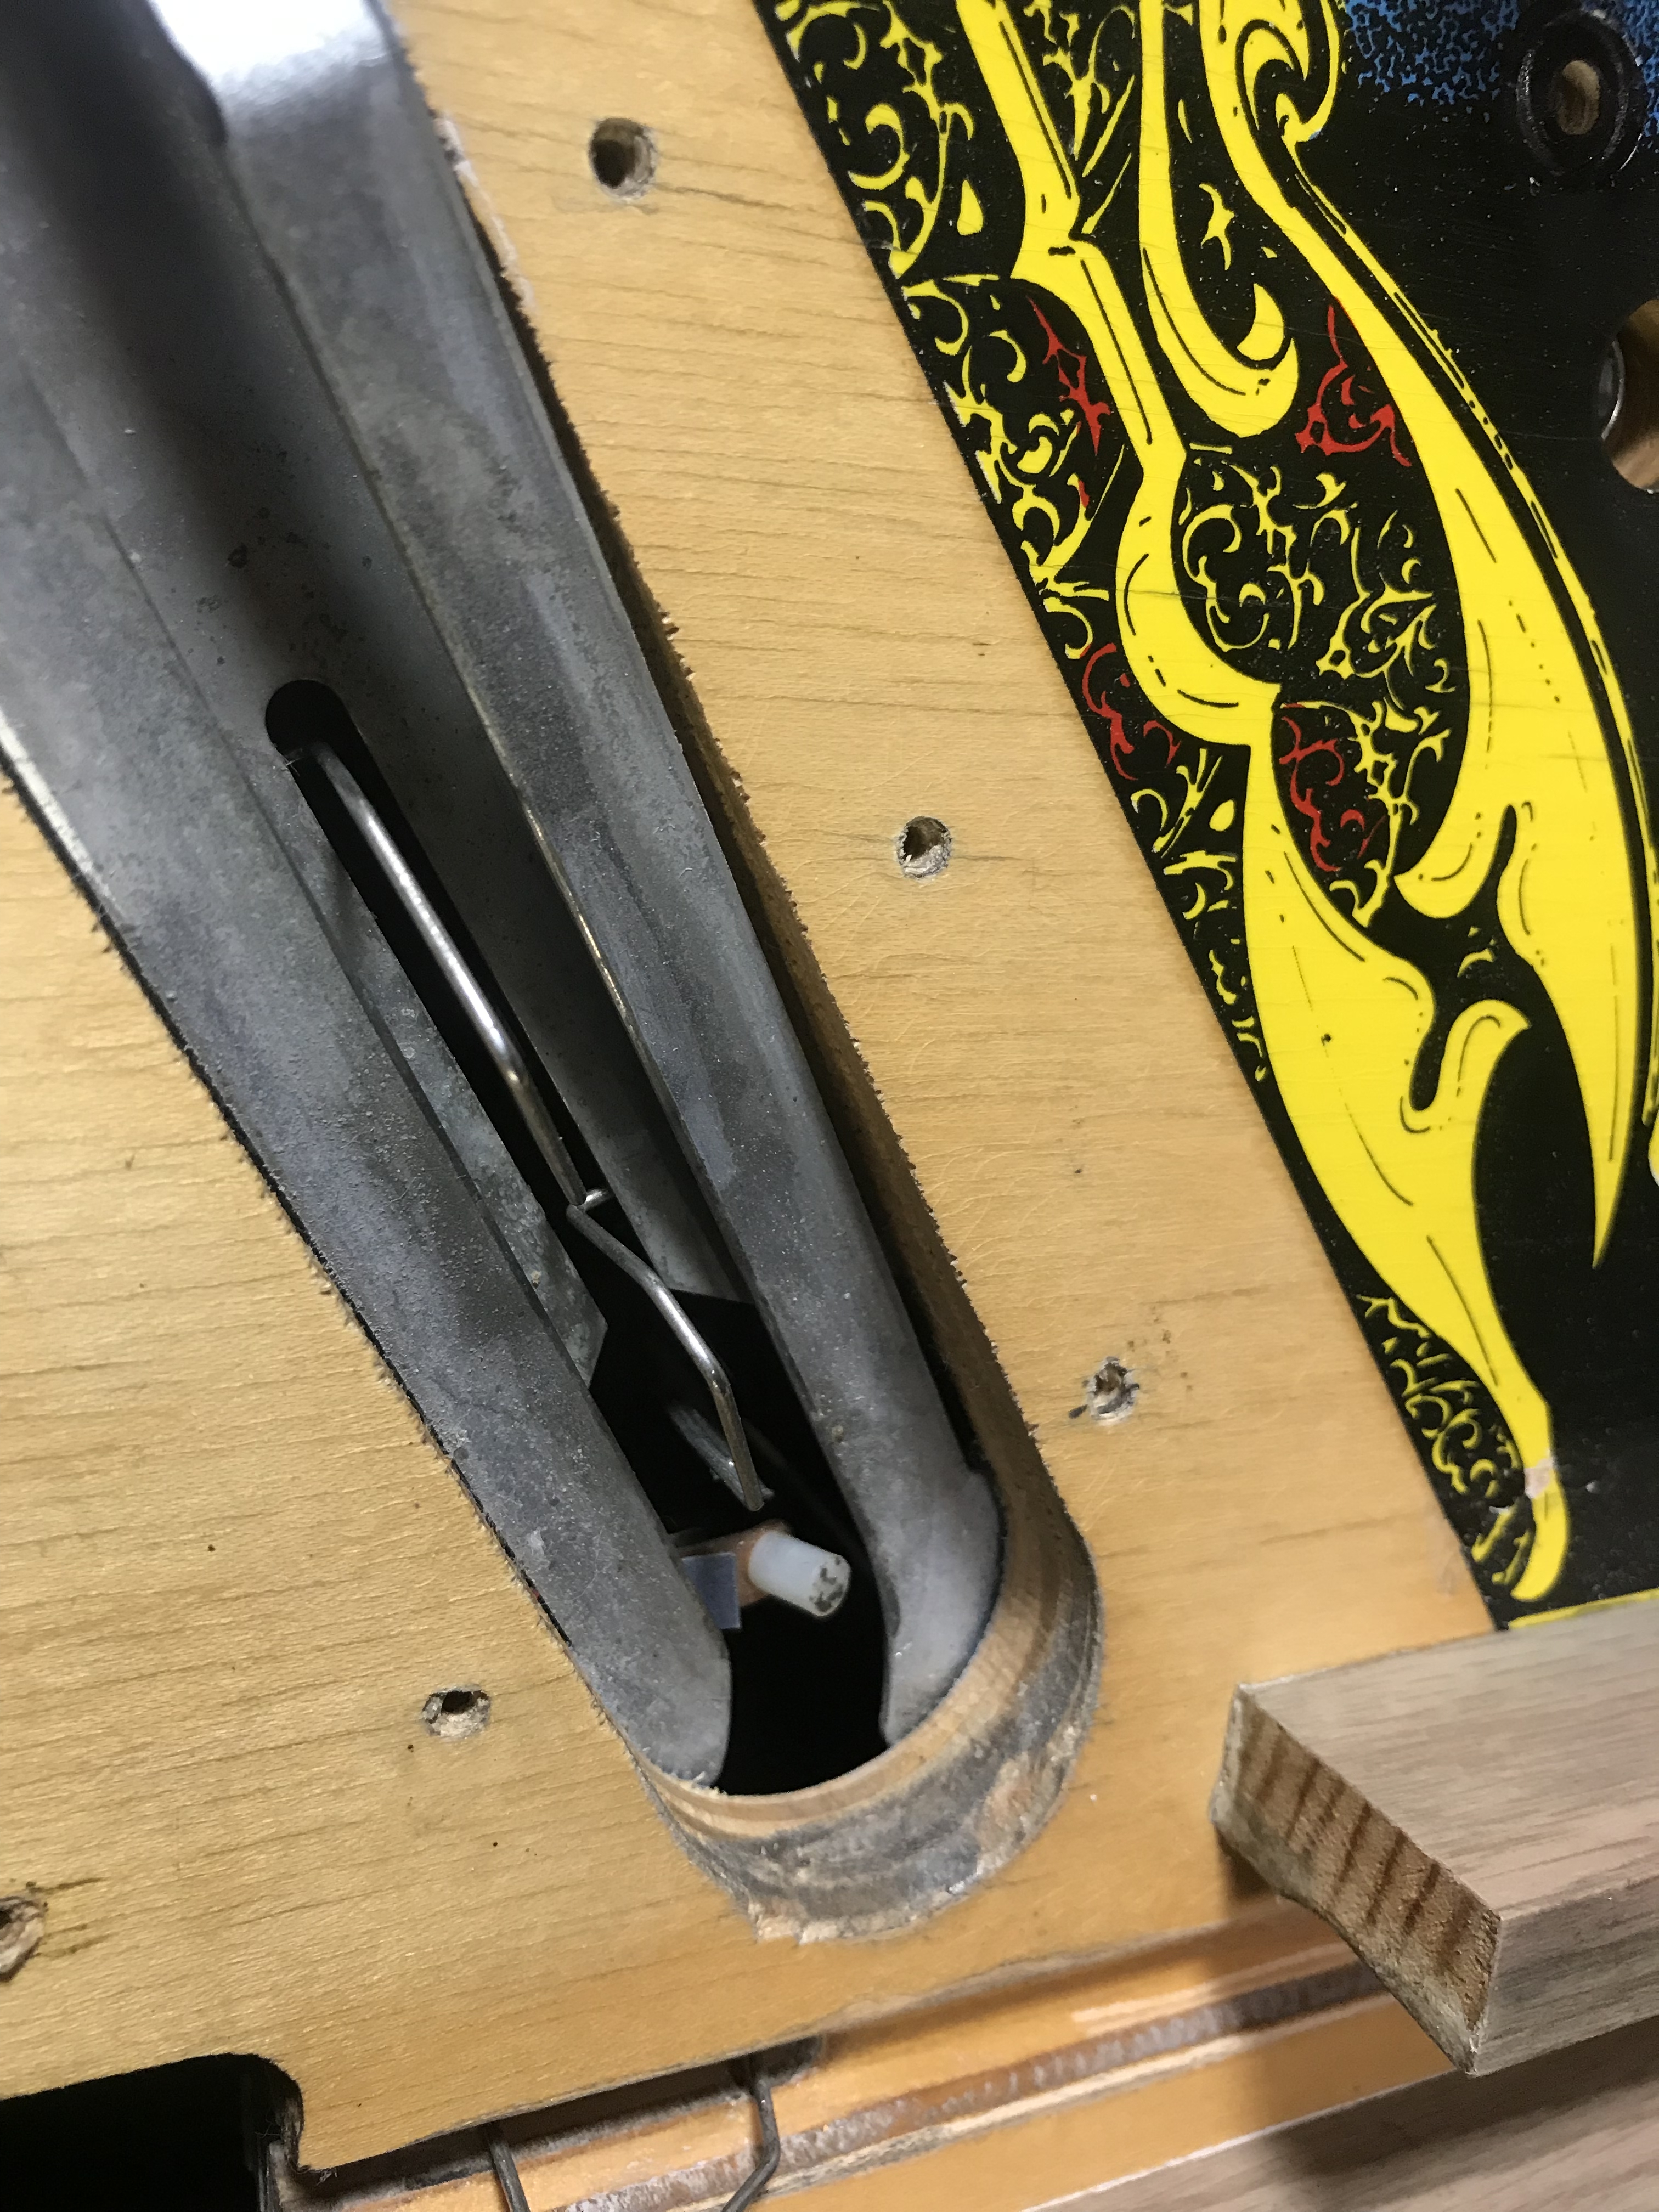
Next, I sanded down the launching shoot to get rid of a lot of dirt.

At this point it was time to start to clean the playfields in jest. What better time to enlist two helpers! Q-Tips and alcohol for everyone!
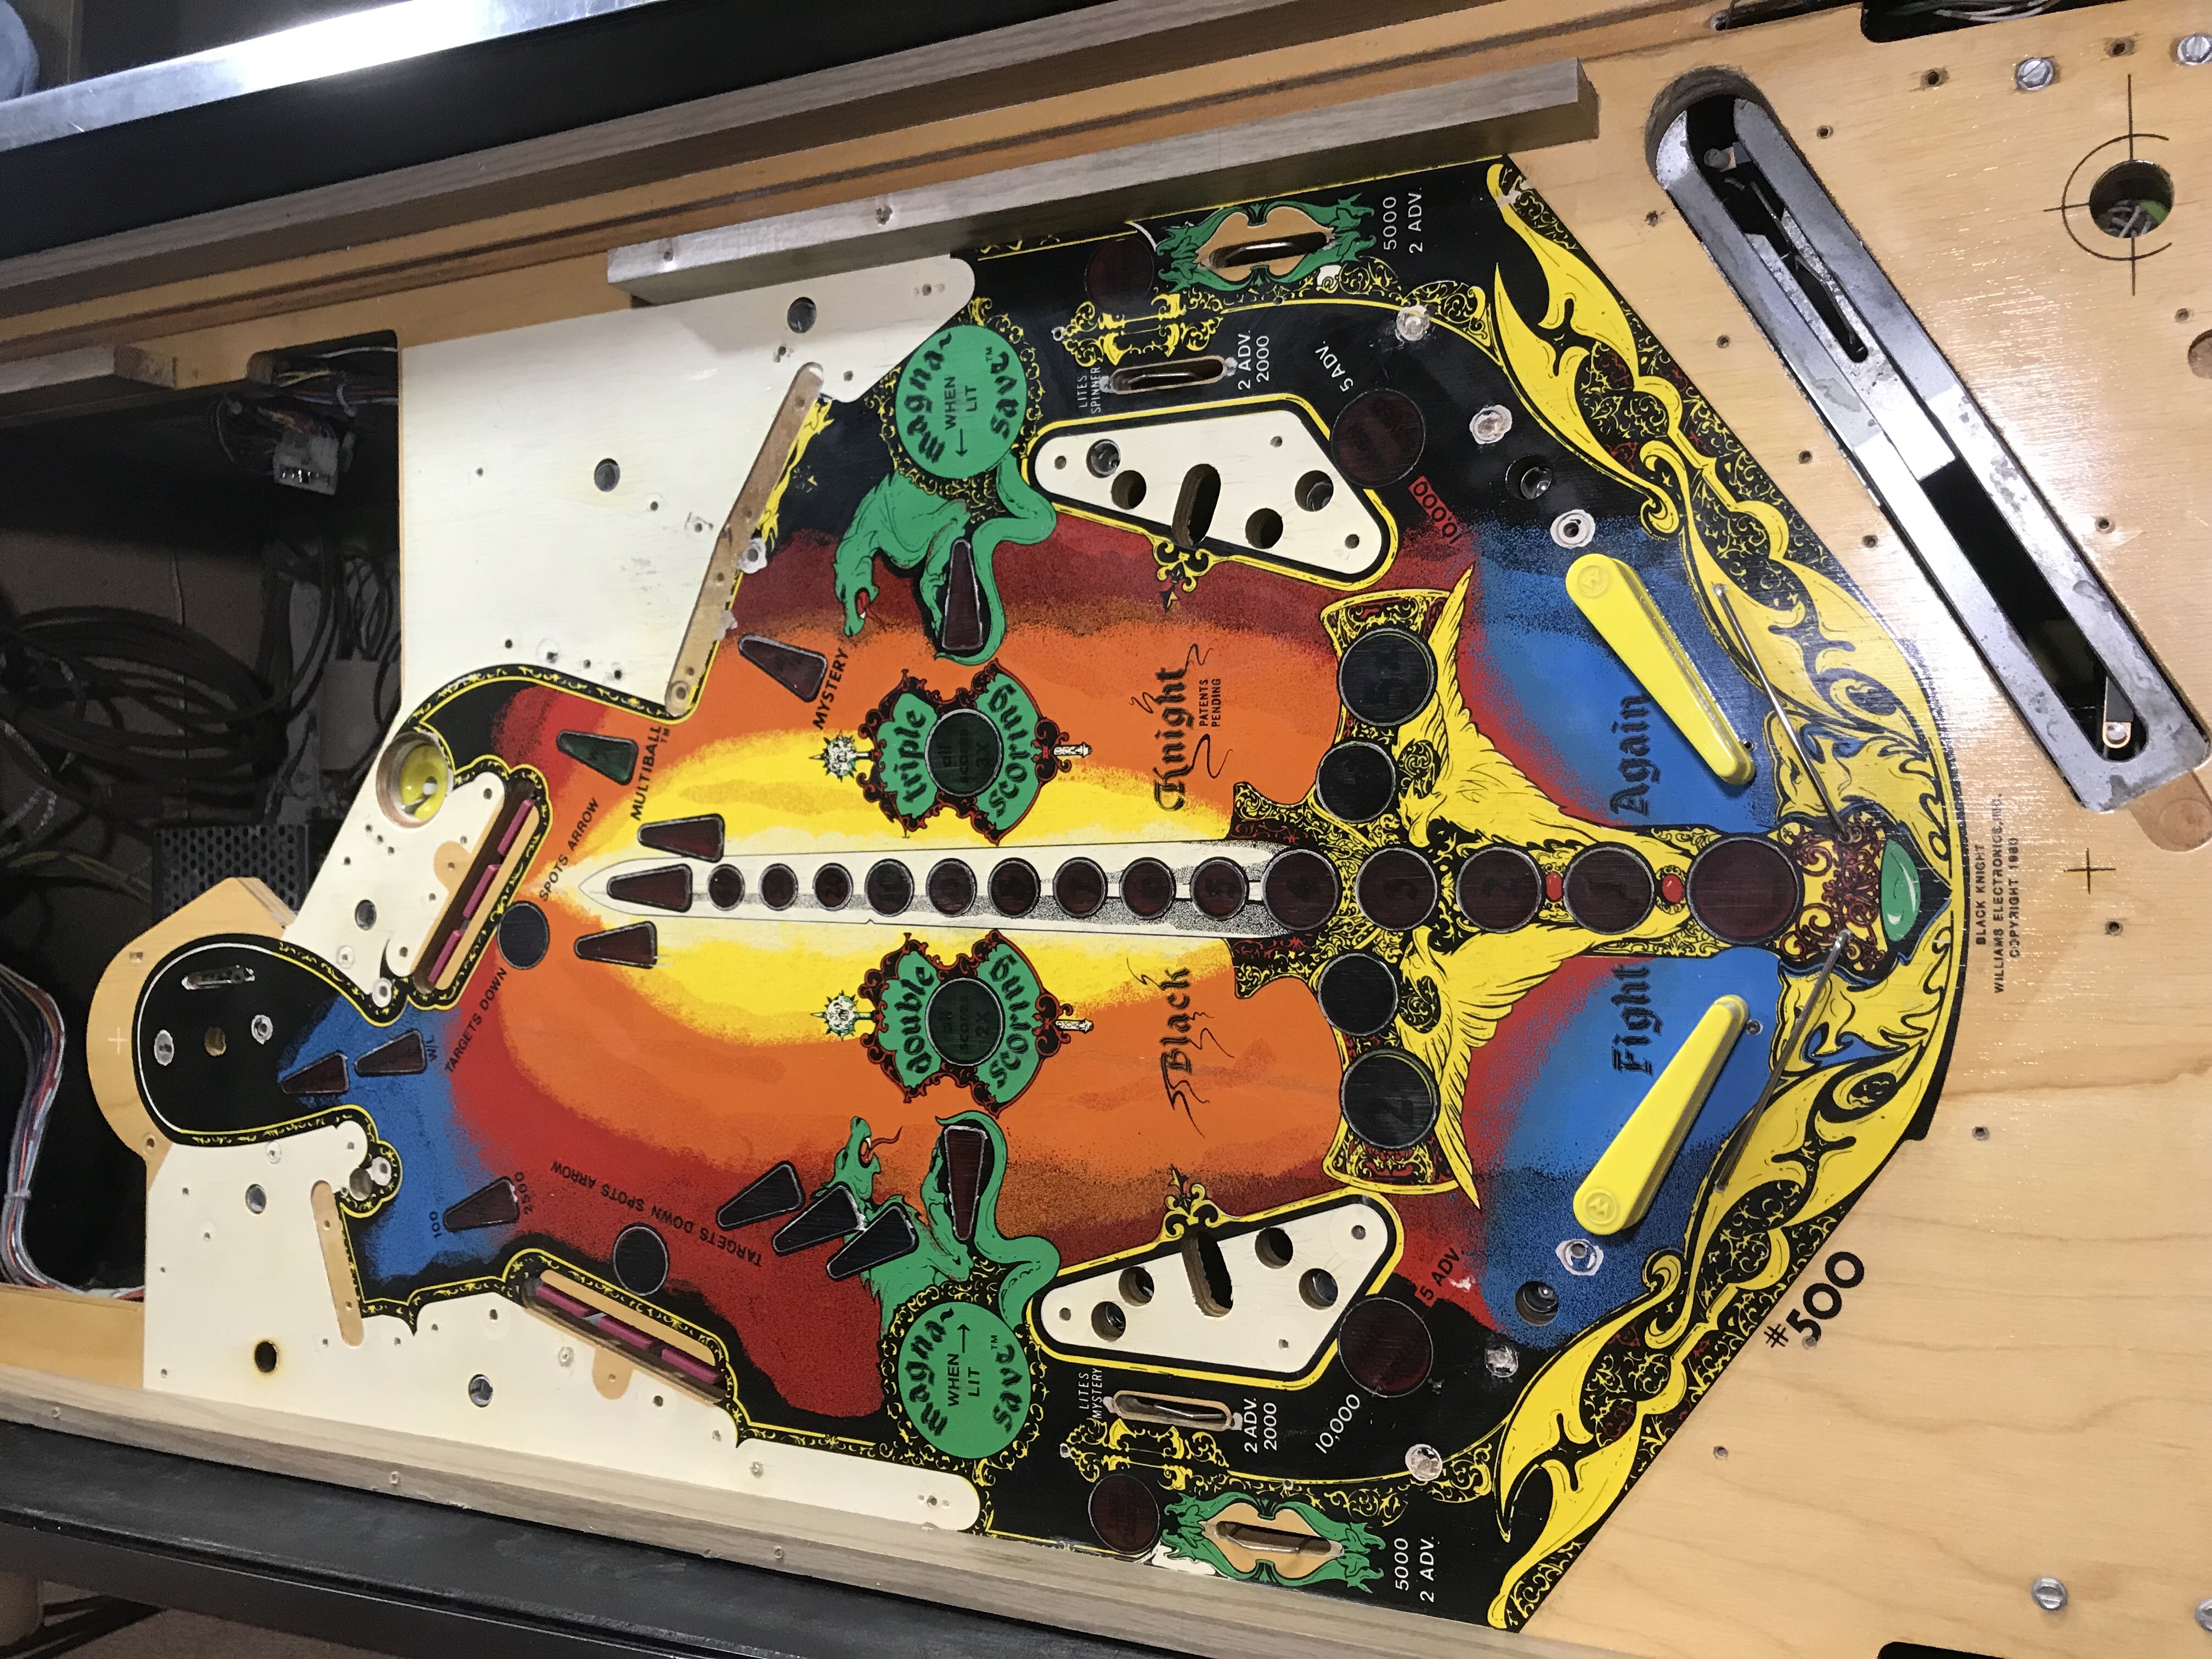
Here you can see the before picture of the bottom playfield, pretty dirty.
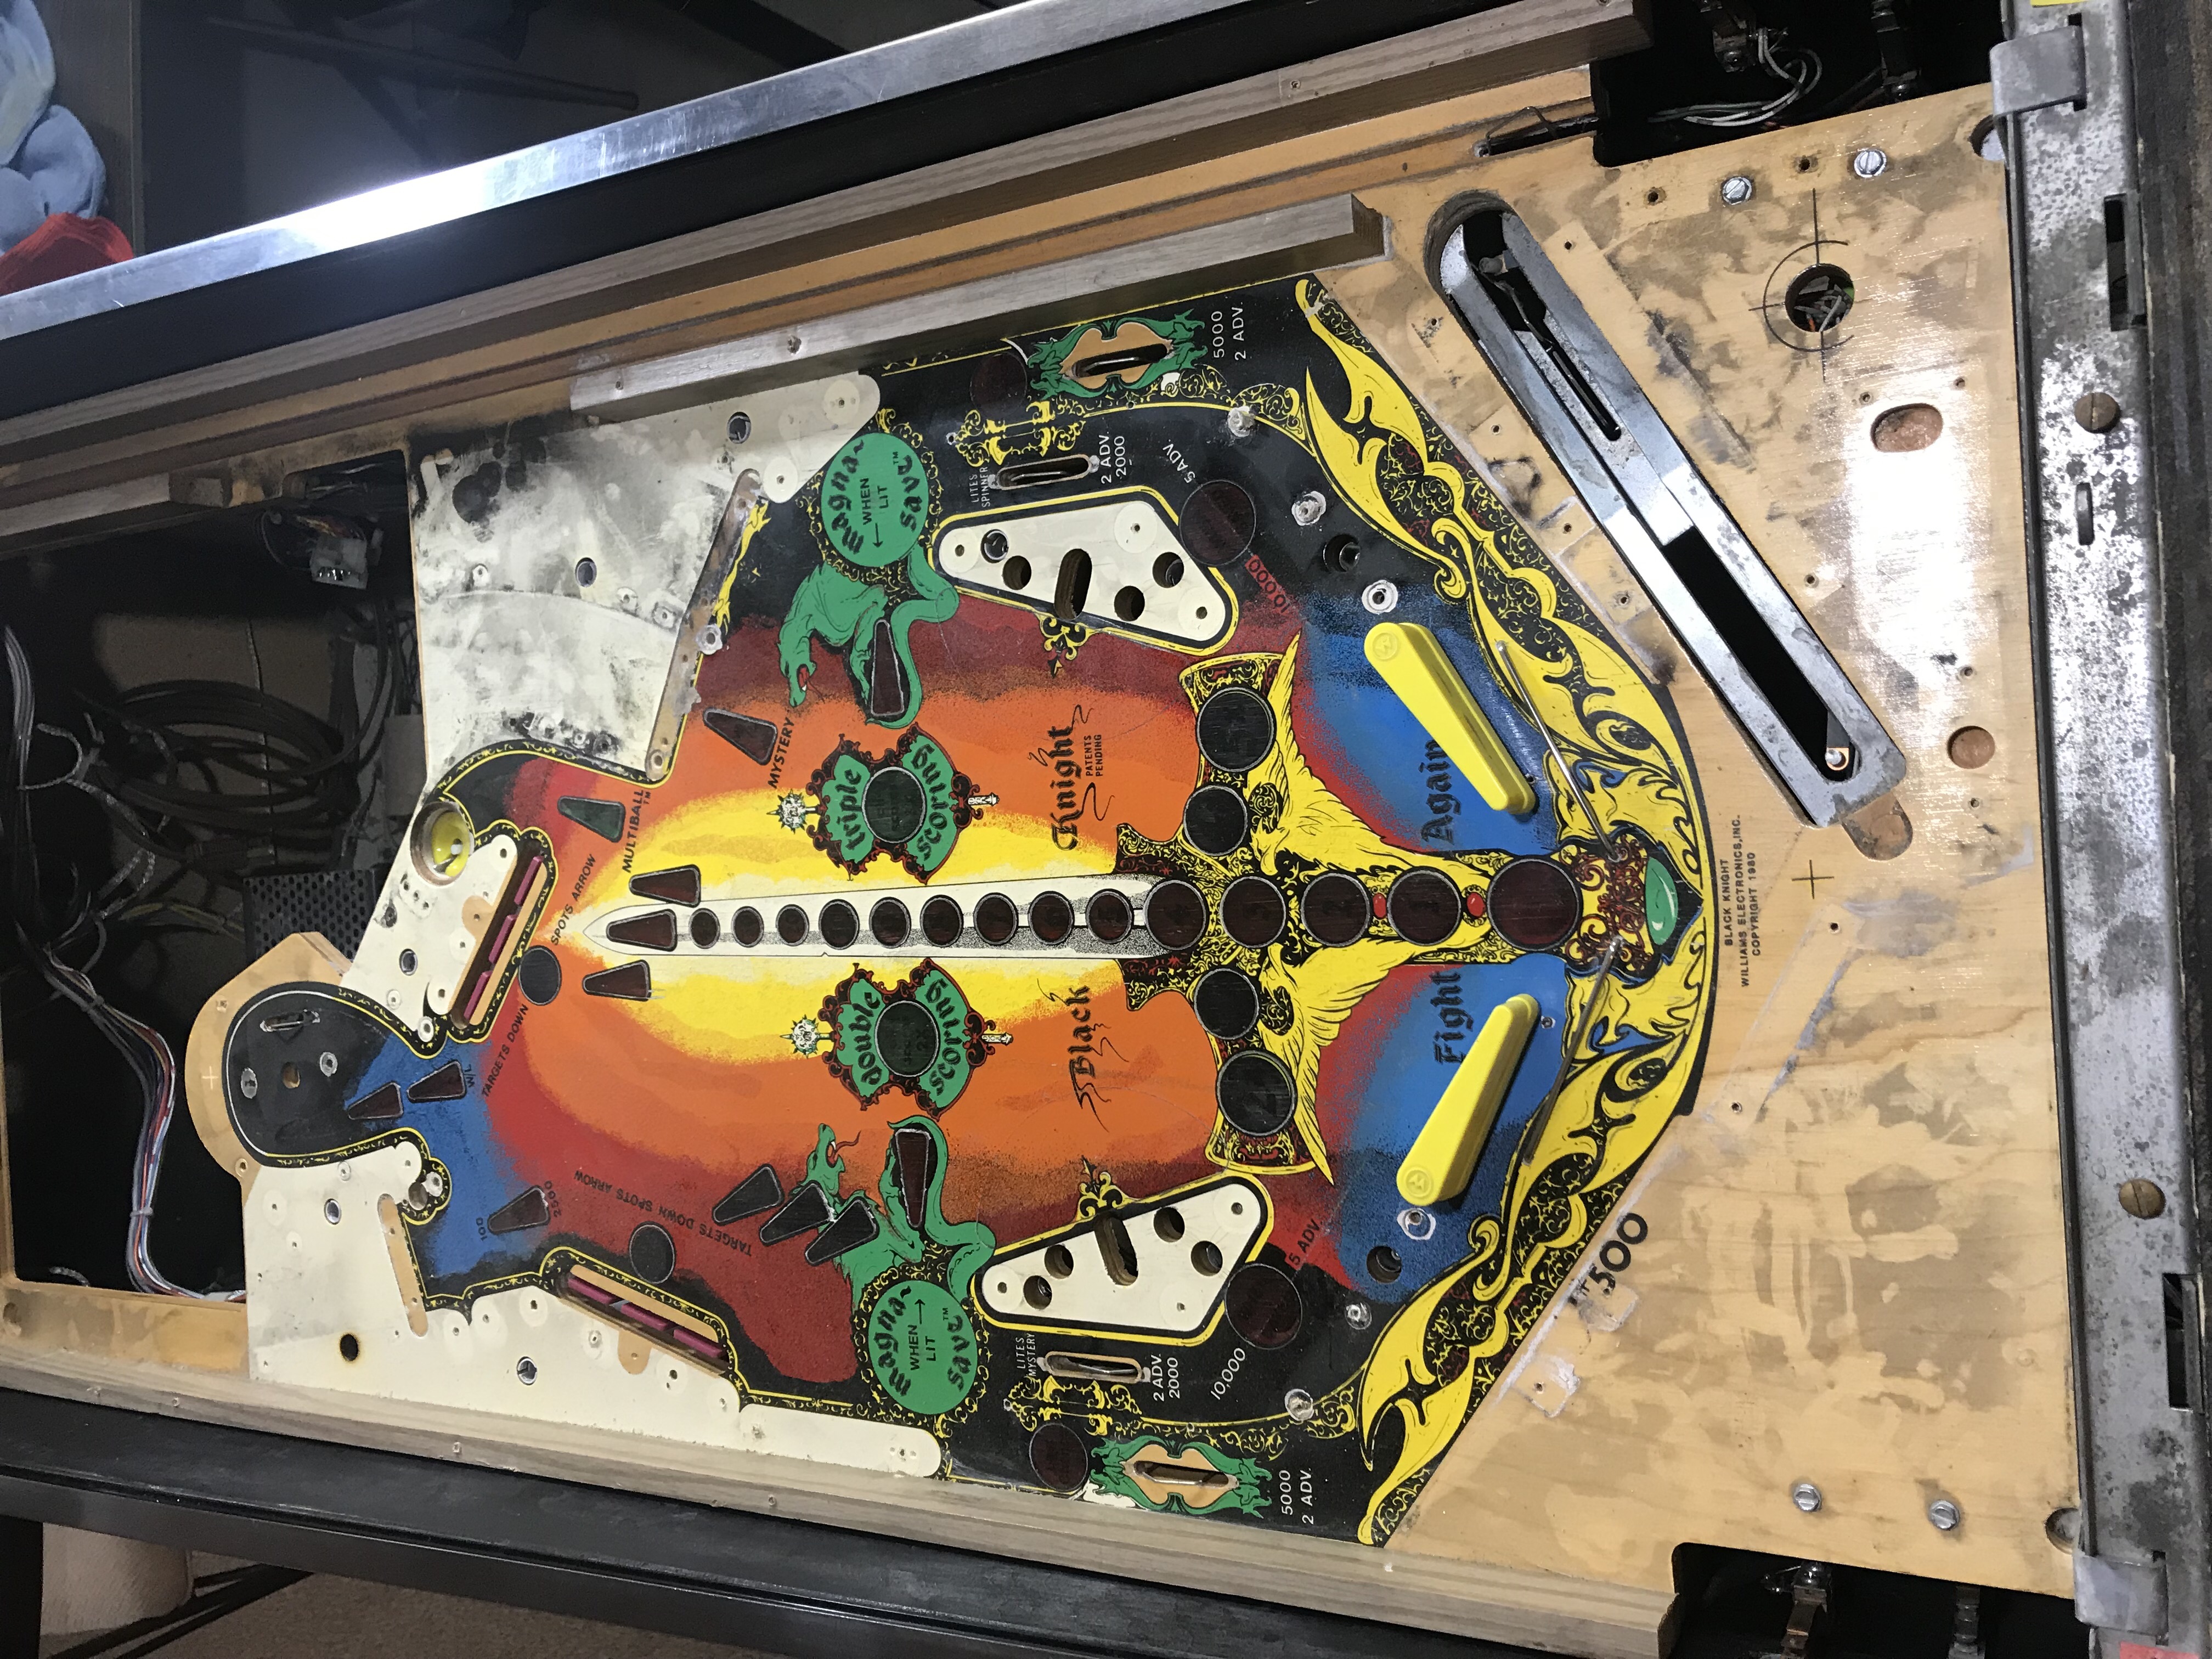
And all cleaned up!
Here's the dirty top playfield.

And the after, cleaned up picture.
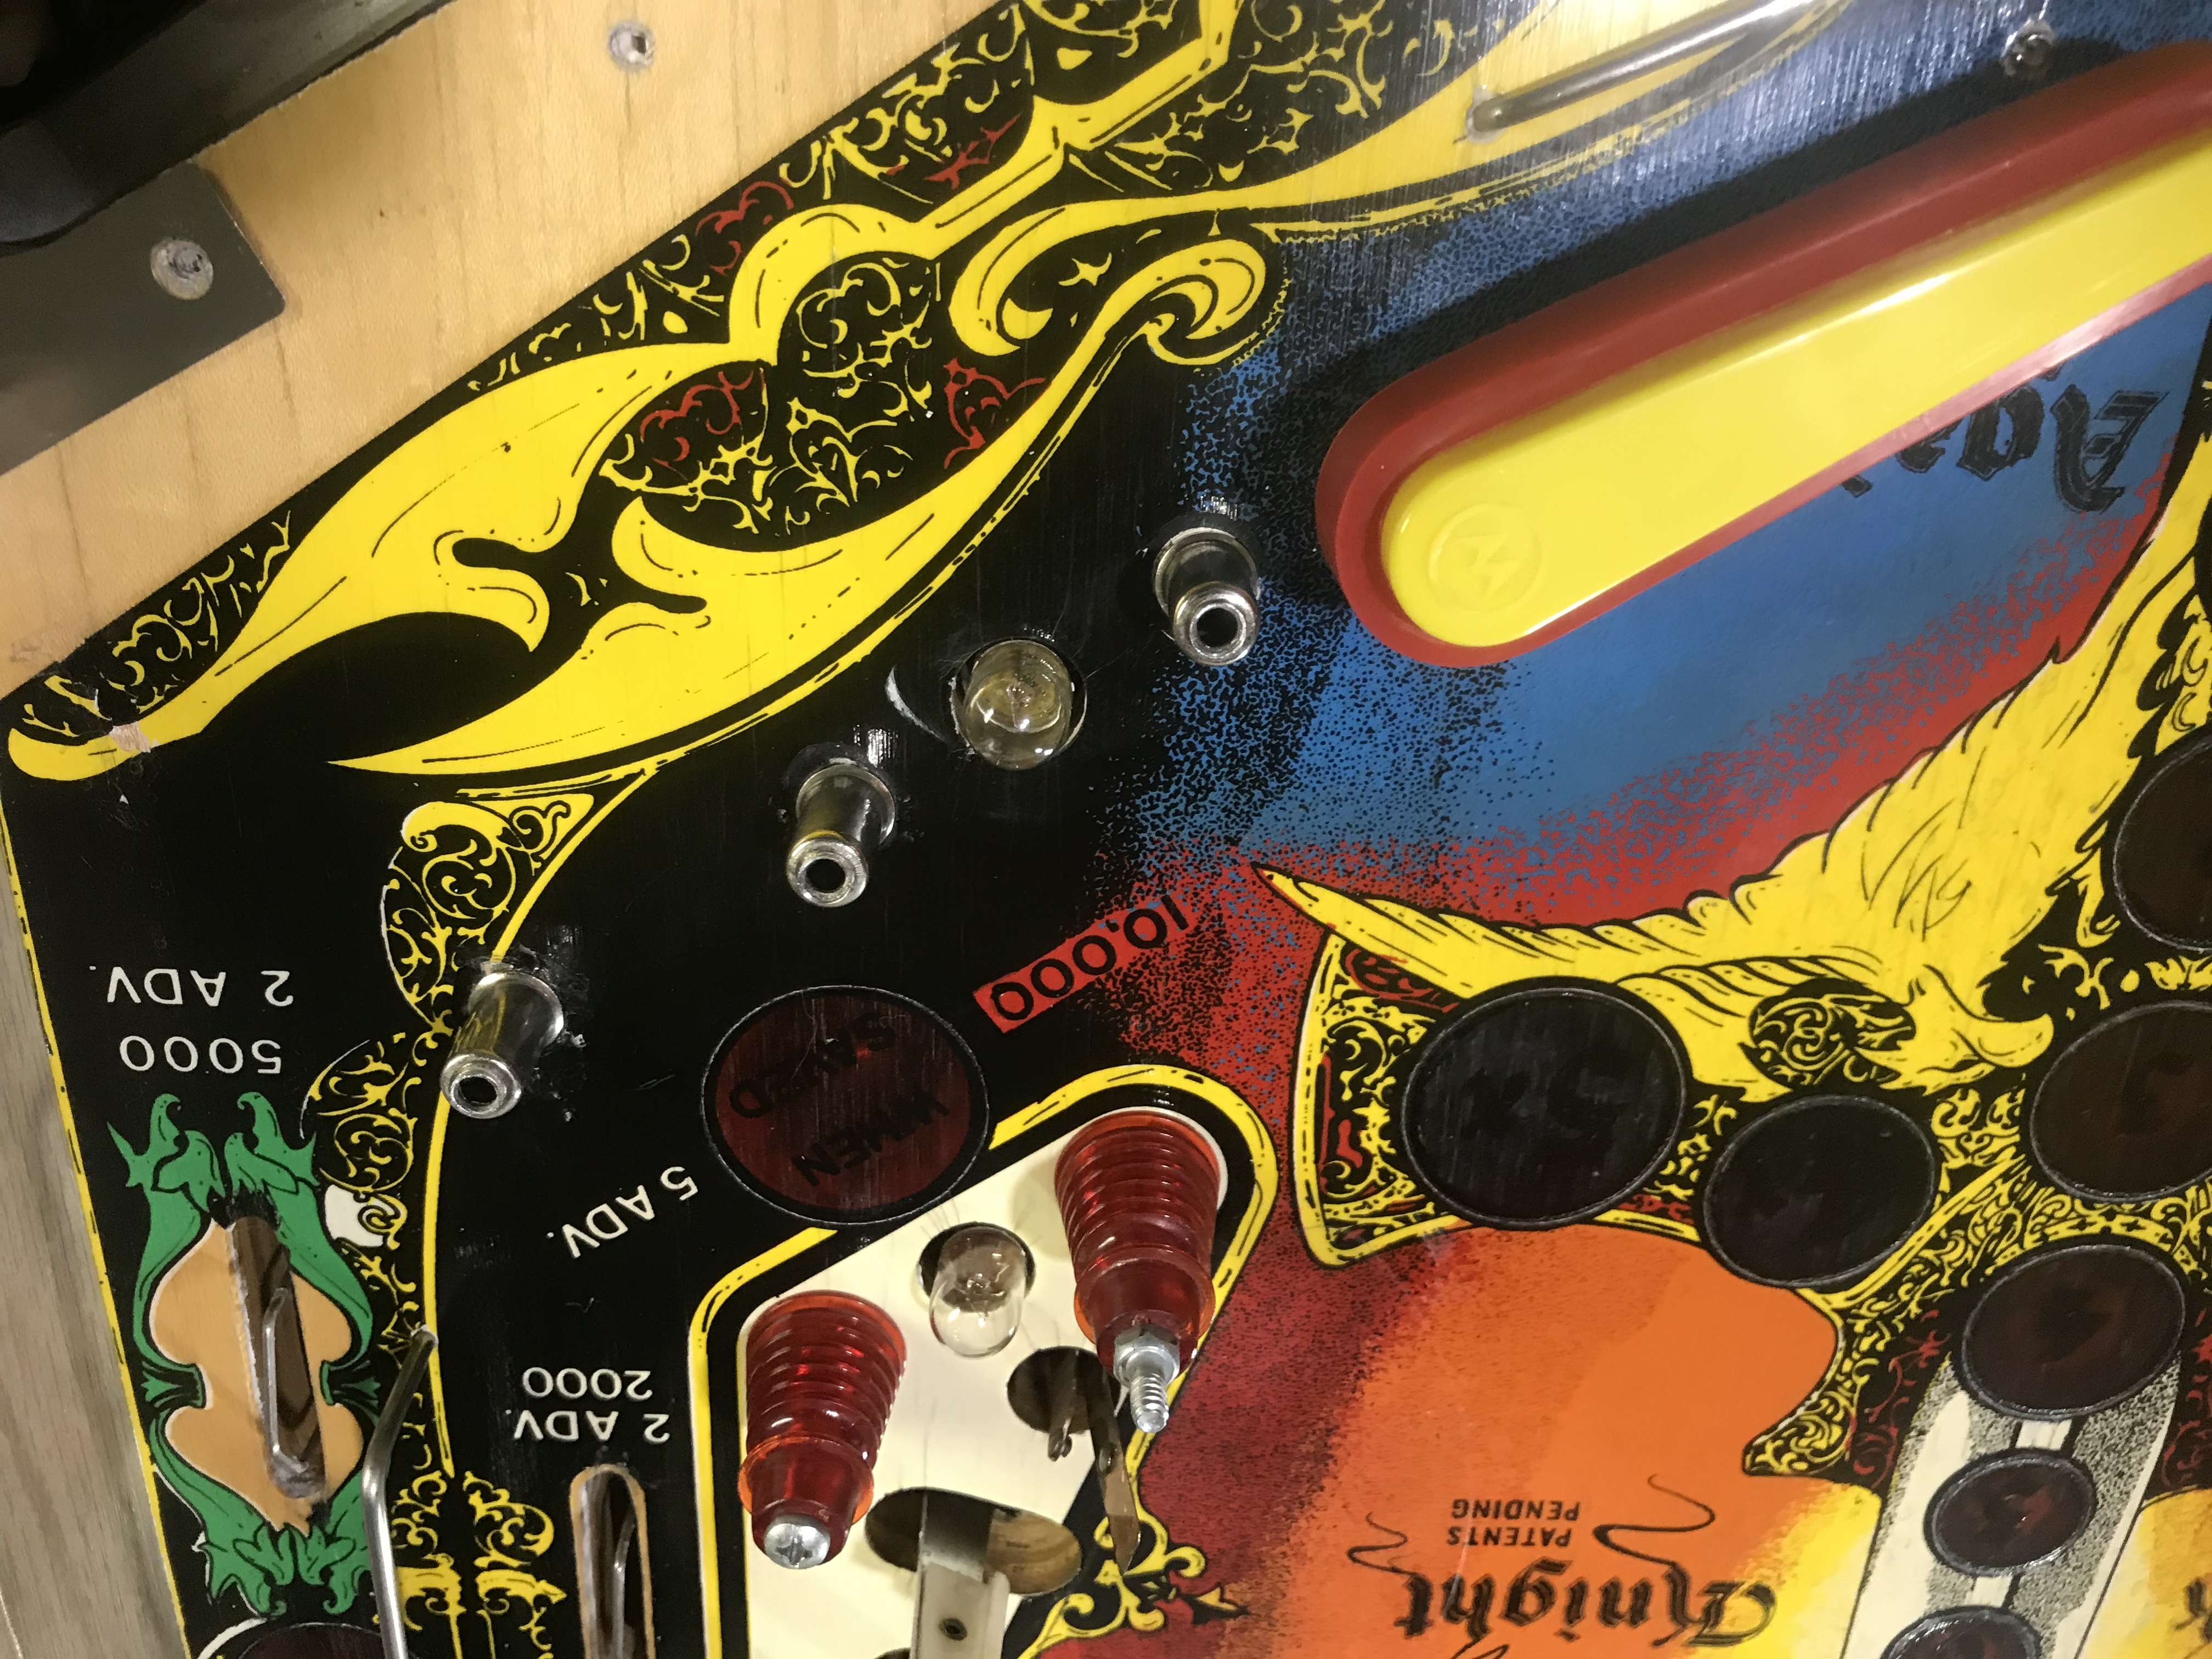
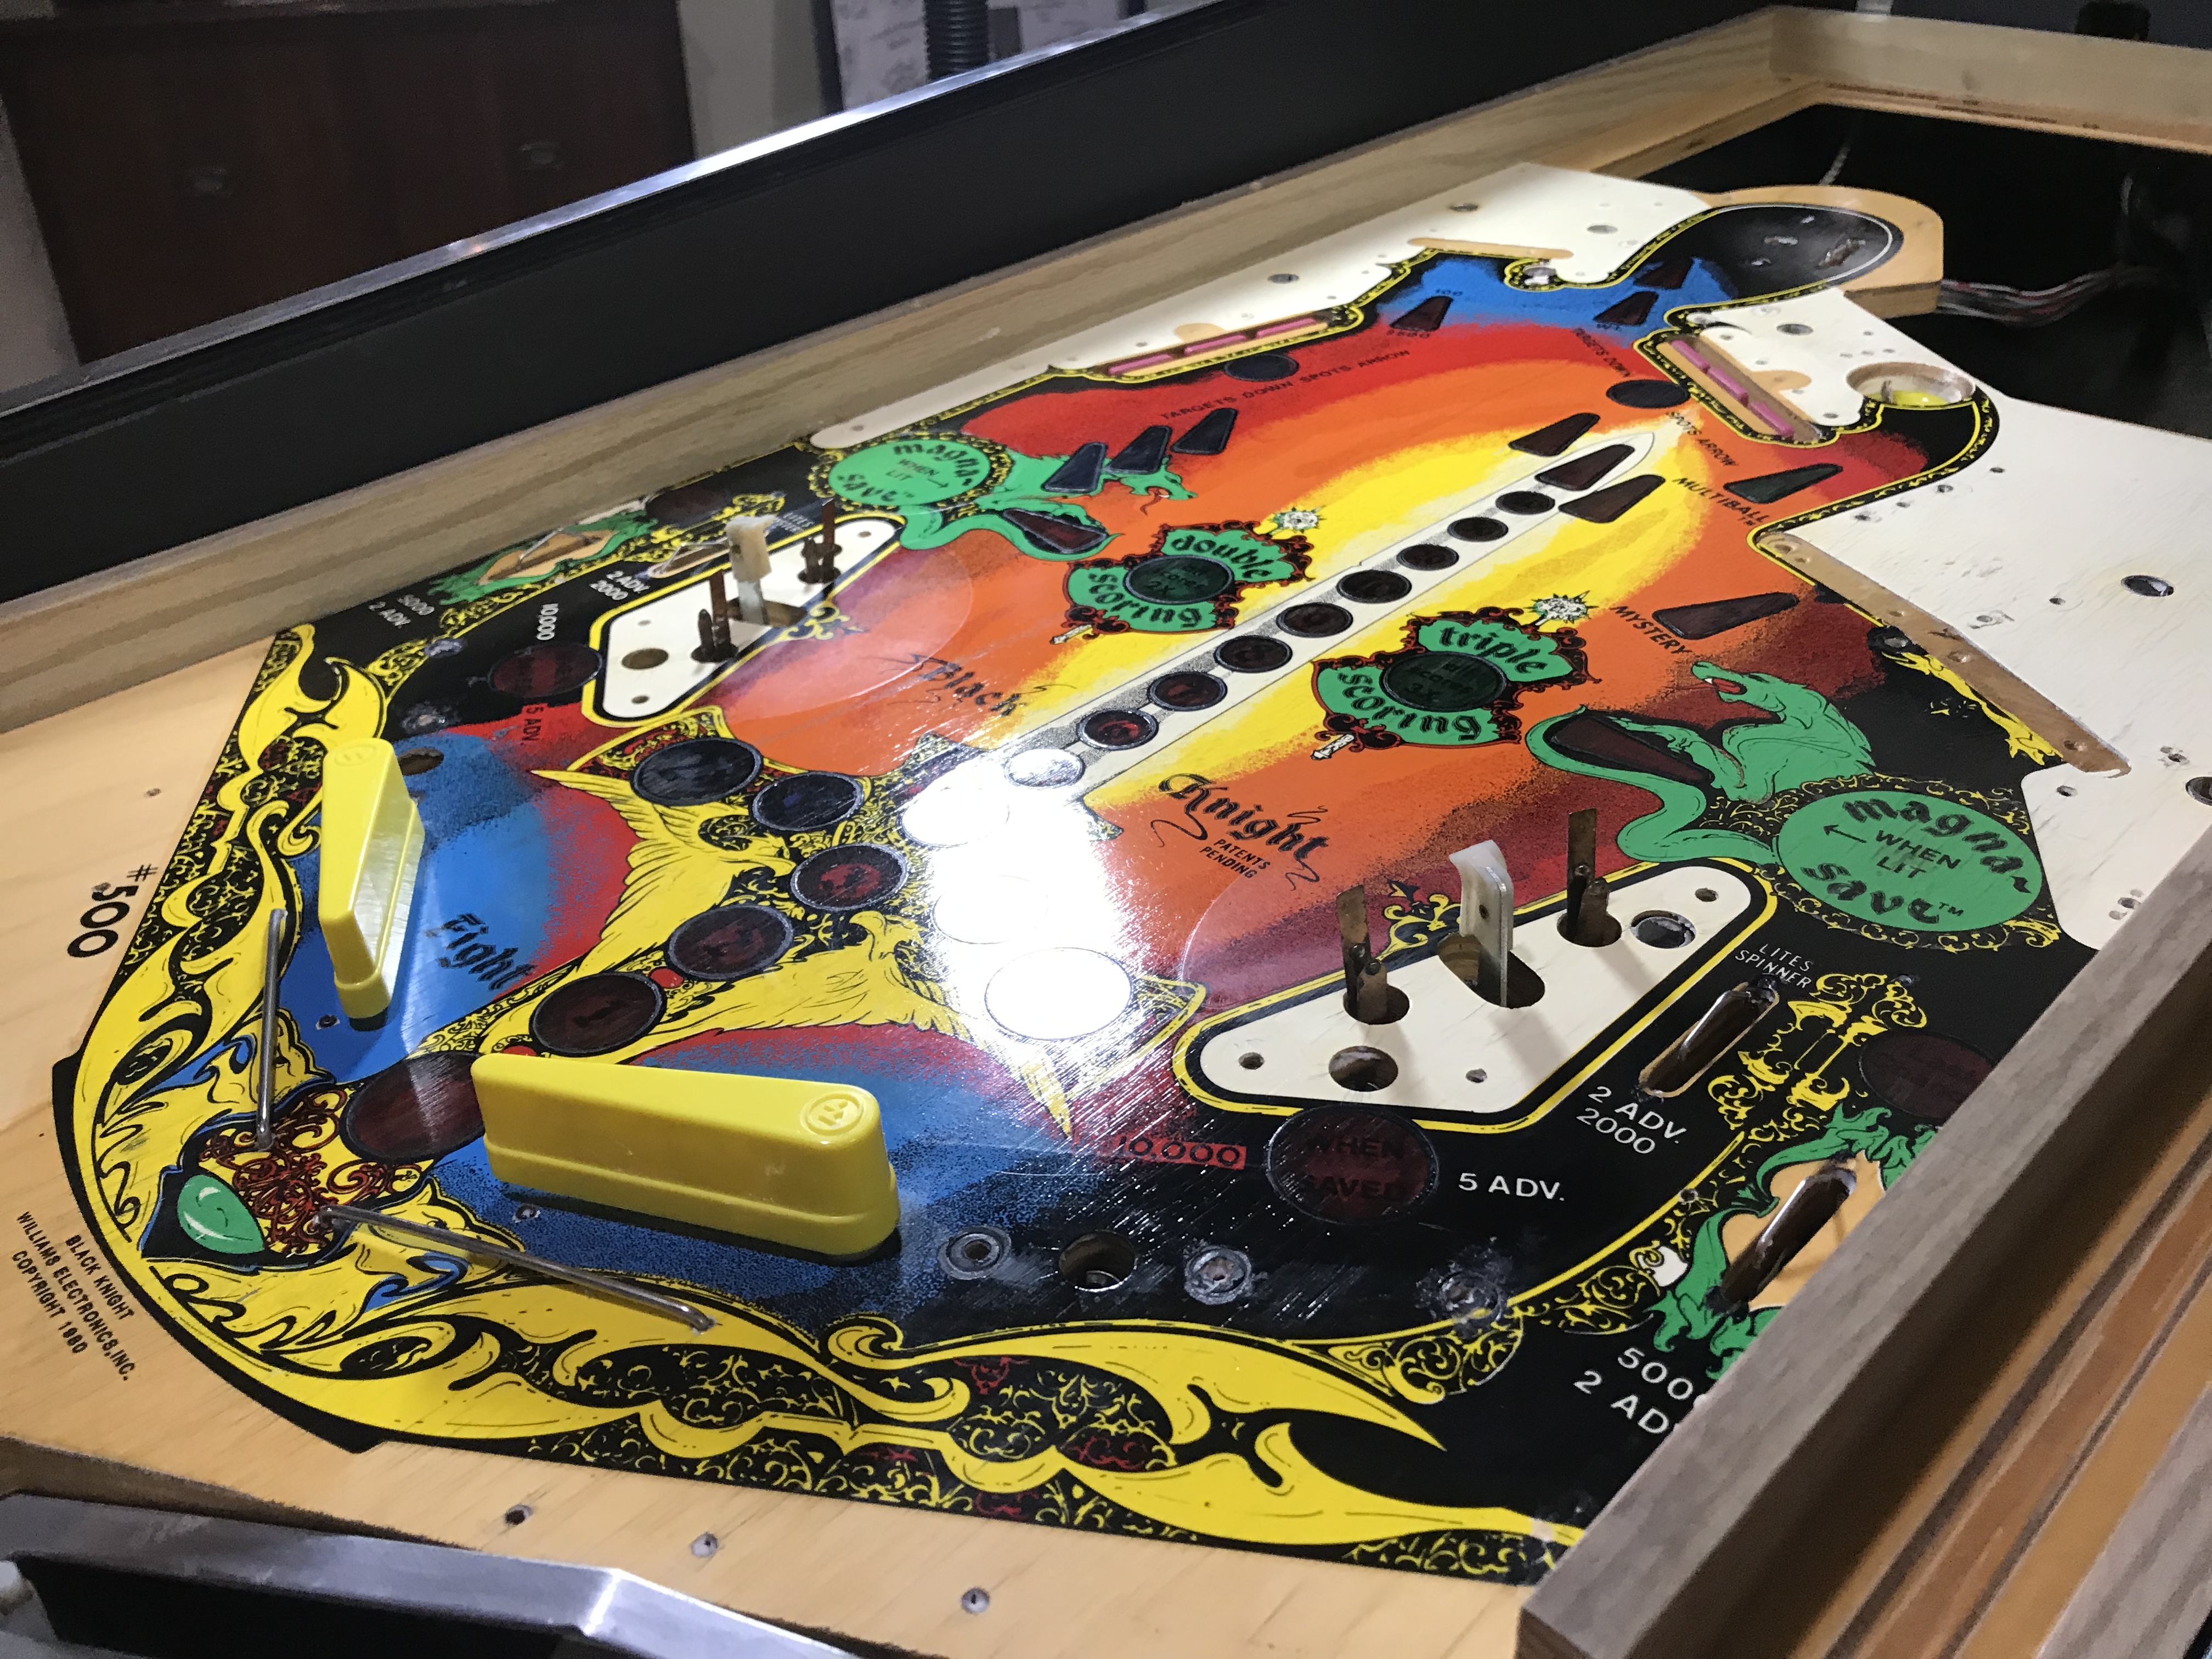
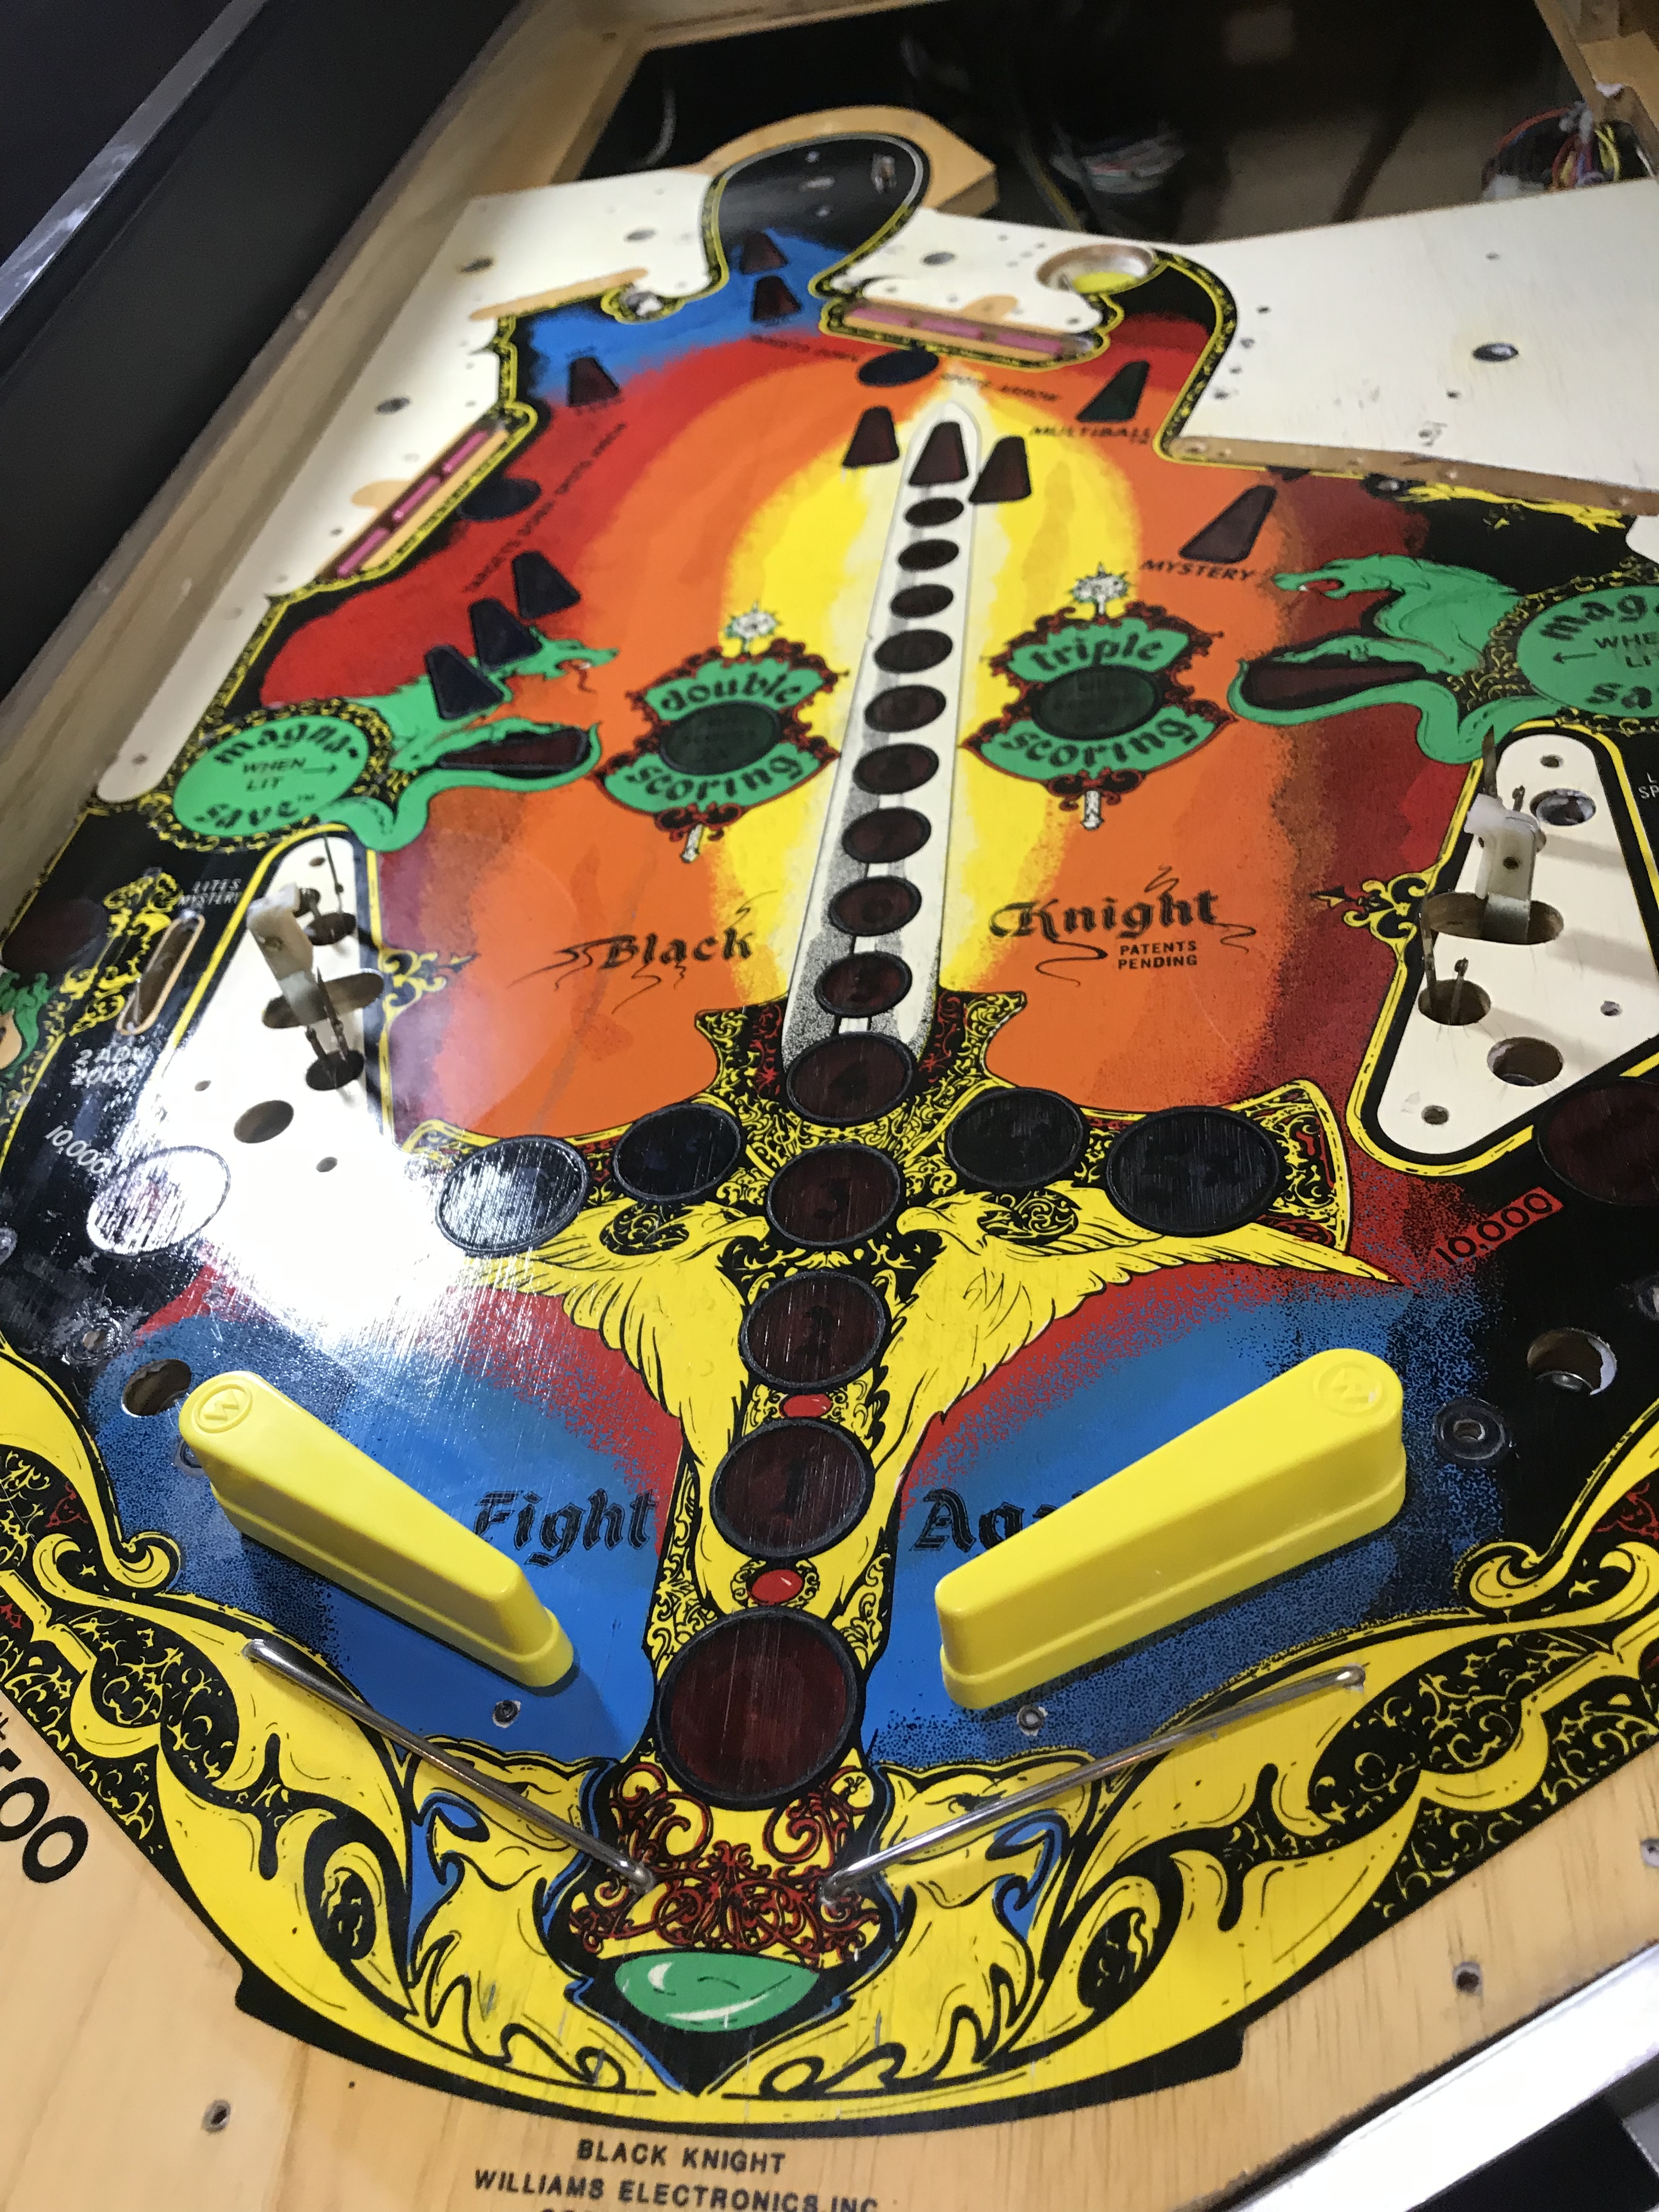
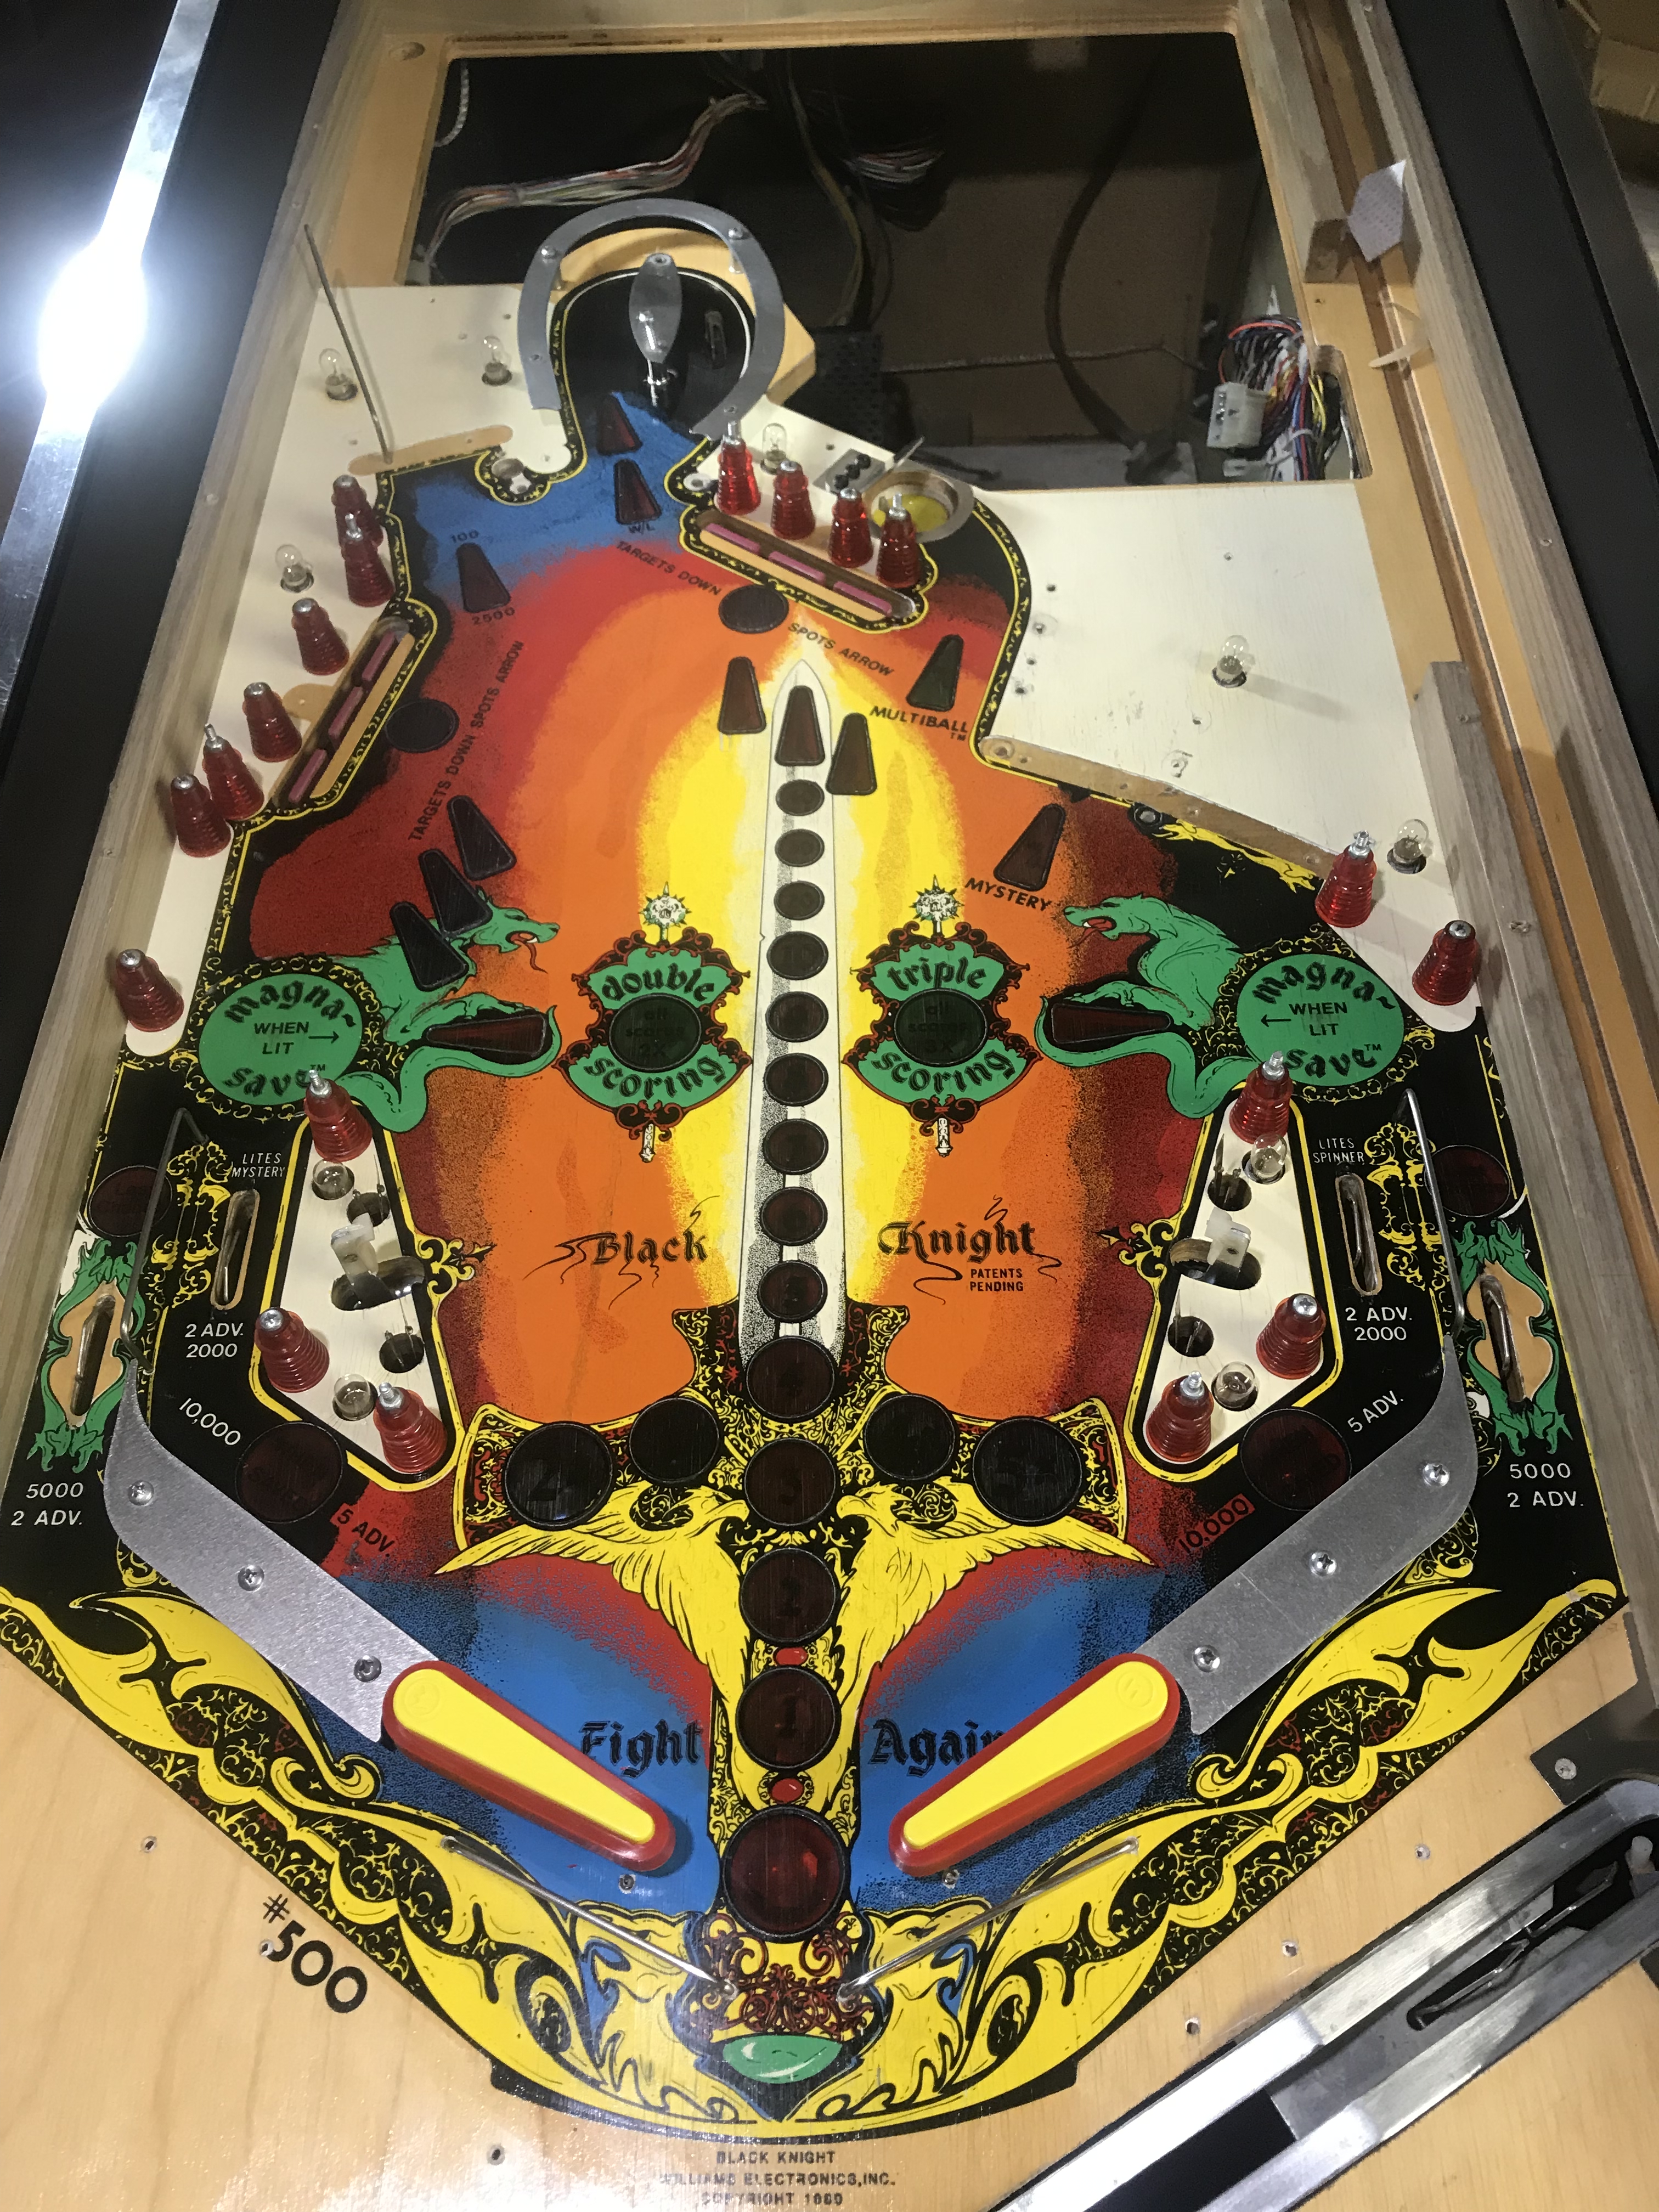
Next I touched up the art on the playfields. Primarily all I really needed was black to repair 95% of the art, so I used an acrylic paint pen. Below you can see that I touched up around each of the worn areas around each scoring light. White worn down circles before, and nice clean black circles on the right. In truth all these rings will come back over time with wear and tear, but at least they're very pretty and black for a little while!
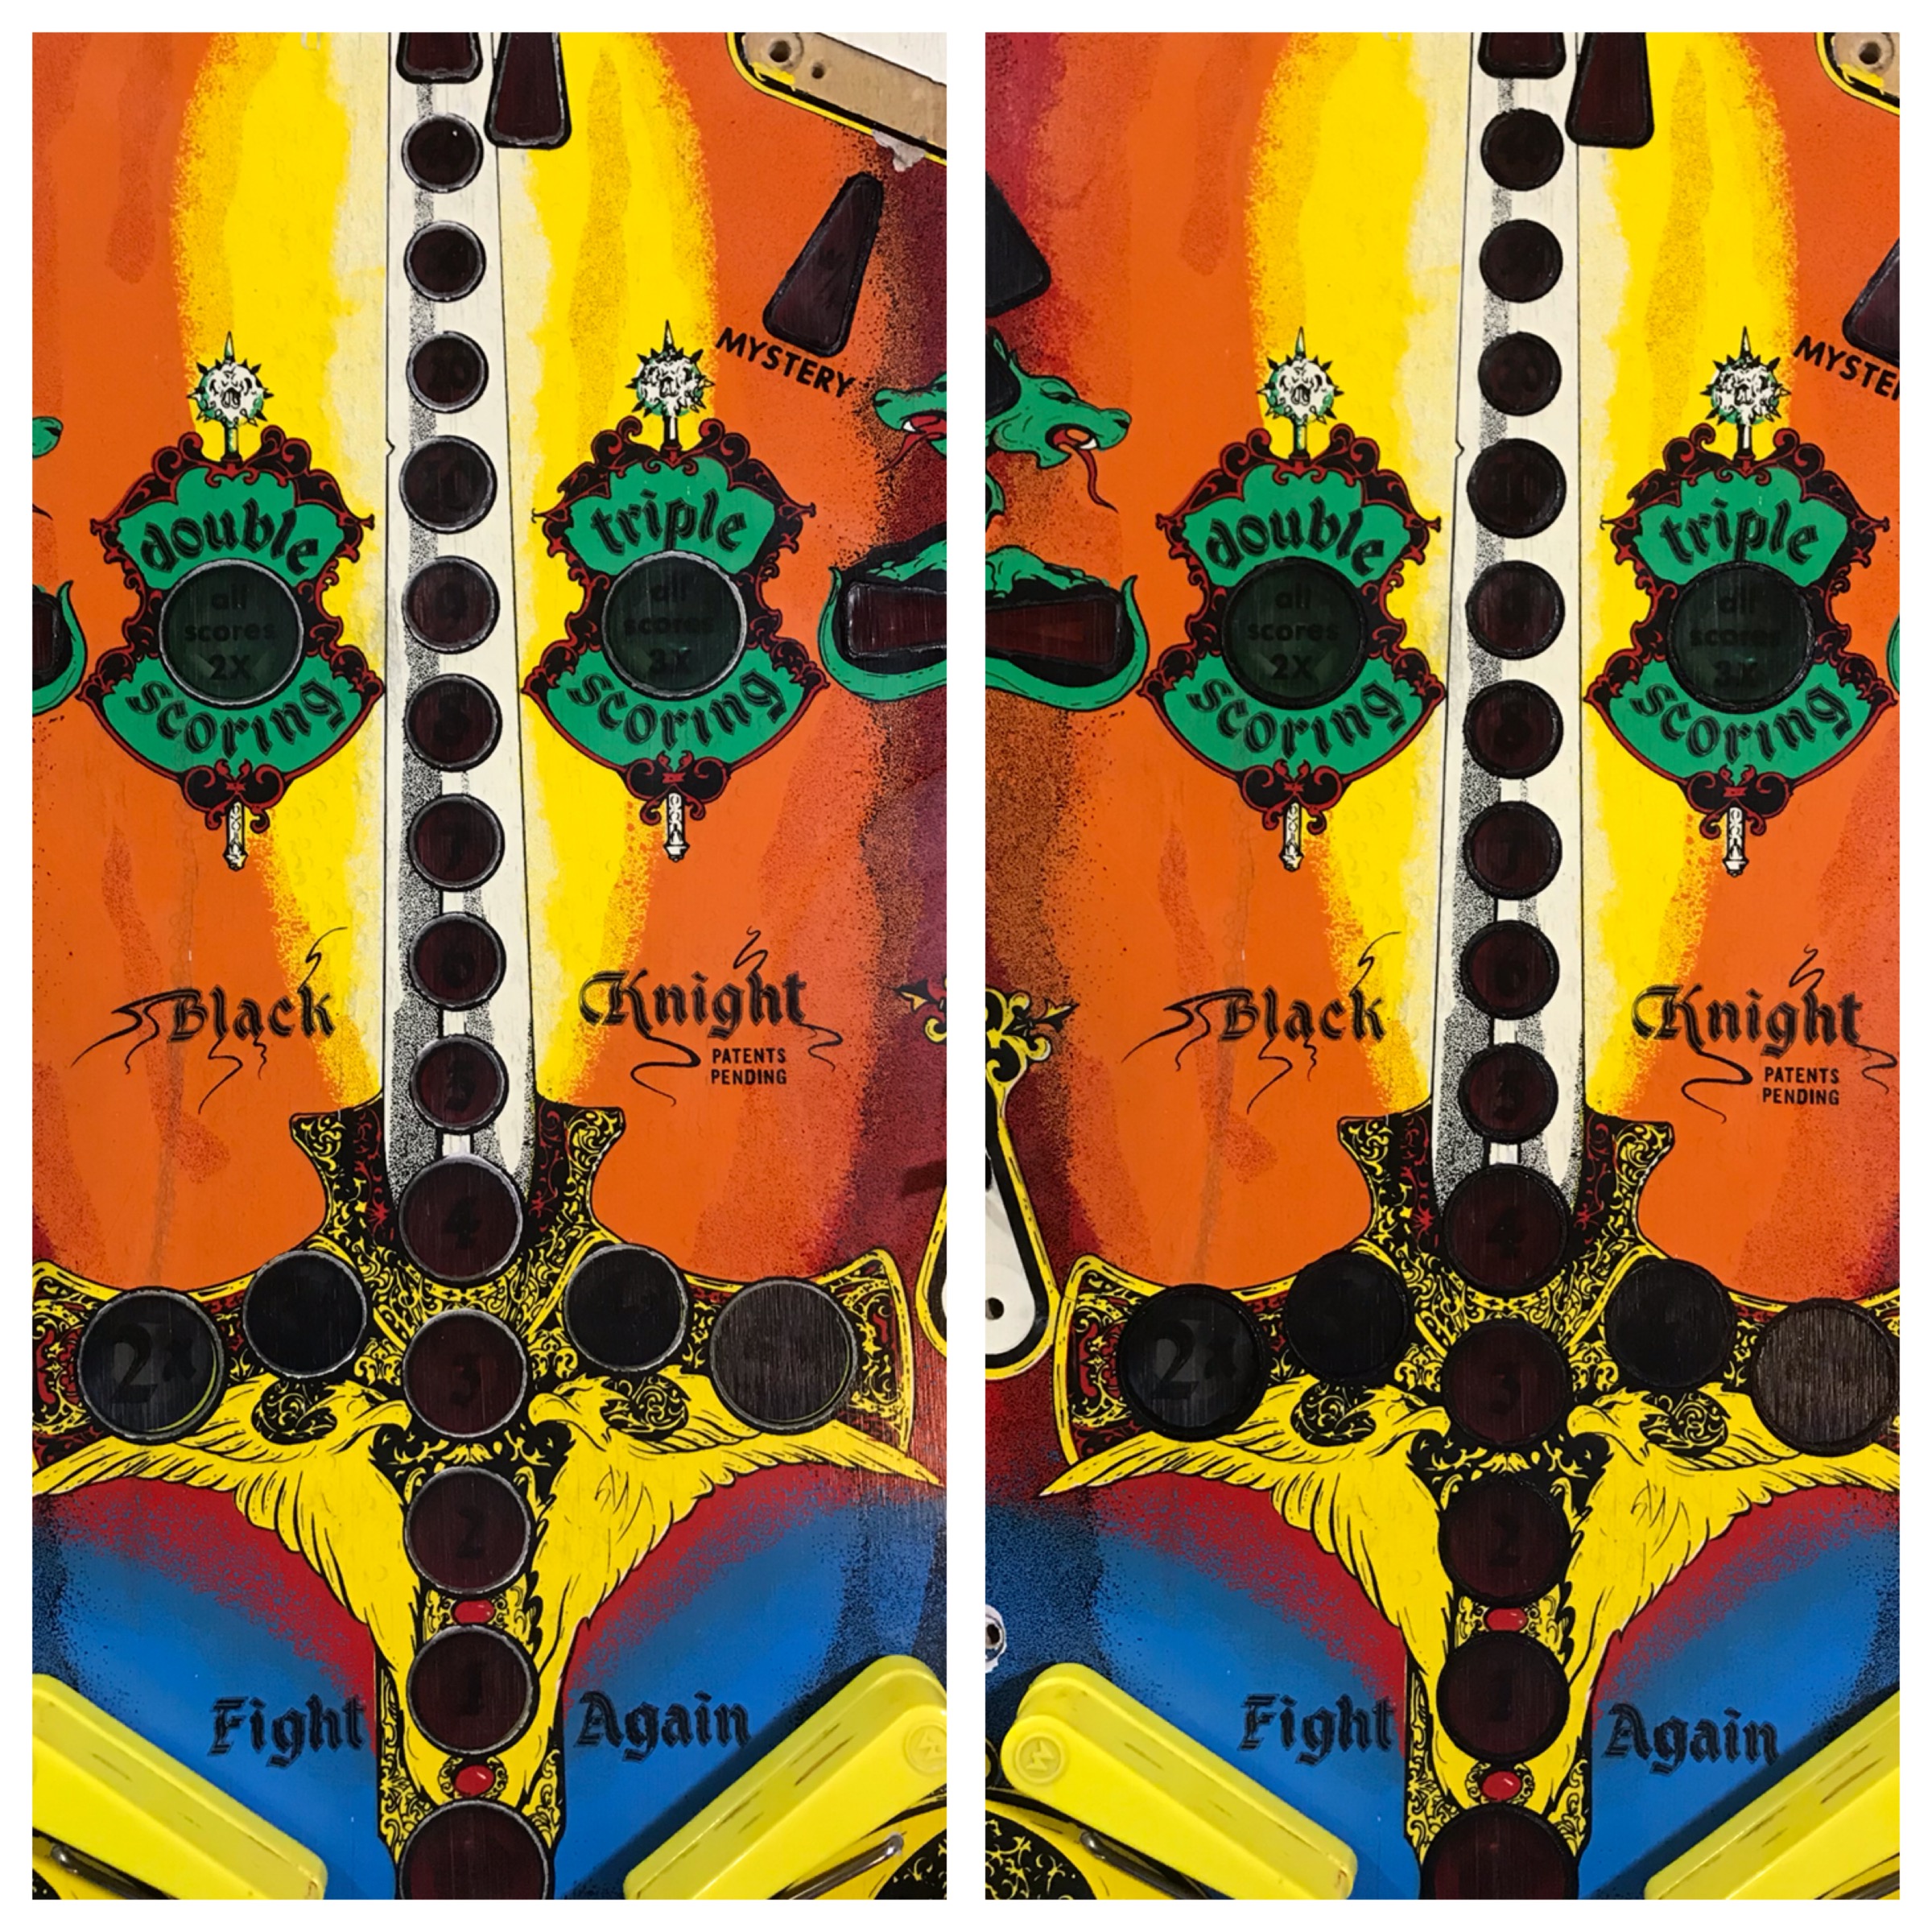
Bottom playfield all touched up.

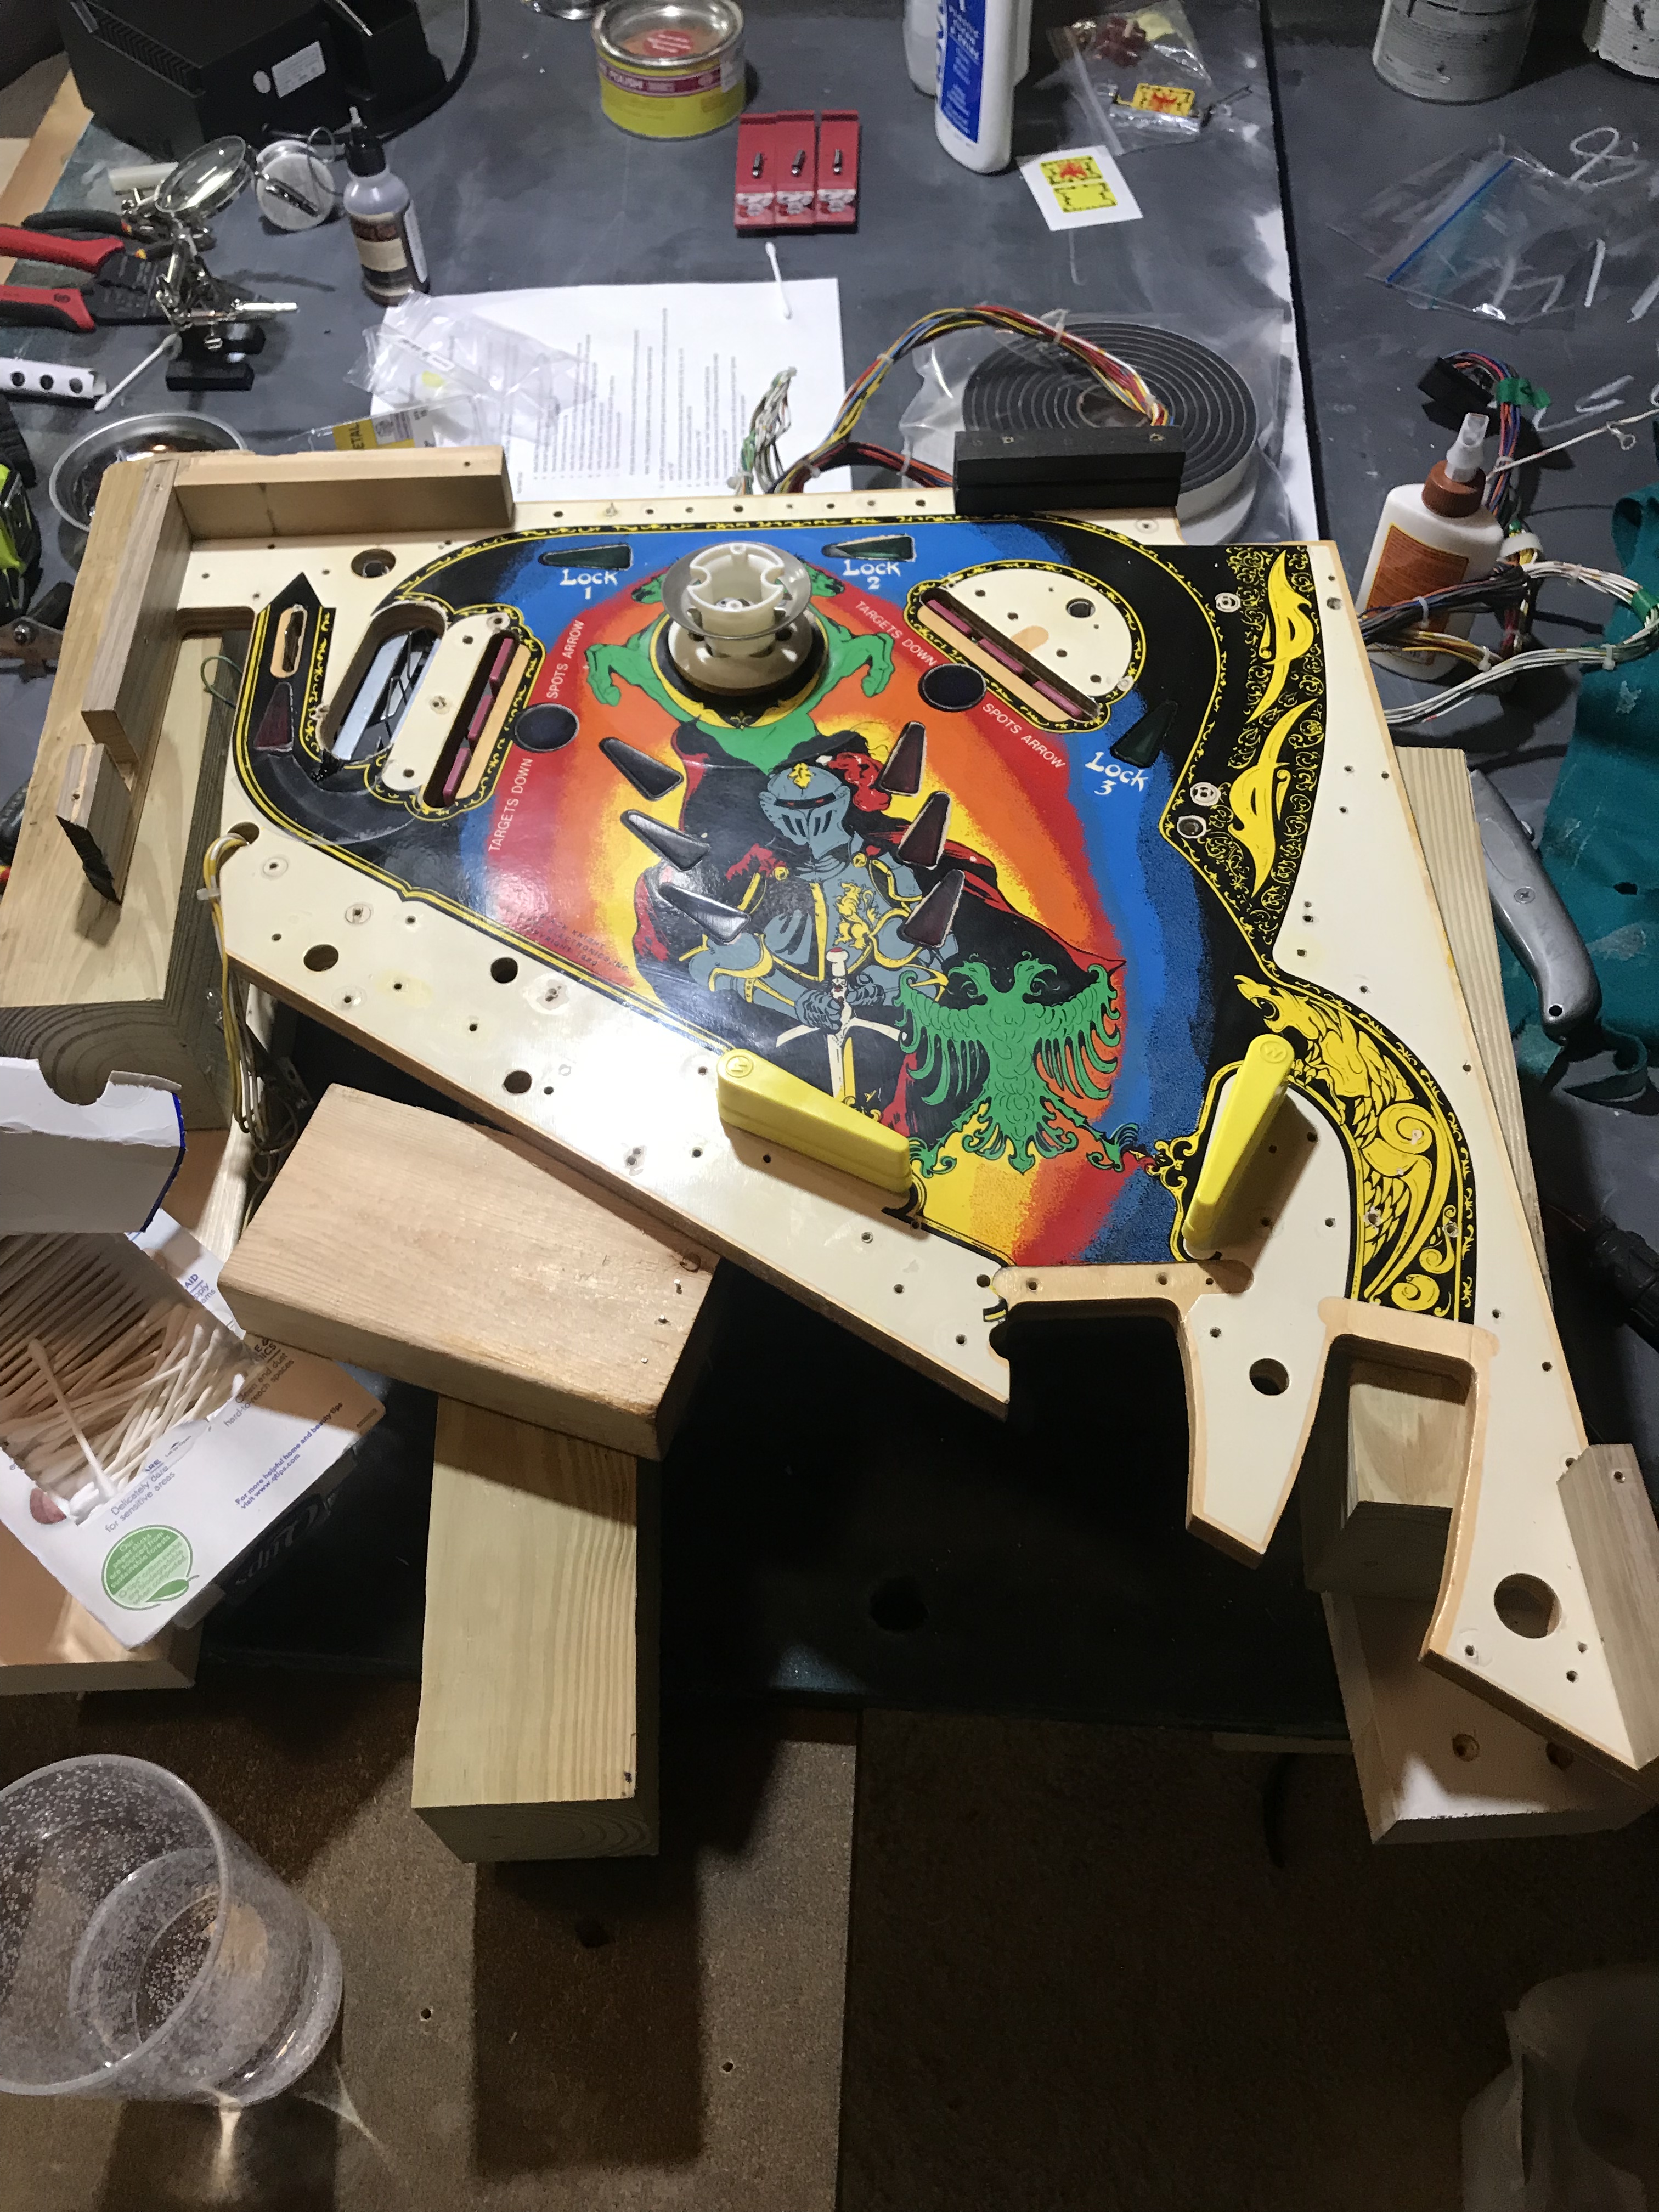
Here's some of the upper playfield art that needed touching up.
Hard to photograph, but here it is cleaned up.
Then I put some mylar circular protectors over the Magna-Save features on the board. These ones were in pretty good condition, but online in viewing all the other BK pictures, I've noticed these can definitely tend to get scratched up, so I decided to protect them a little more. (Obviously, I had not removed the white sticker yet on these protectors below.)

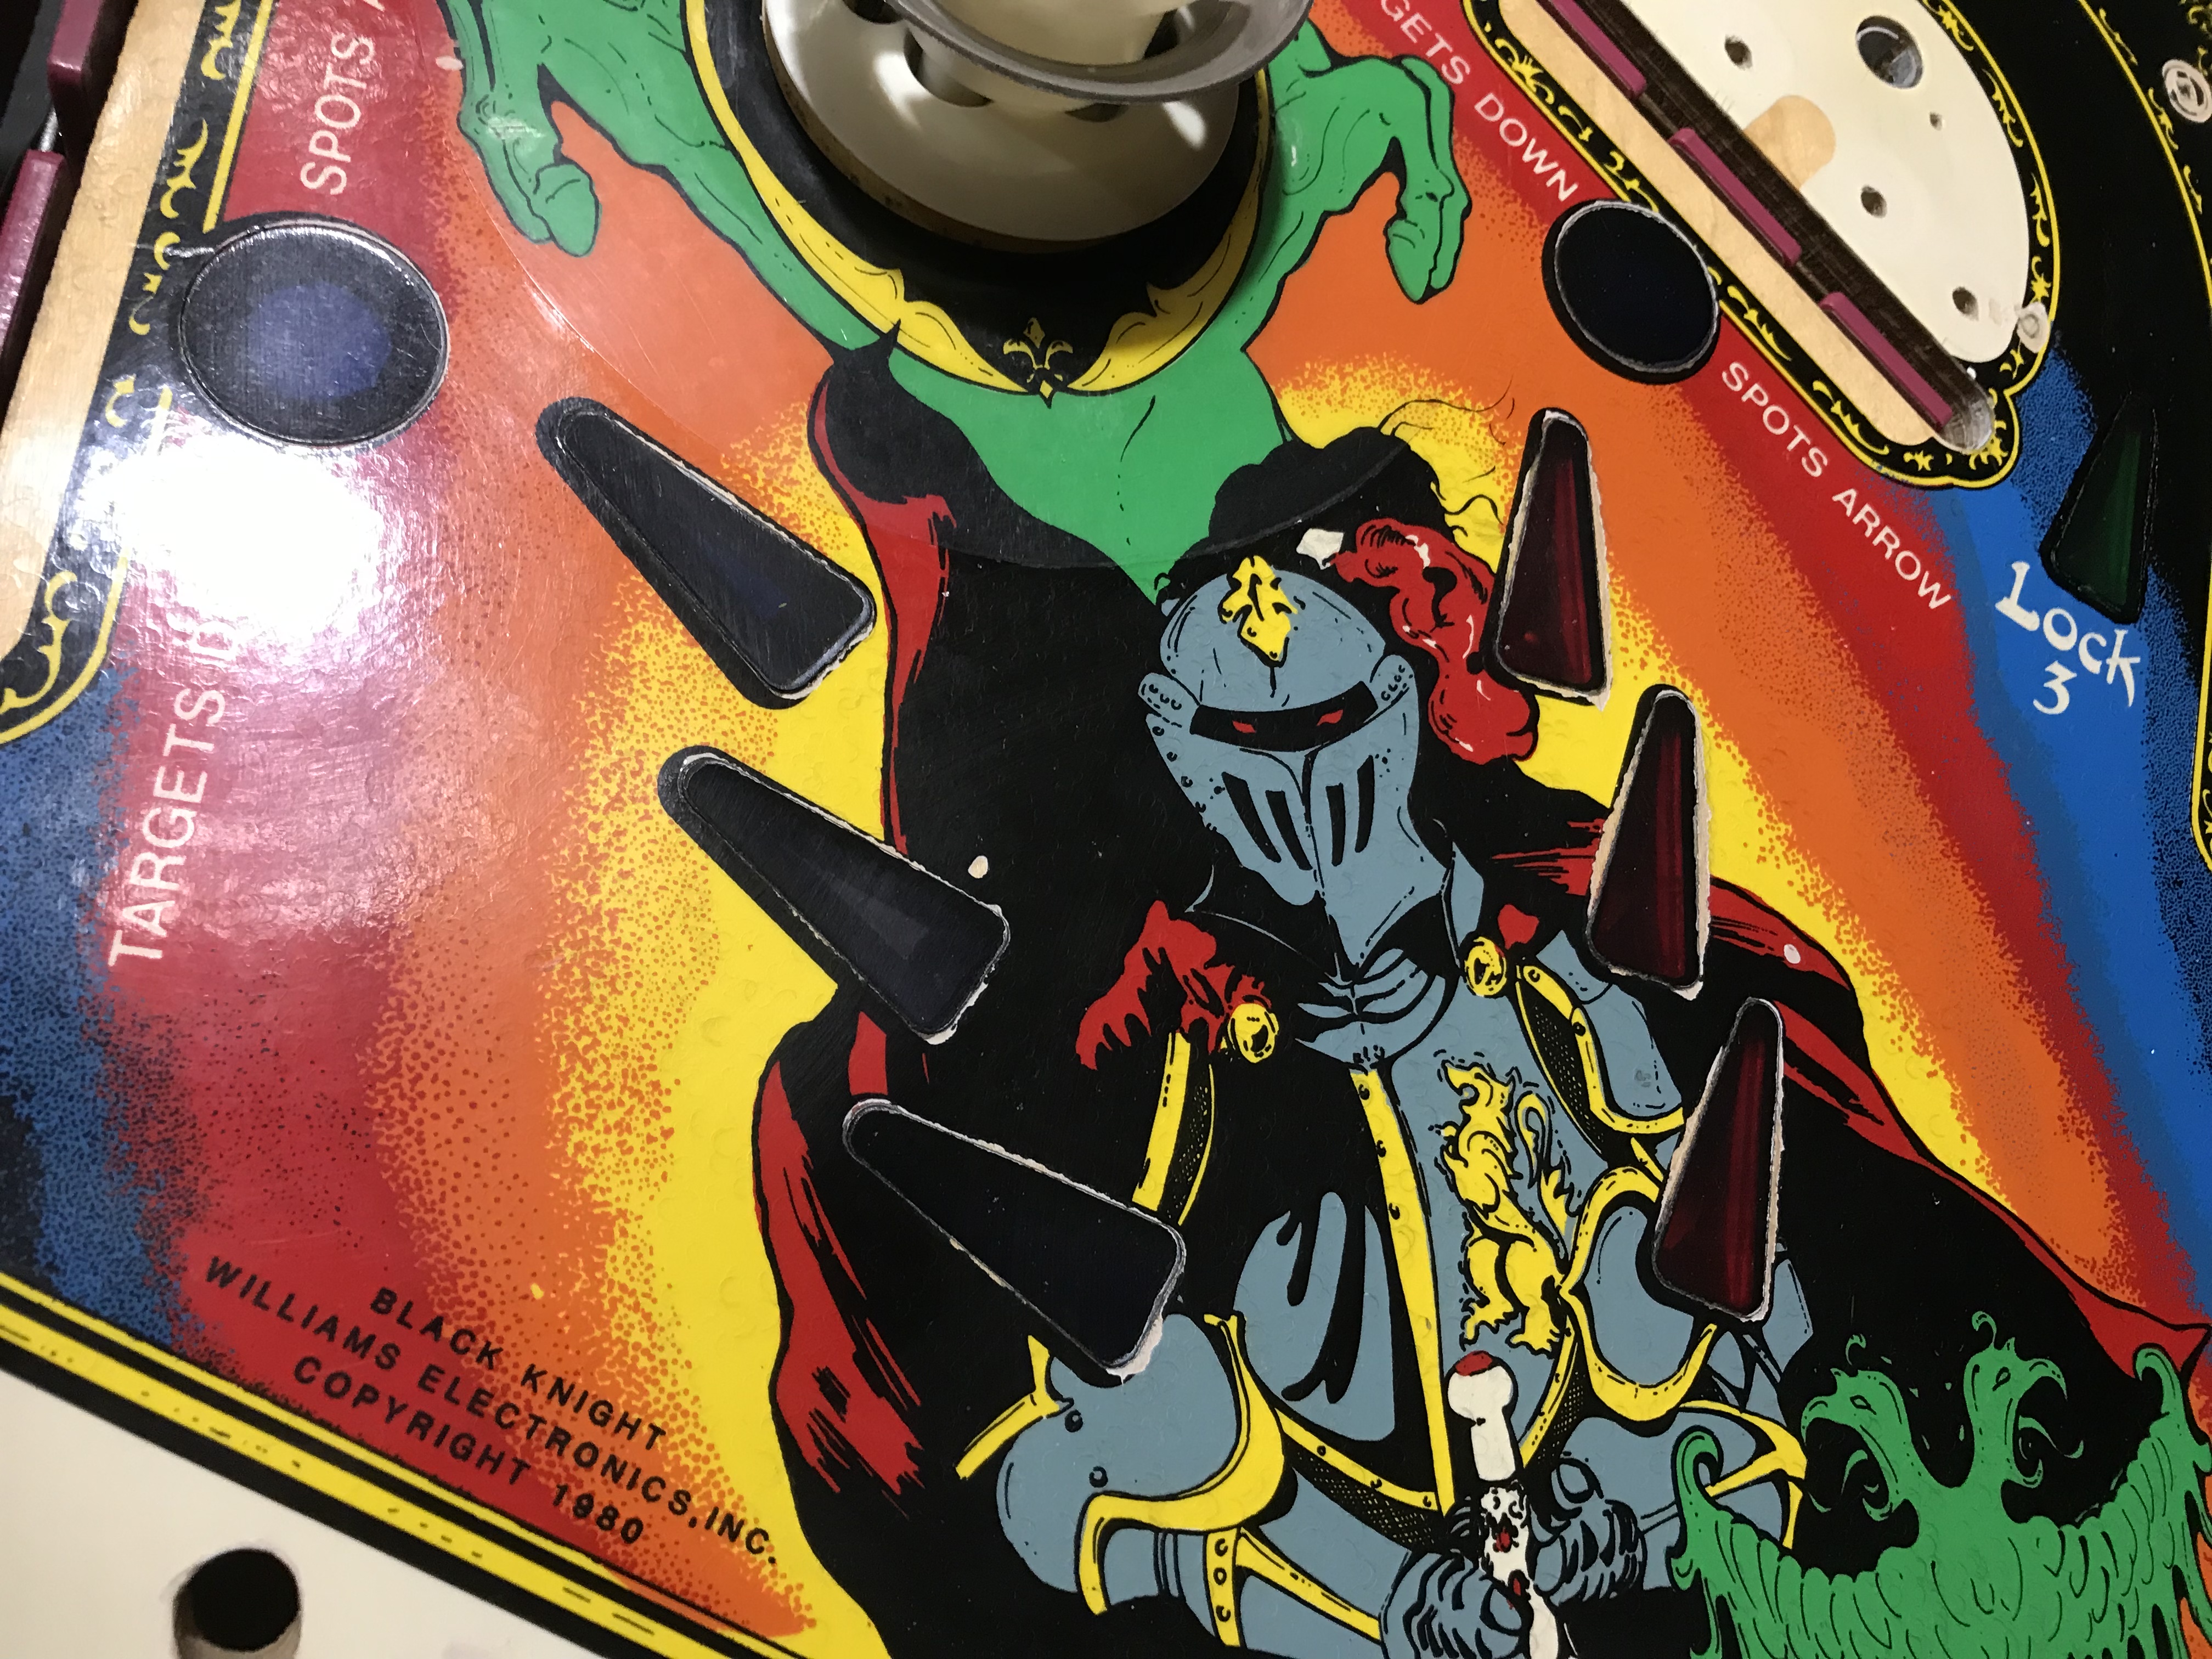
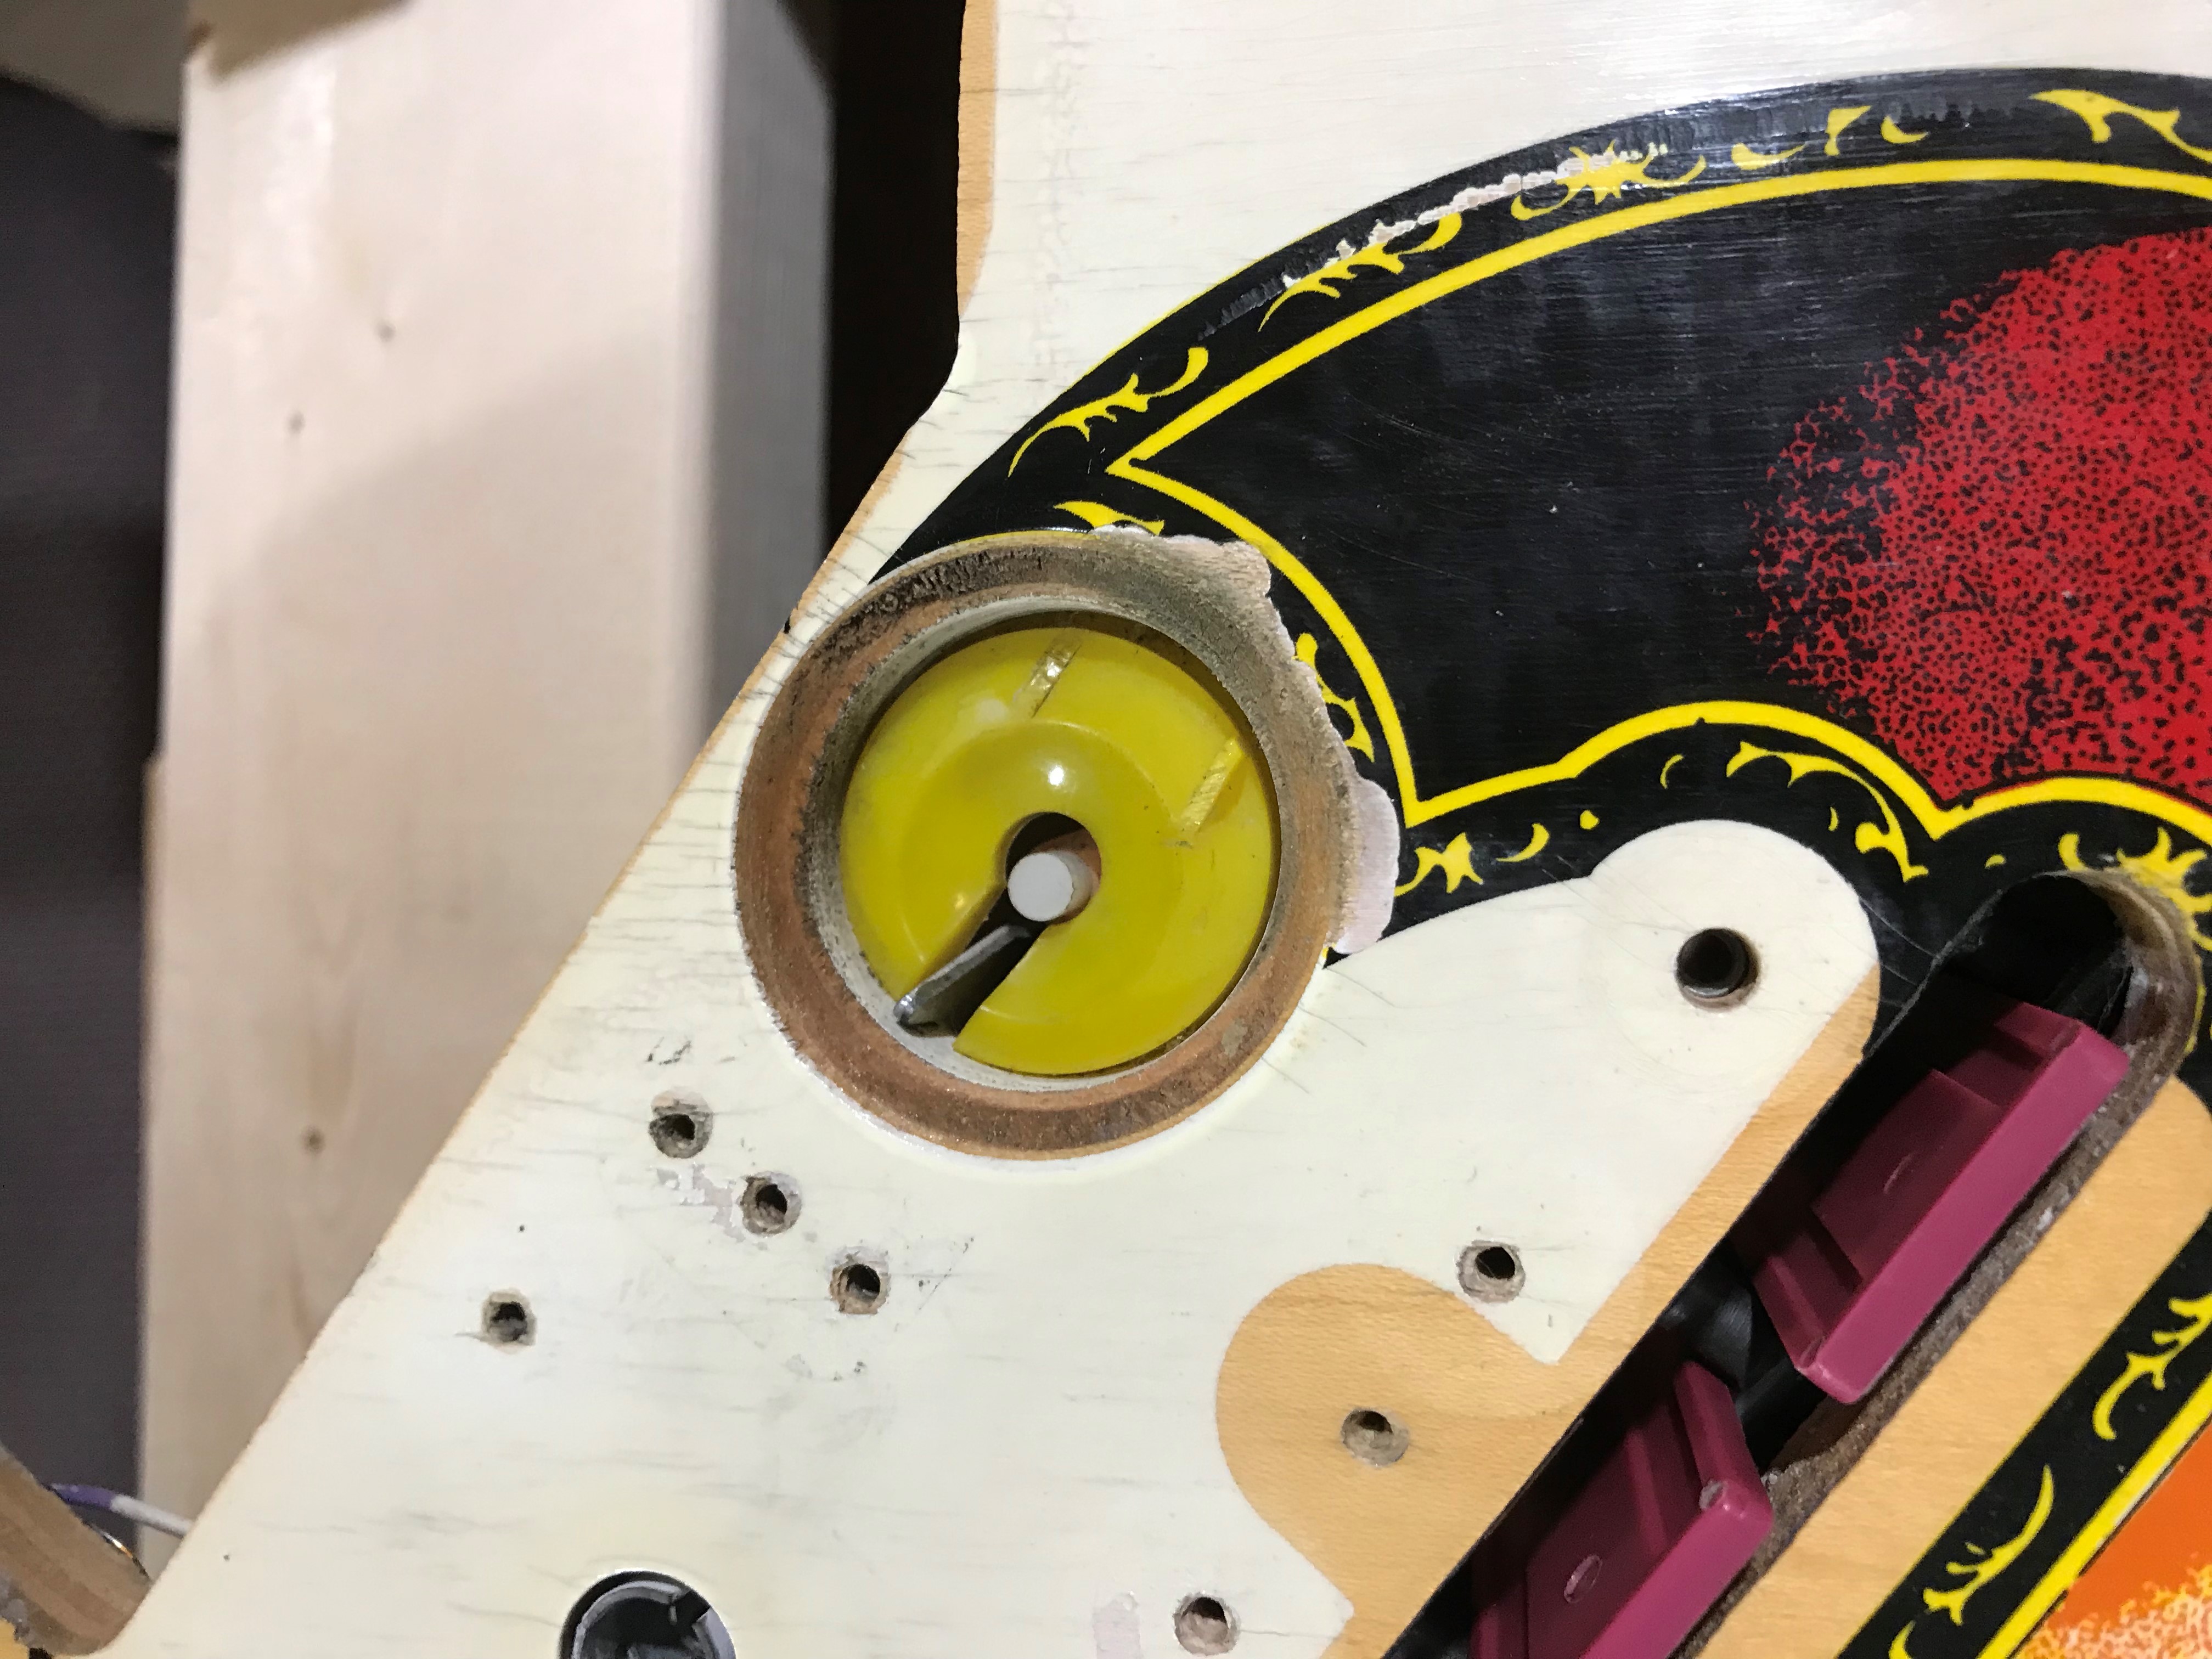
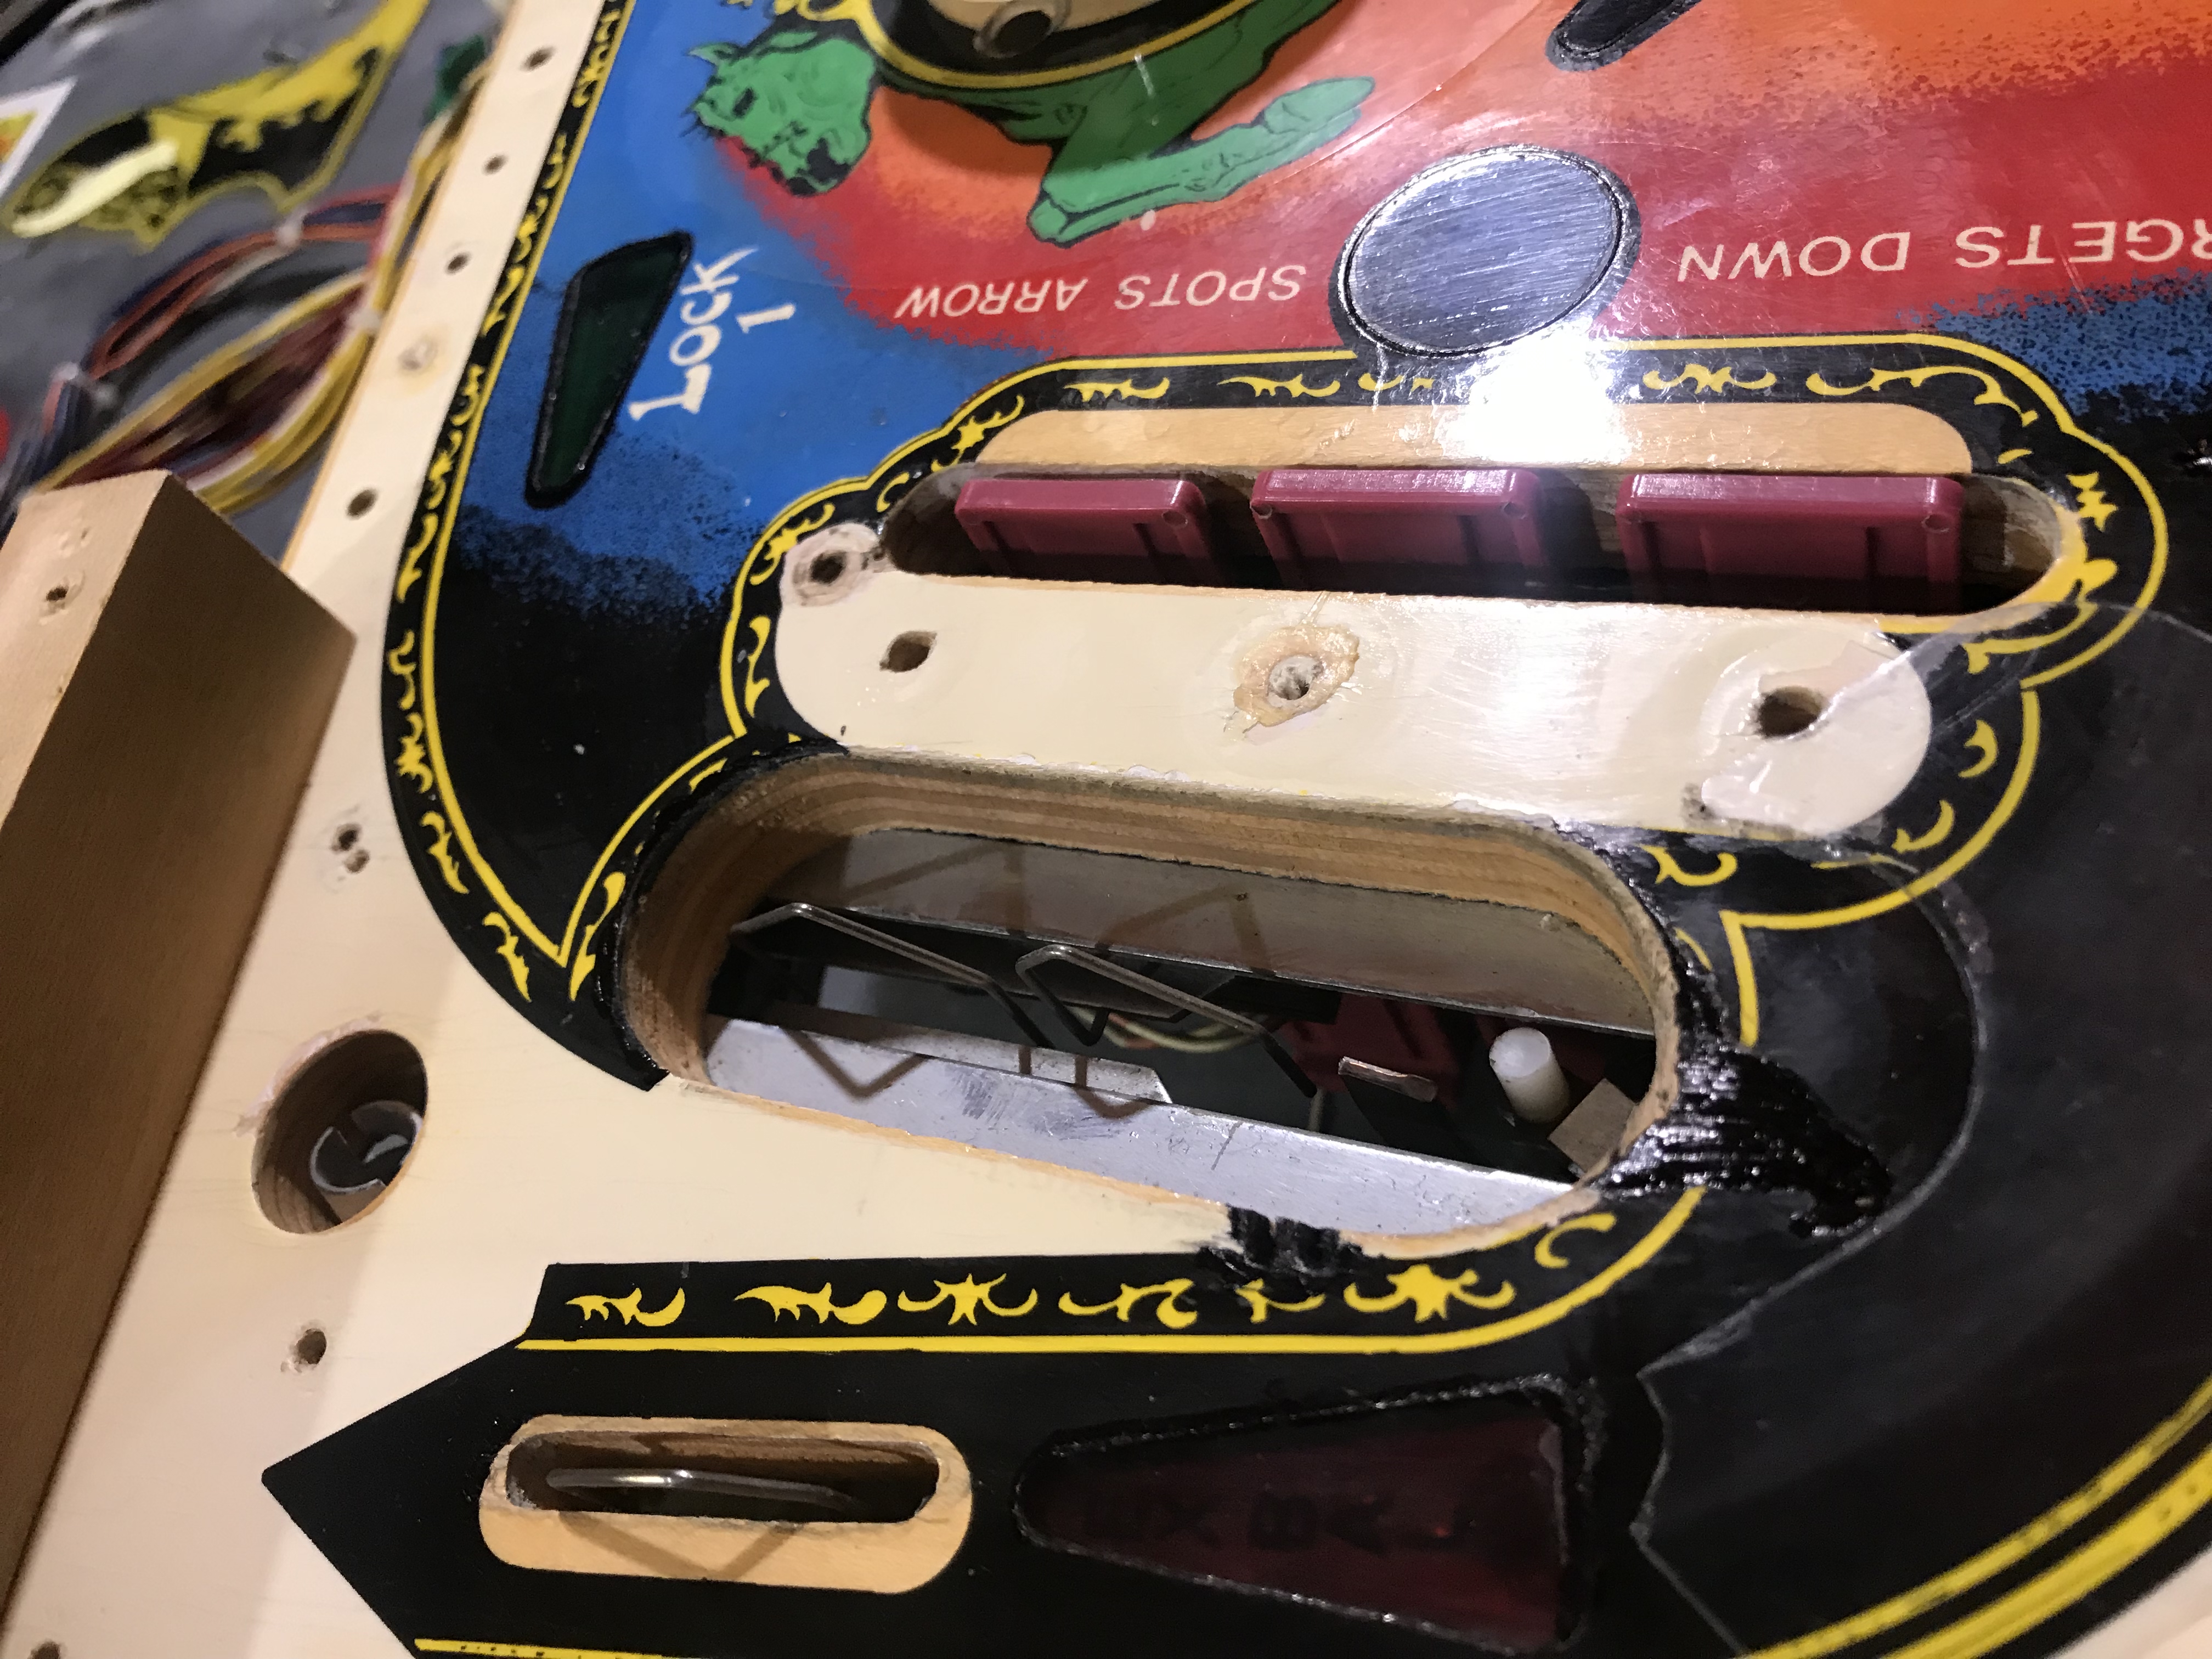
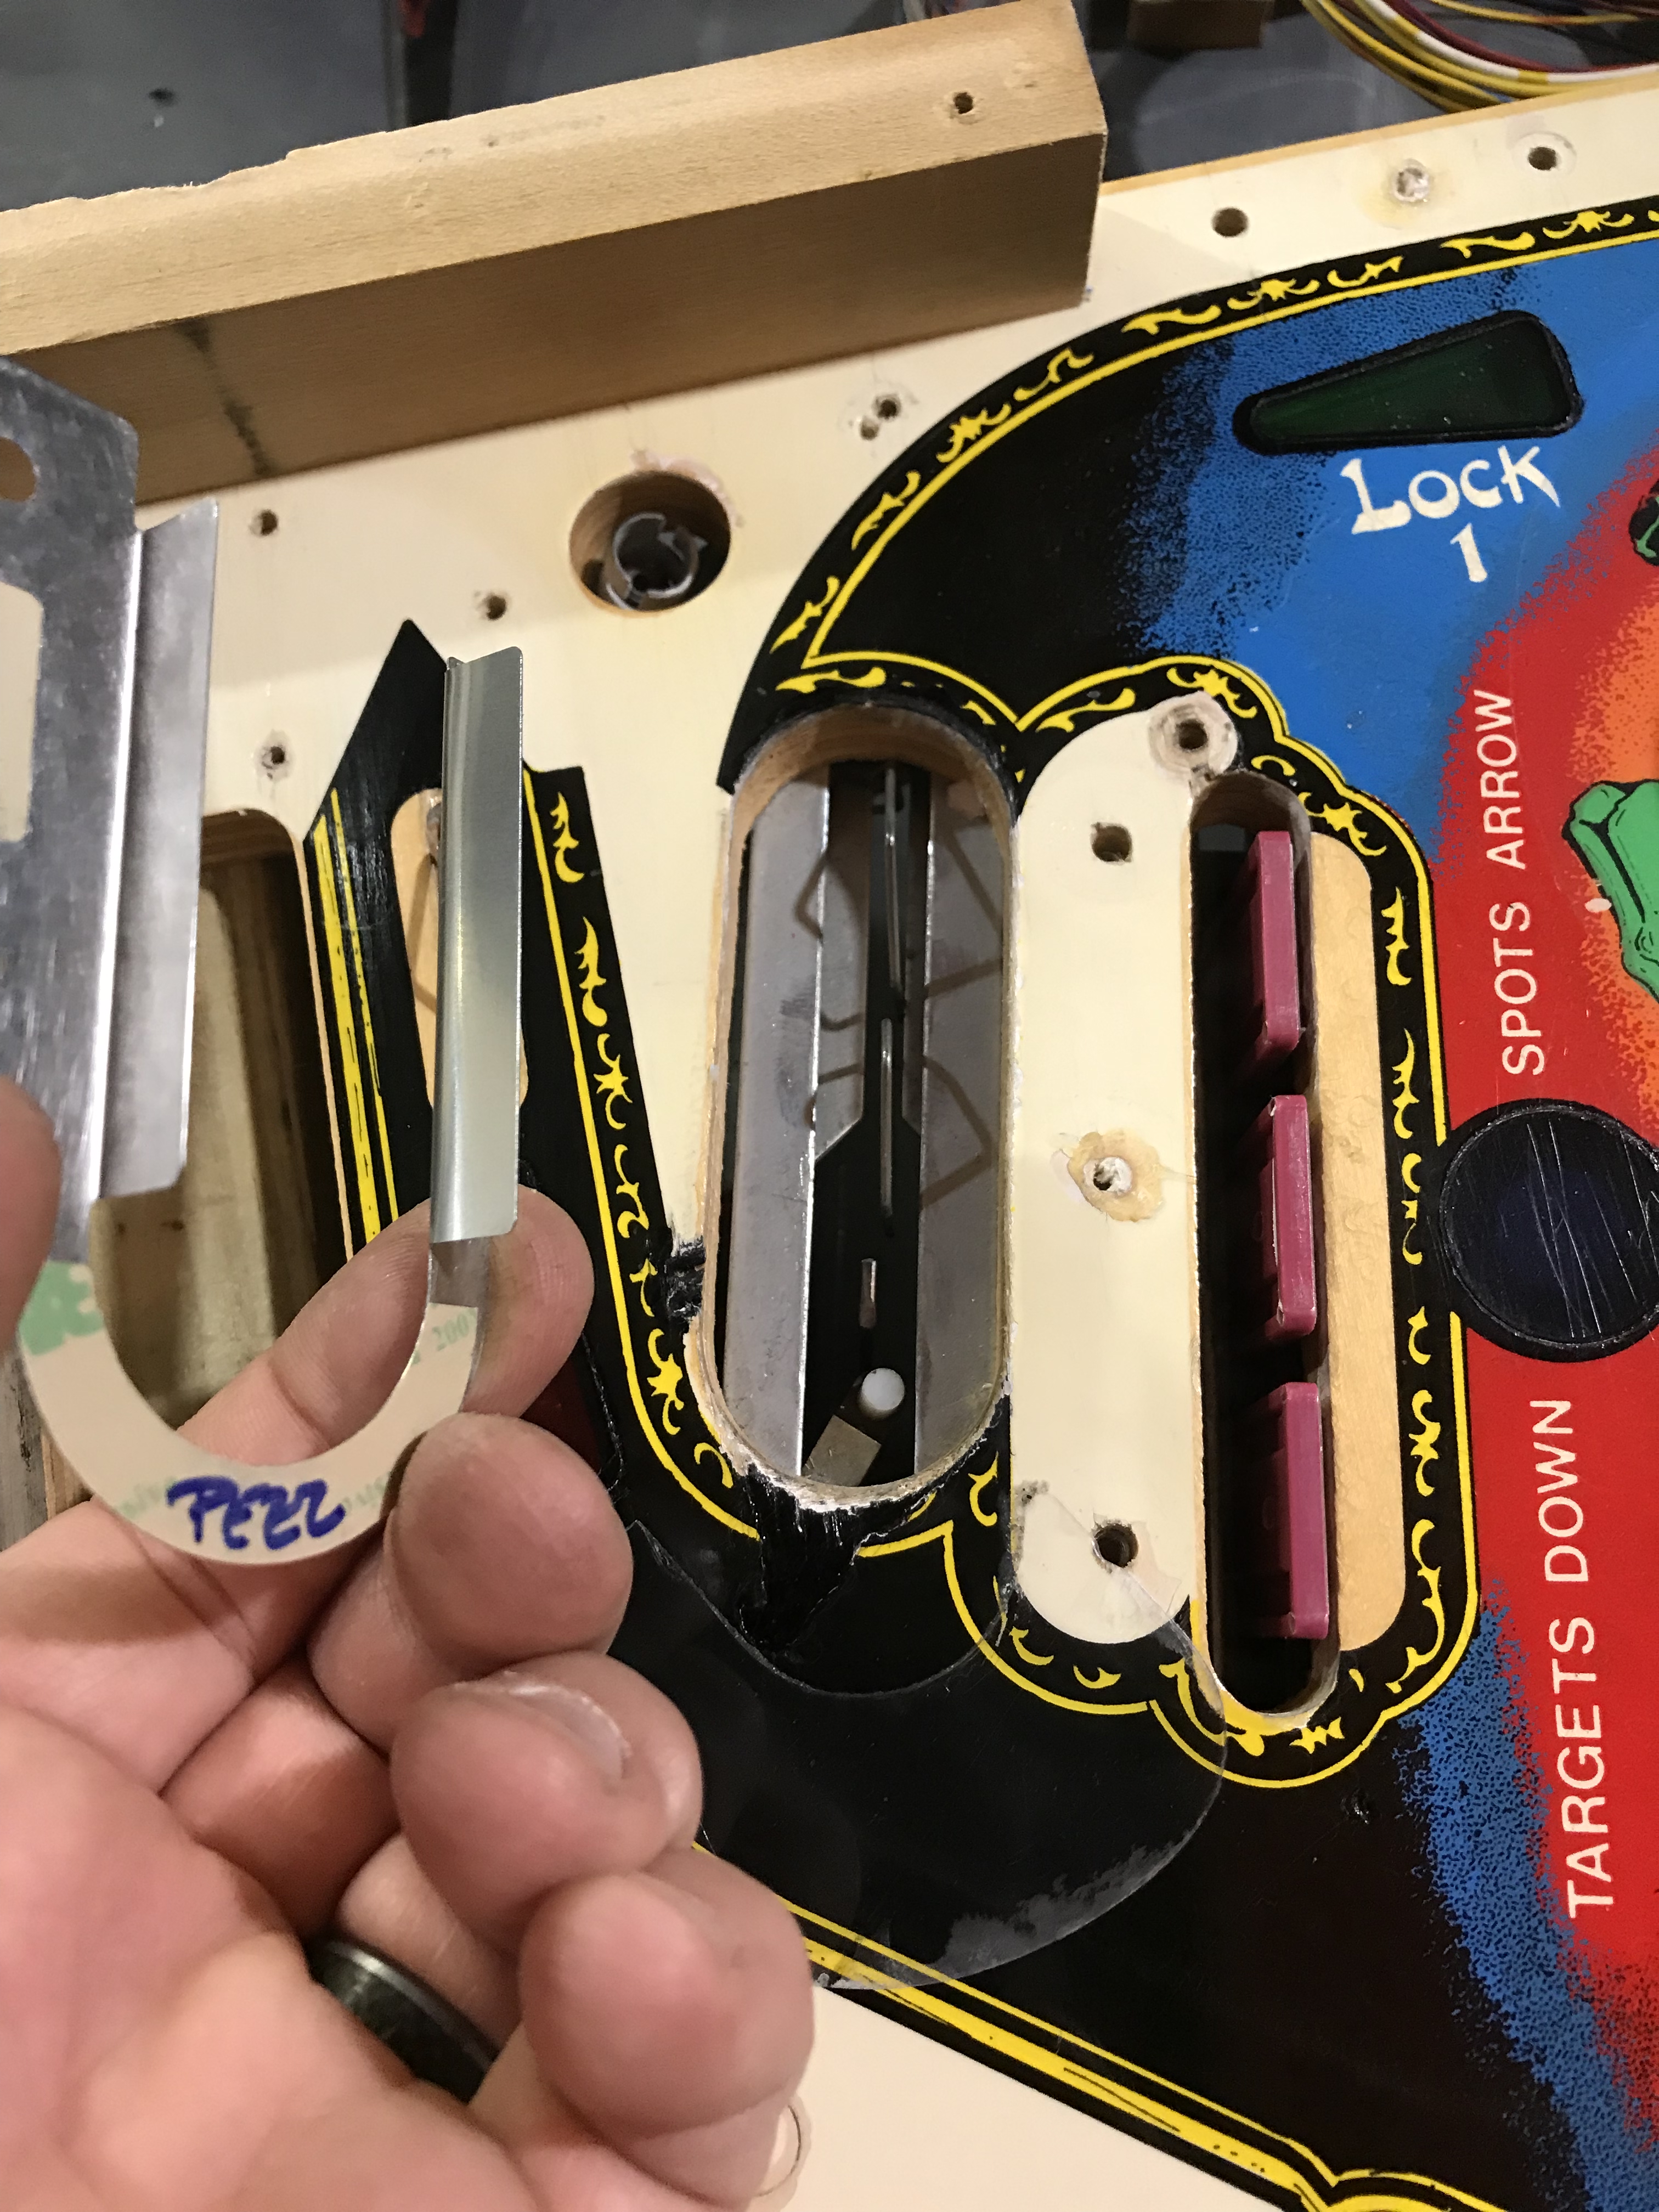
All of the ball kick-outs and ejects had some definite damage around them that I wanted to give some attention to. Here's the upper PF kick out all knicked up.
Here's another eject you can see is showing some wear.
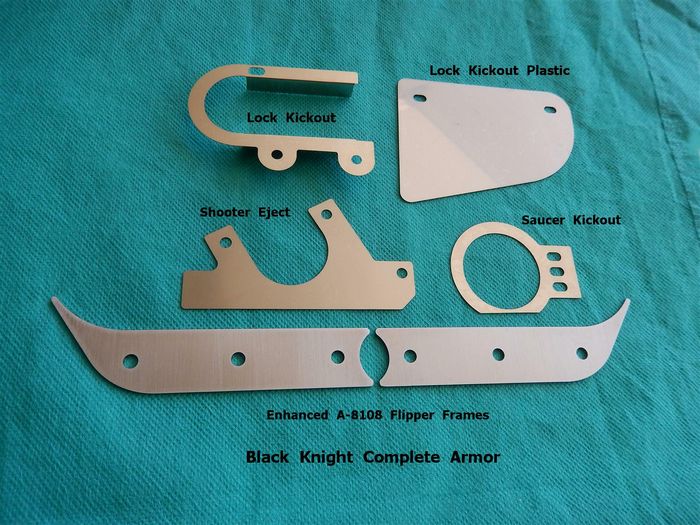
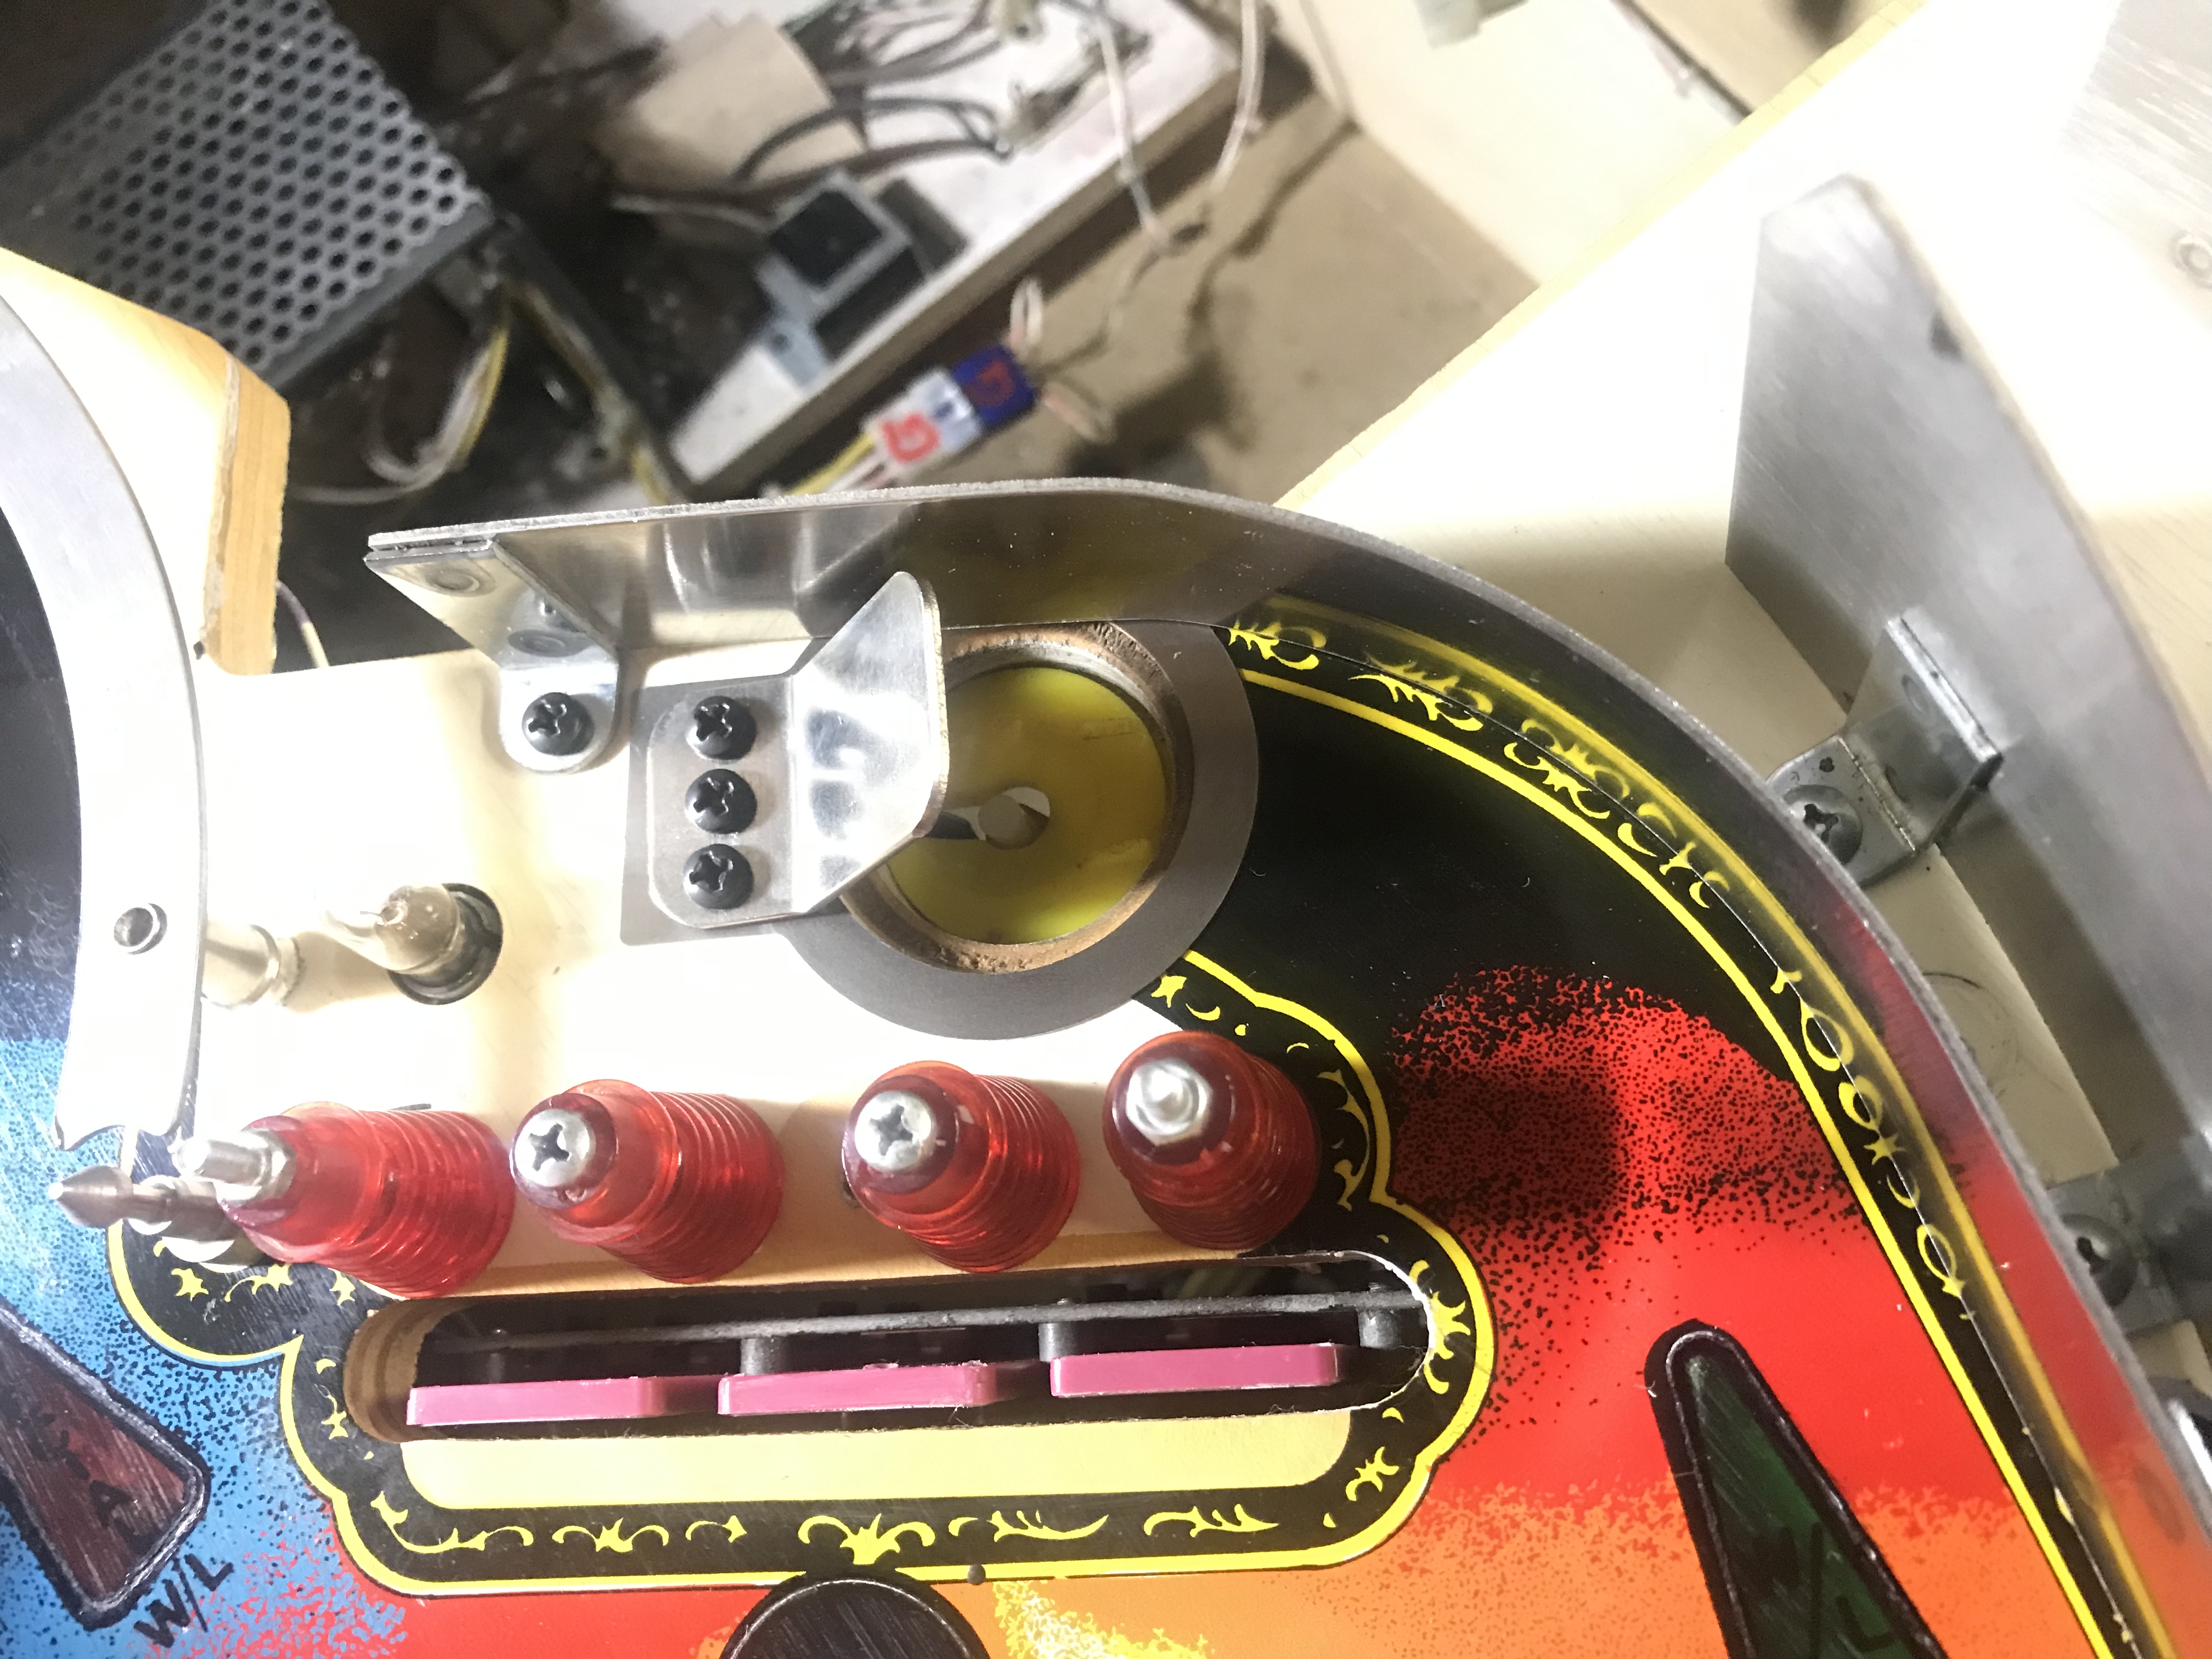
So we decided to invest in some Cliffy playfield protectors. I highly recommend these if you're ever restoring a machine!
The function of the other protectors above is pretty obvious, but the flipper frames I found interesting. This is what Cliffy has in their documentation as to their advantage:
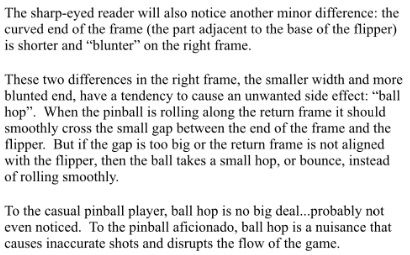
So it sounds like that should provide some quicker play!
The new flipper frames do not come with any mounting feet.
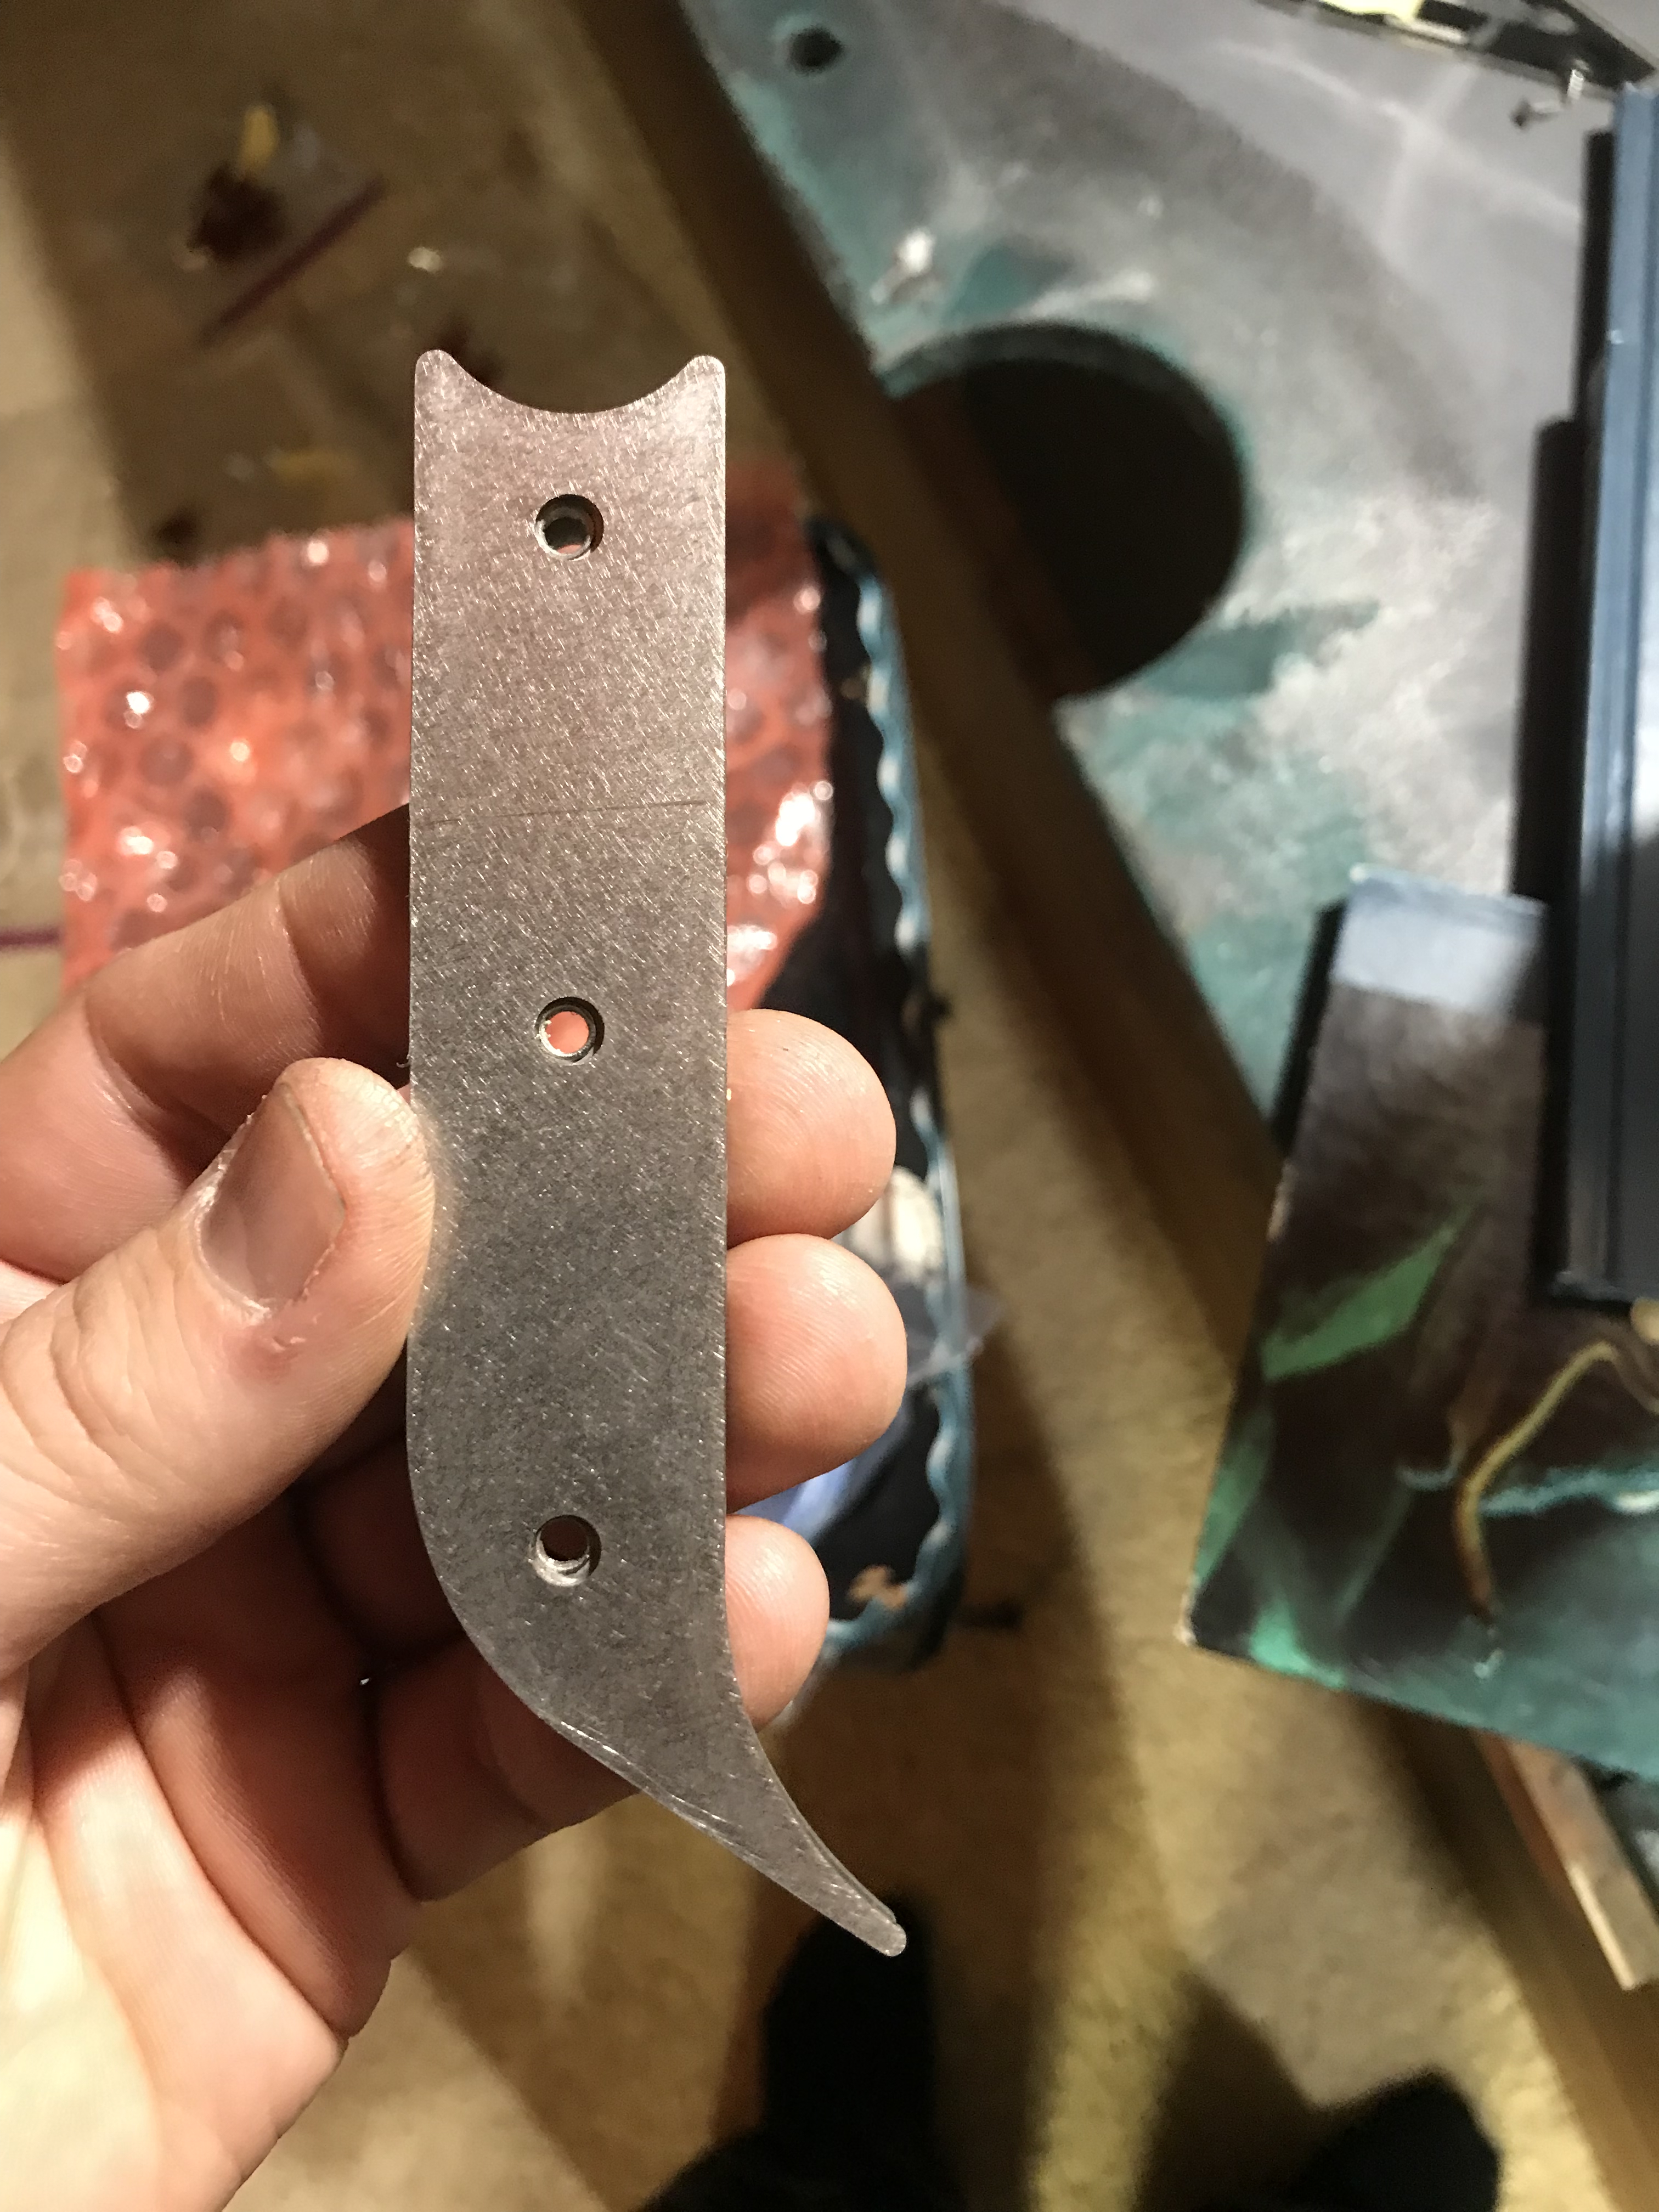
The old ones had attached bell spacers (feet).
I used a demel to grind off the tops of the bell spacers (feet) so that they popped off and could be used with the new parts.
Here you can see that you just need to set the bell spacers in place first.
Then you just screw them in like normal. The screws are so tight that it doesn't really matter that the feet are truly attached to the metal on the new parts.
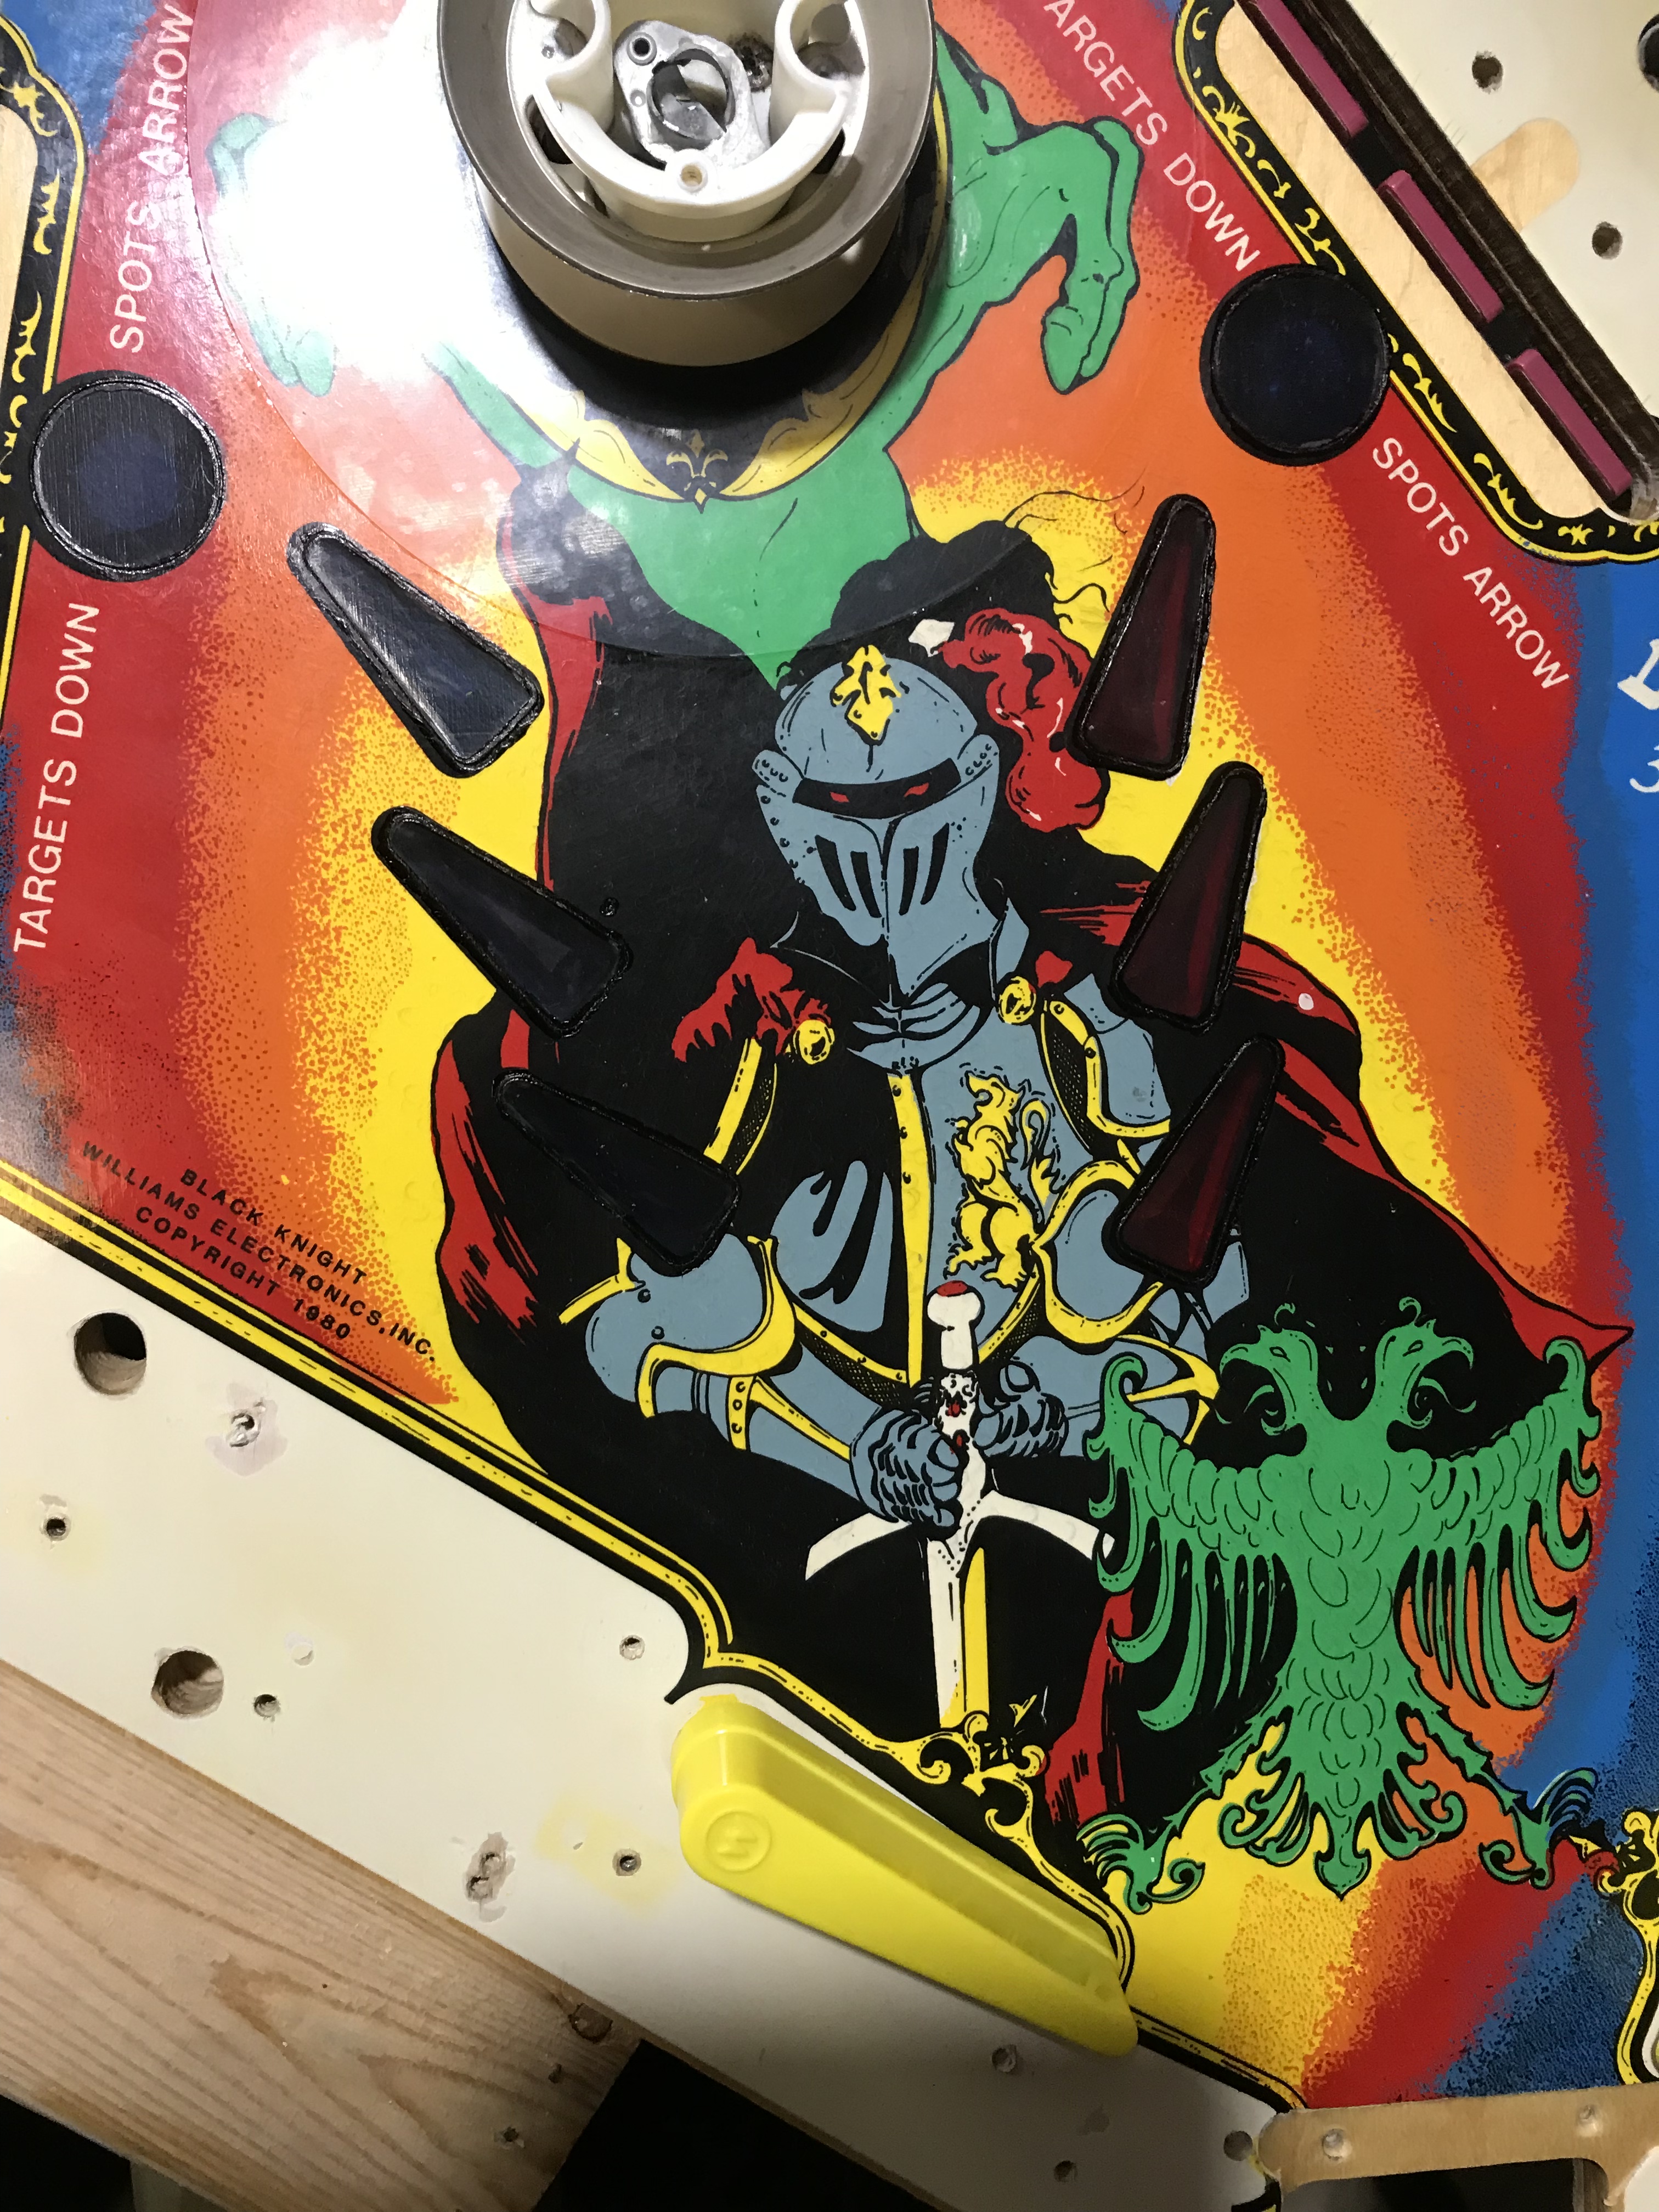
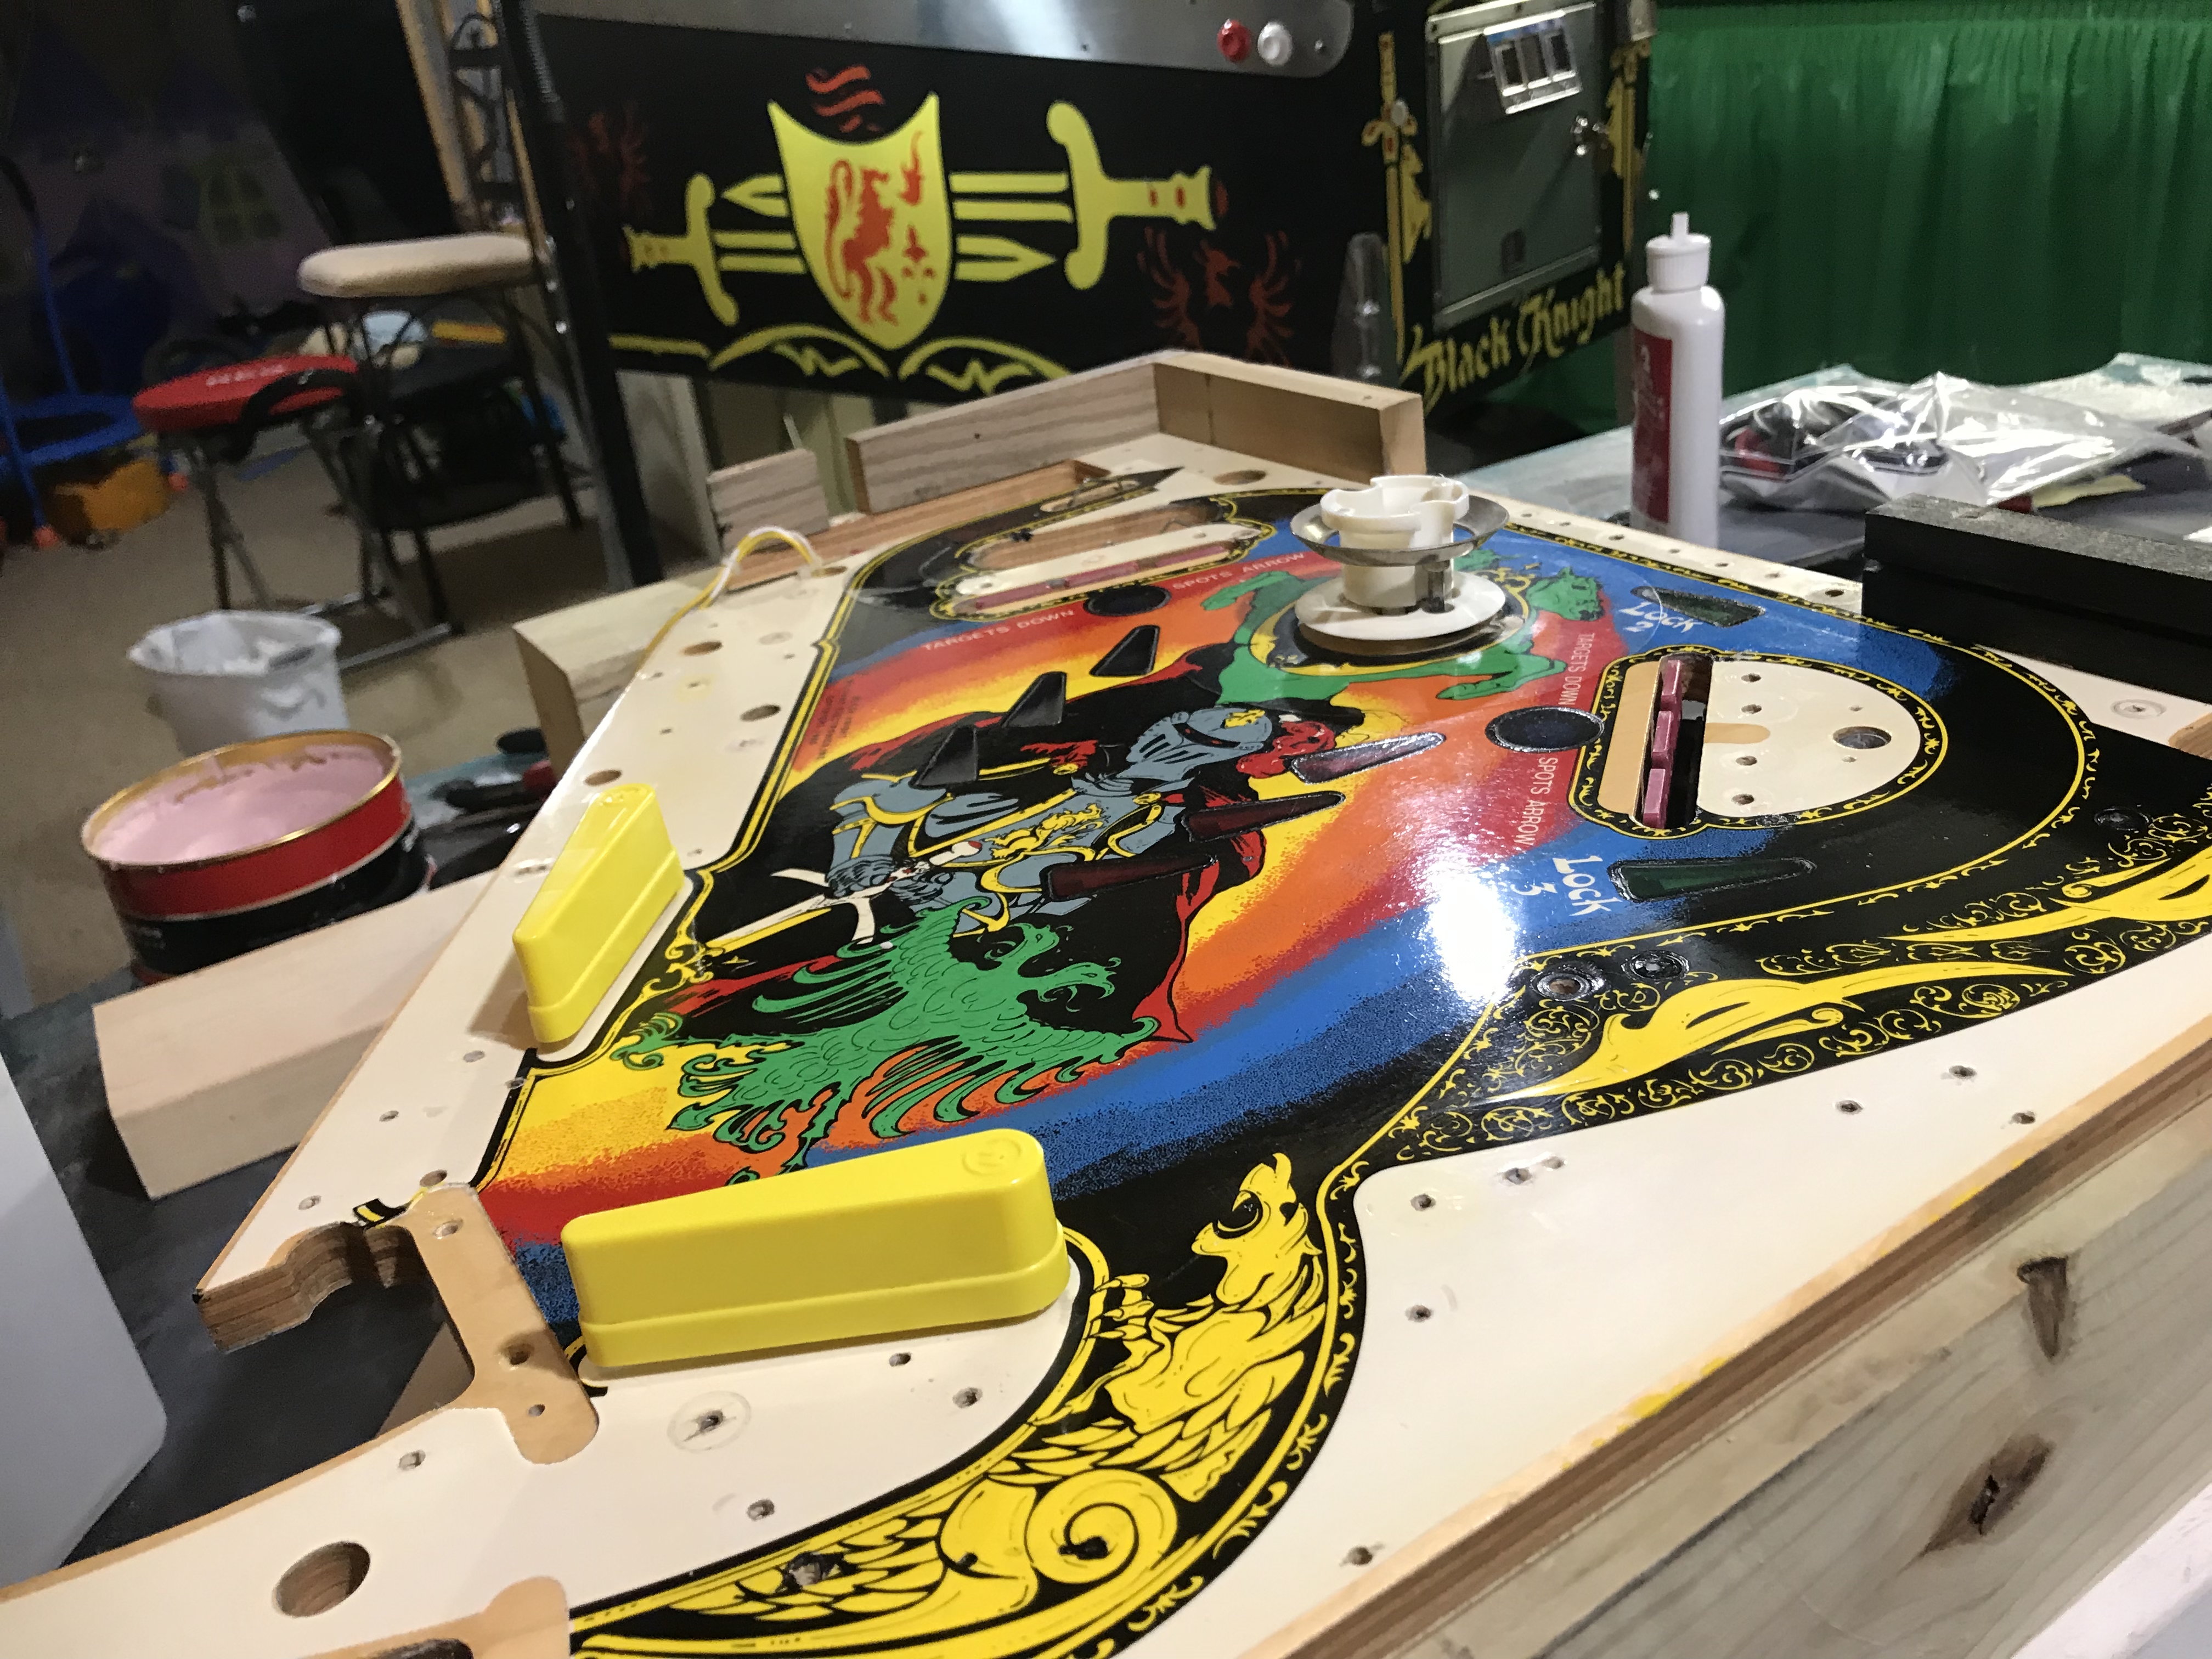
Here's the before on the upper PF kick out again. Slightly touched up the paint, even though most of it will be covered up anyway.
Here's the new protector.
And here you can see it in place, much better!
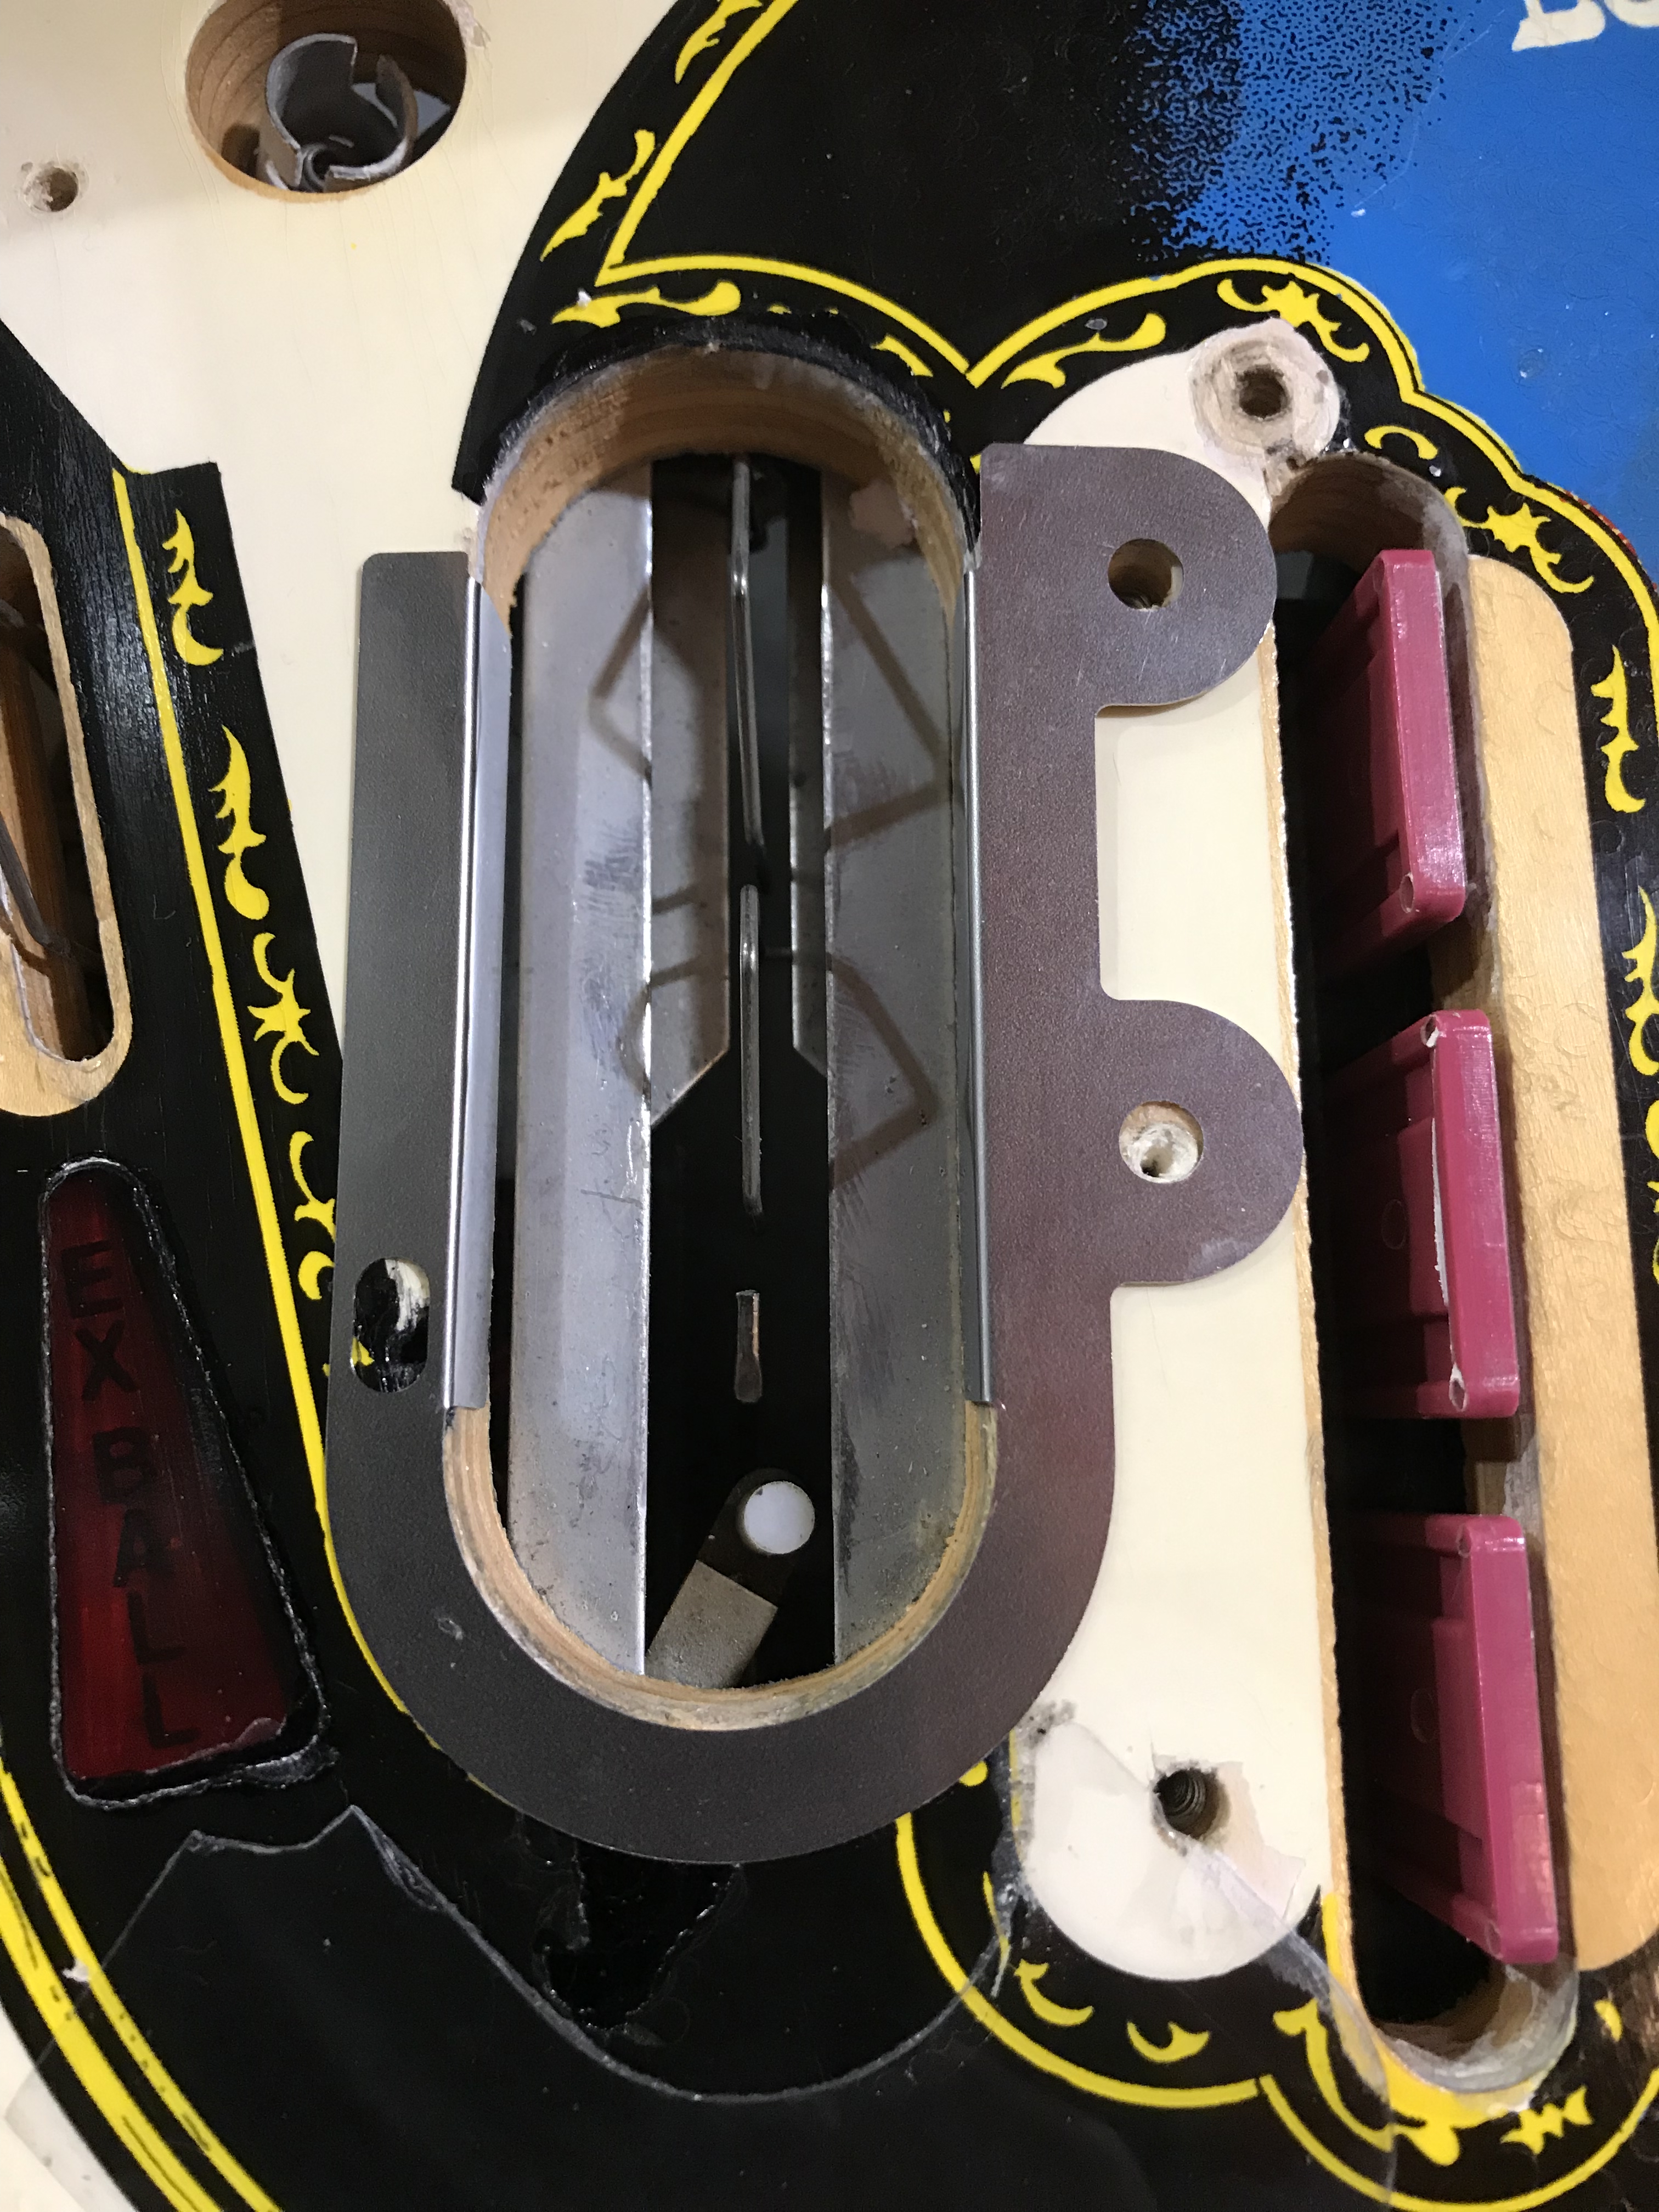
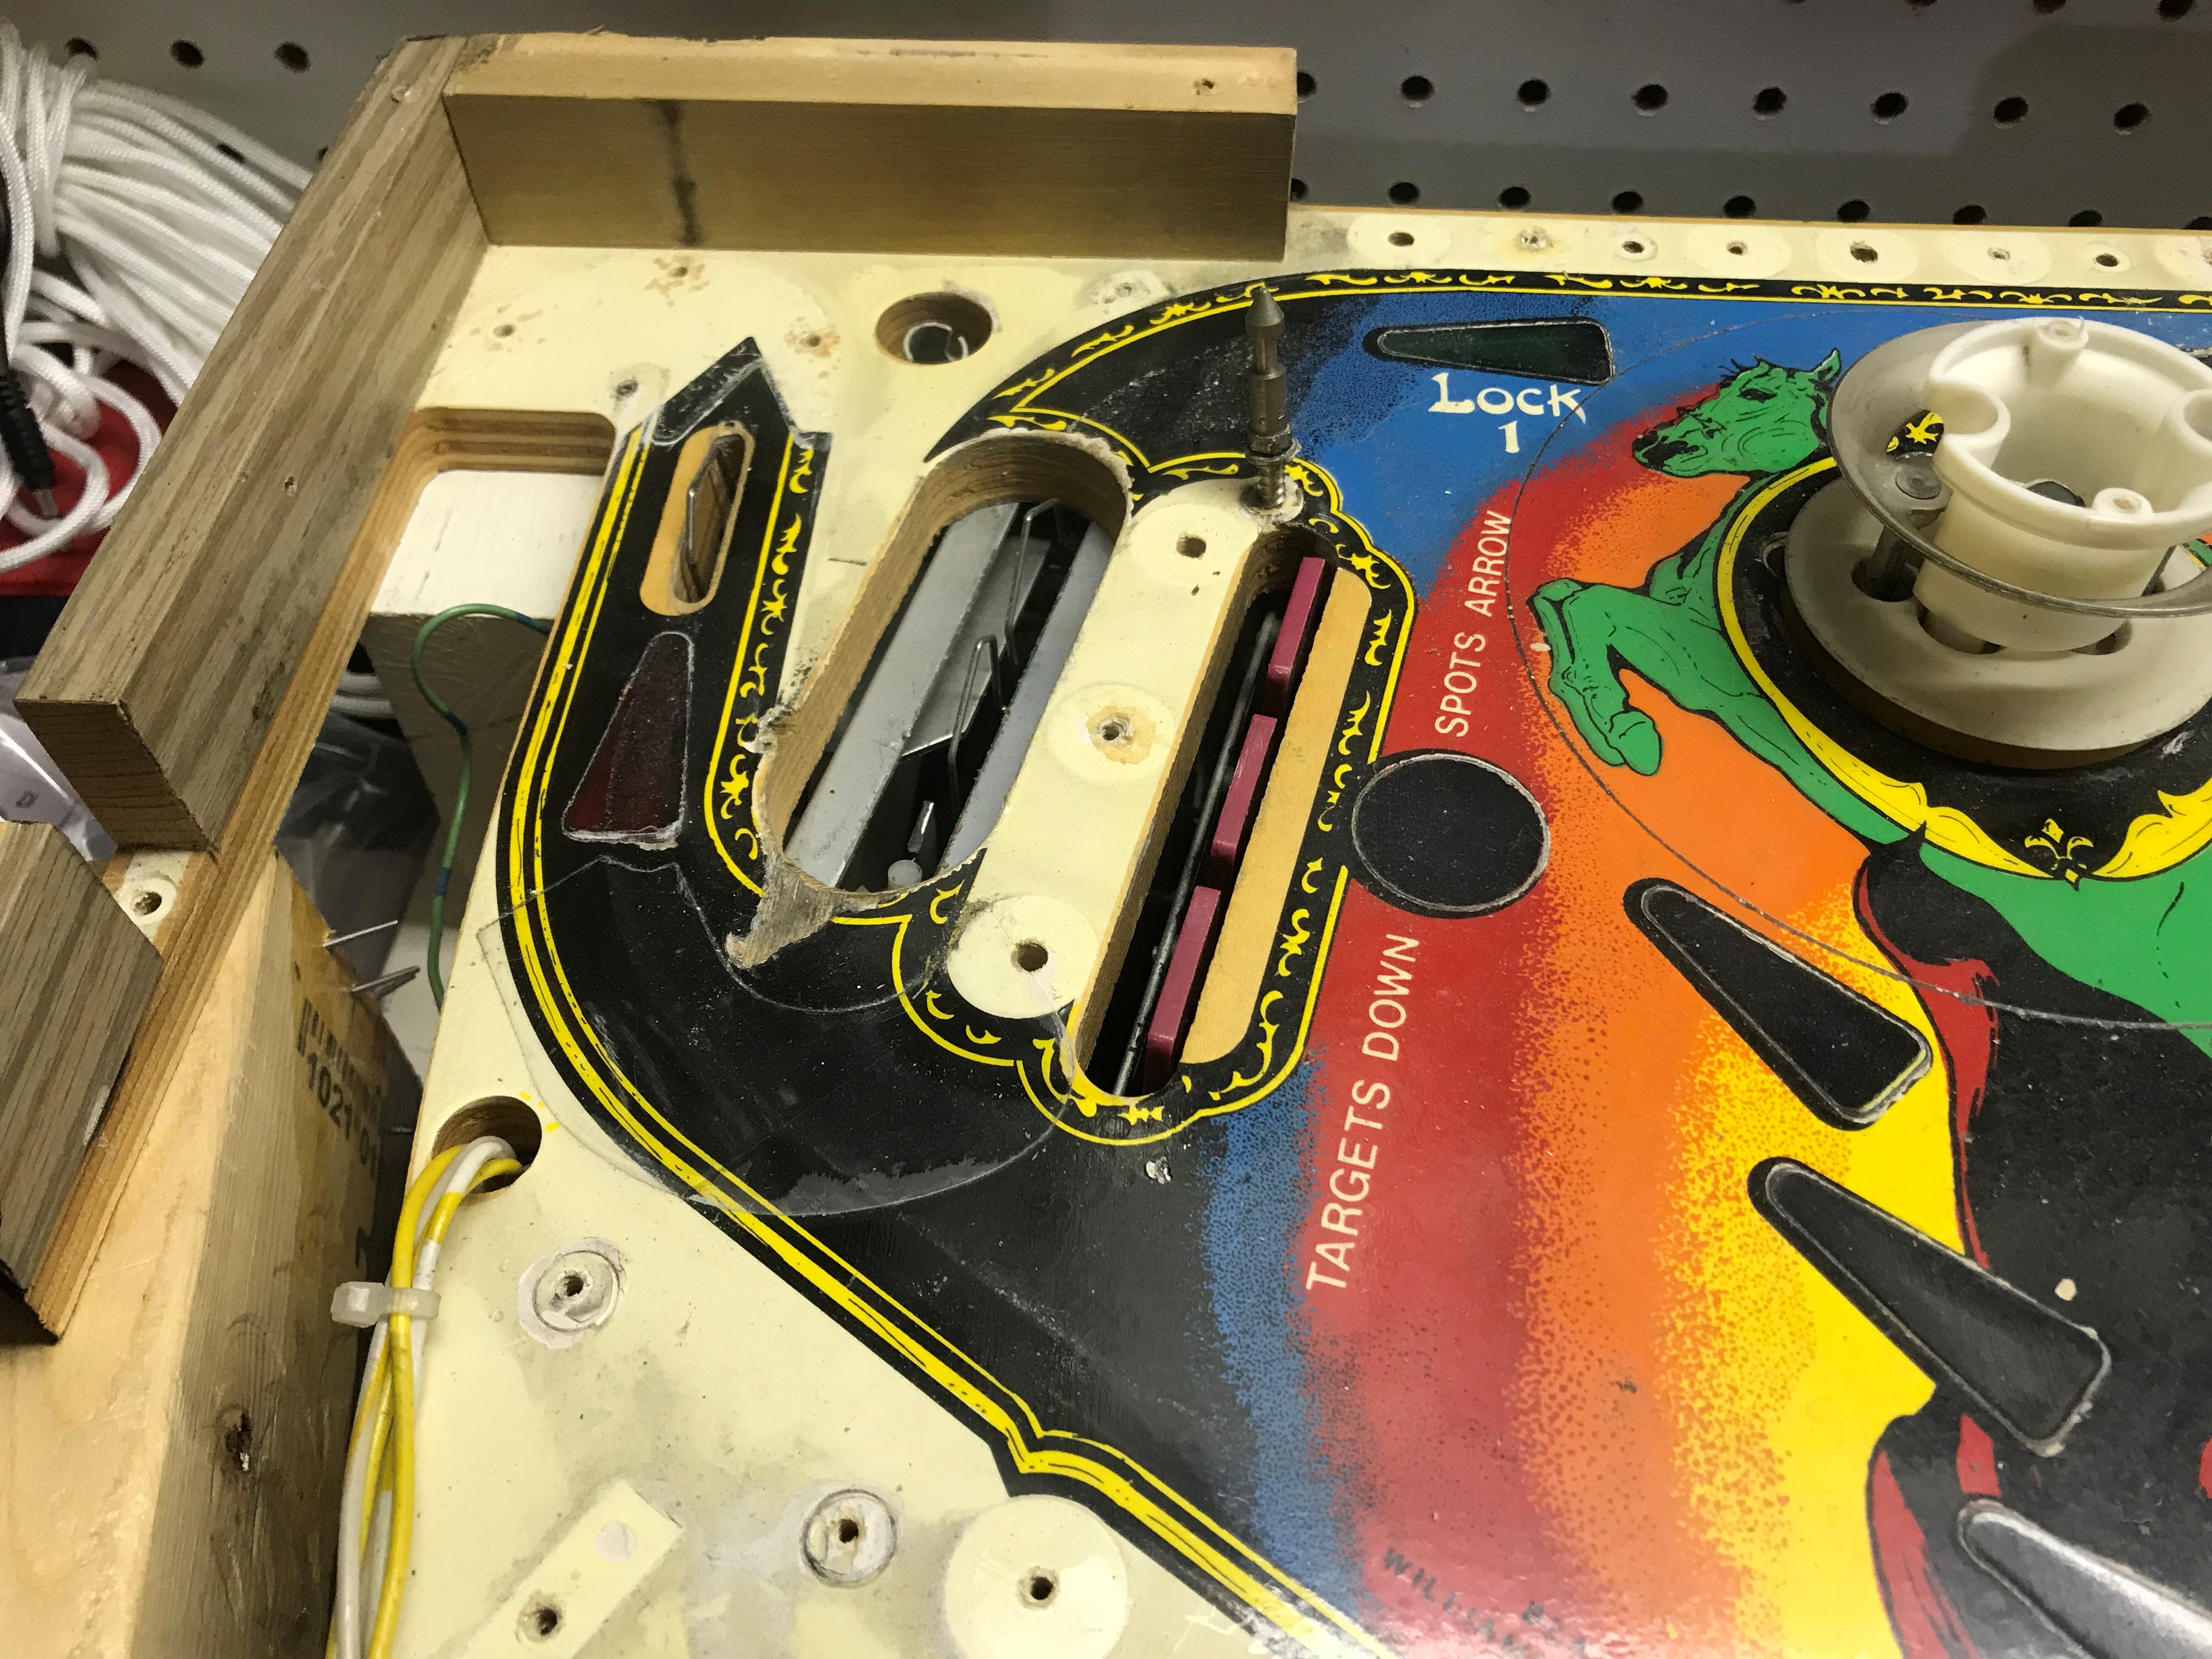
Here's the ball launcher kick out below. You can see it's pretty beat up too.
And here's the new protector in place!
And here's this one, paint touched up, but again it's going to be mostly covered up anyway.
Getting the new protectors ready:

And here it is in place as well.
This one protects the plexiglass art that stacks on top of this kick out.

There was a small plate there before to do this function, but the new piece is a much more exact size, and is more much rigid so it should protect it better. The old plate was not originally included by the manufacturer, and most people don't have it. But after people started to complain about cracked artwork, they released a service bulletin about the issue and this piece was added later by some. The old one wasn't perfect either as they had sharp corners and could push up into the plastic and crack it anyway.

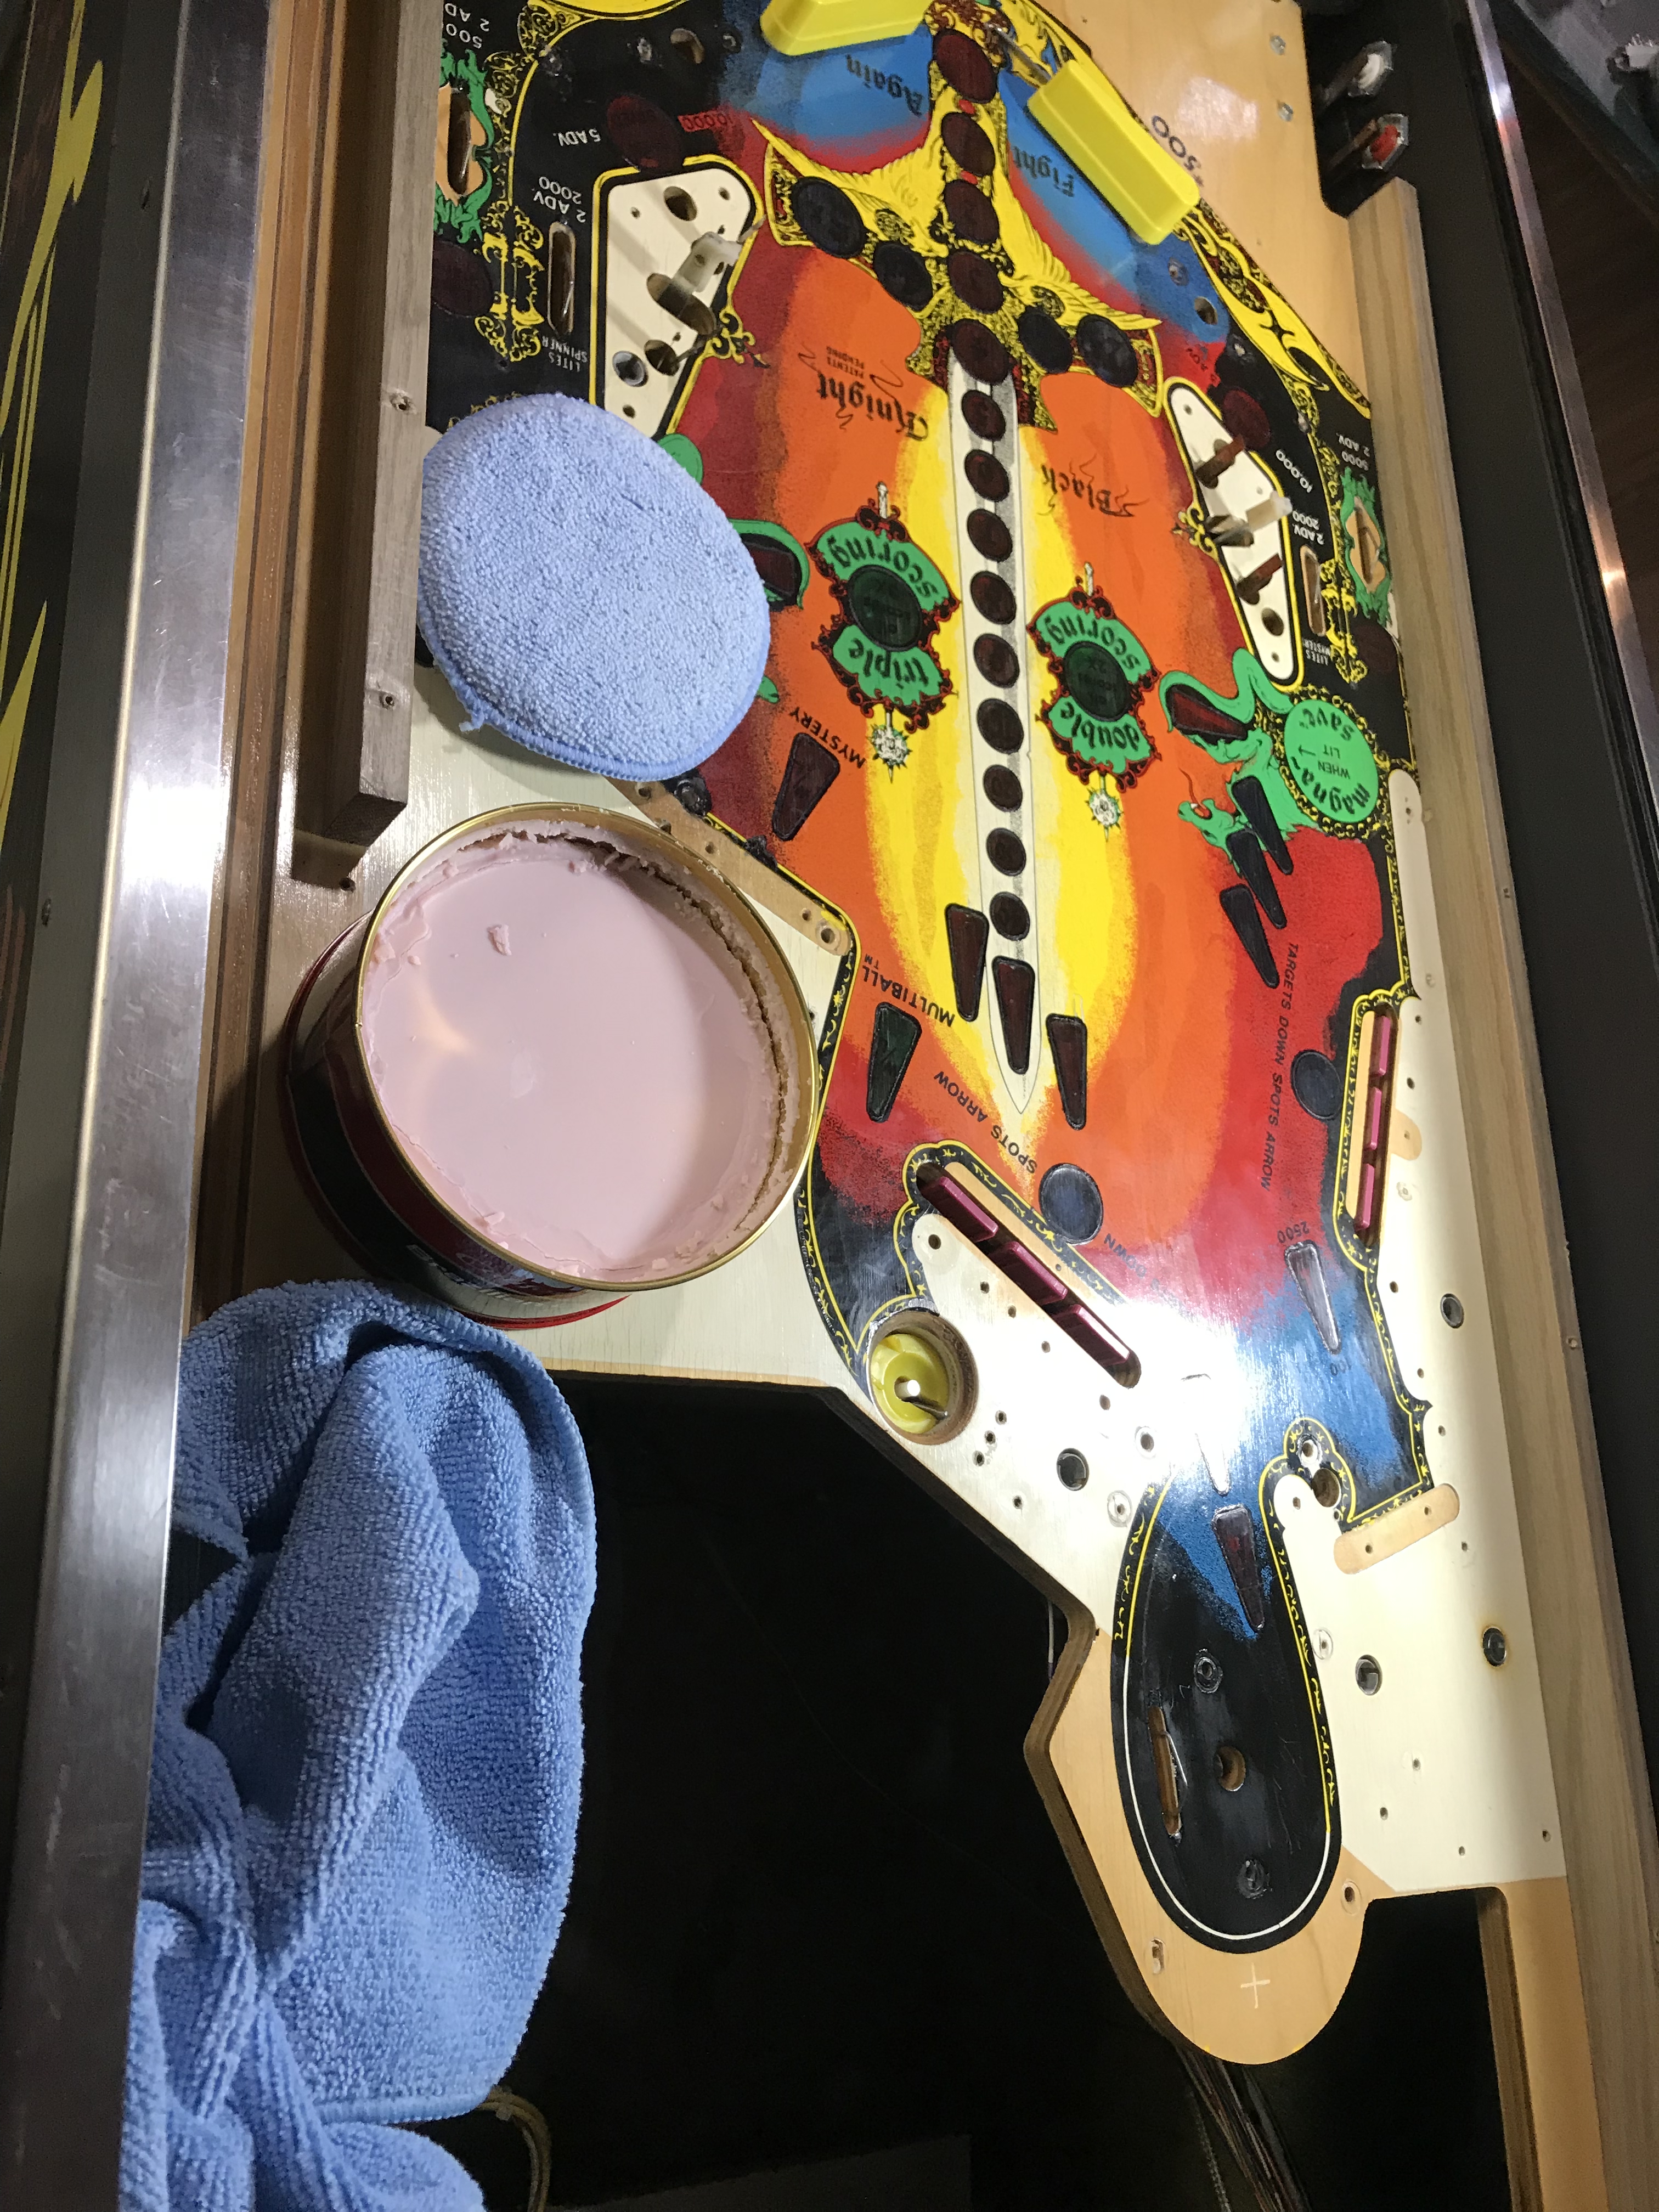
Now it was time to finally wax the playfield. I used Mothers carnuba wax.
Even got to wear my super stylish maginfying headset during this process. It's ok to be jealous.
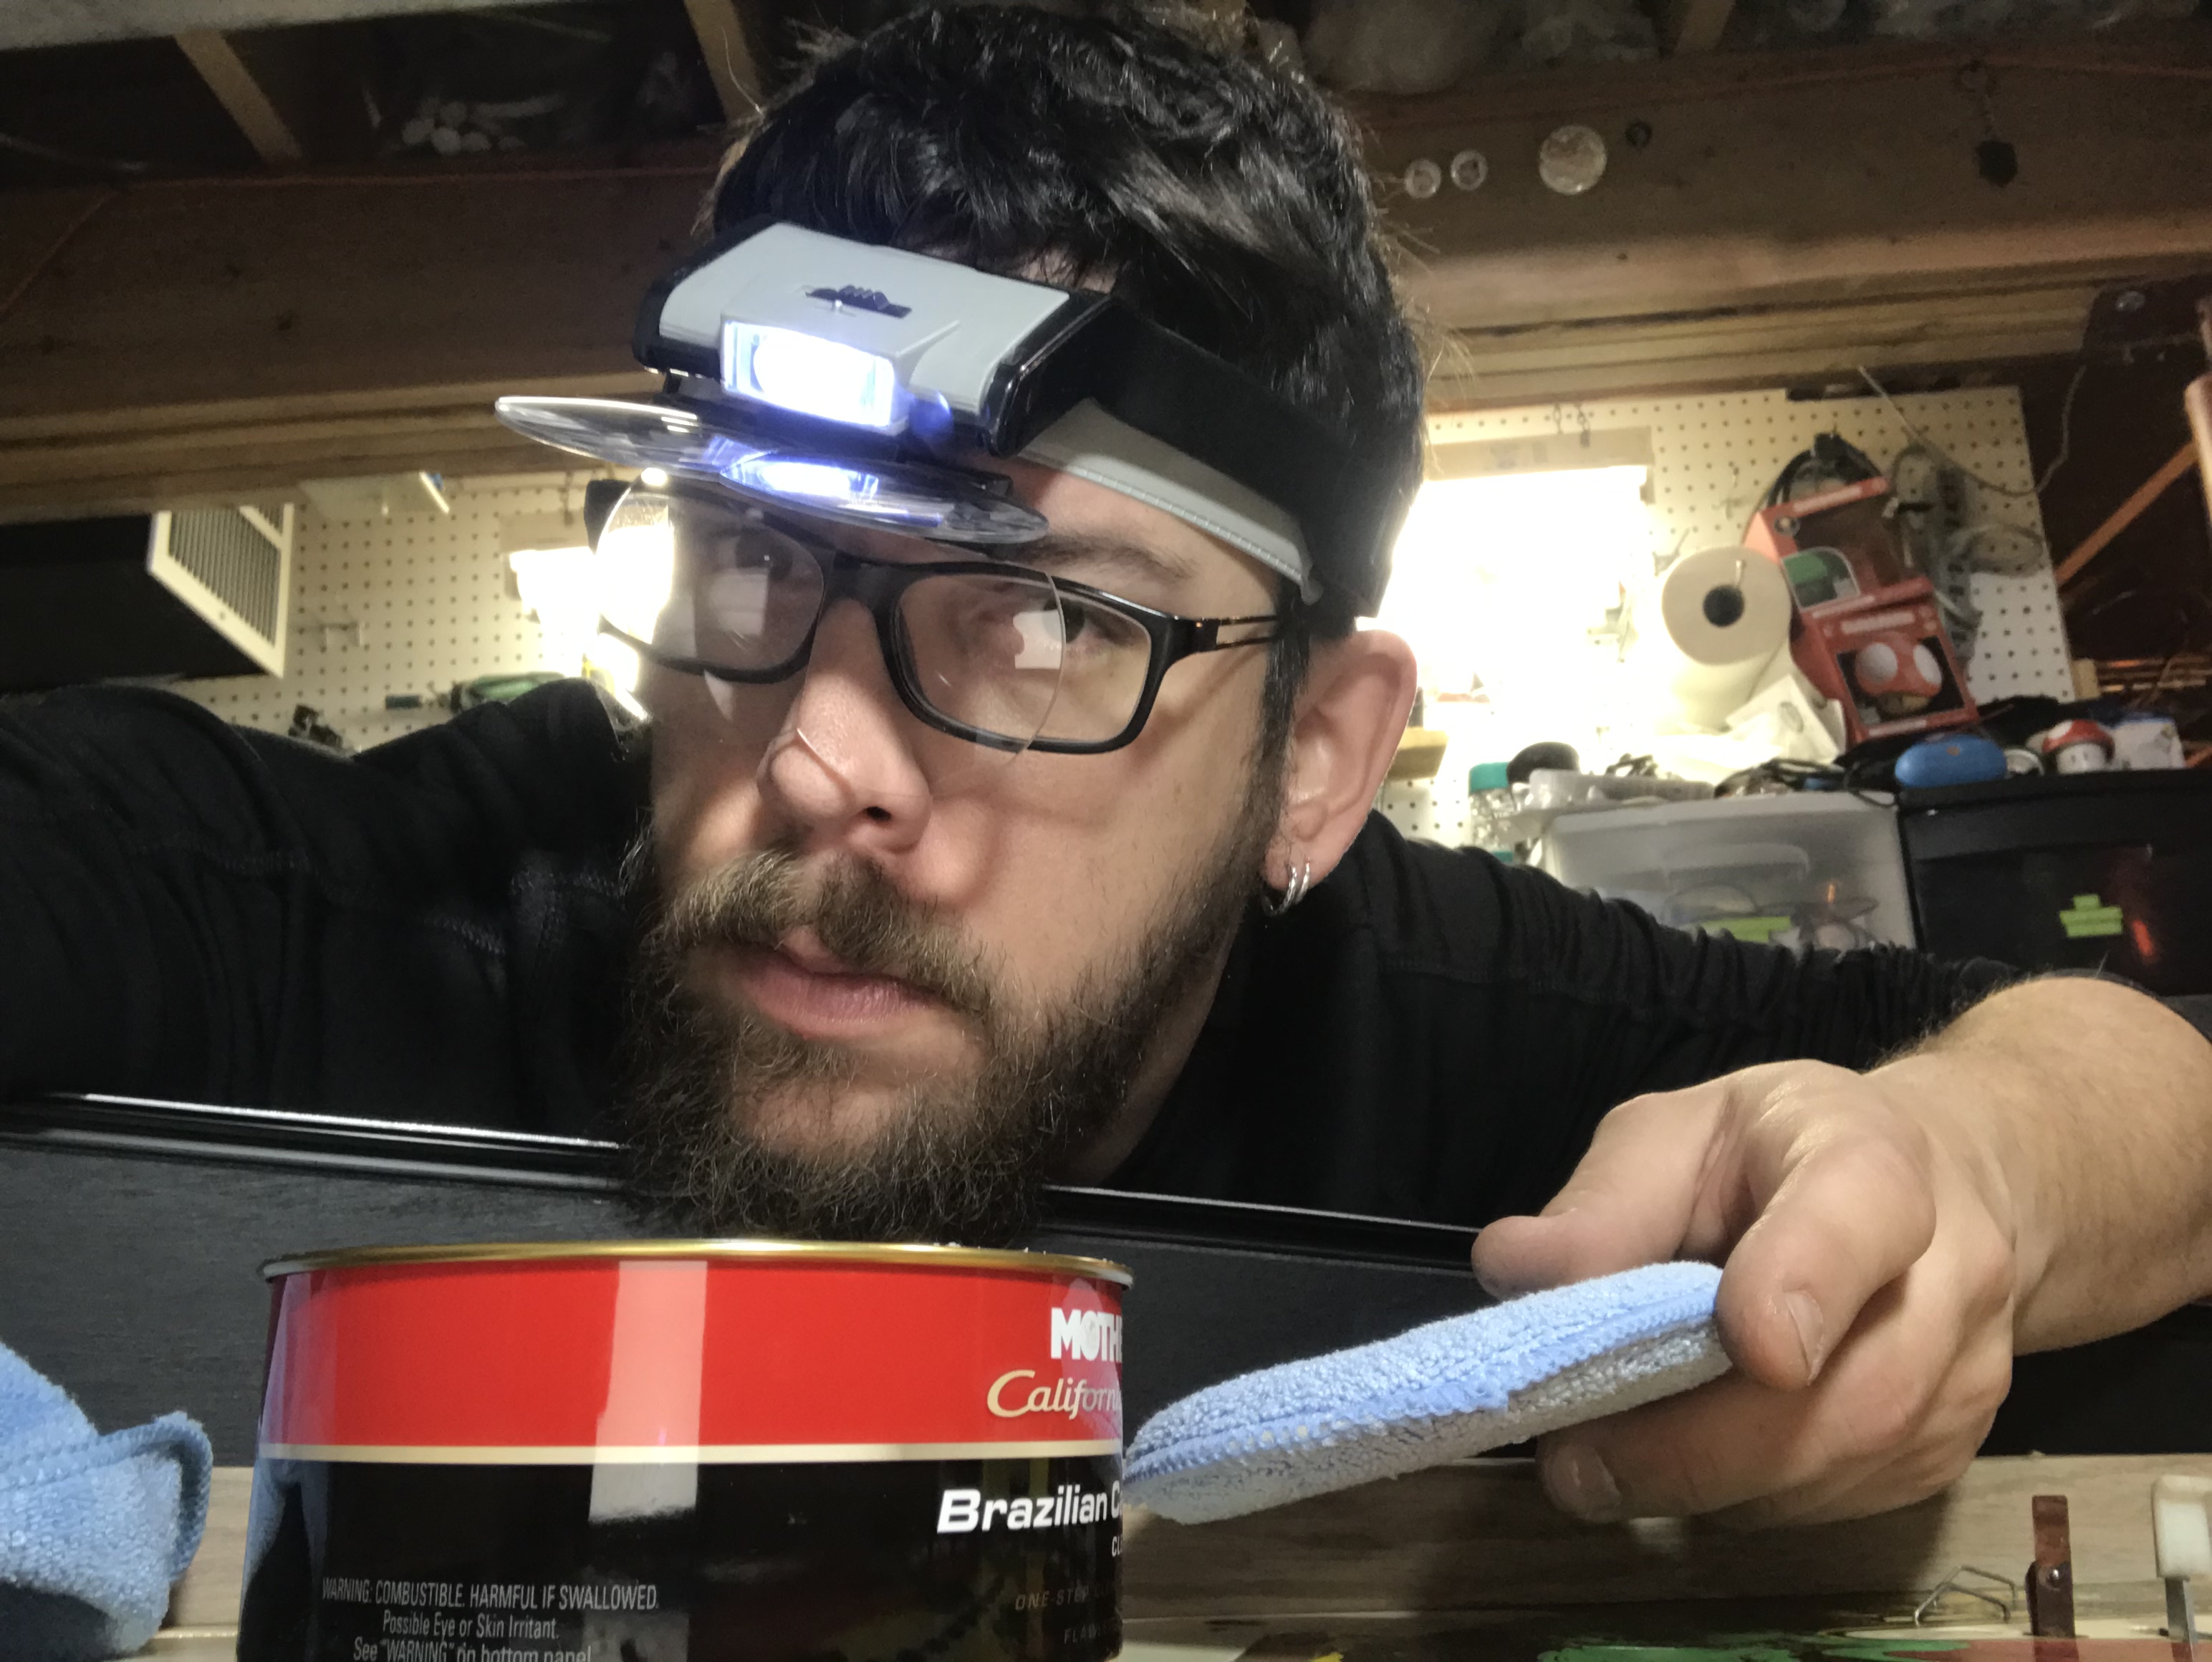
This is always to hard to photograph, but you can definitely tell it's more shiny here!
And the more shiny upper playfield as well.
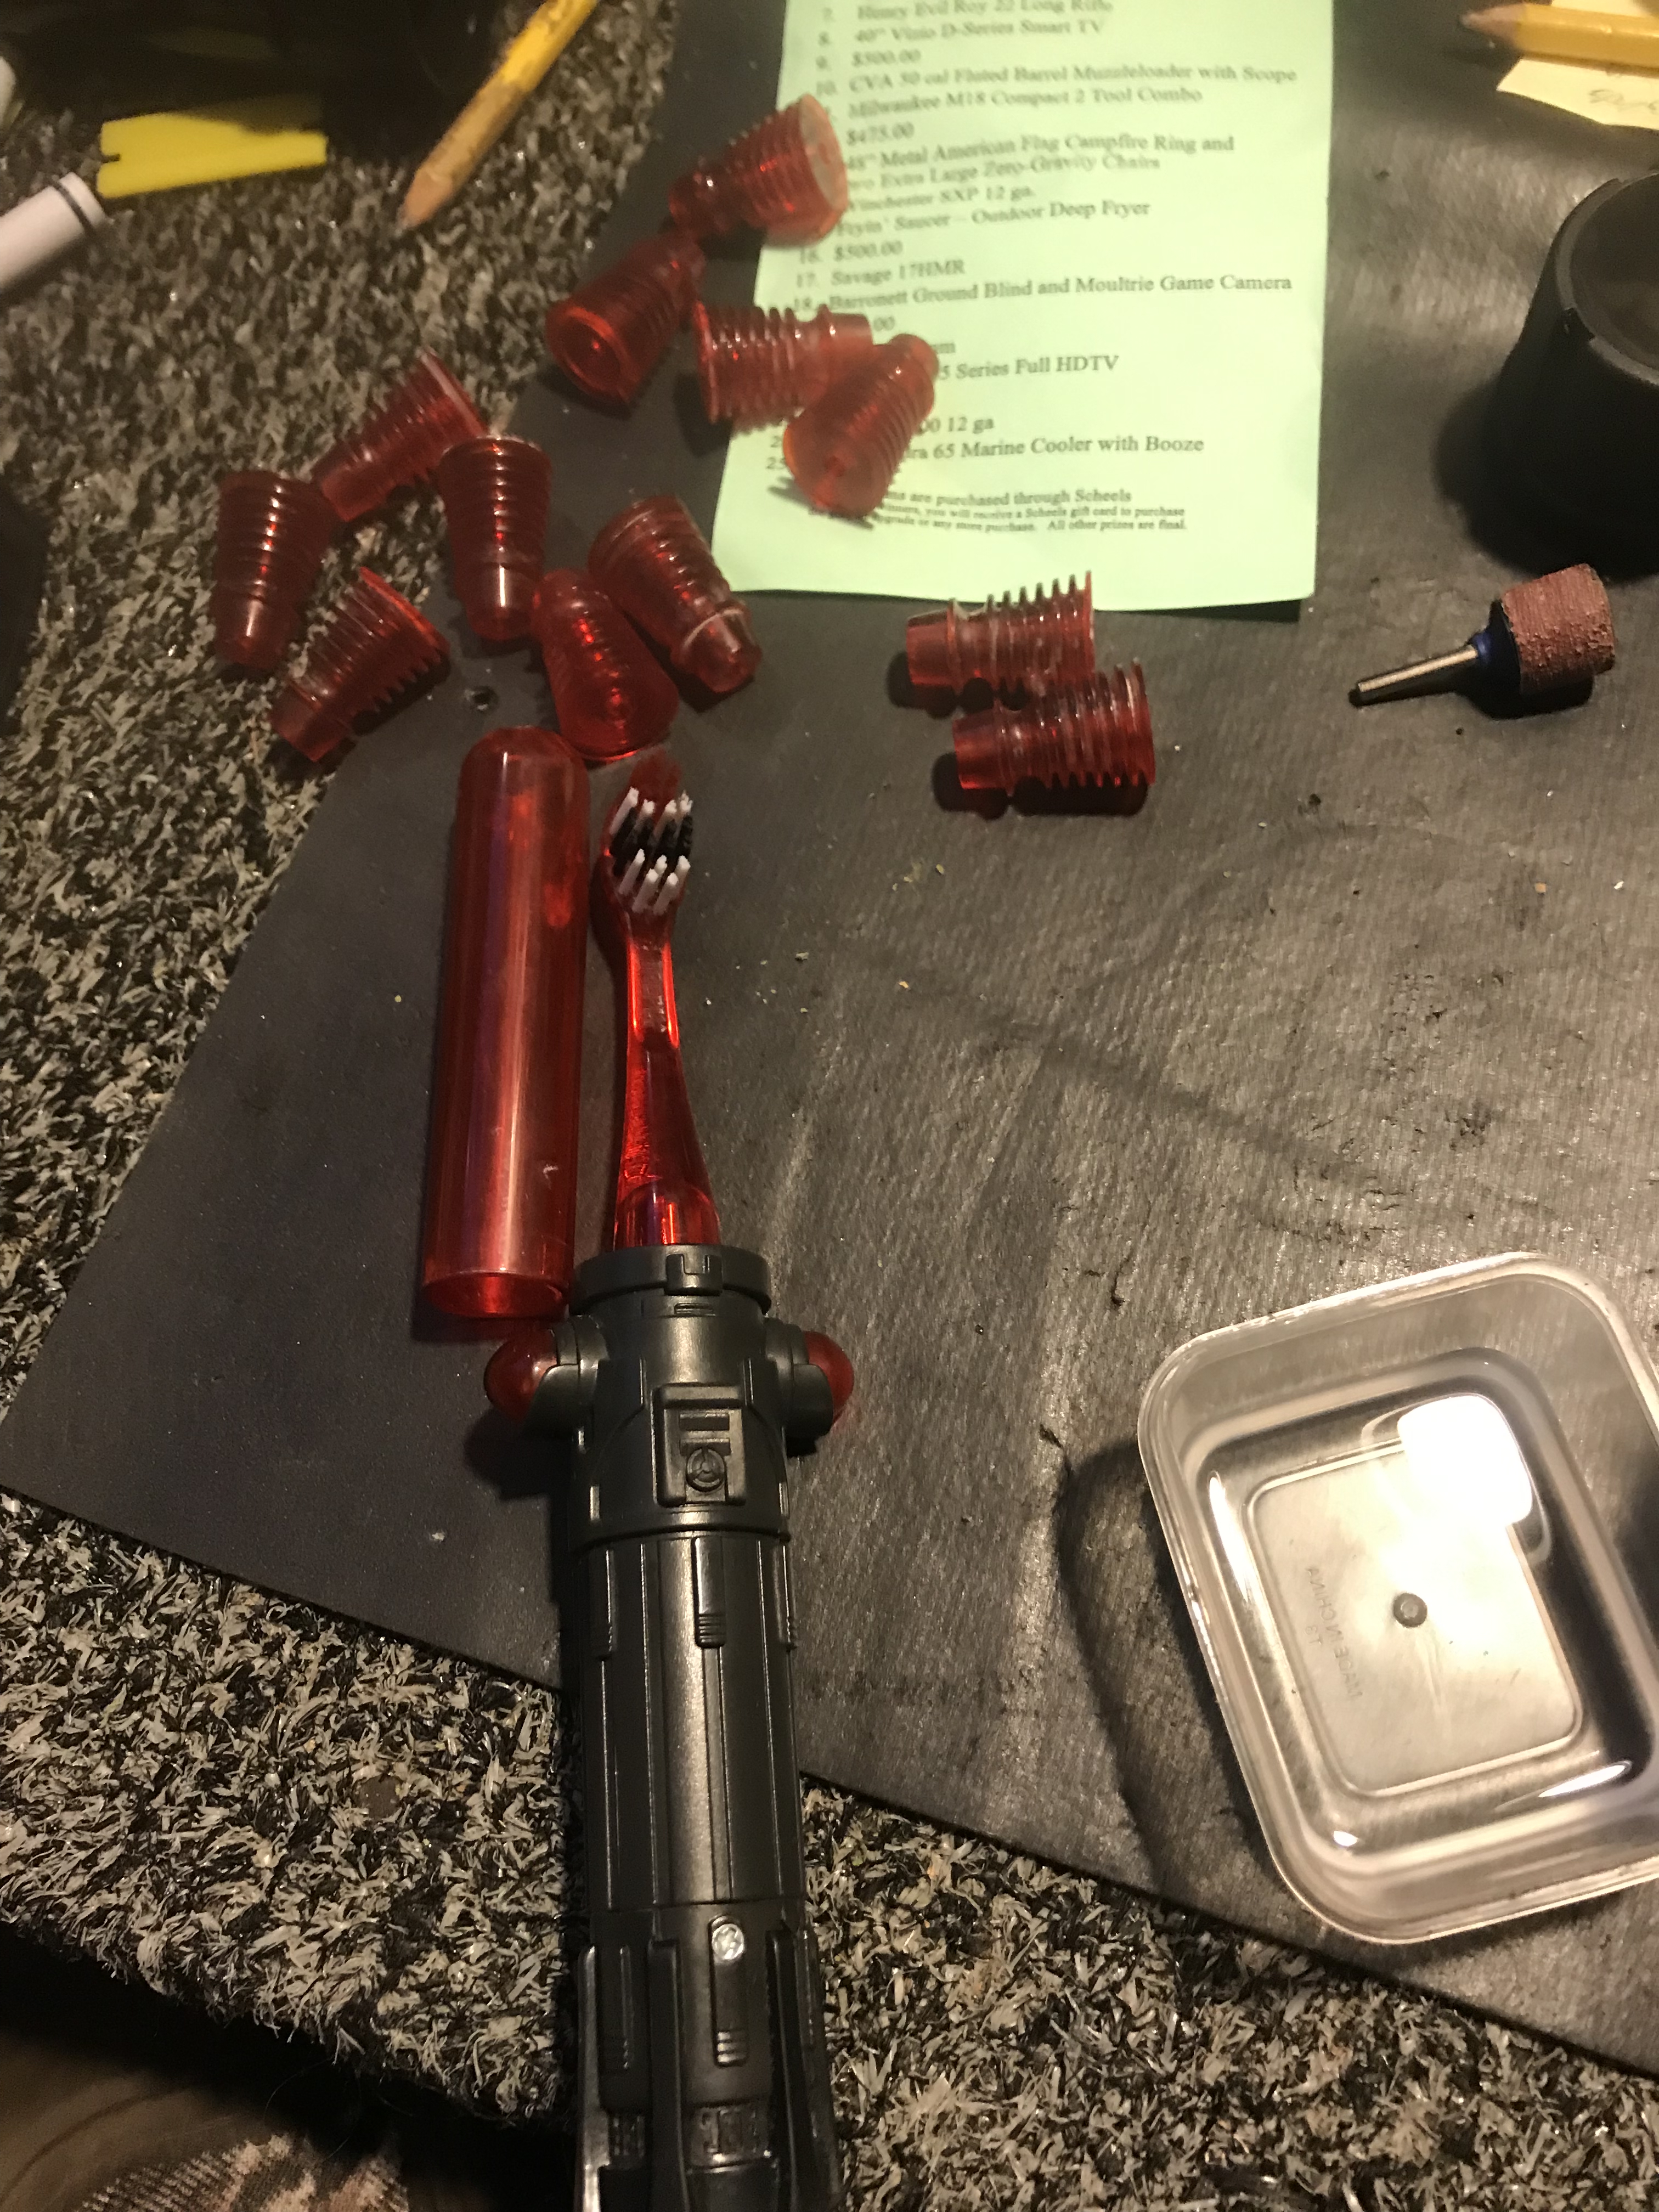
Next was time to clean up all of these little posts.
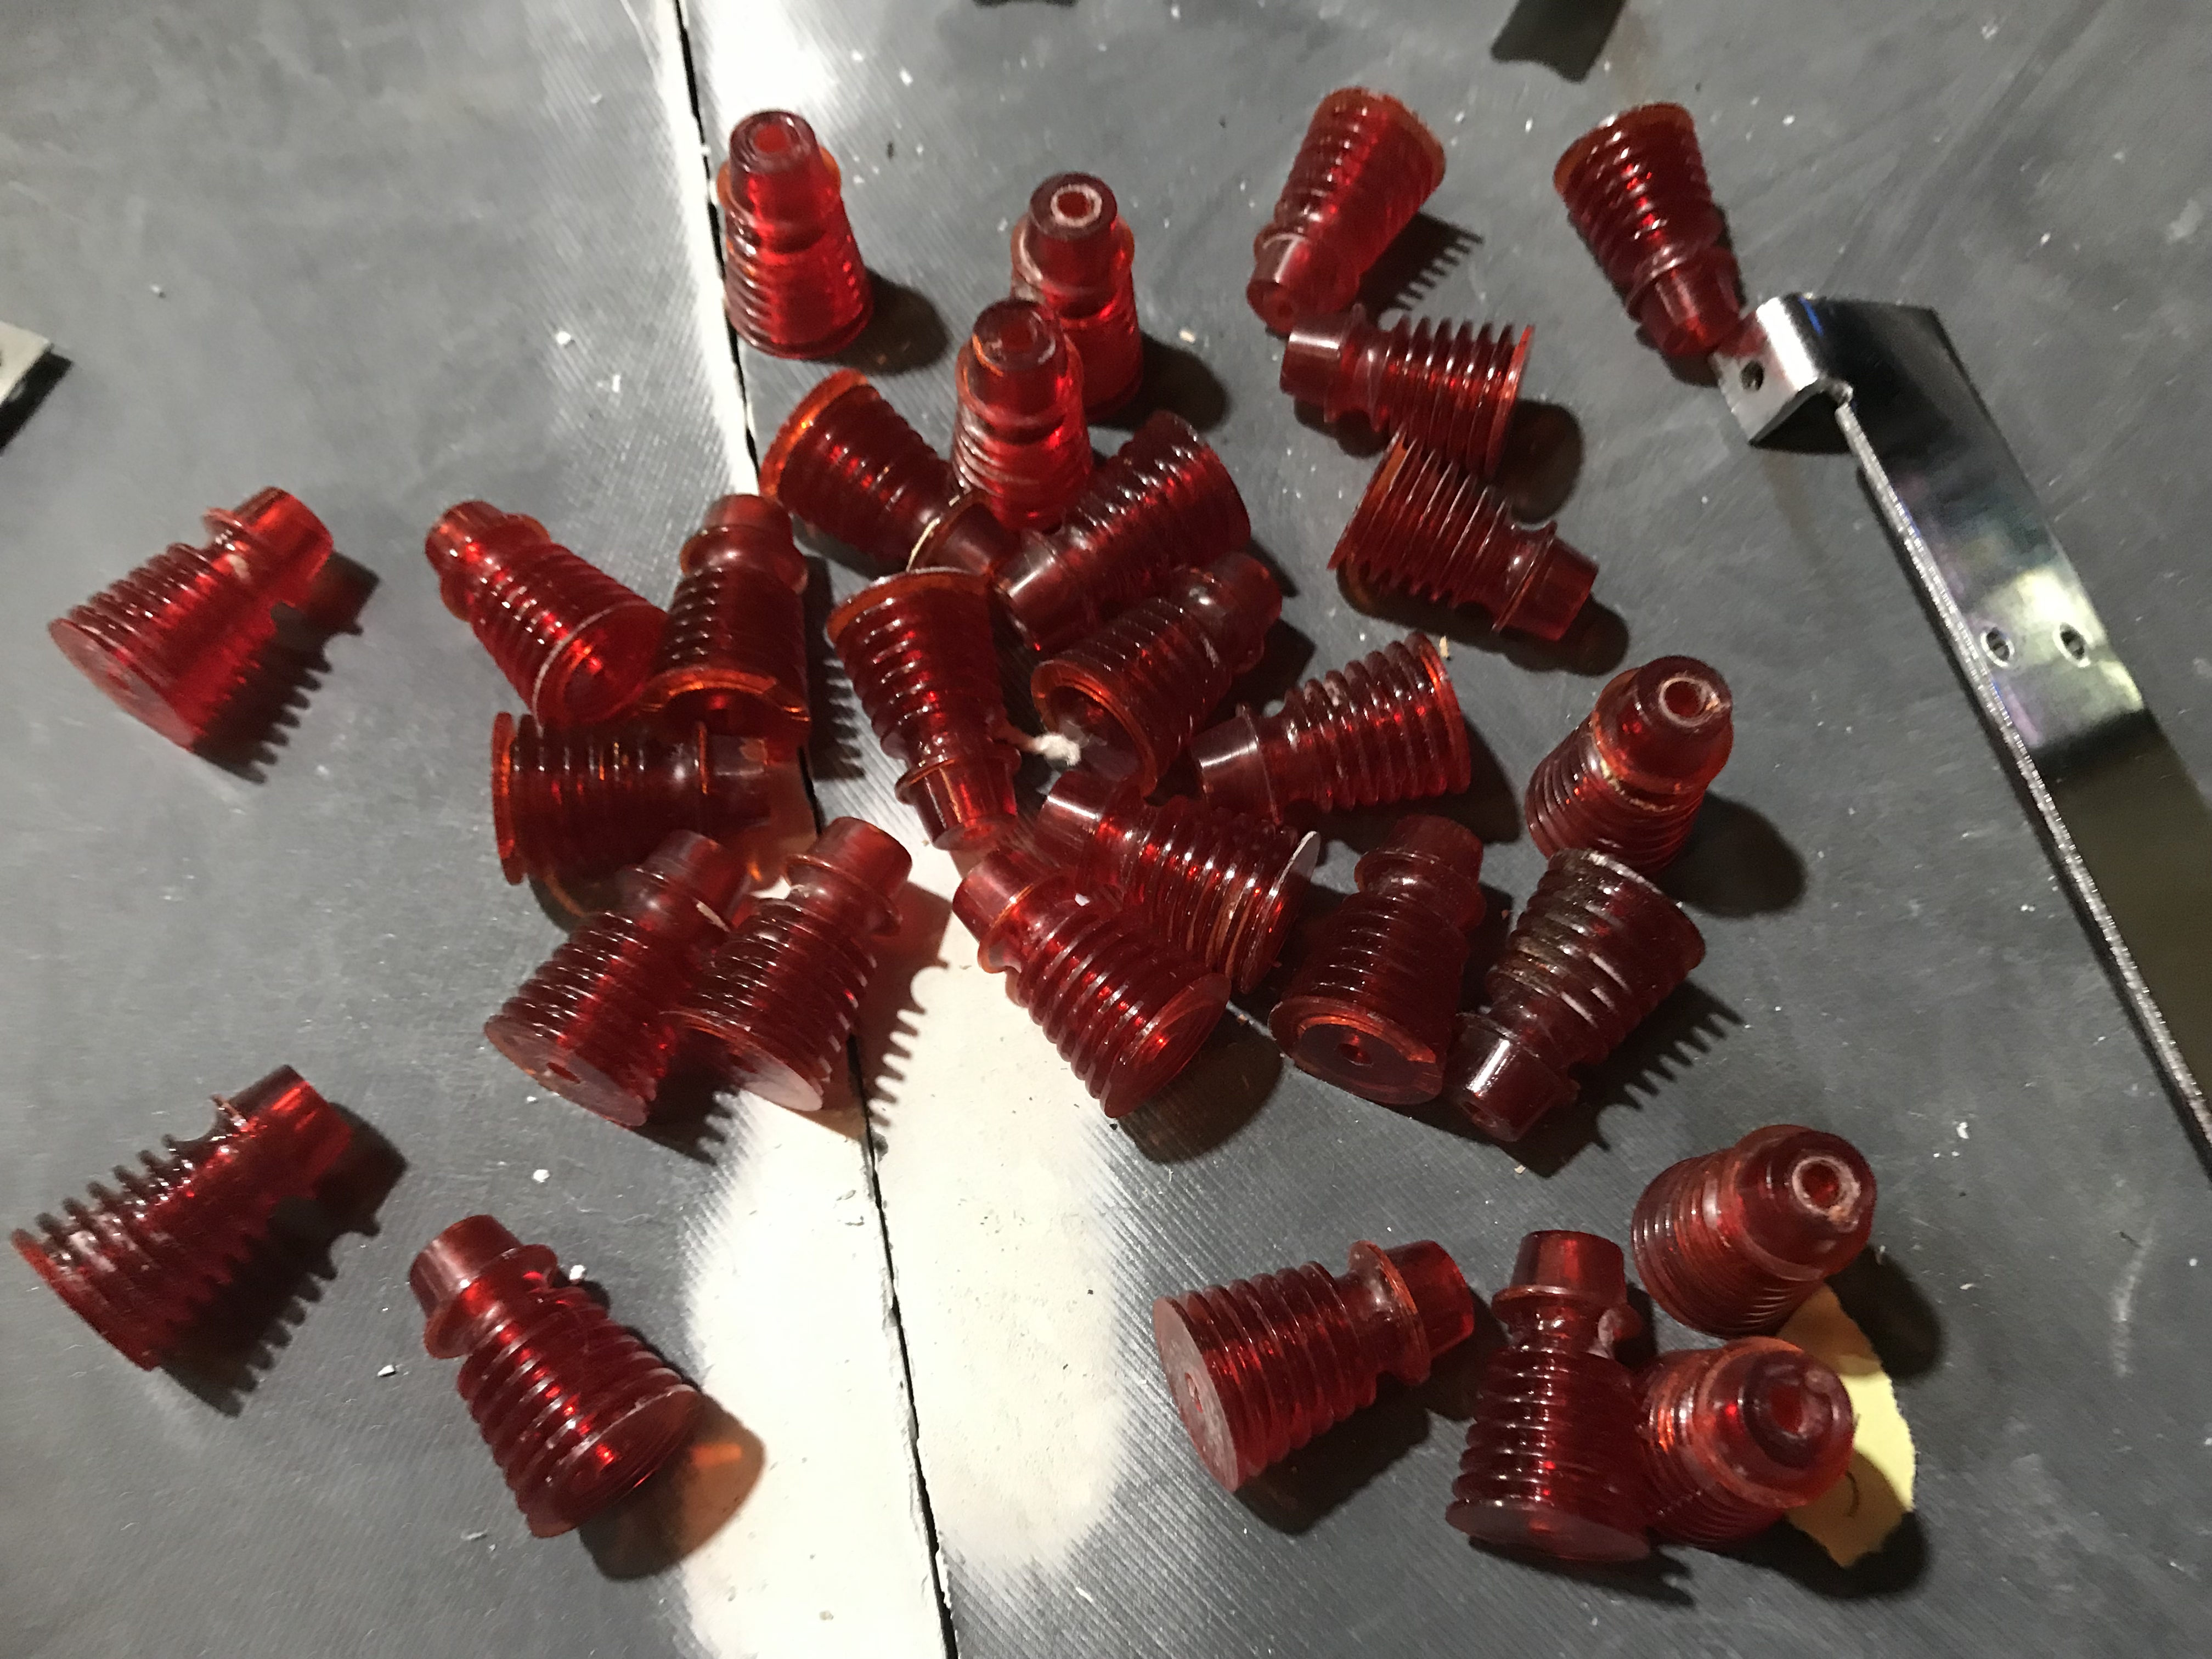
Some isopropyl alcohol and my trusty light saber toothbrush did the trick.
Next I wanted to touch up the spinner a bit. Overall it was in great shape, but a few chips. I used my different color paints to try to mix and match until I had a close enough color match.

Here you can see a portion of it touched up with yellow and then some black lines to correct the artwork pretty decently.
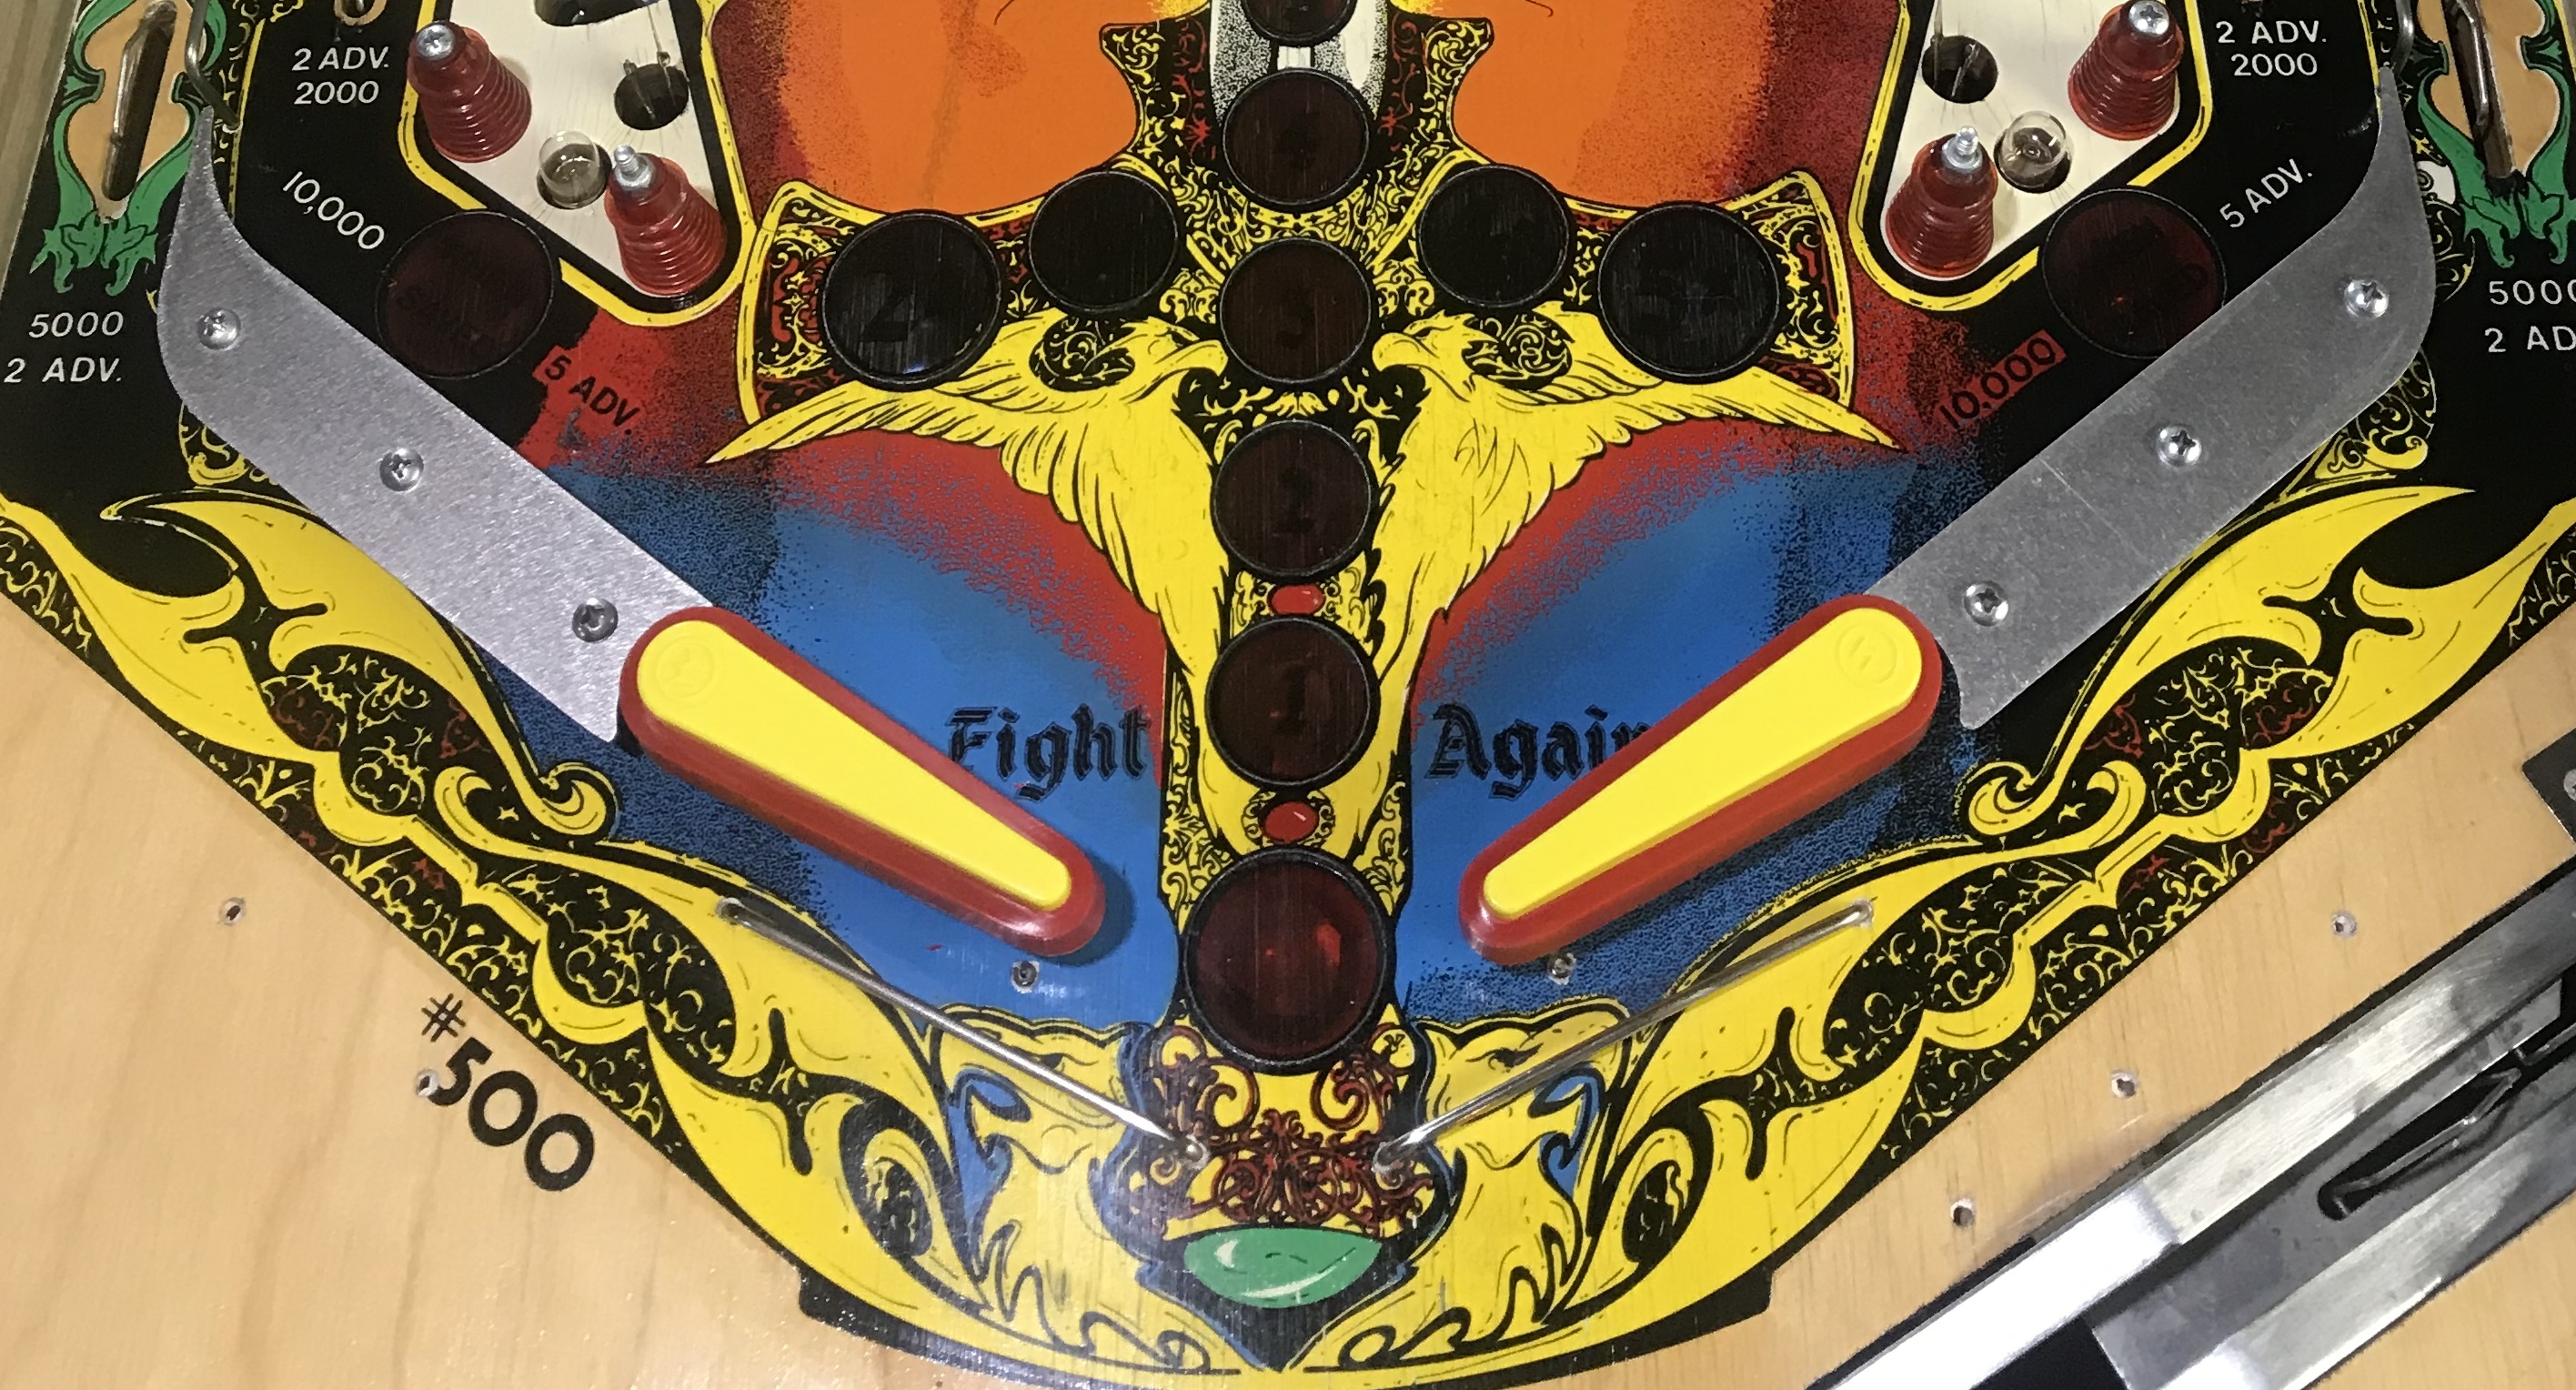
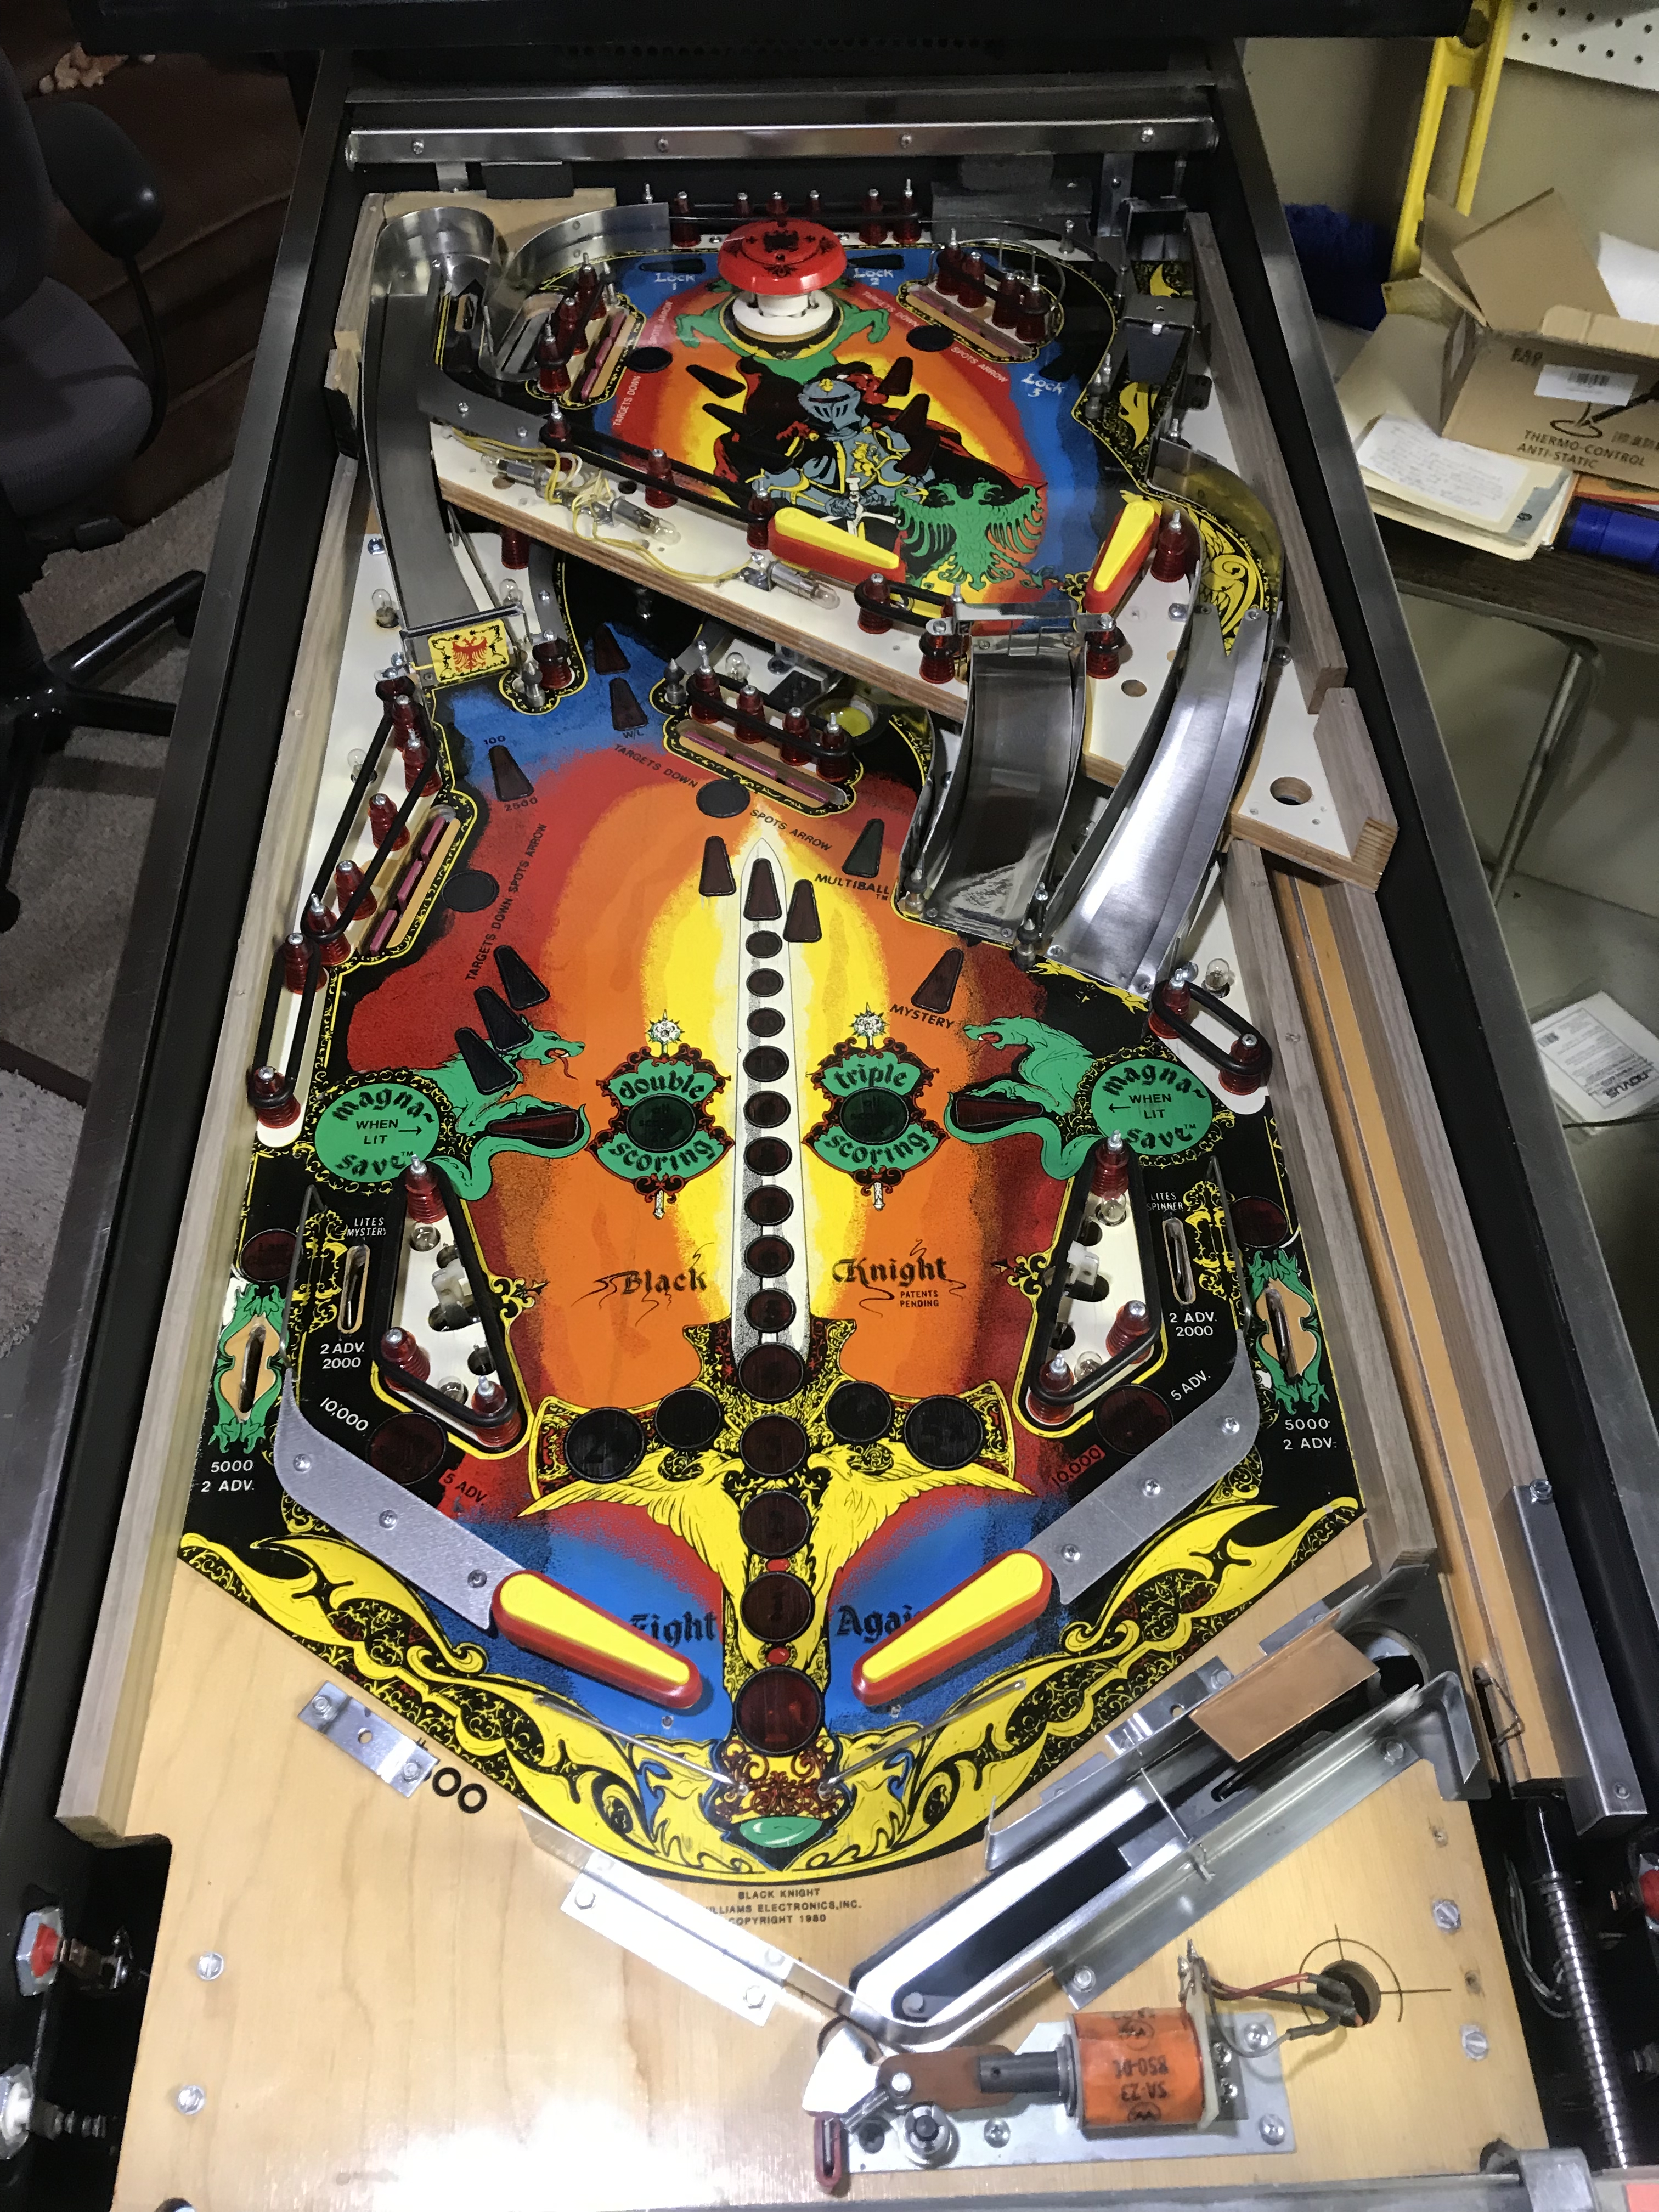
Here's the upper PF being re-assembled. Also, I replaced the flipper rubbers with new silicone red rubbers.
And here is the lower PF coming back together as well.
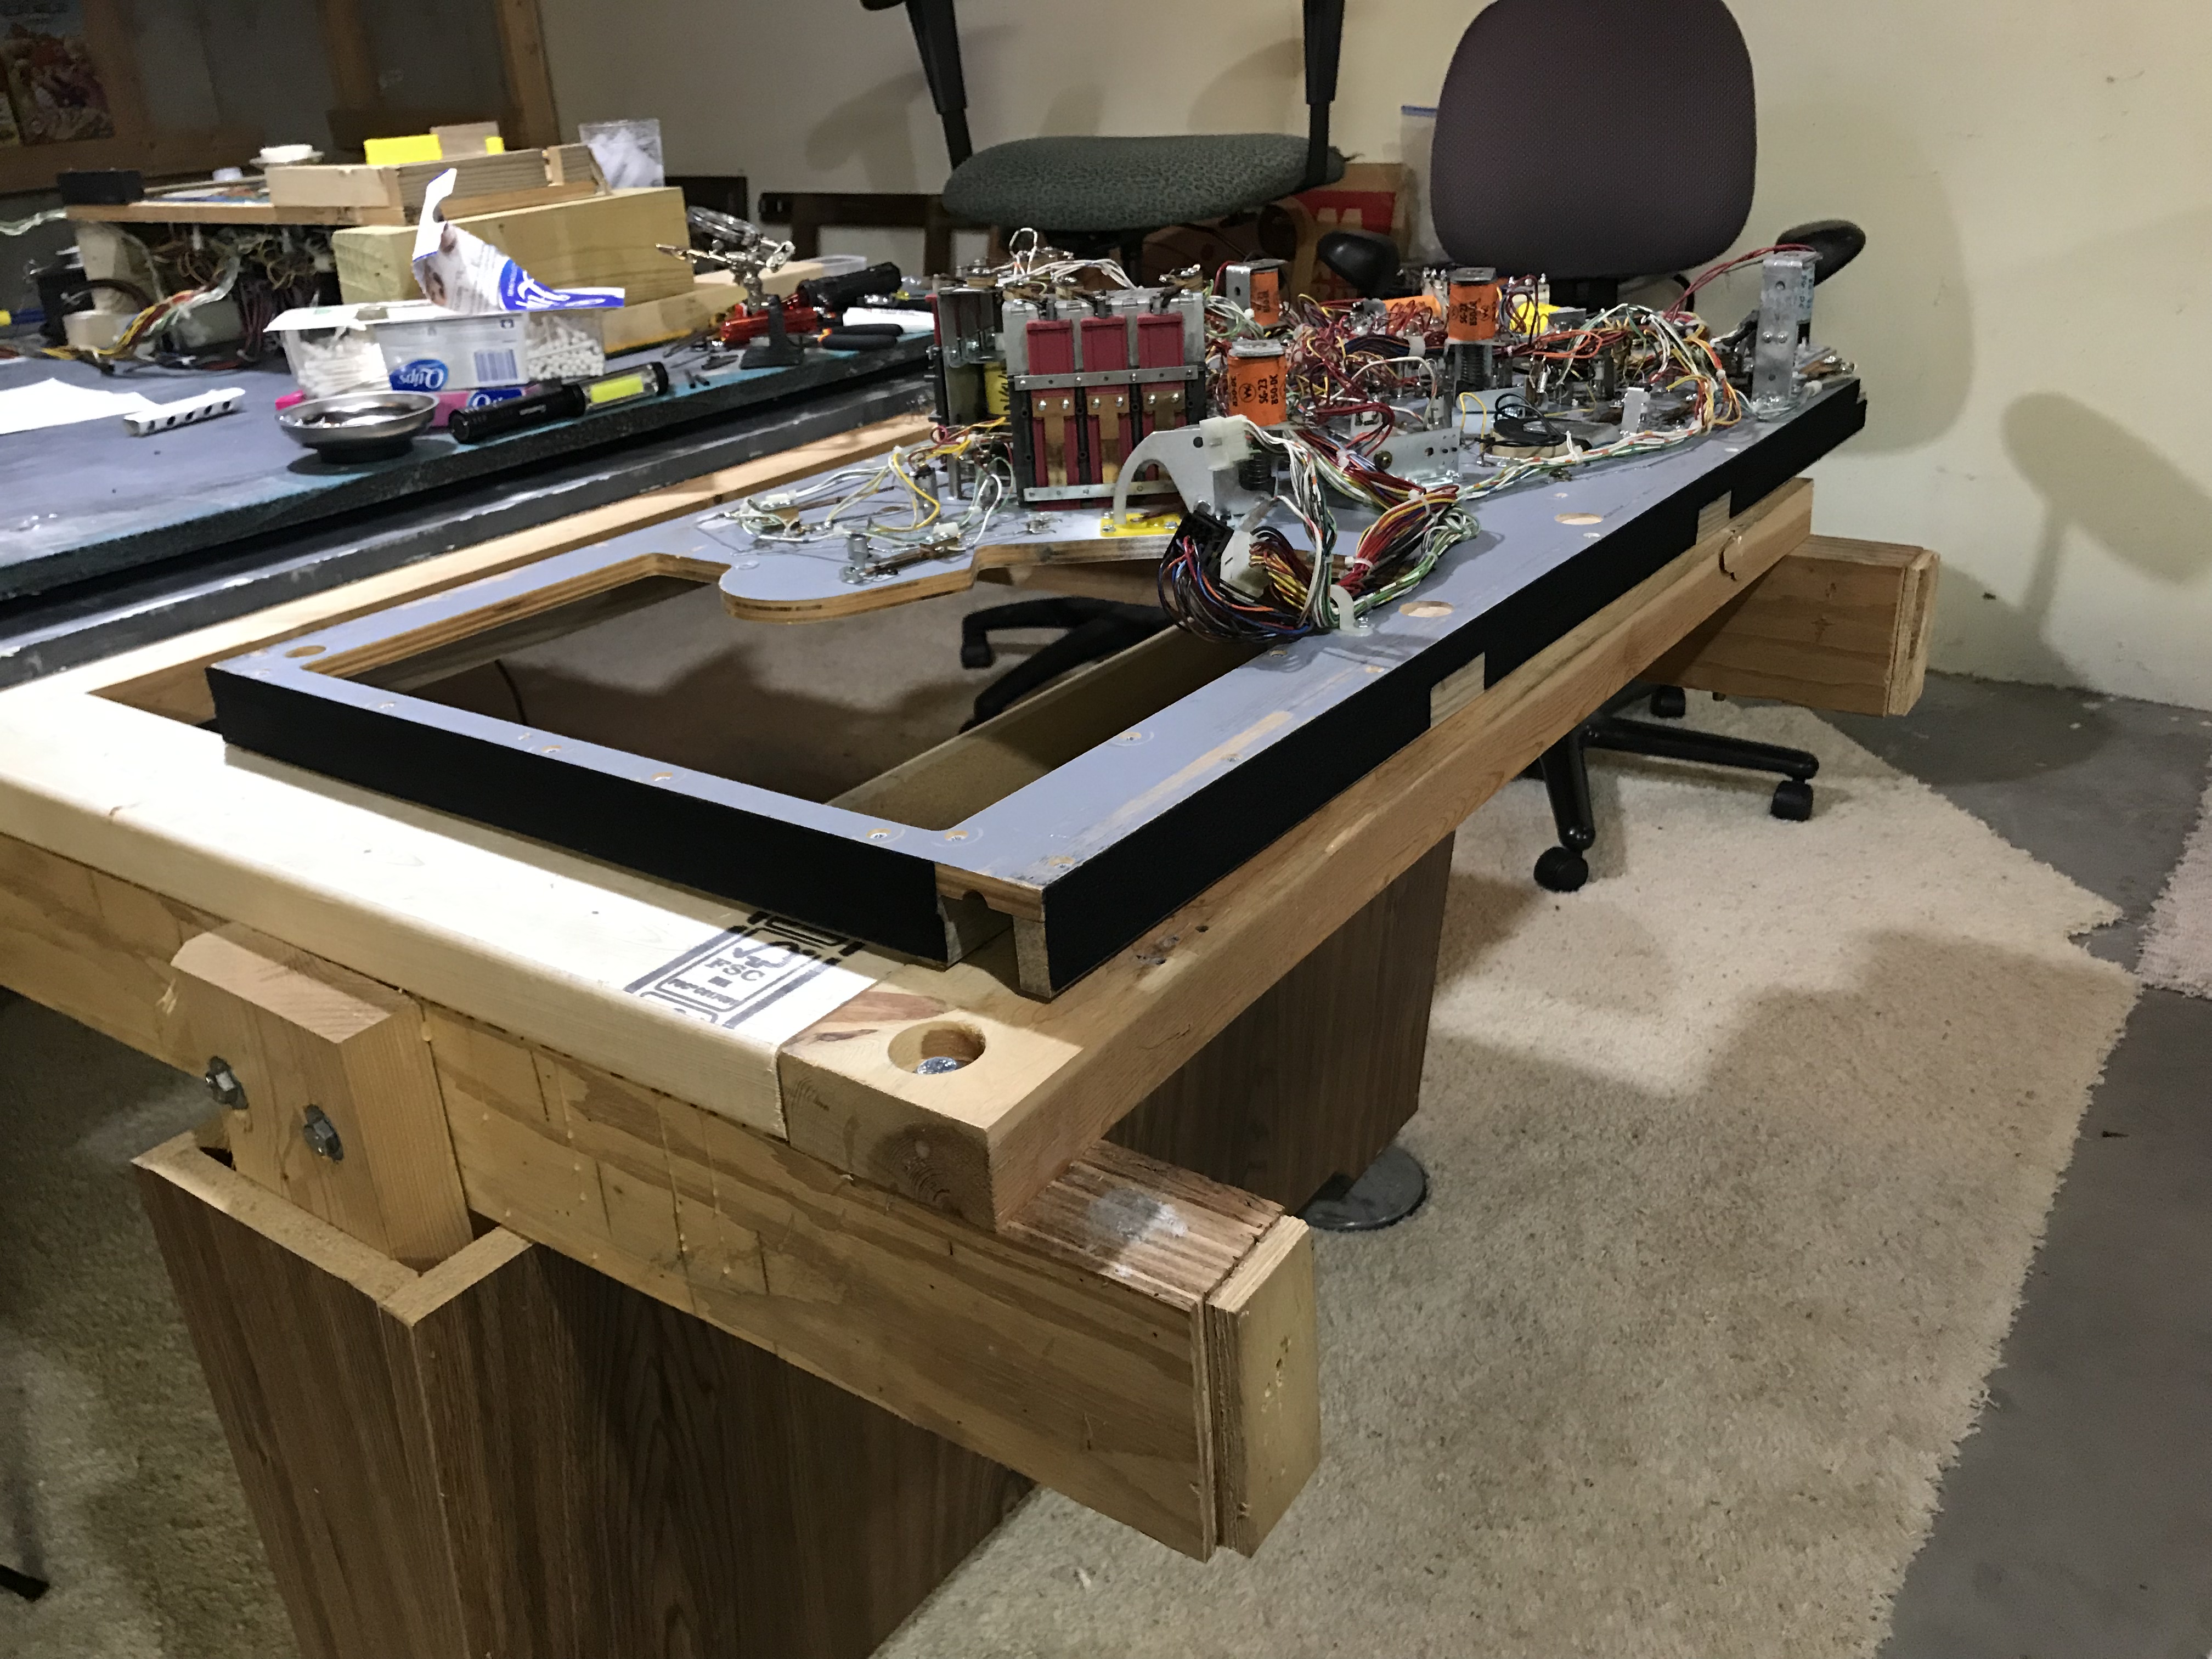
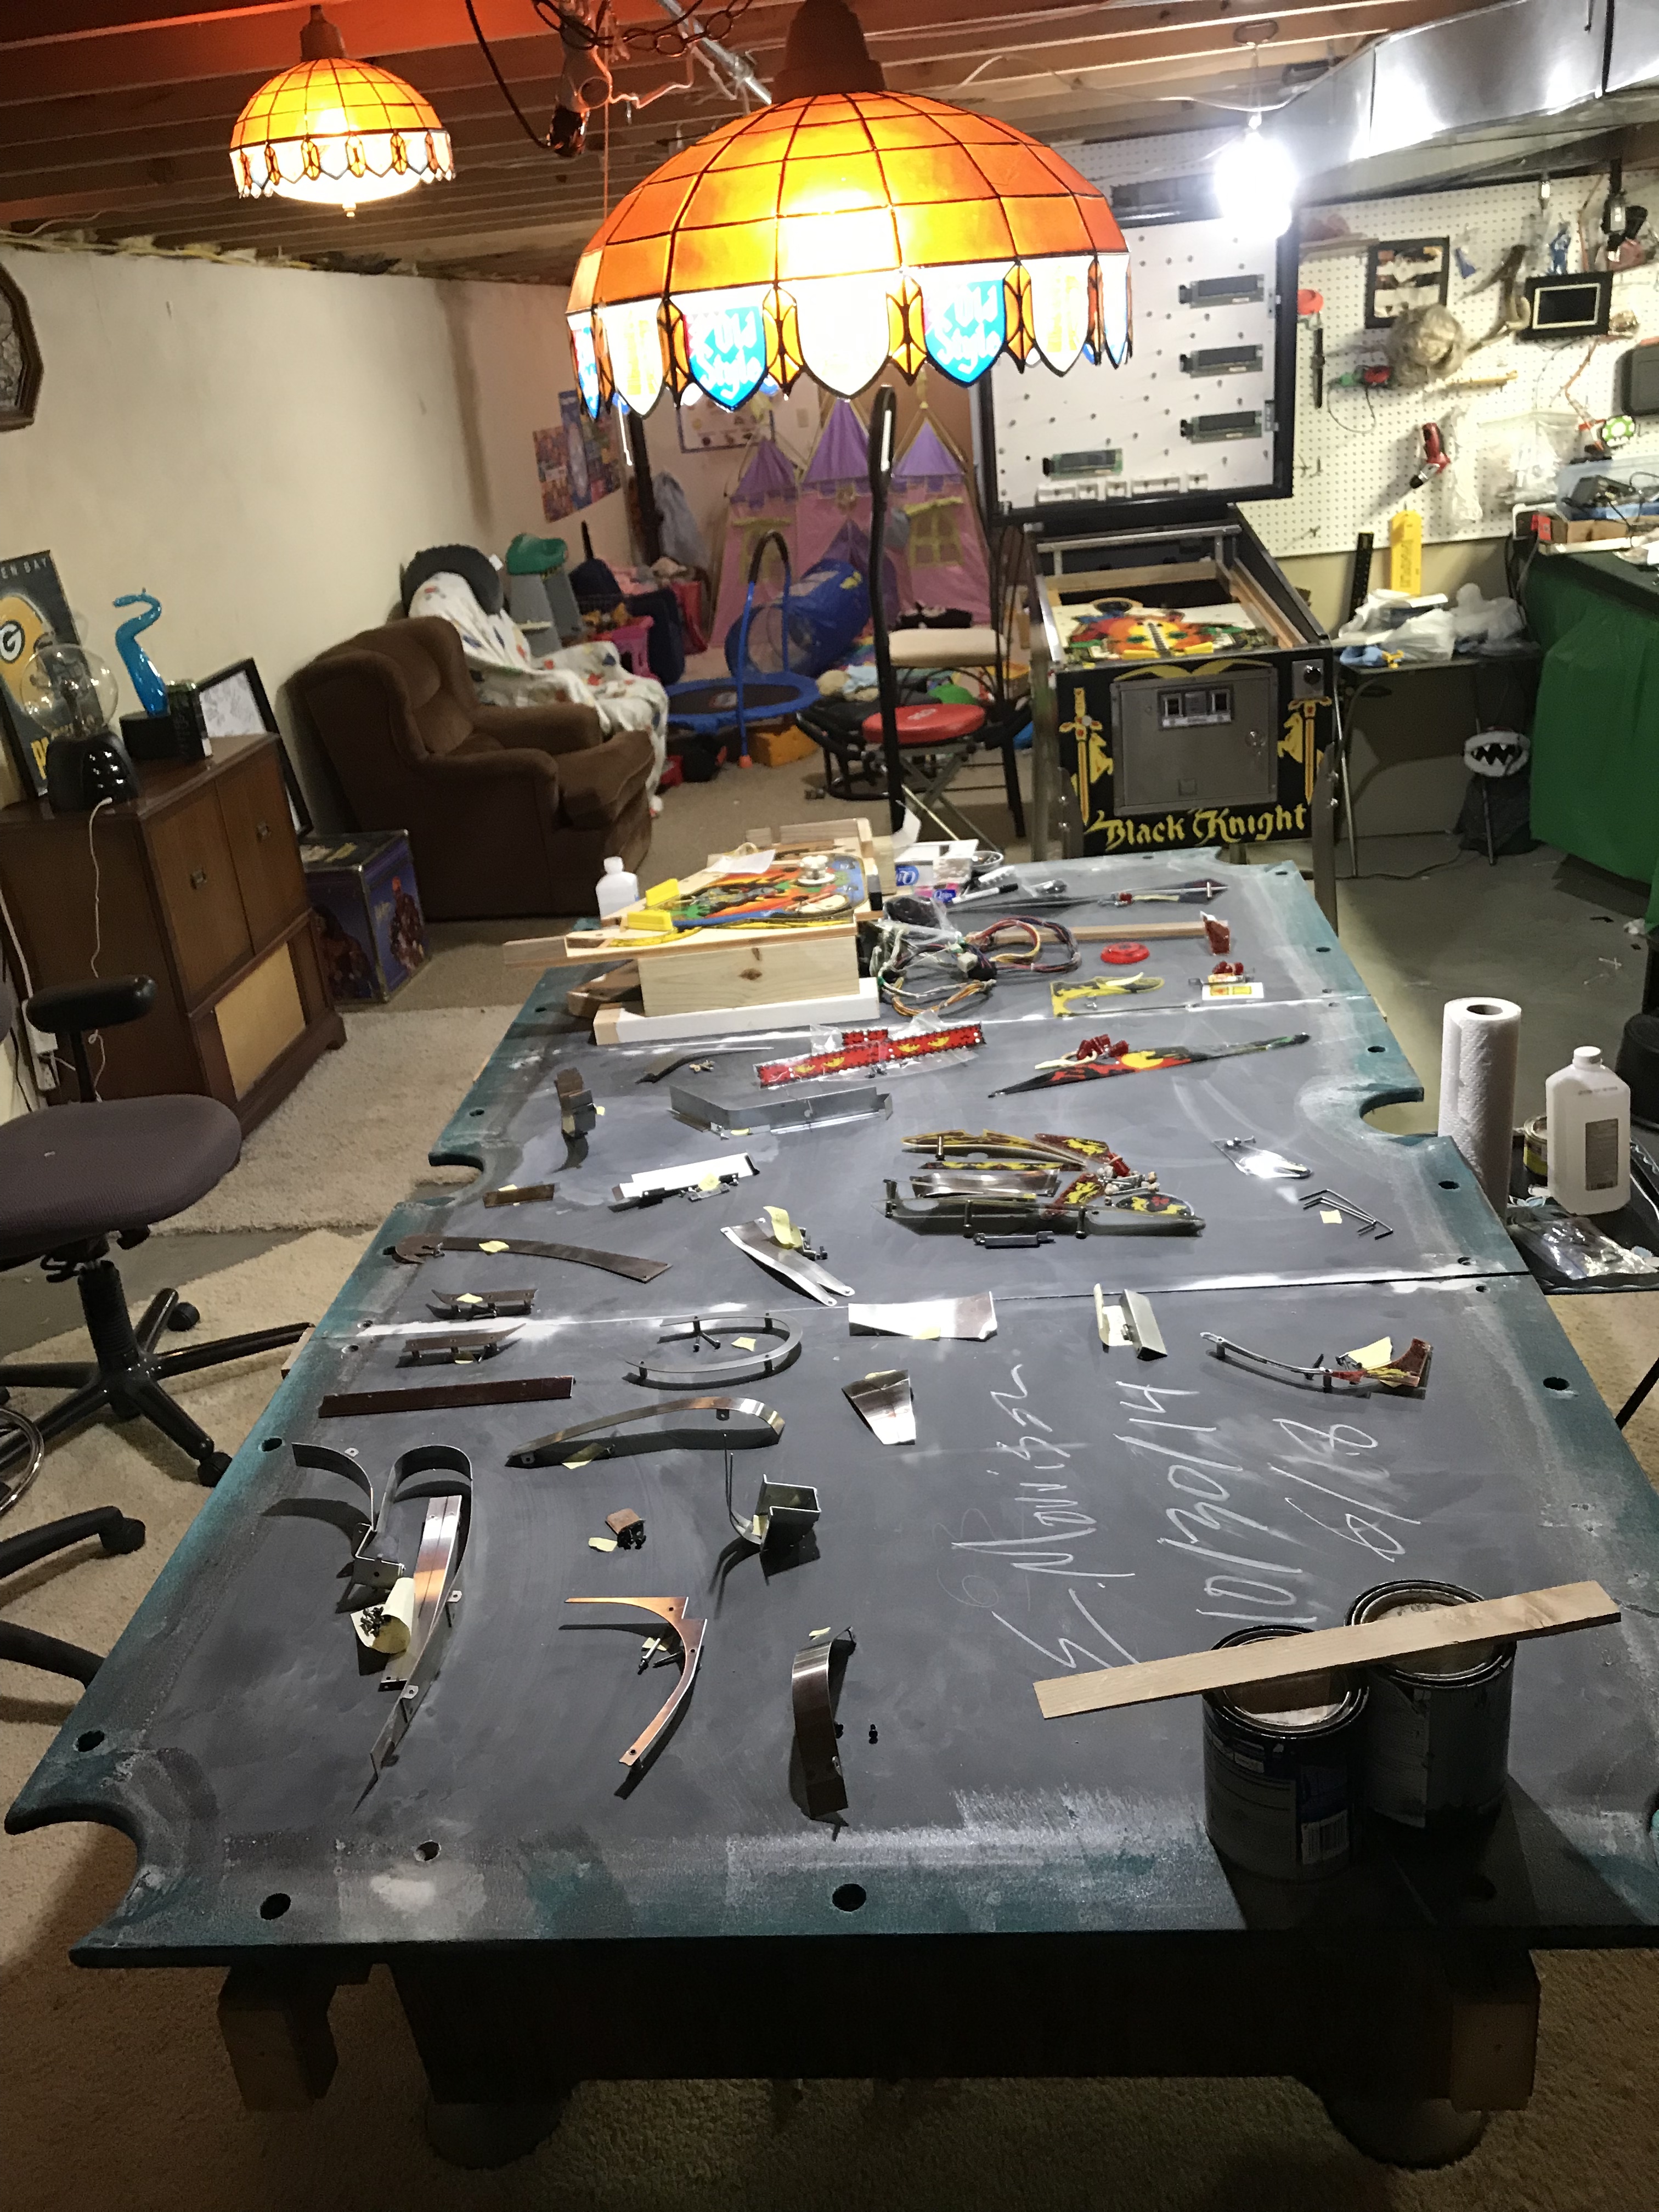
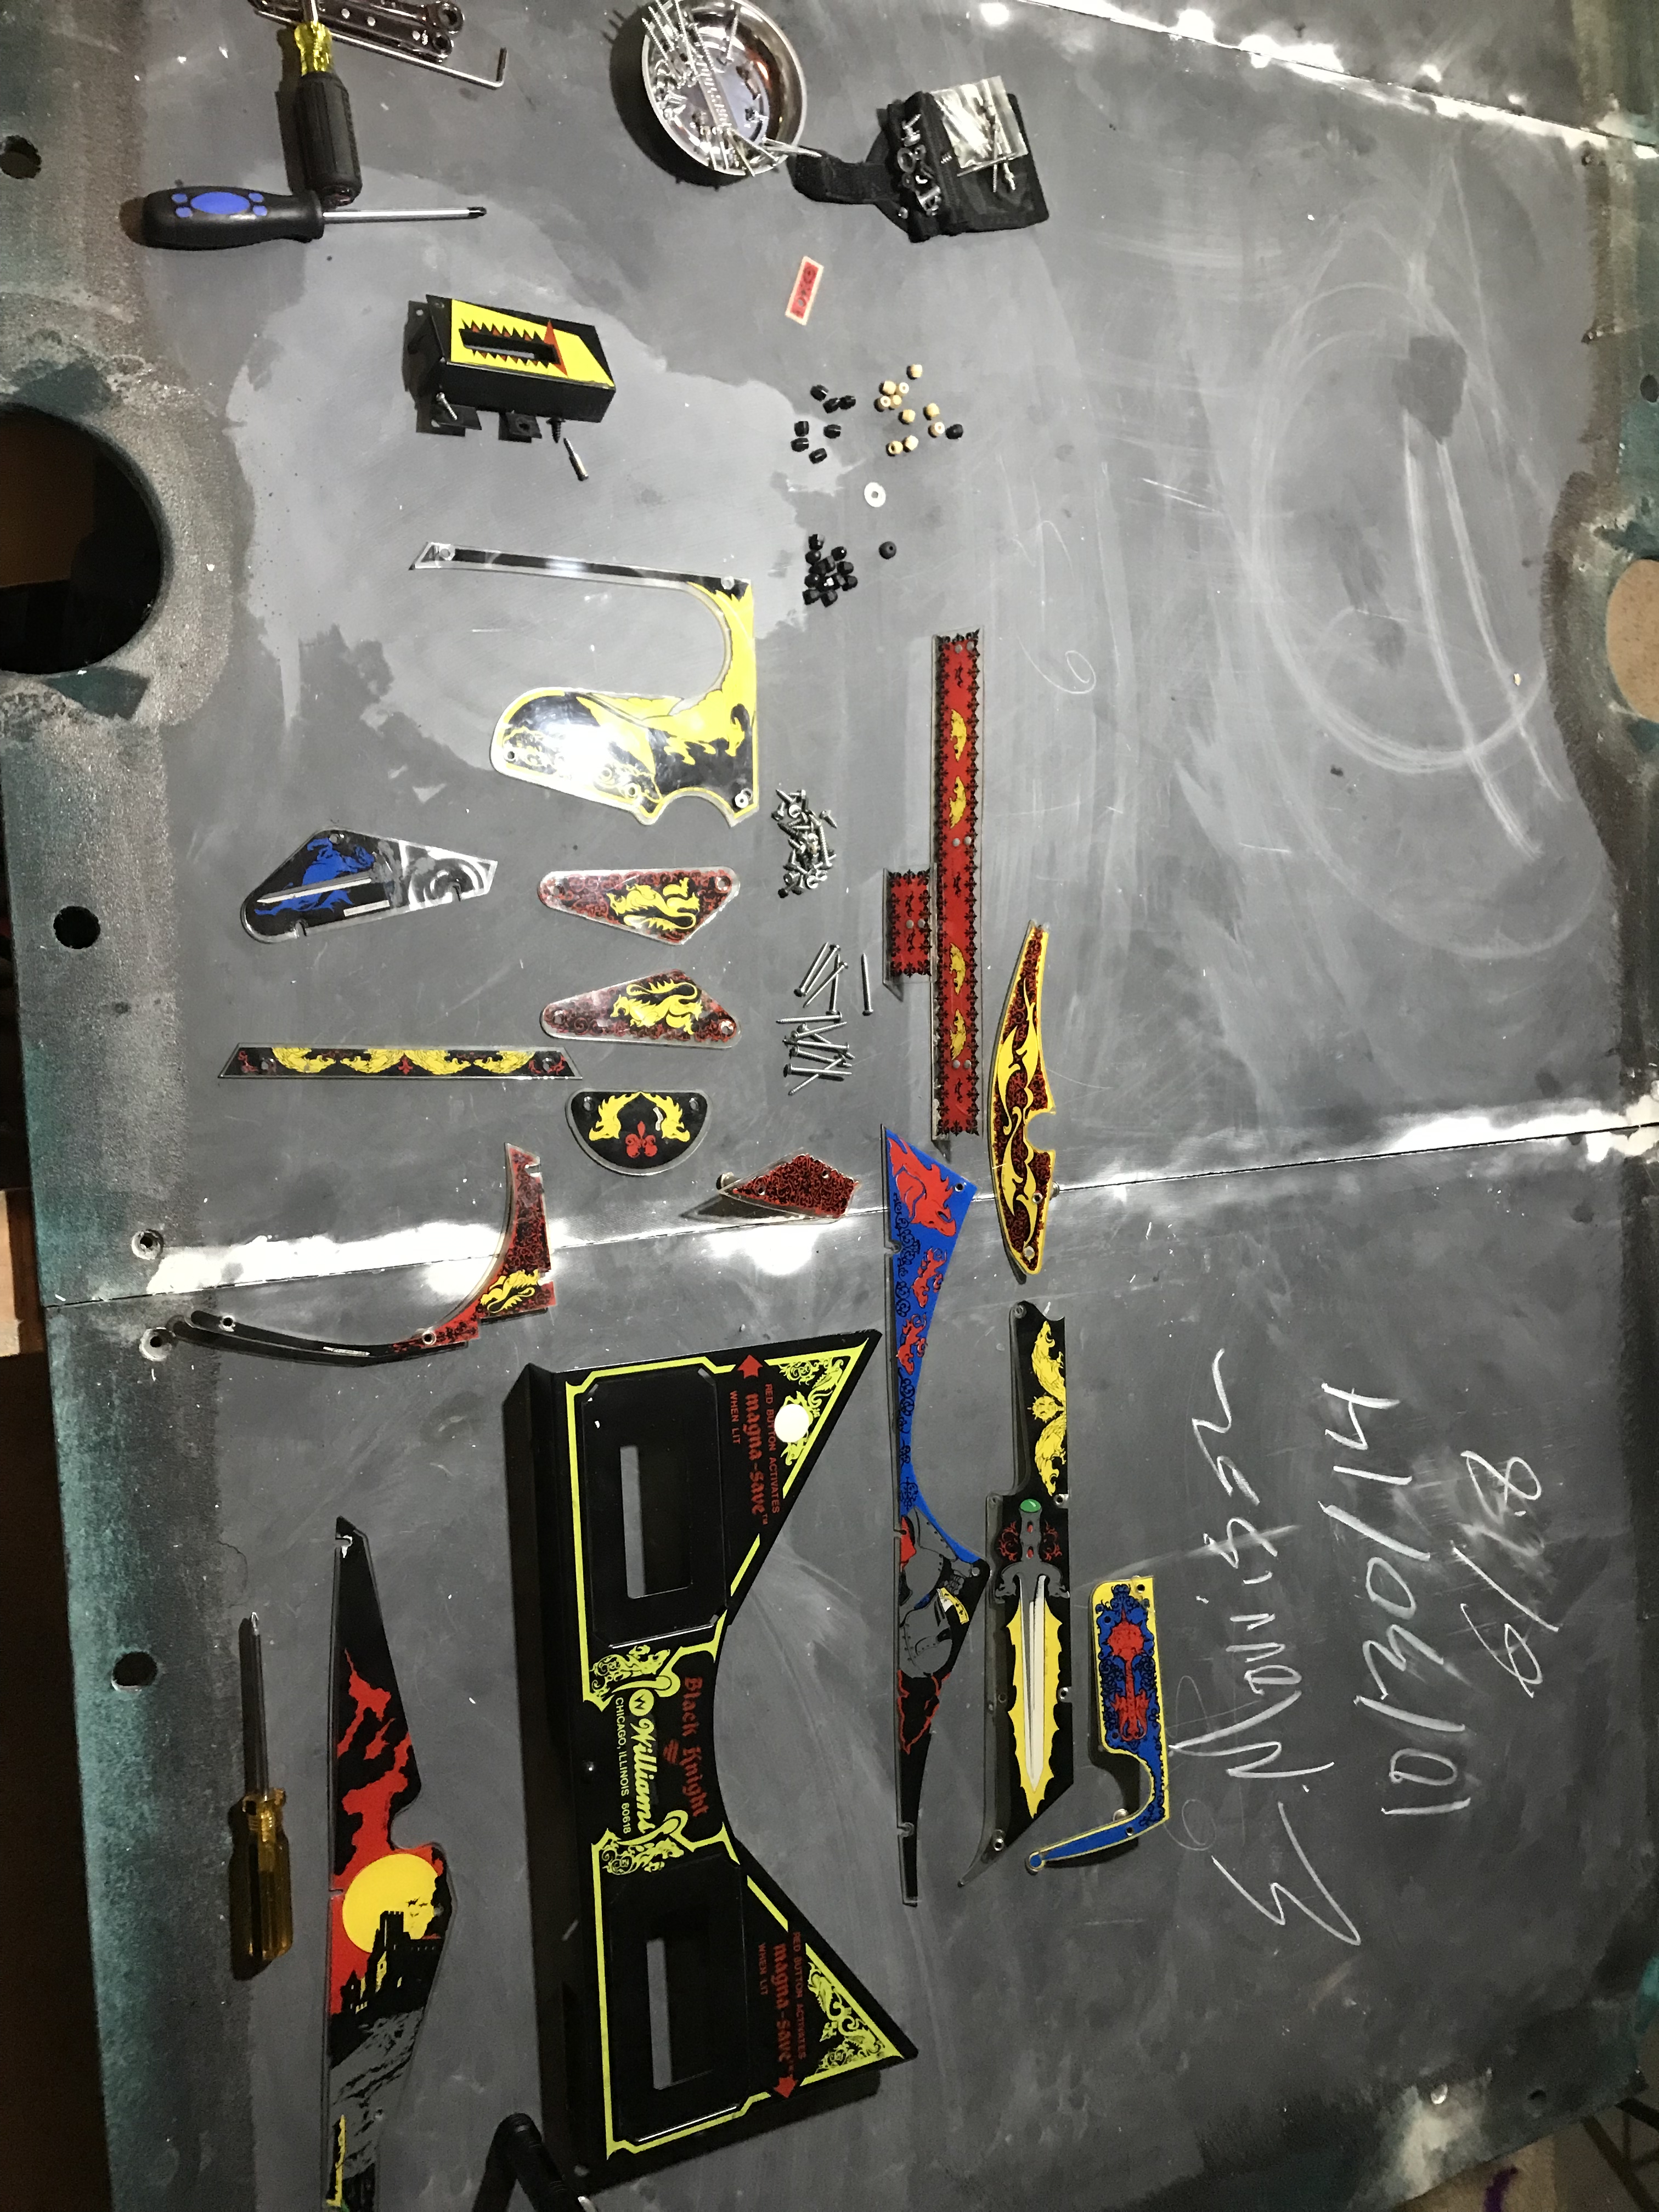
Did I mention I loved having this giant table here to spread out all of the parts? Here are the metal pieces and plastics waiting to be put back on.
I also, naturally, had to replace all the other rubbers. You can see the old ones were just falling apart and were well past their due date for replacement. I decided to go with black rubbers (with red flippers) to stick with the BLACK Knight theme.
And I got a new pop bumper cap as well. Some of the cheaper replacement ones are missing those sweet flowery parts around the outside rim, so I was sure to find one with it.

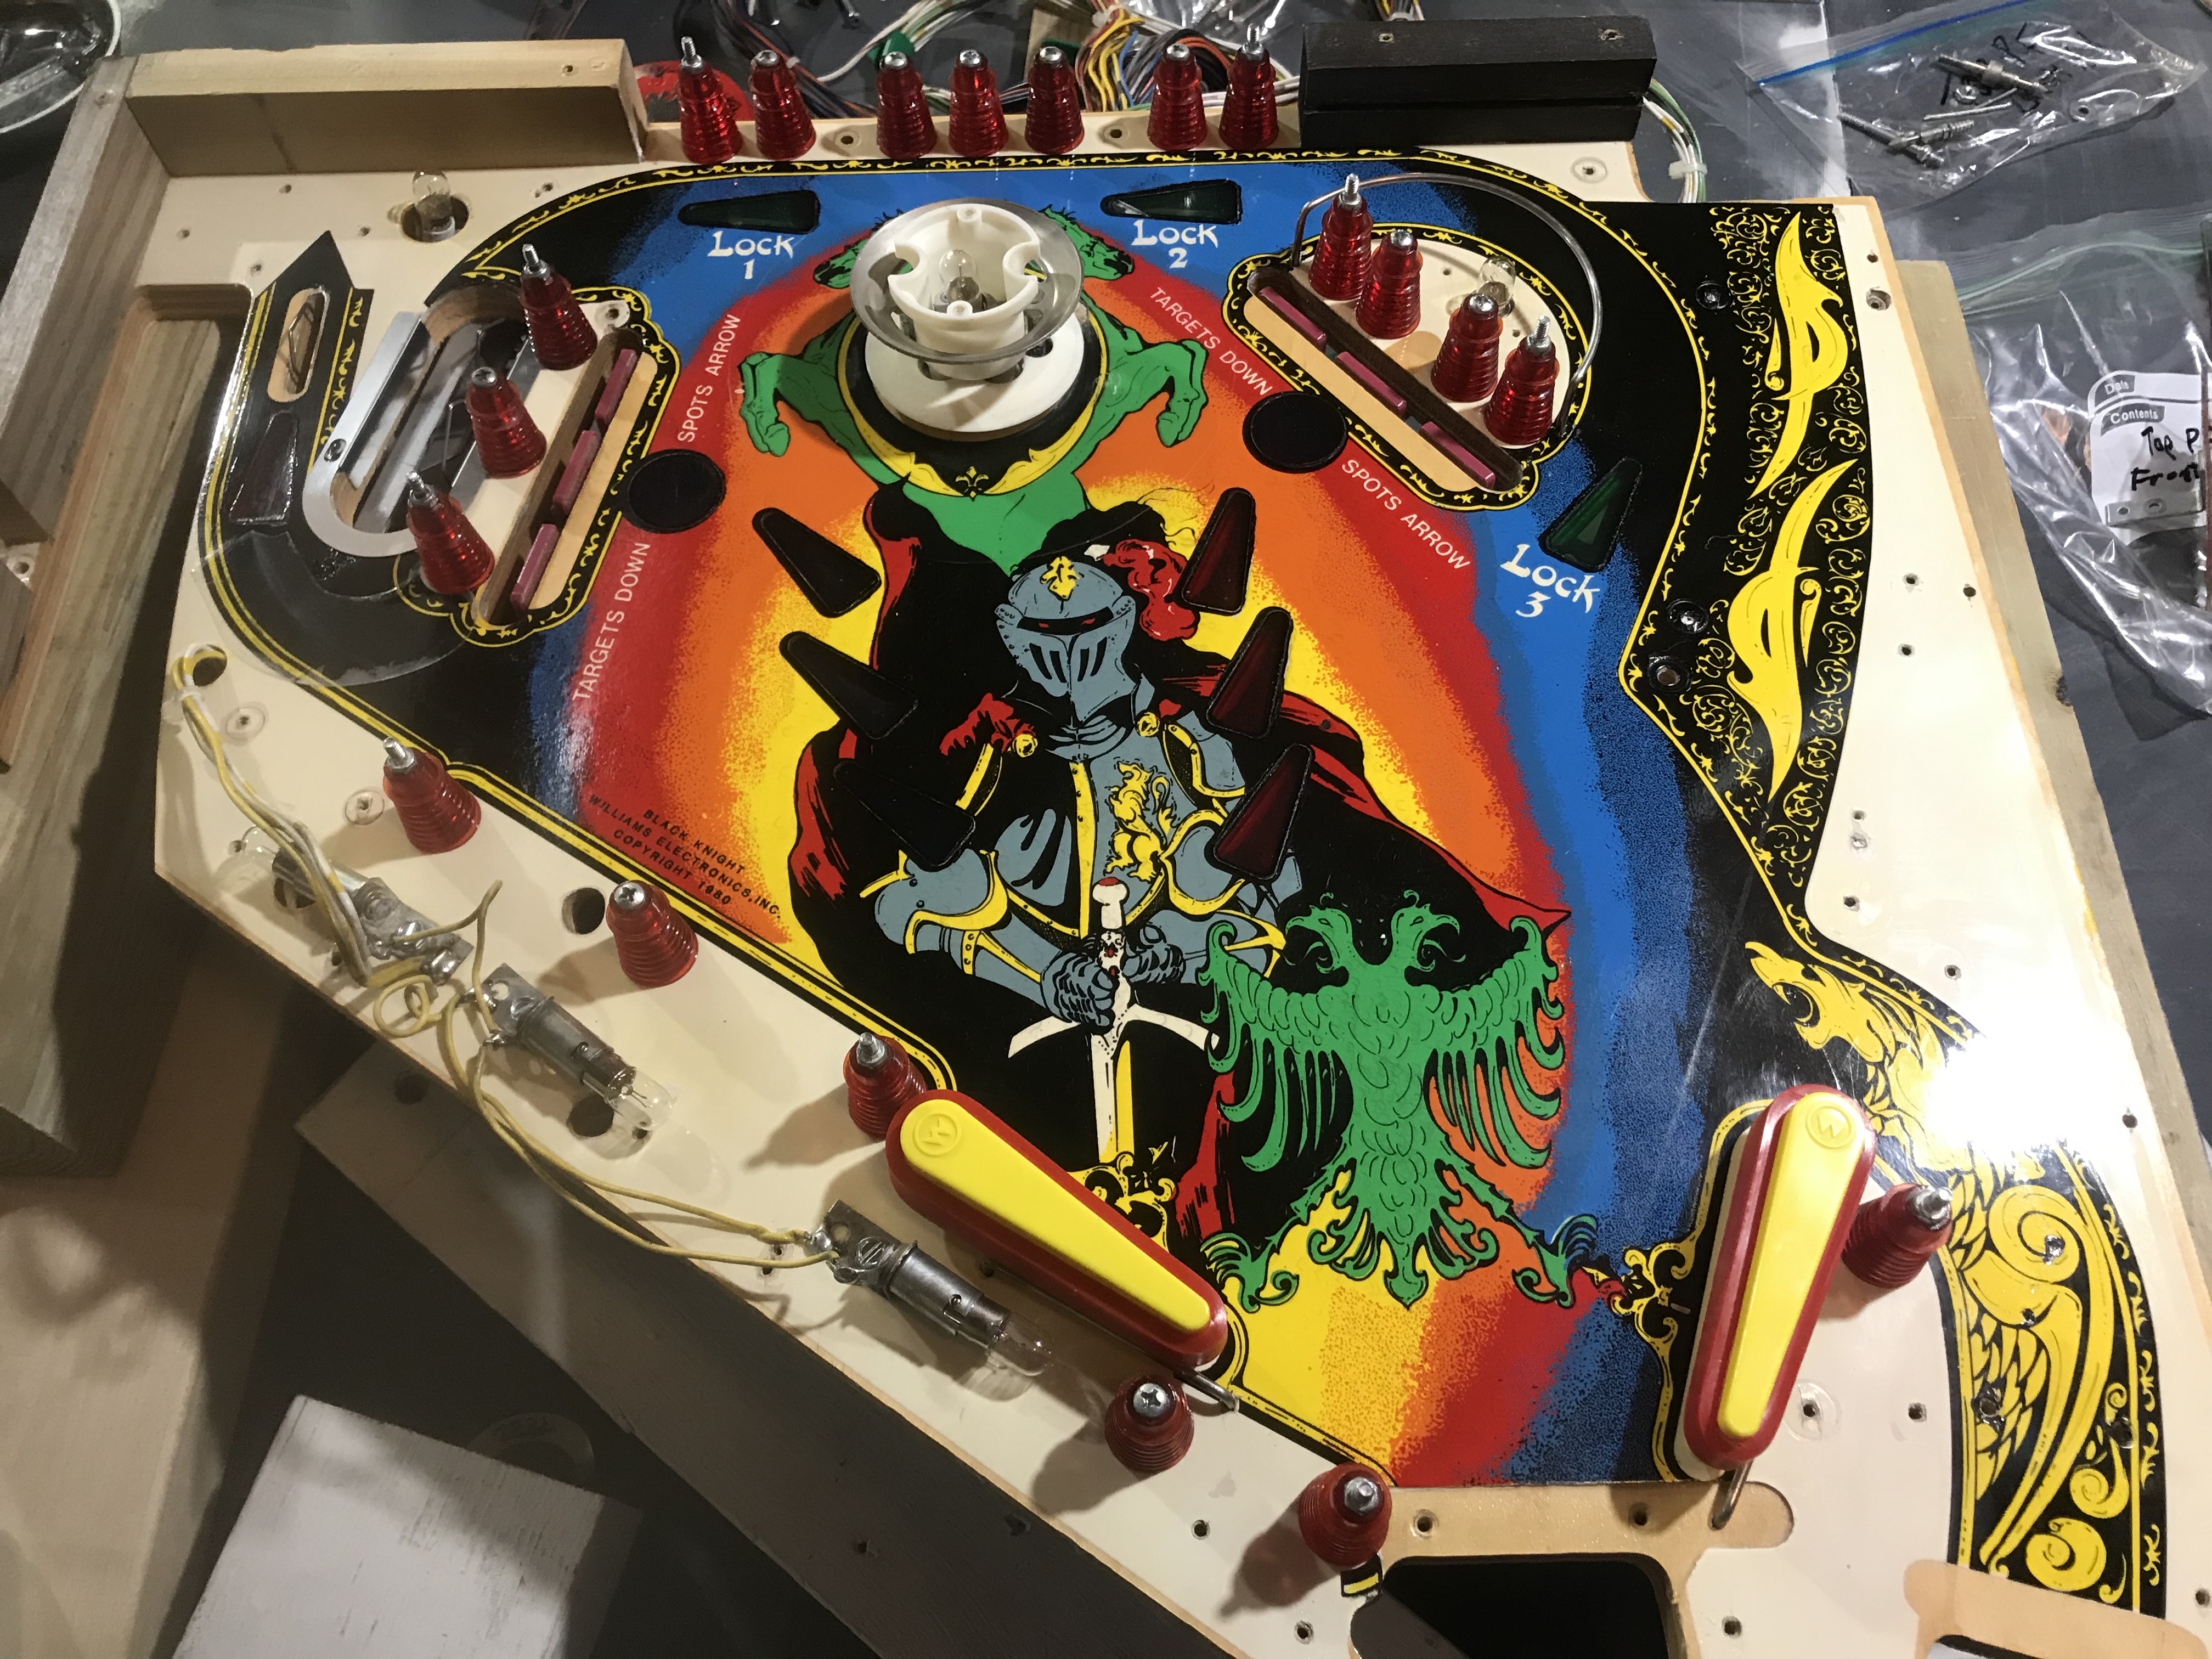
And here you can see everything really coming together. The polished up metal pieces all back in place, cleaned up posts, new pop bumper cap, and new rubbers all there. Mostly just missing the plastics at this point.
So, it was time to look at the plastic artwork. All in all, they were in great shape, but still some small repair was needed. I cleaned up each with Novus 1 cleaner and then use the Bondic glue to thicken up just a few cracking pieces.
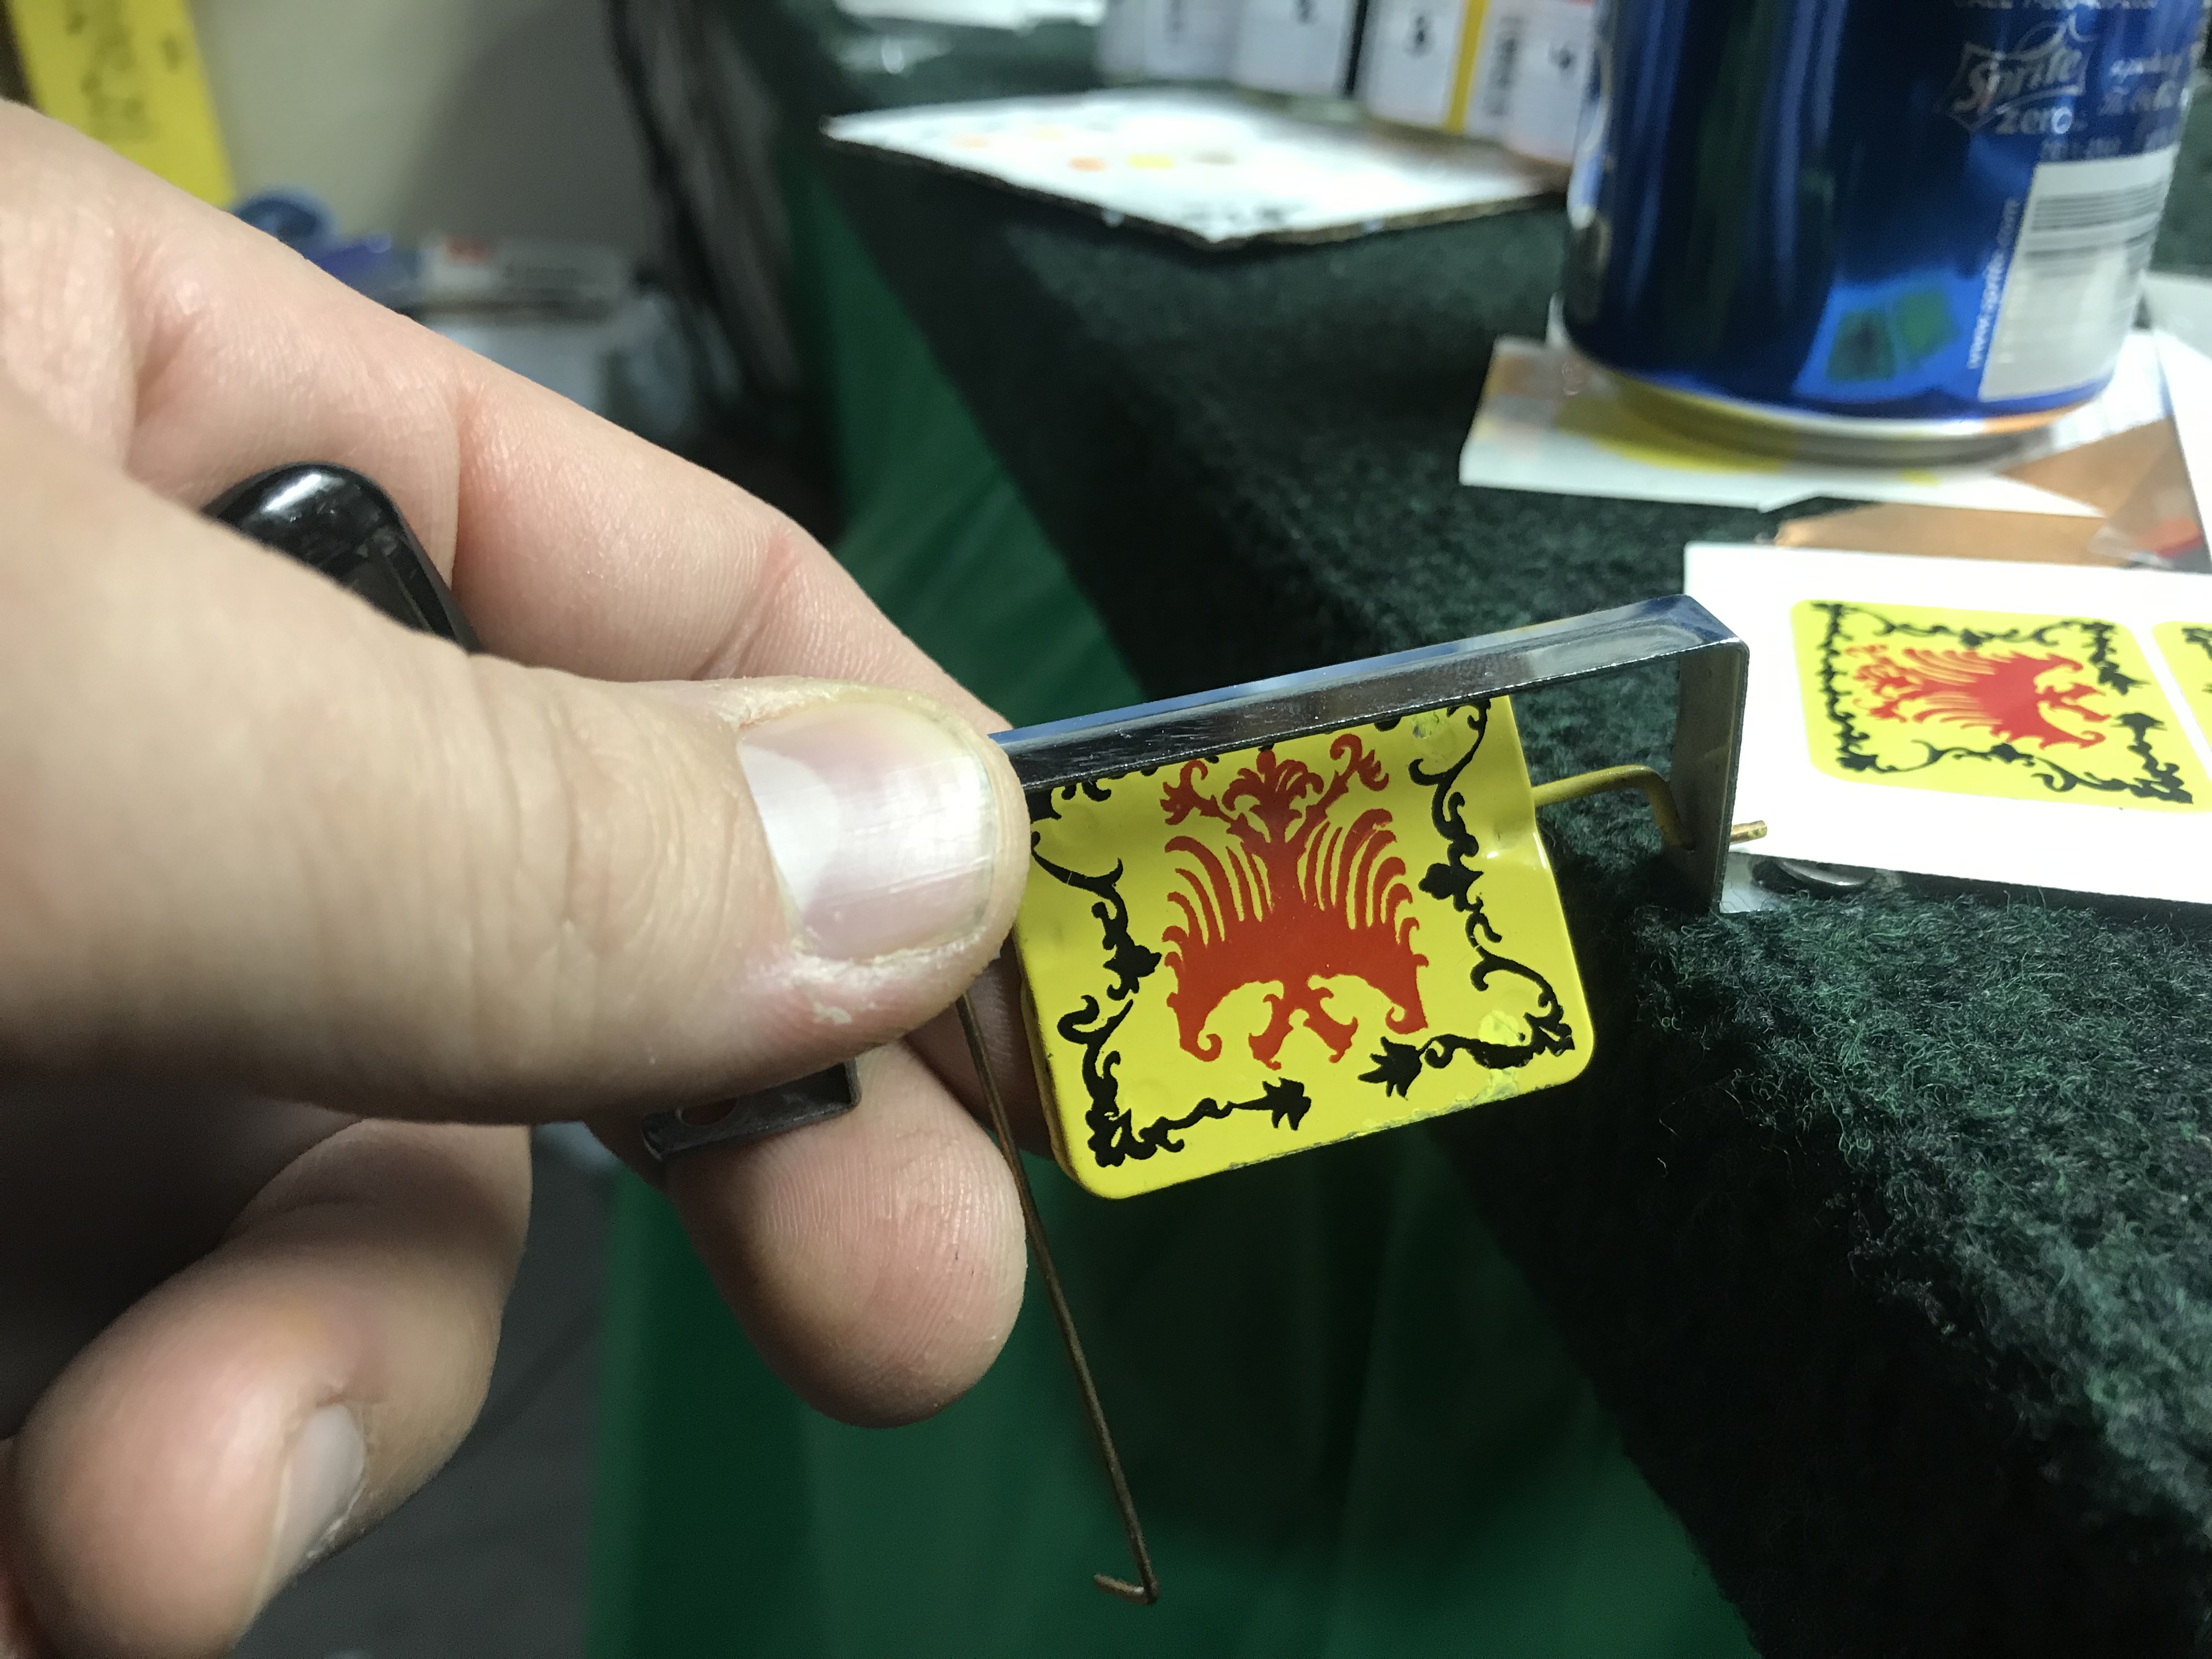
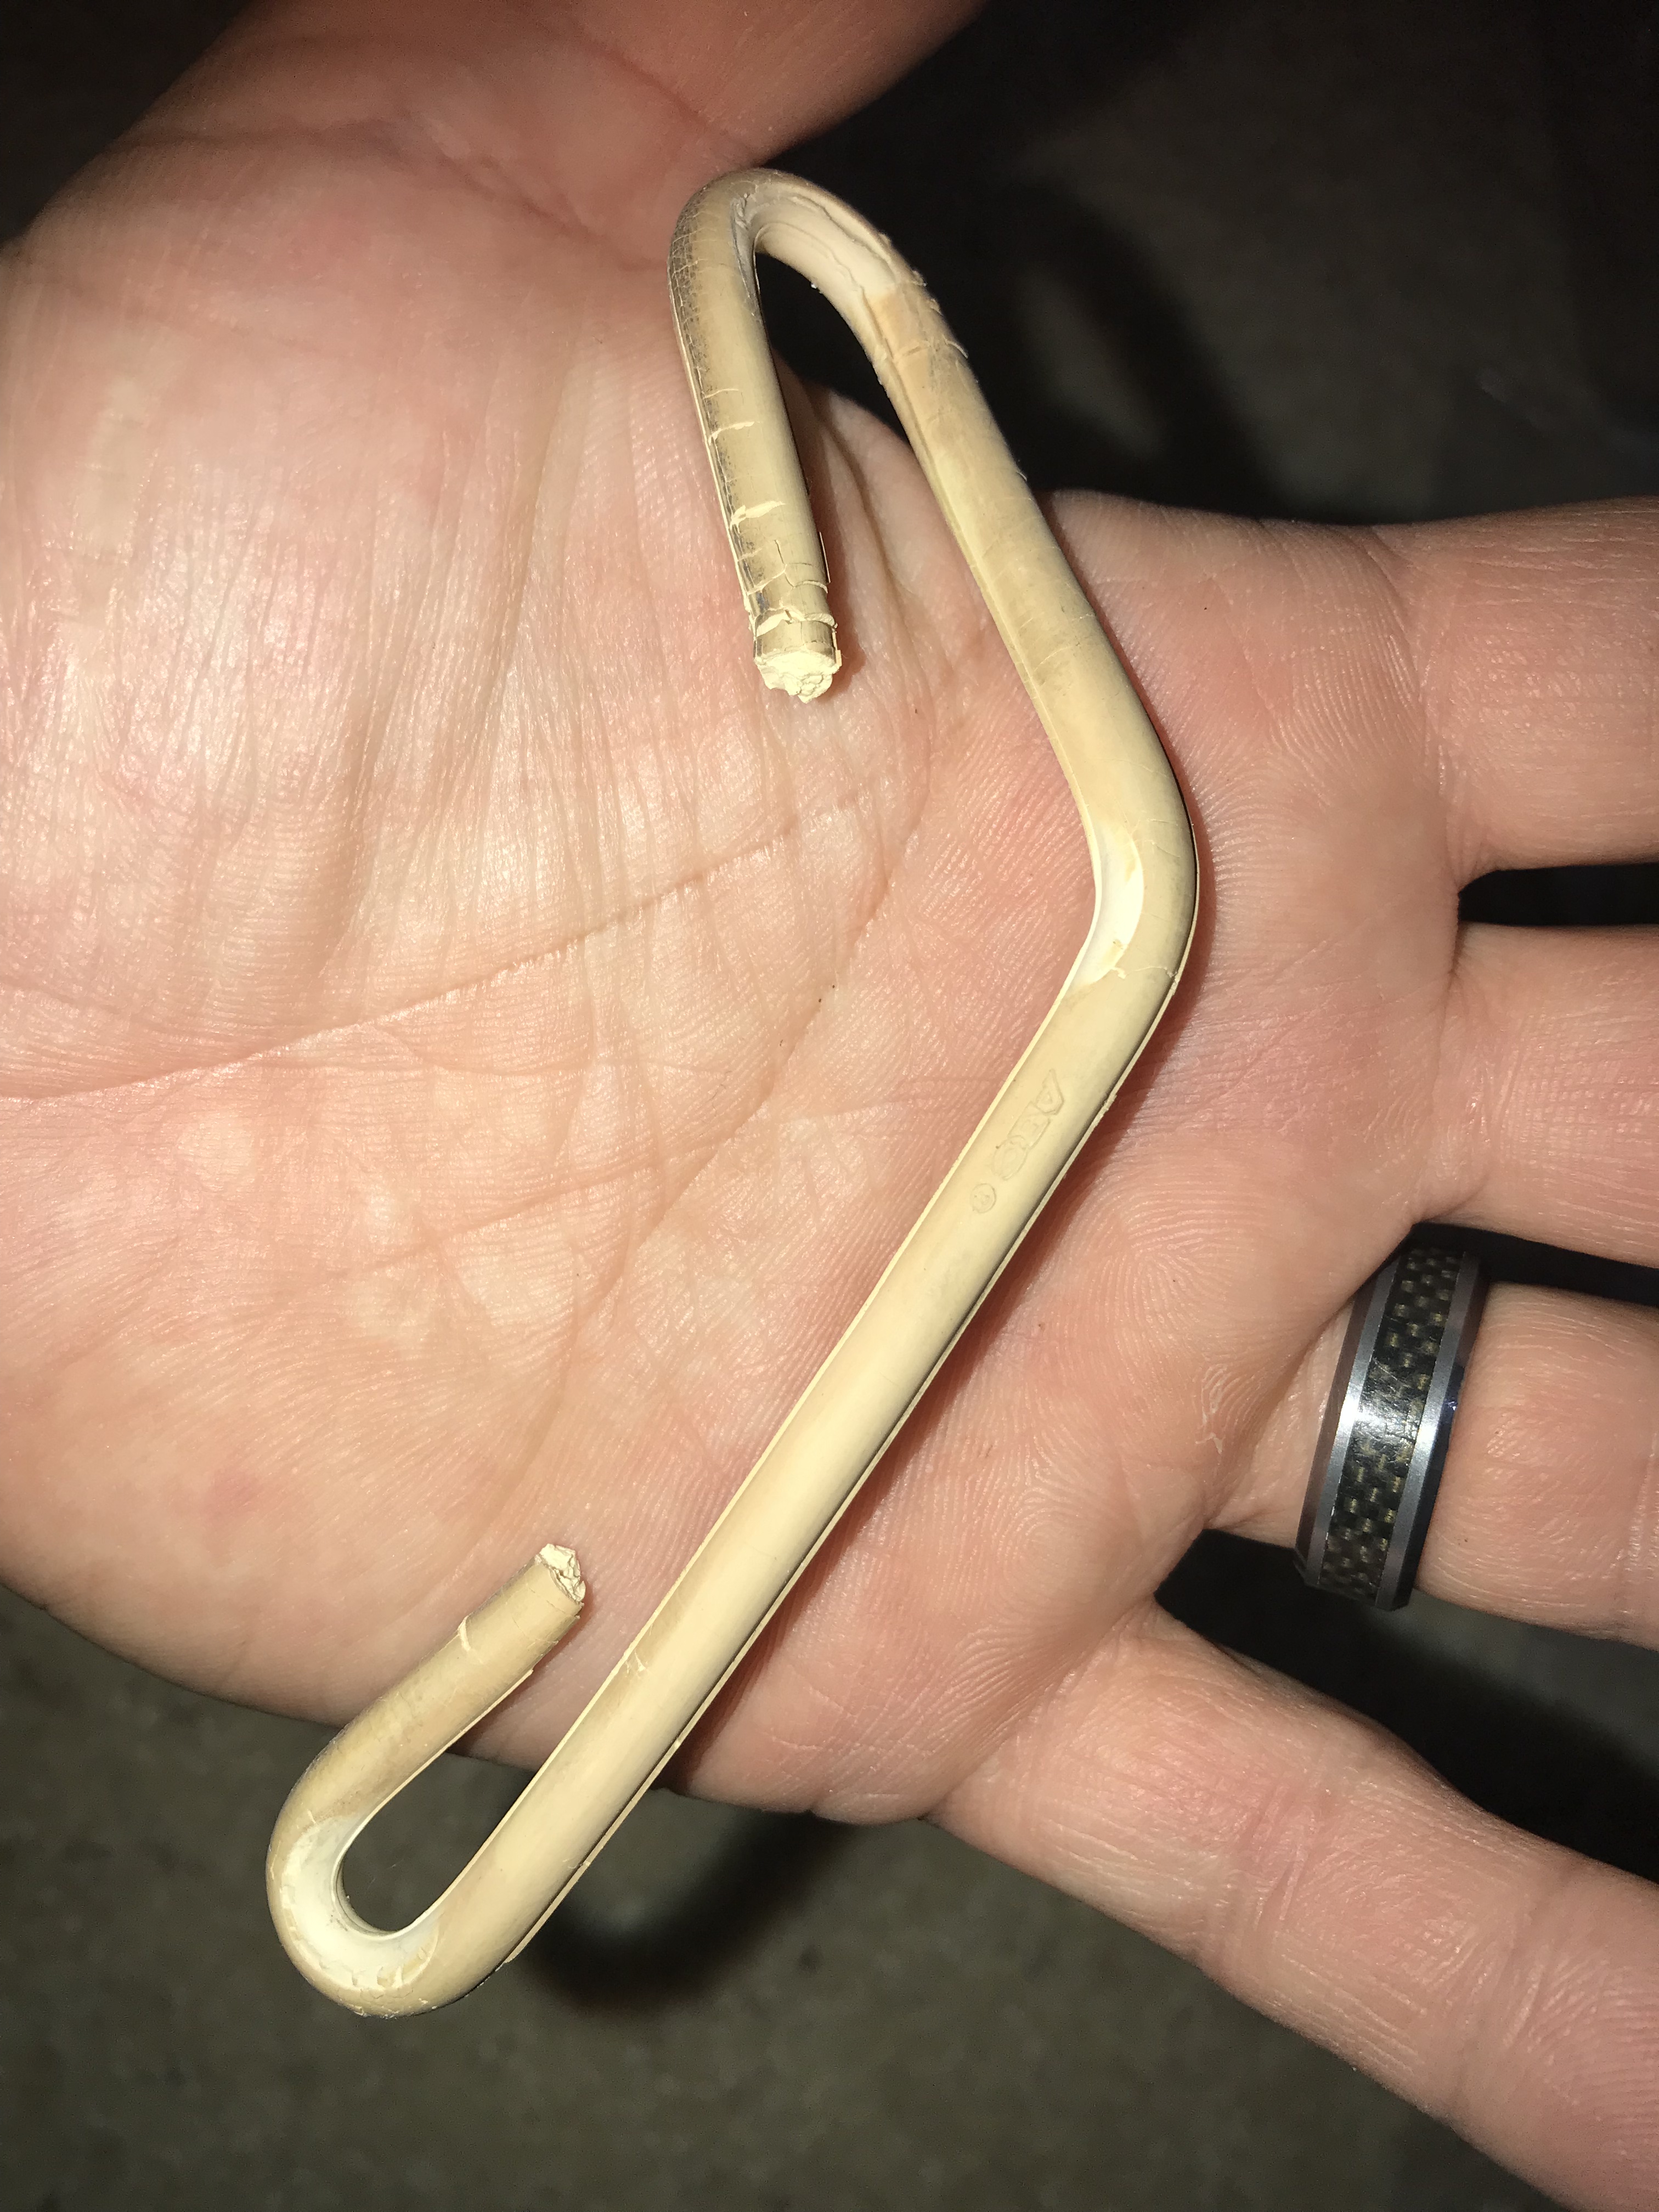
When looking for parts online I saw that this playfield plastic piece was like a buck. This, eveidently, is the "most missing" piece of the plastic artwork set for this game. Sure enough, it was missing from this machine as well. It's thought that most of them were just not put in place by the original assemblers because it's such a small detail. But hey, for a buck, lets get the machine all original!
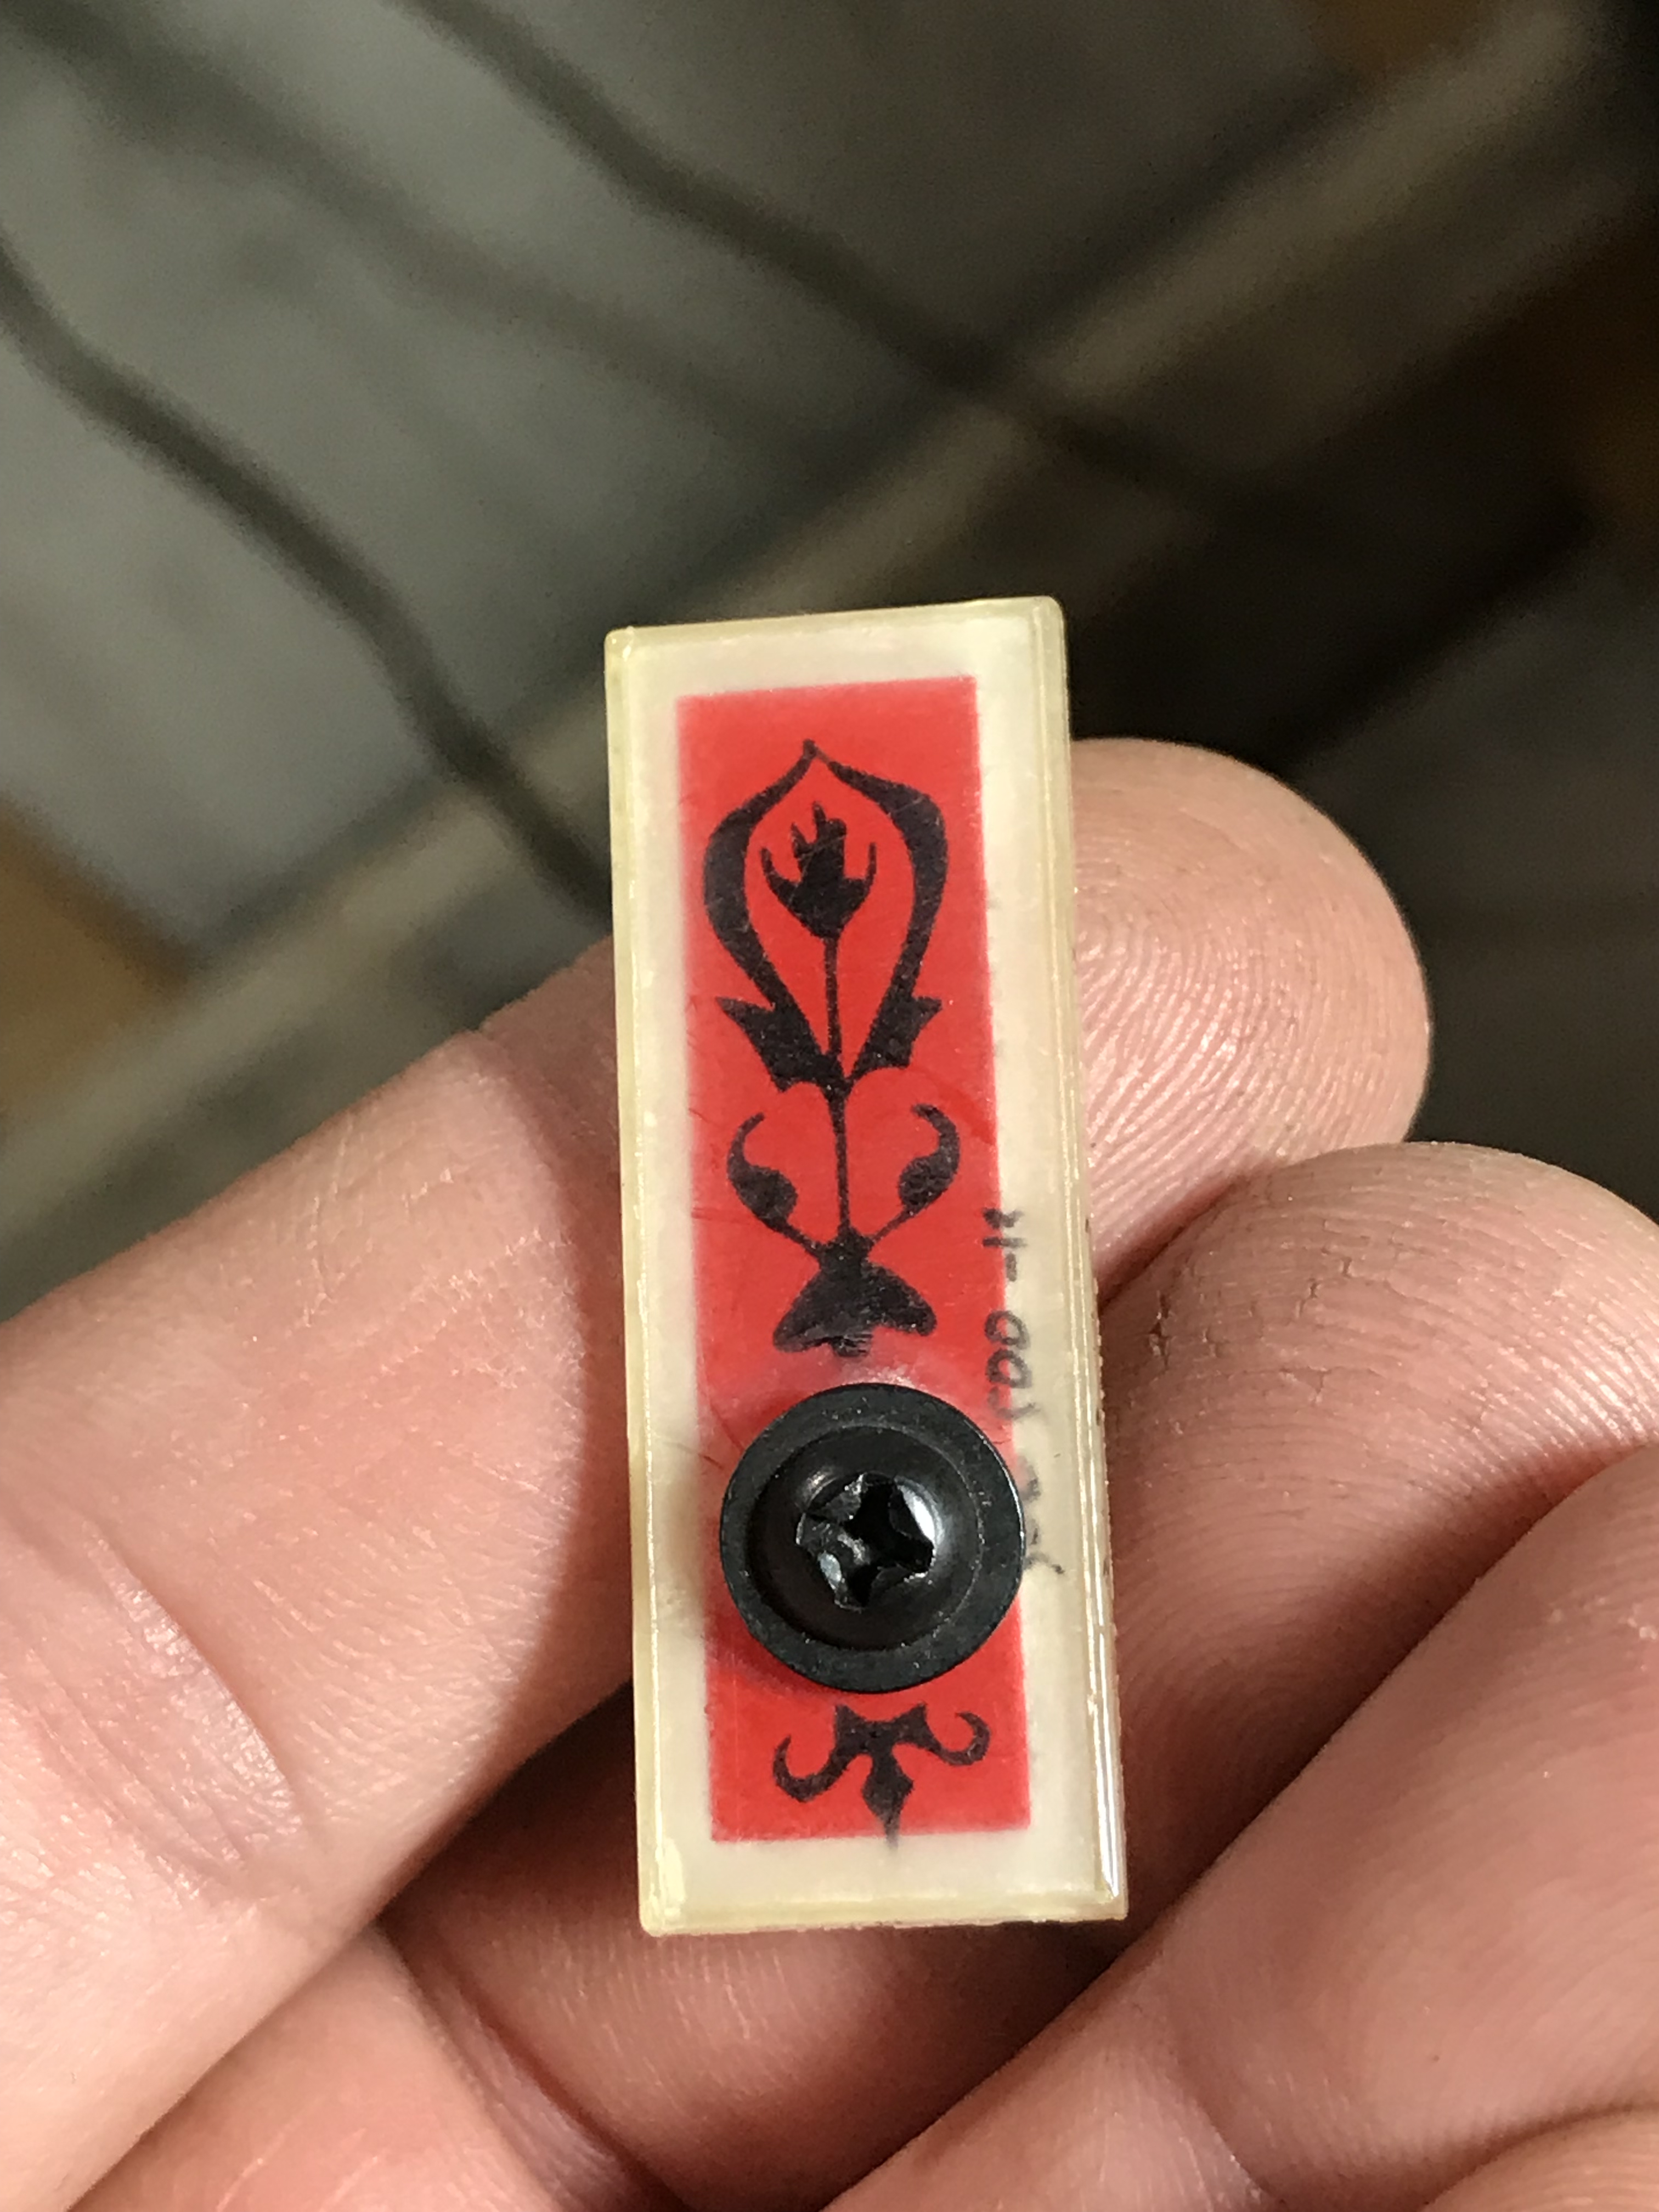
This tiny piece goes on the far left here.
Ahhh, so much better. ha ha
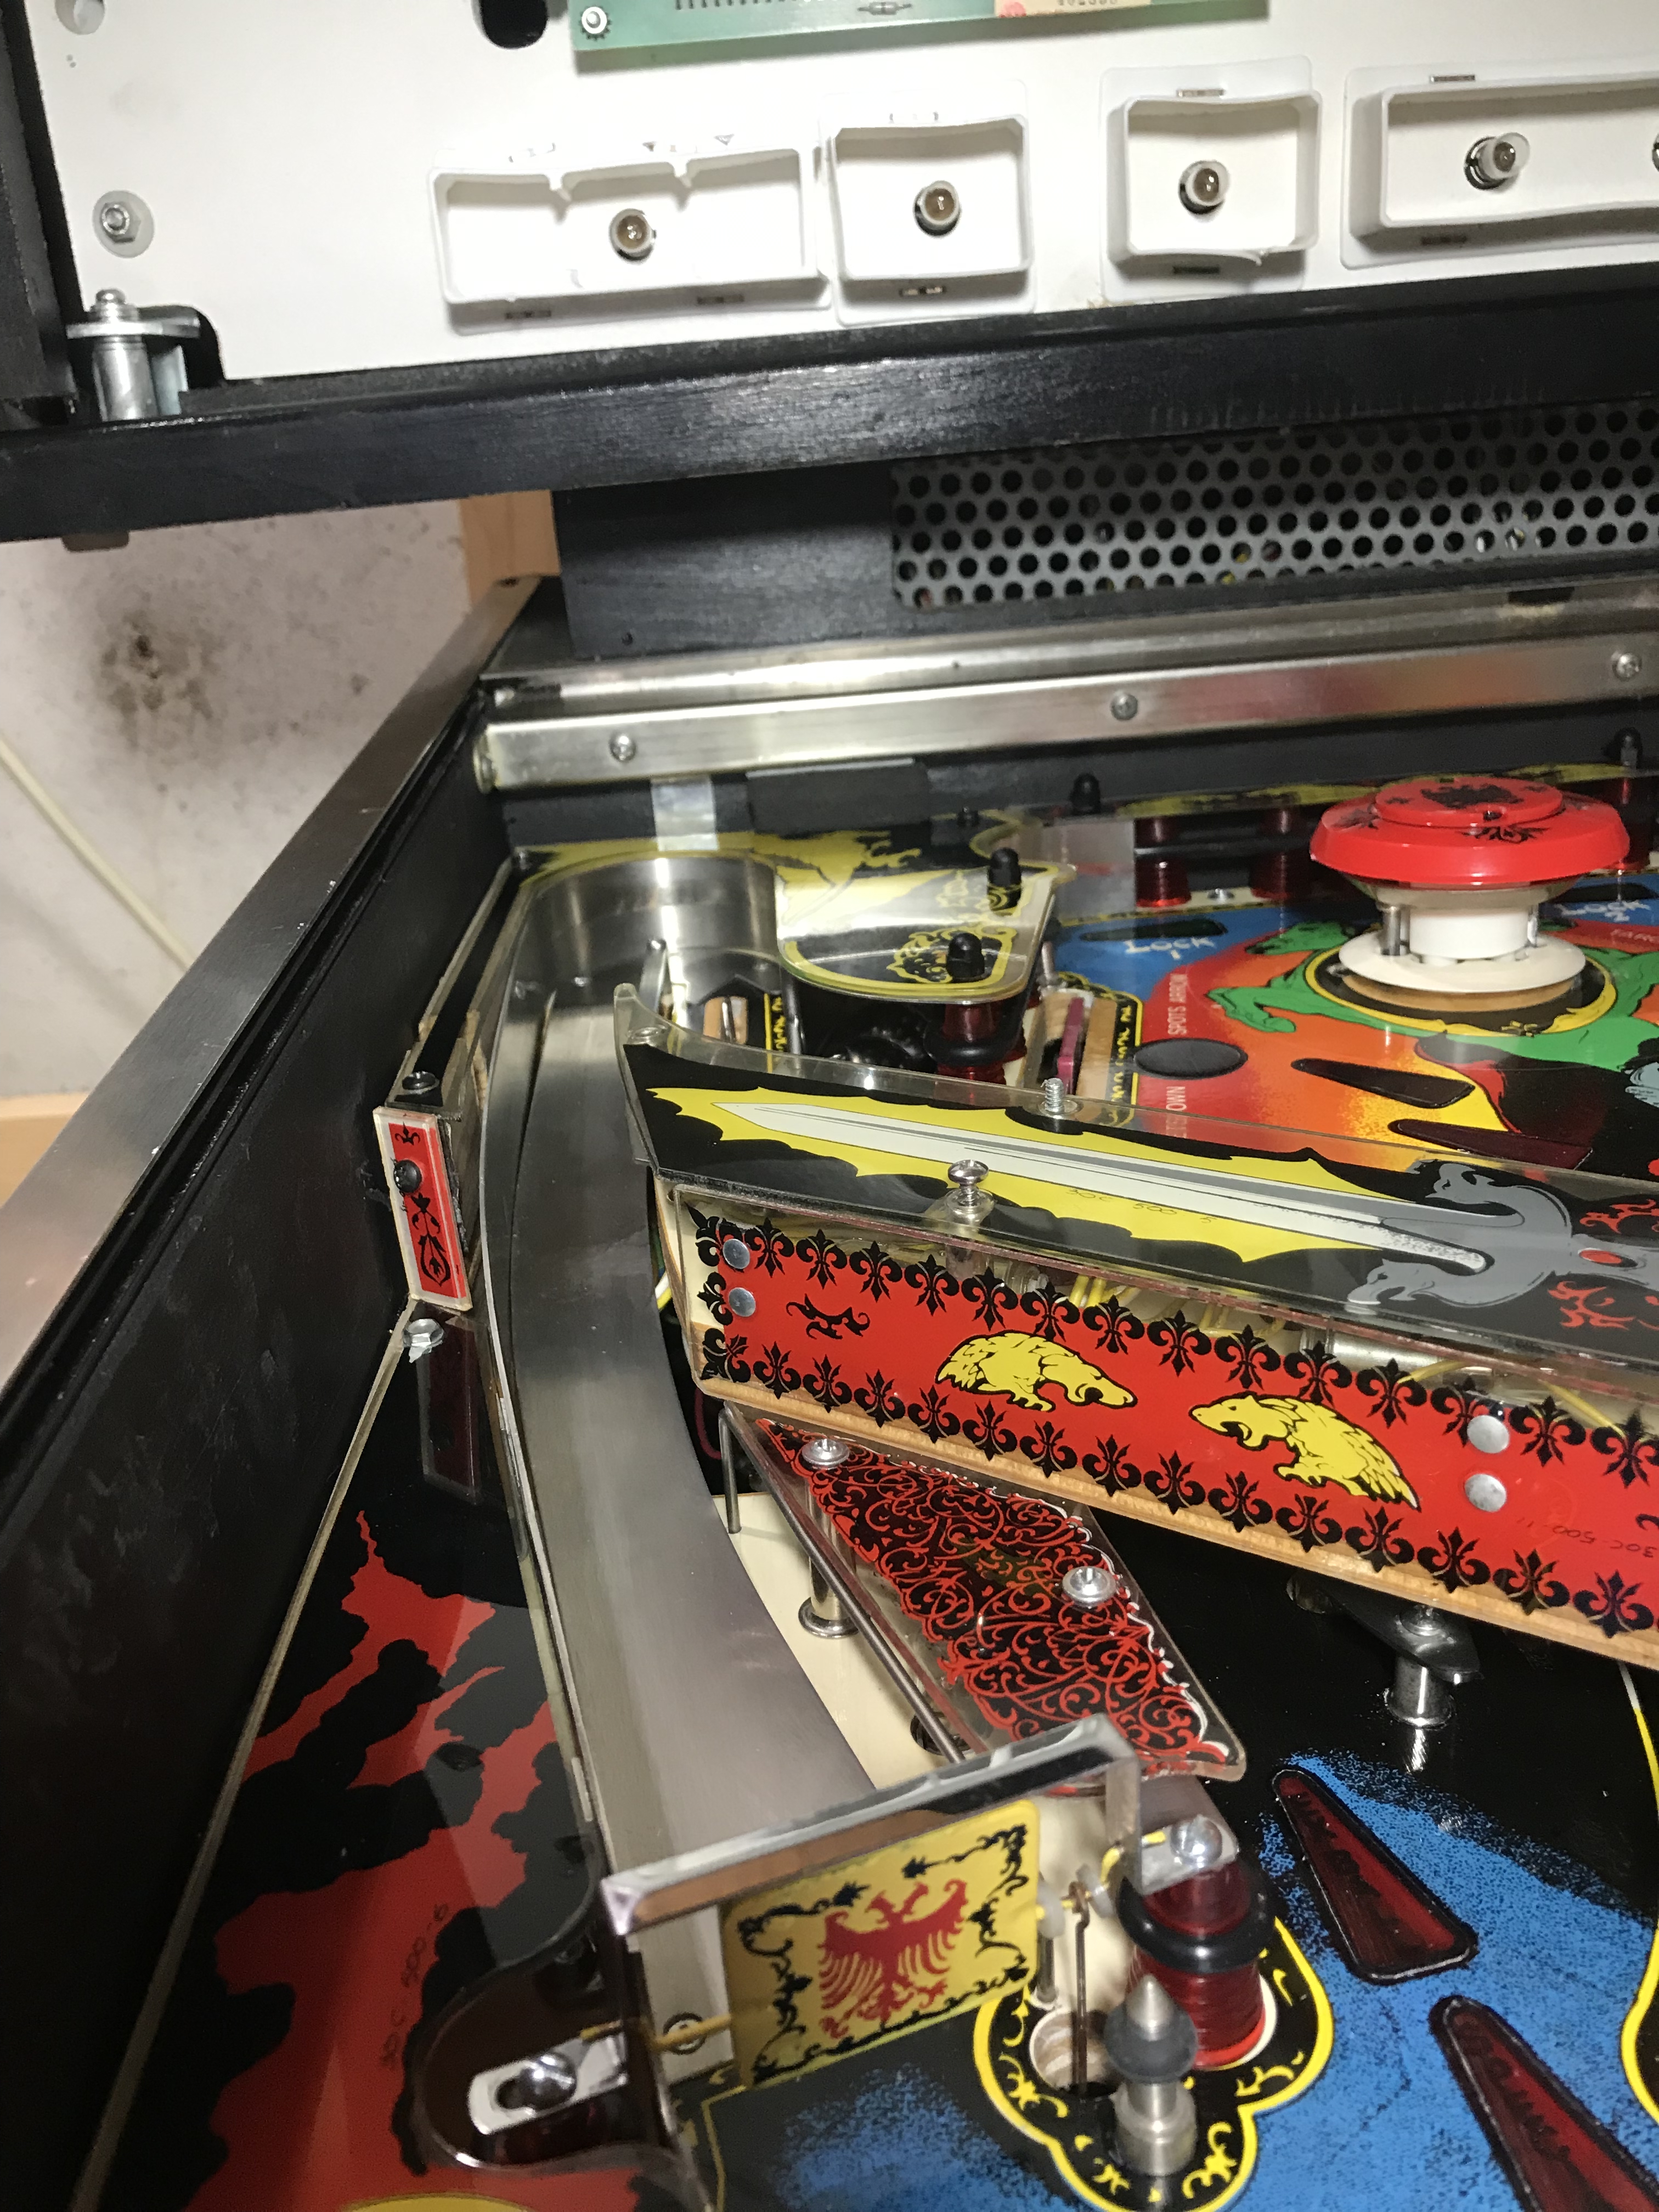
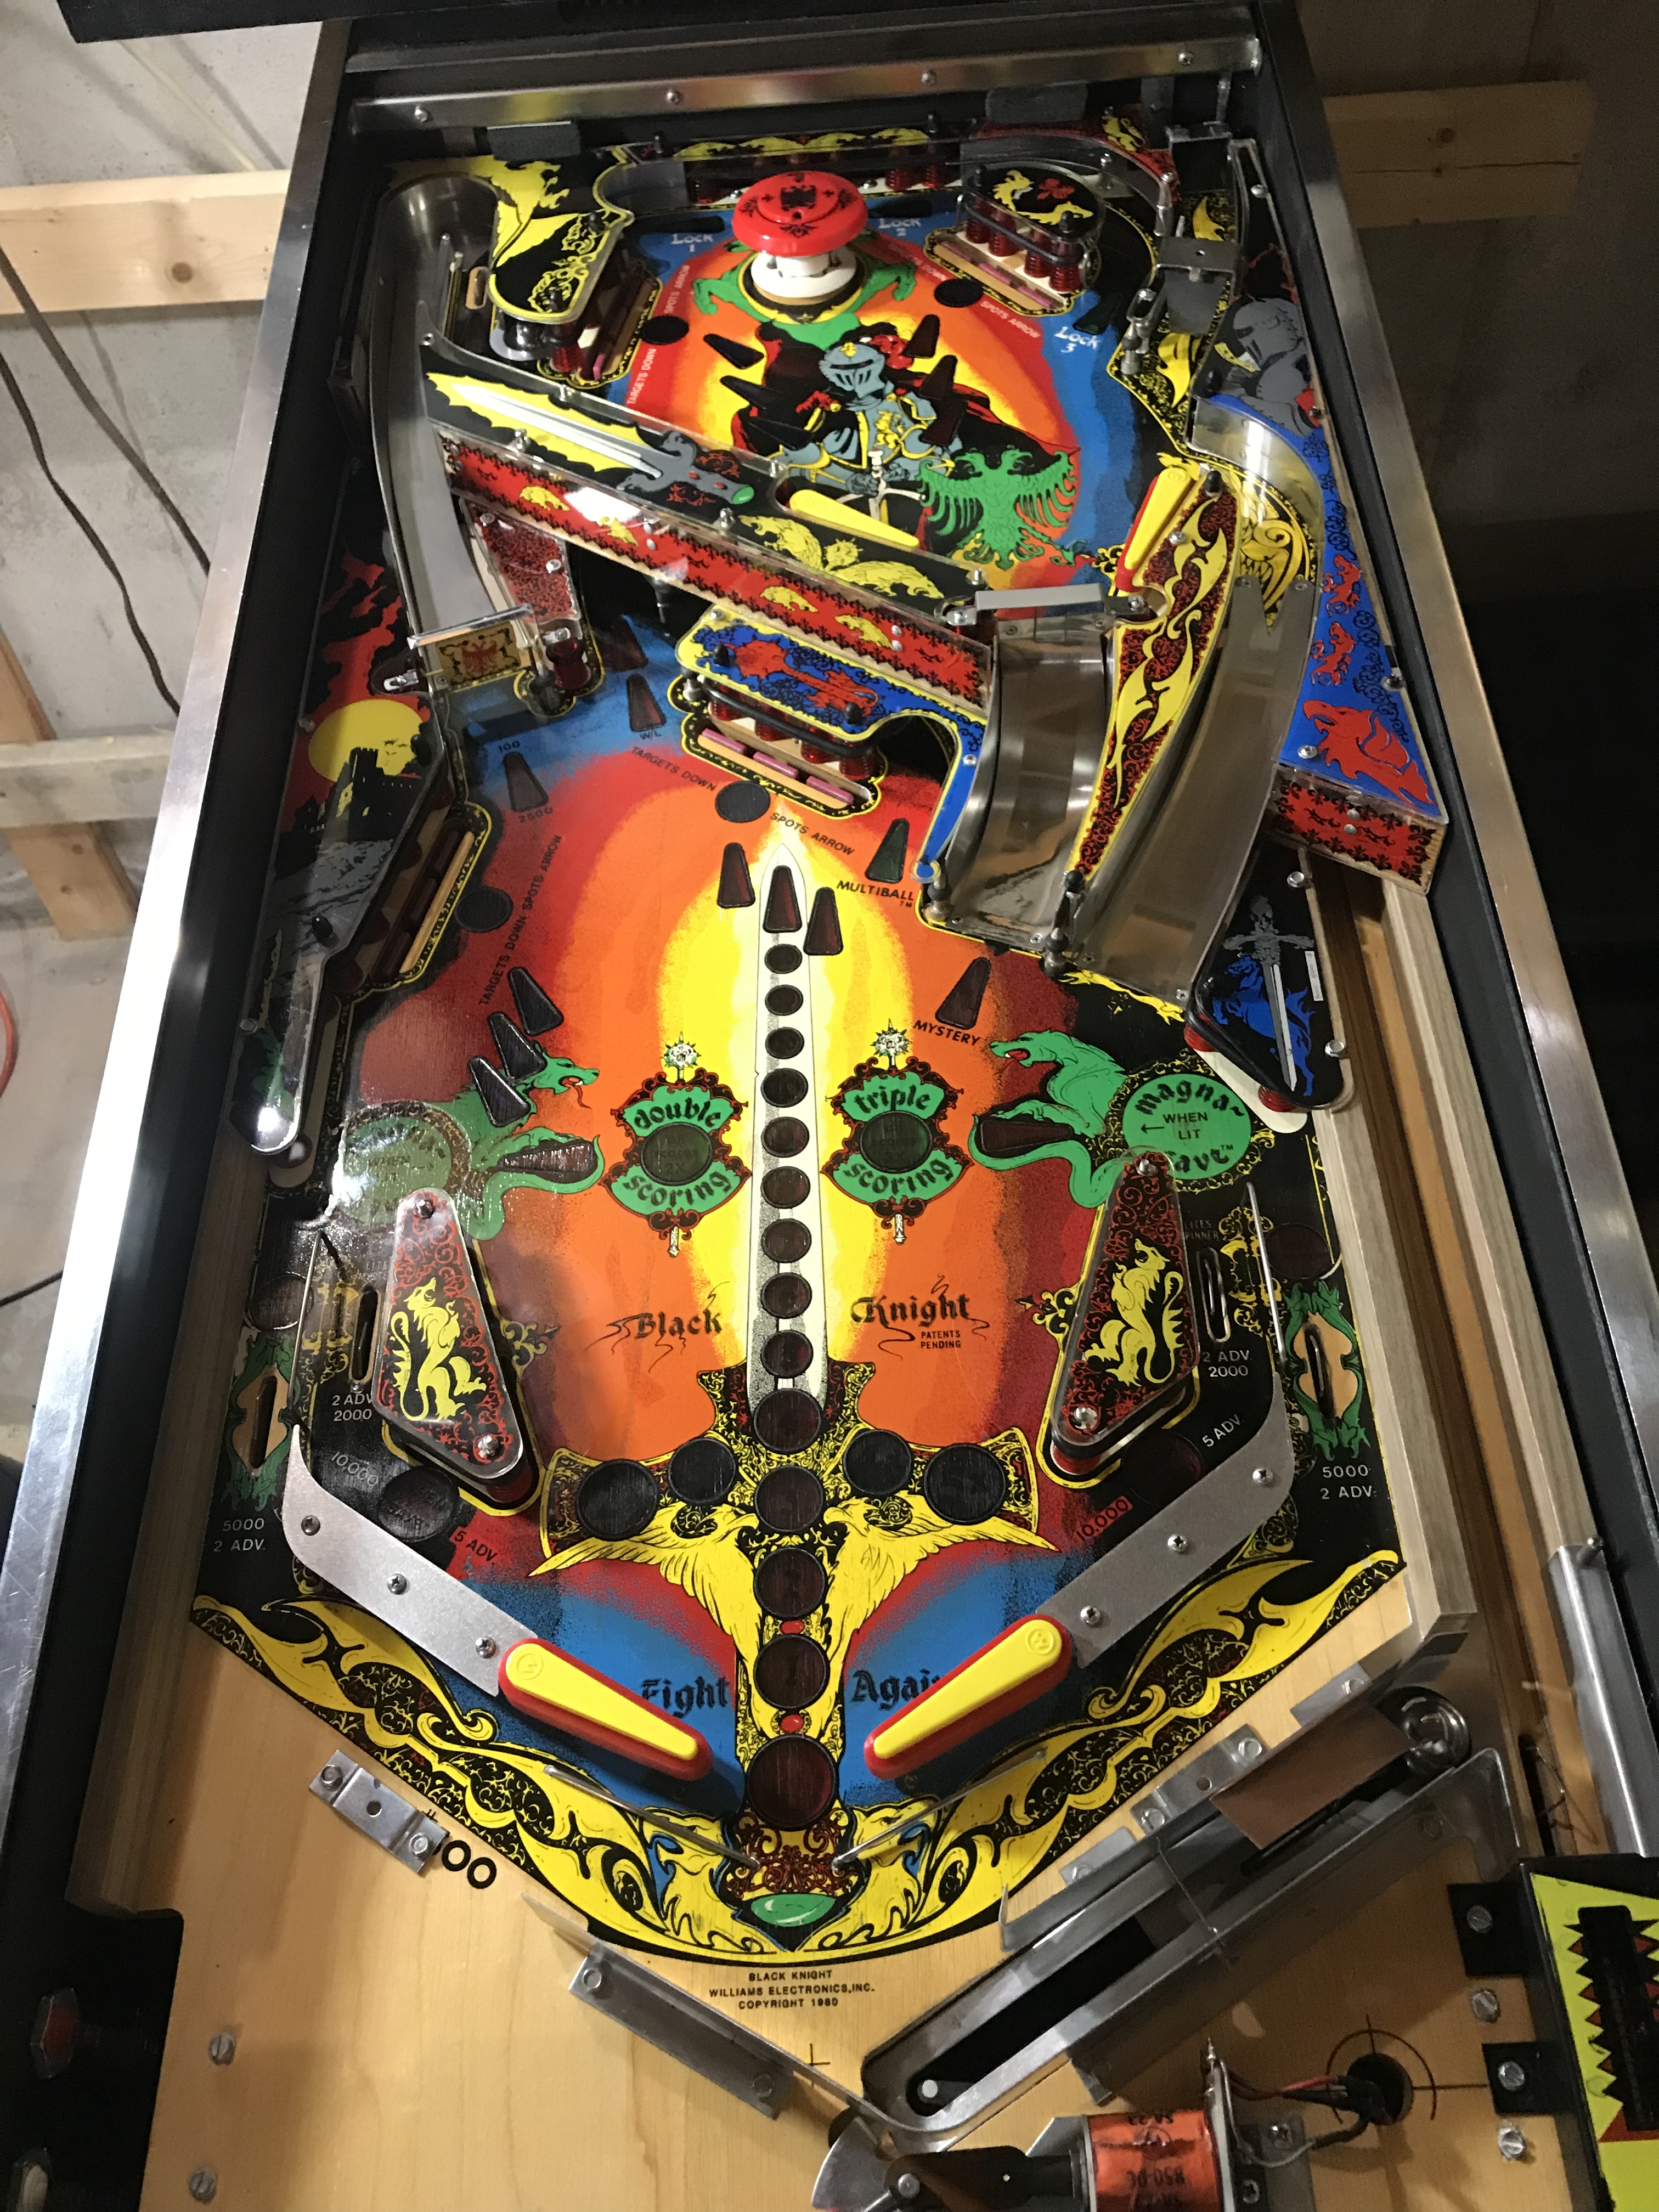
And finally here she is with the plastics all in place as well. Not sure if it works just yet, but it sure does look pretty!
![]()
Navigation Bar
![]()
![]()
![]()
![]()
![]()